Hey, gang- back again for another Muppet Monster Monday, and you know you can always “Count” on me to show you how I create my art.
![]()
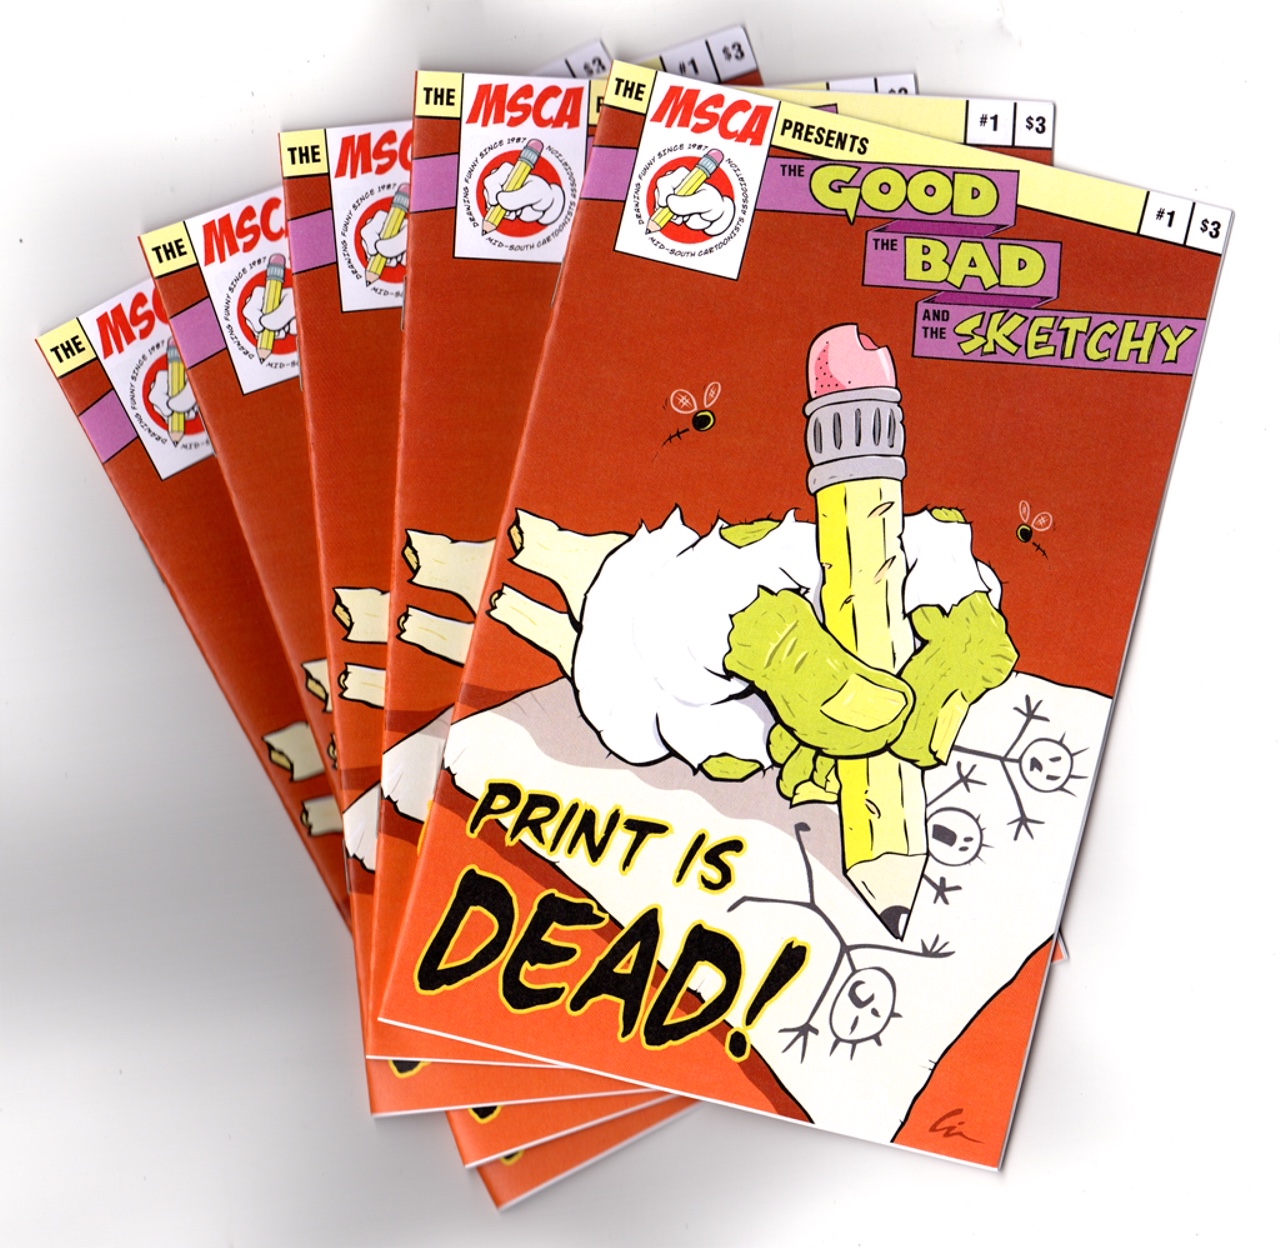
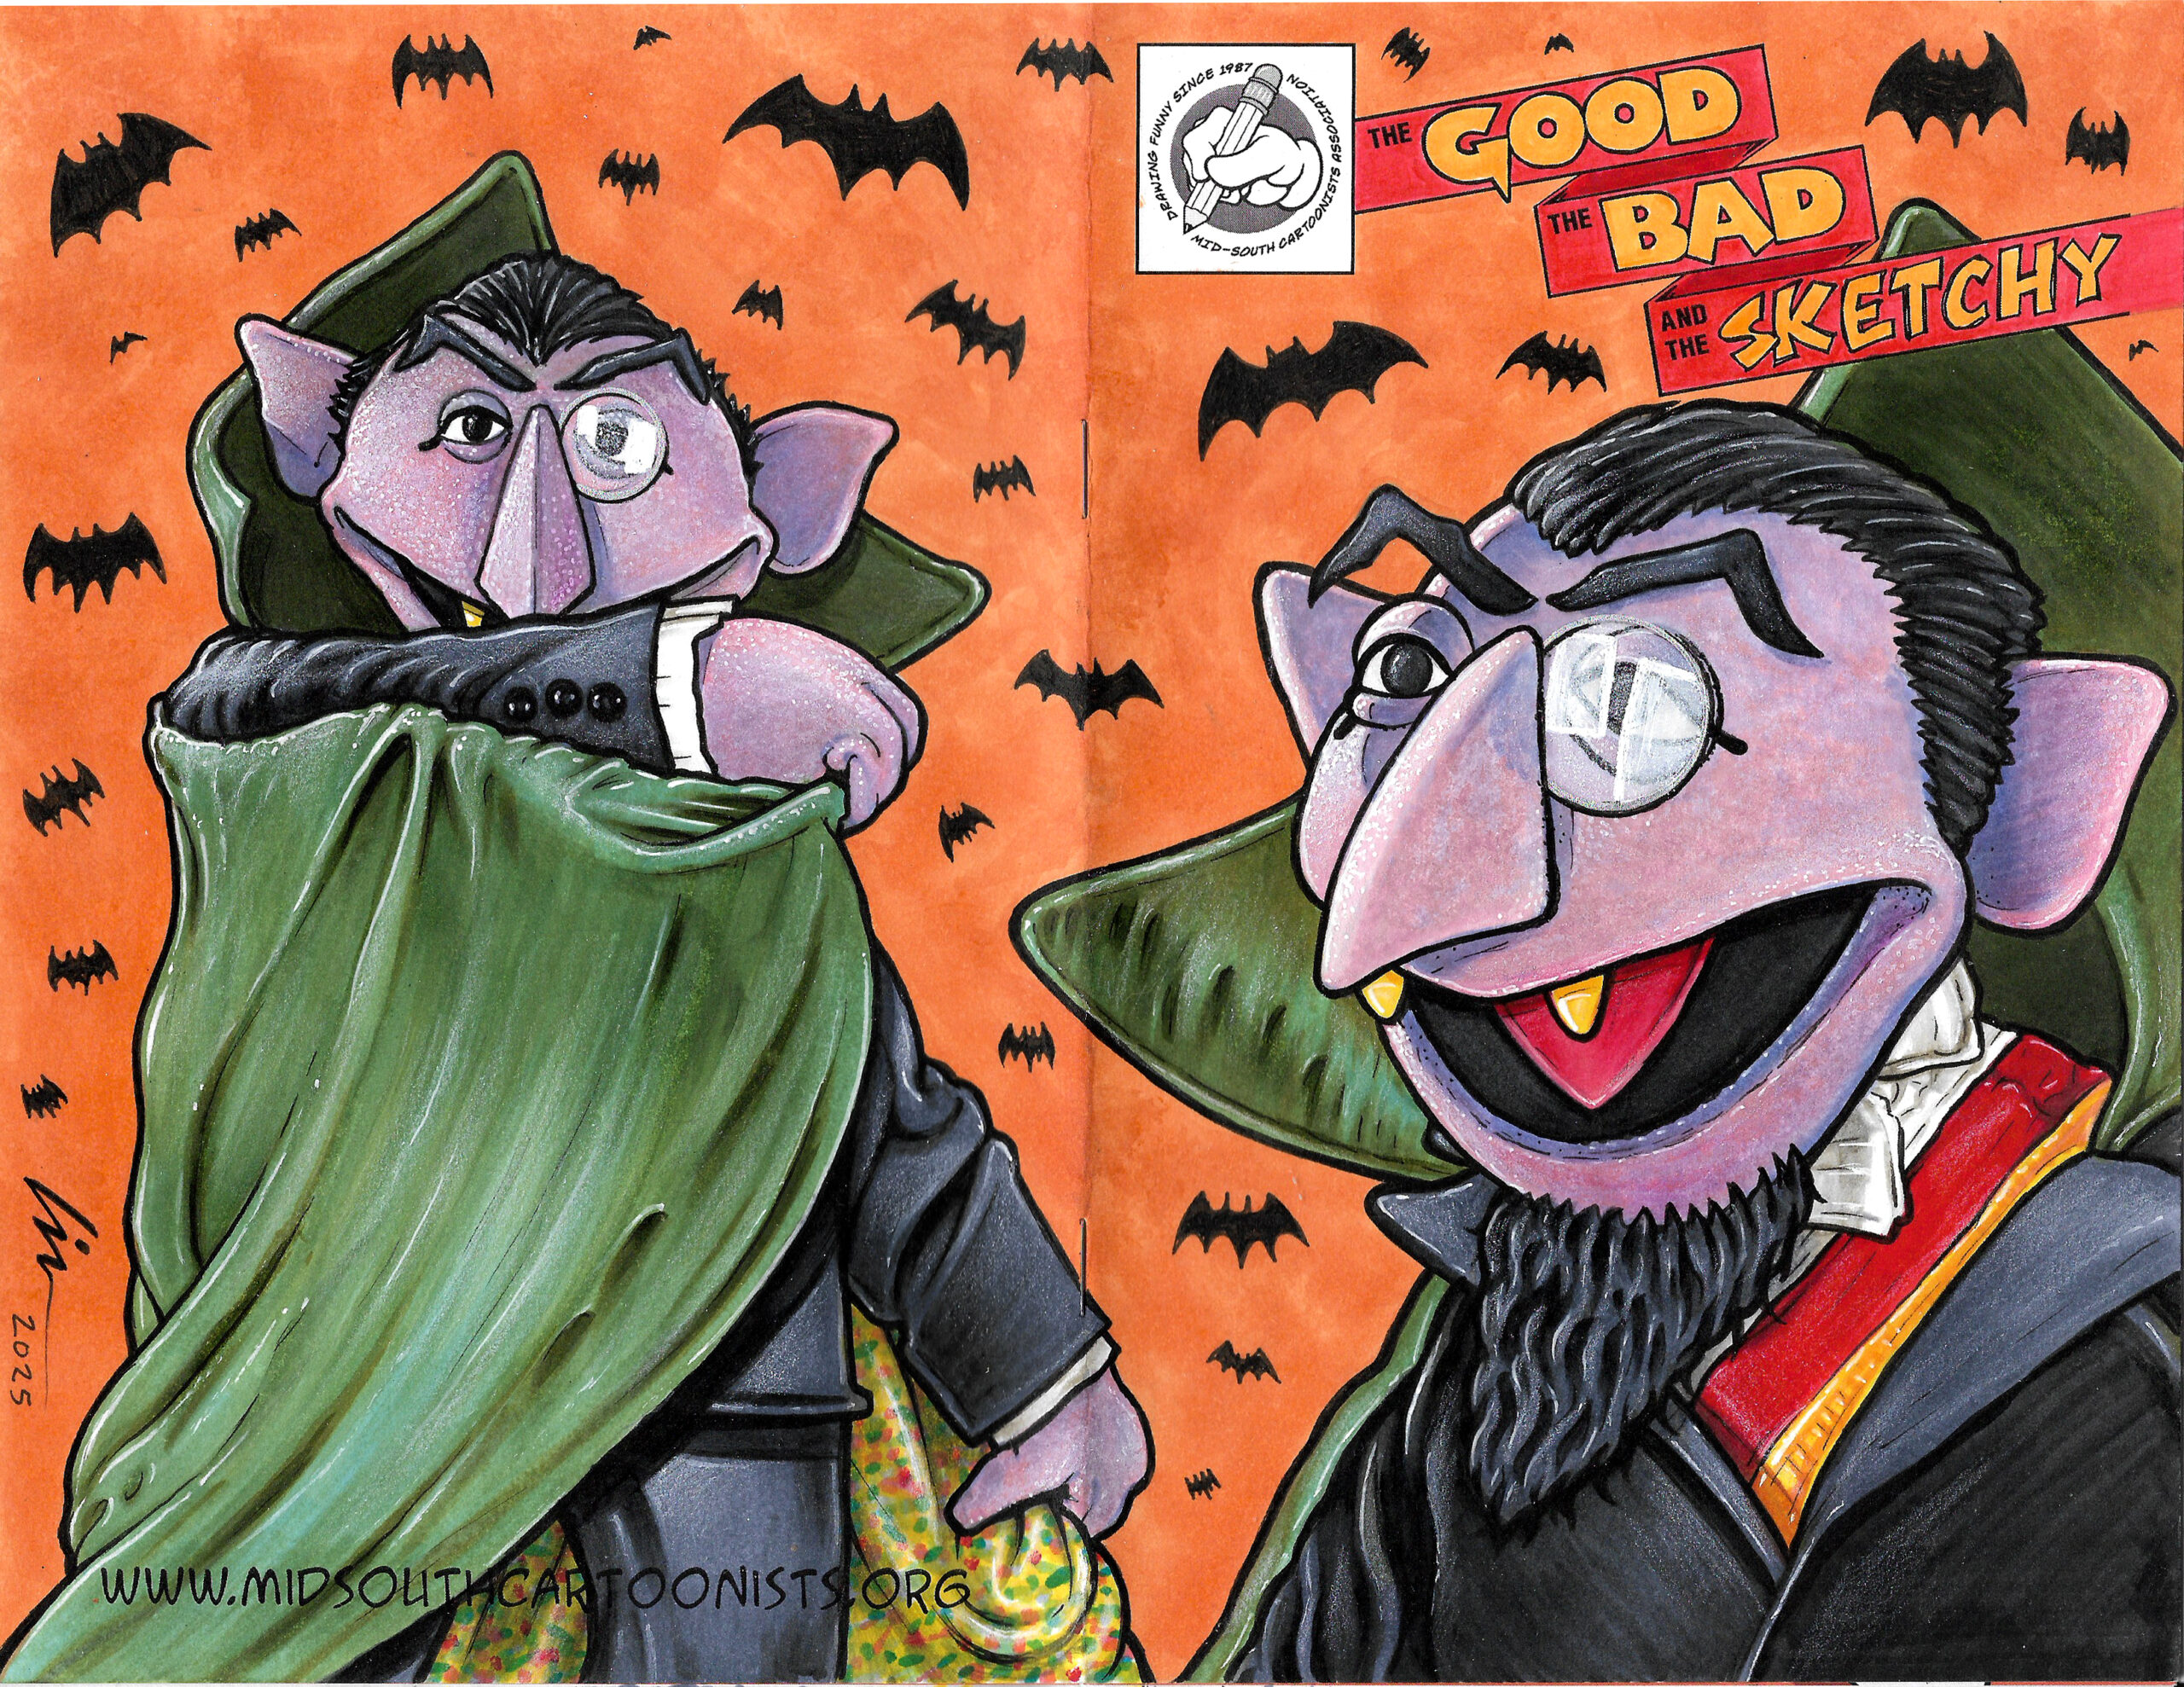
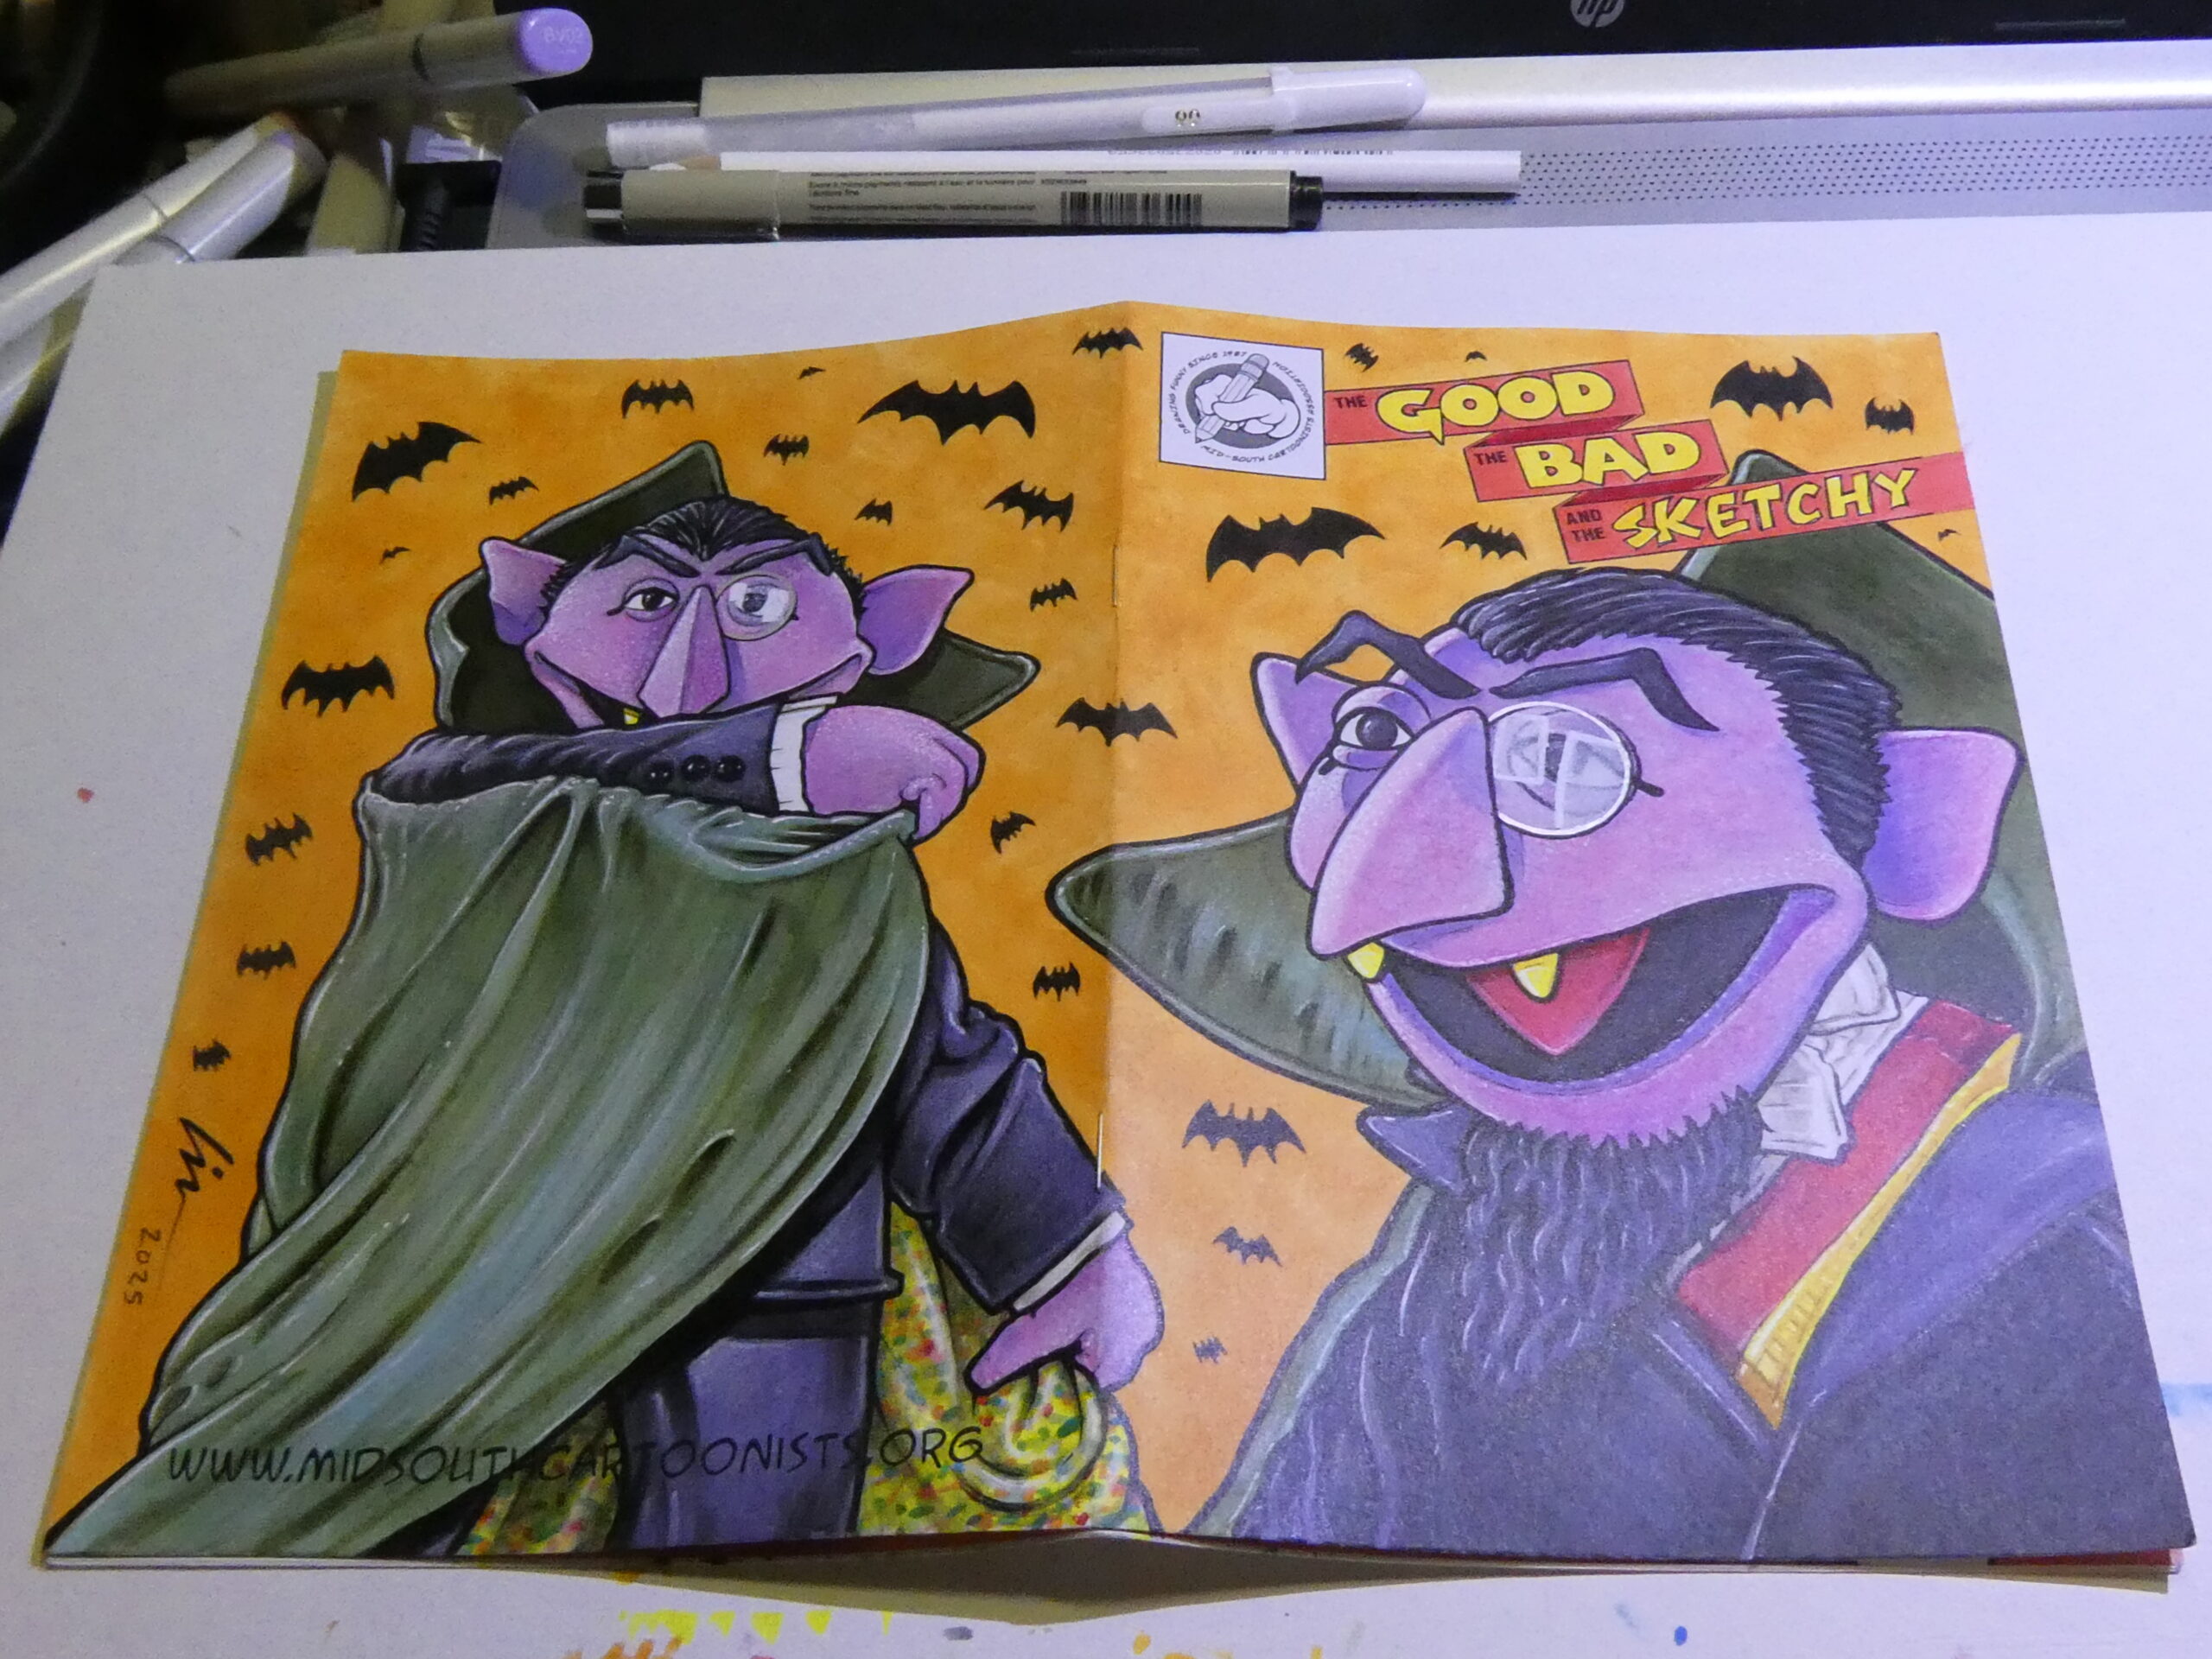
This one was another MSCA “The Good, The Bad, And The Sketchy“ blank sketchcover. This time I drew on a copy of our first issue which was a horror themed zine.
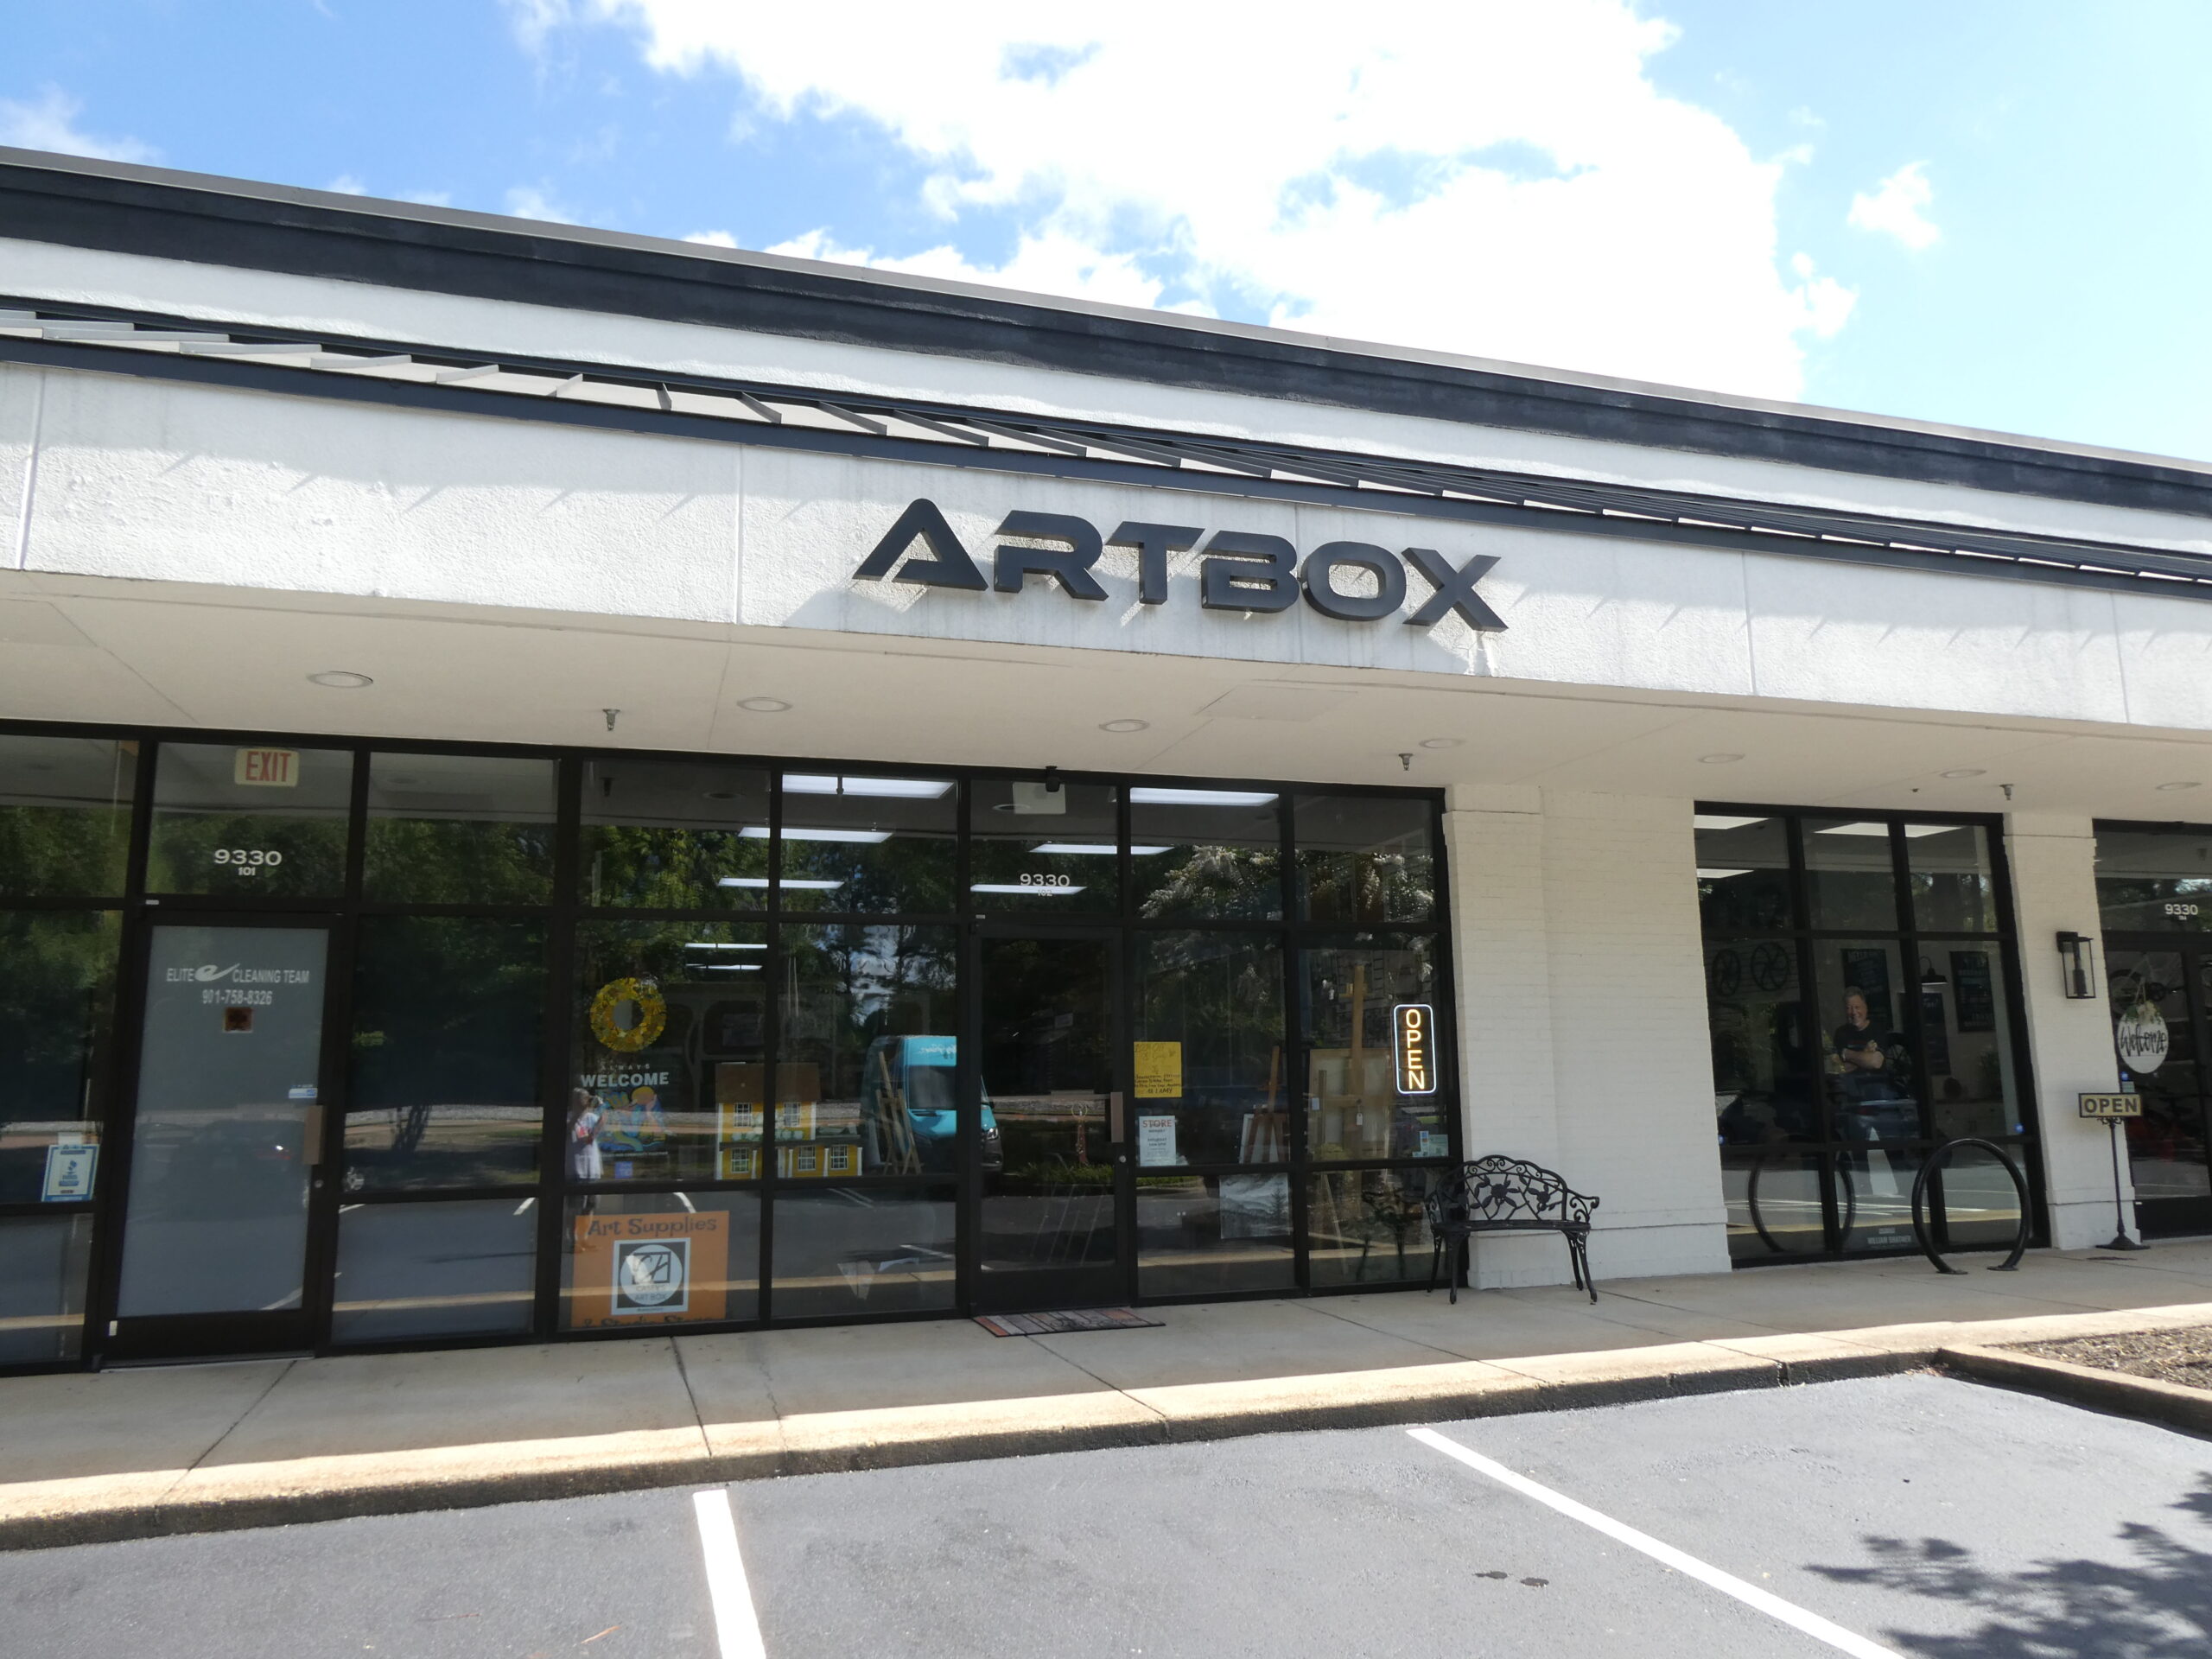
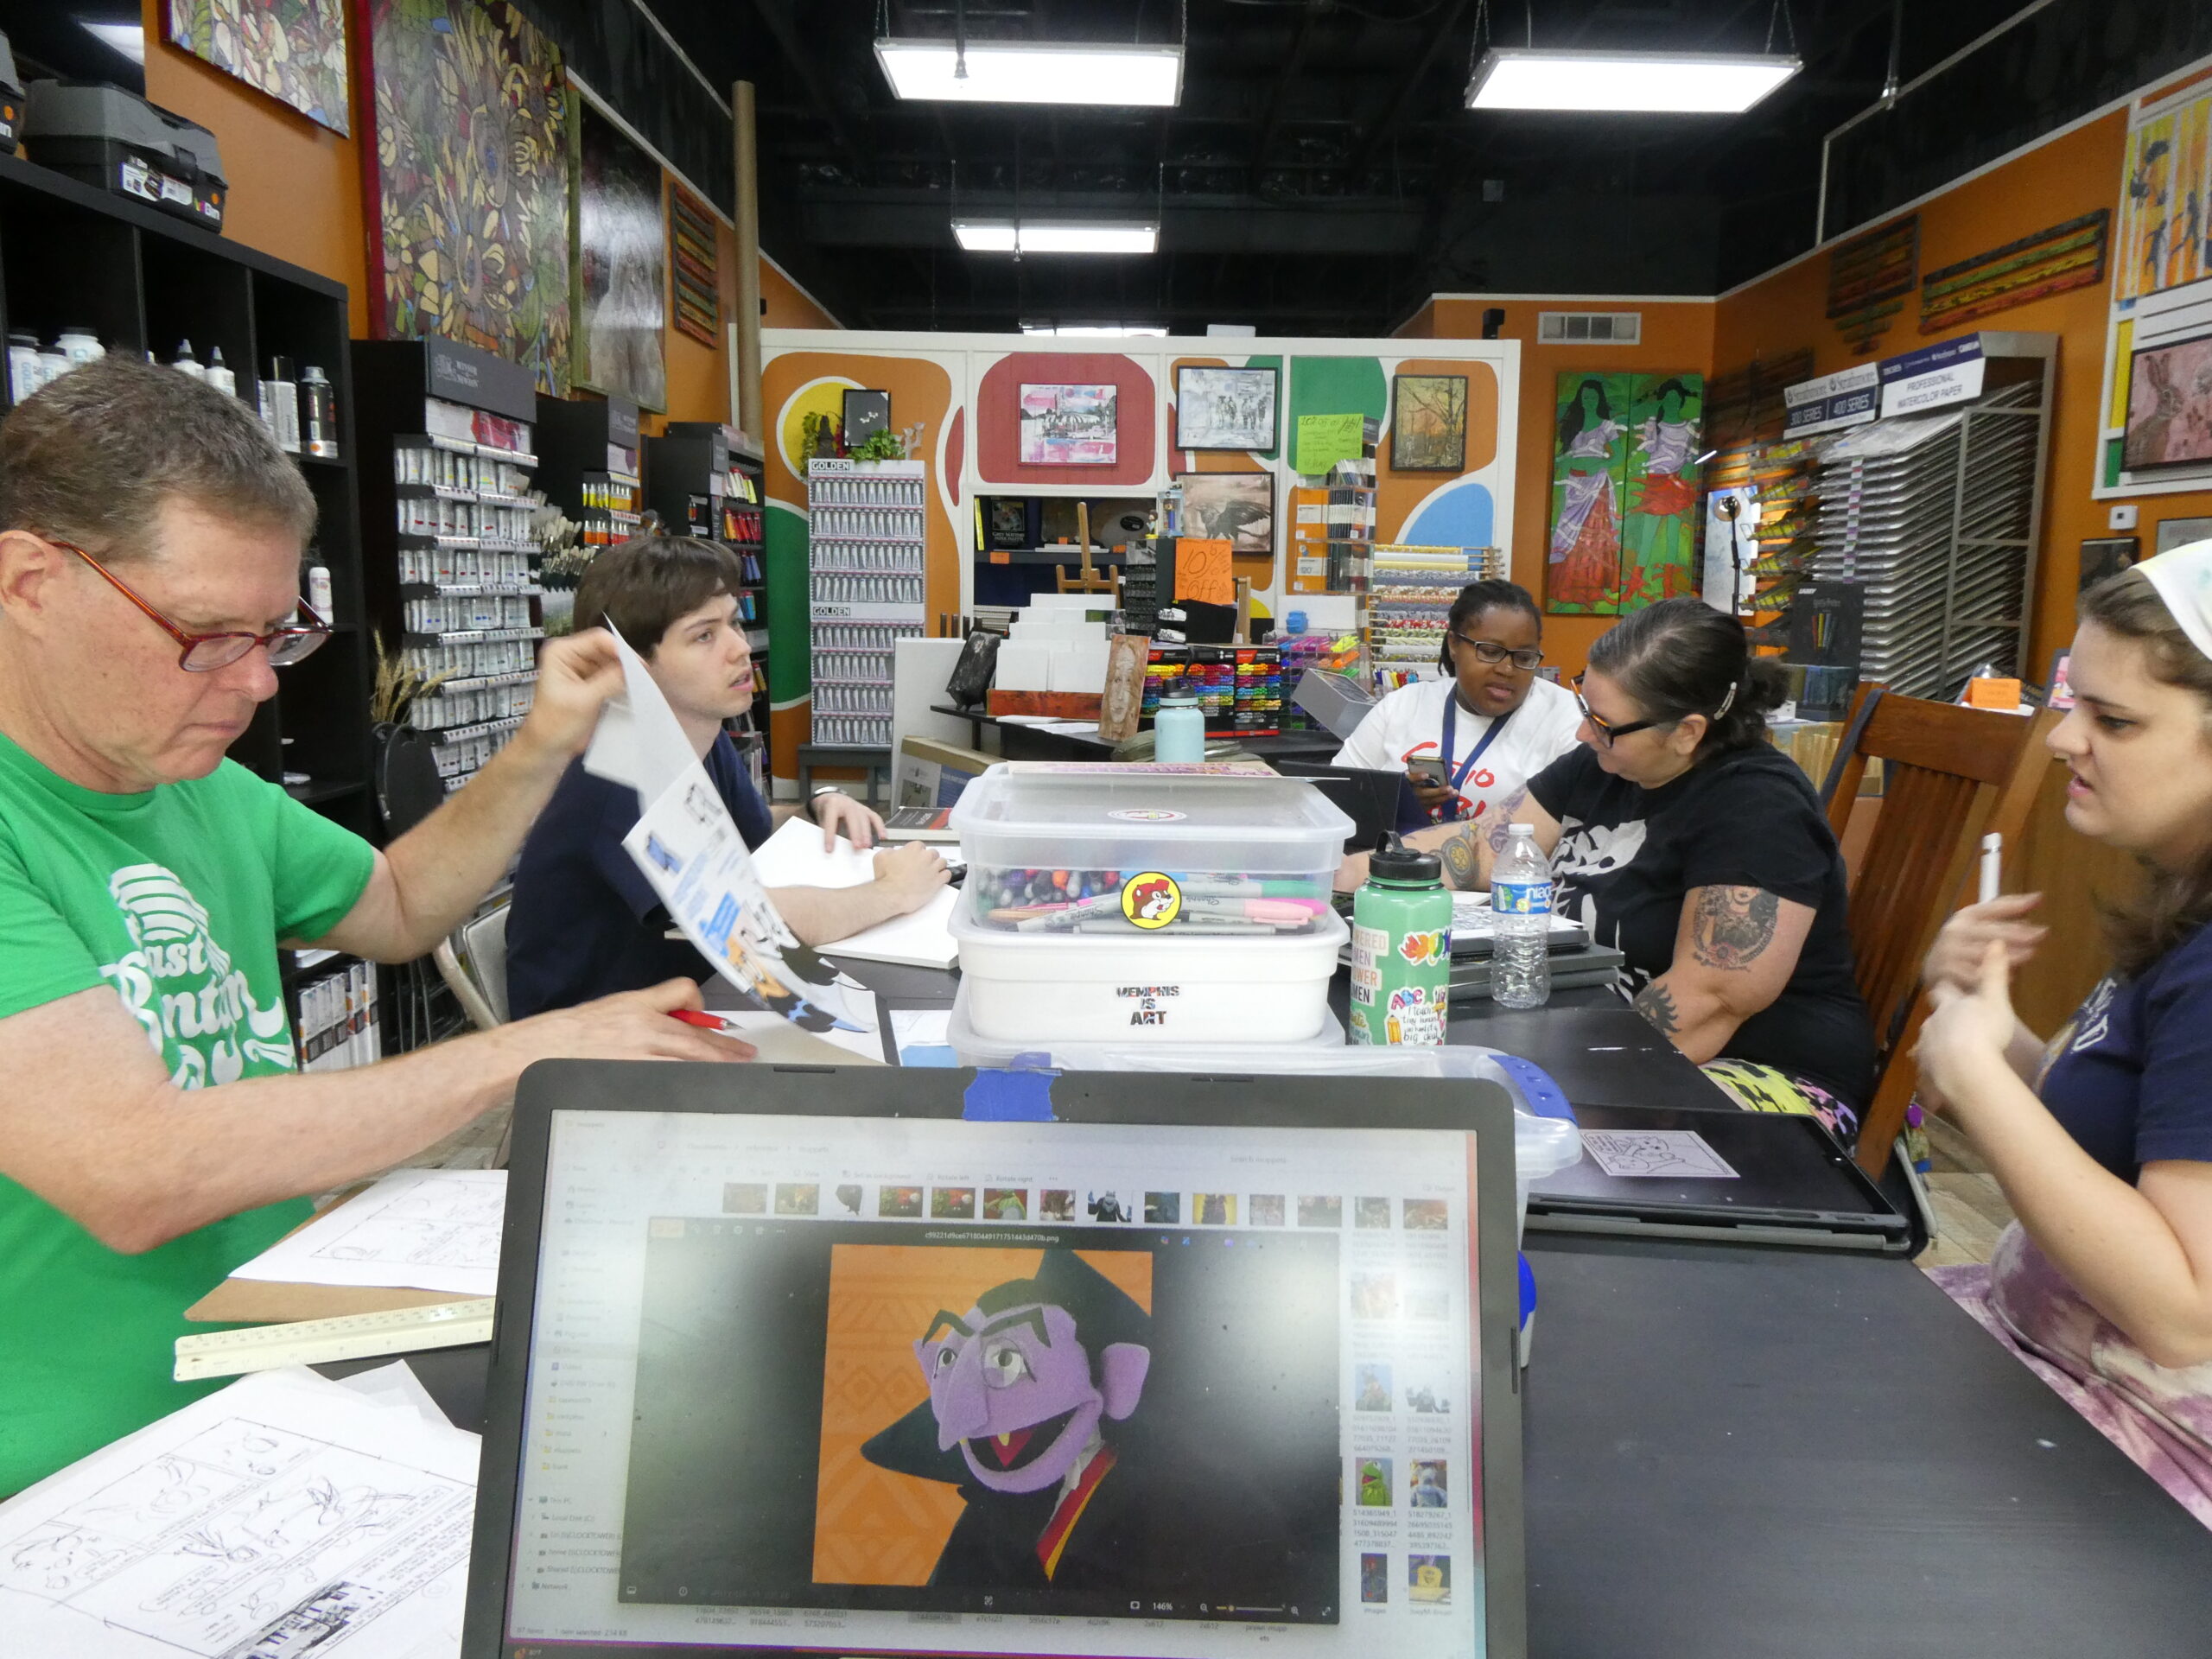
I started on it last weekend during an MSCA Sat-Art-Day at Casey’s Art Box out in Germantown, TN. We had a great turnout, and will be back out there again on Saturday, August 23rd from 10-2pm.
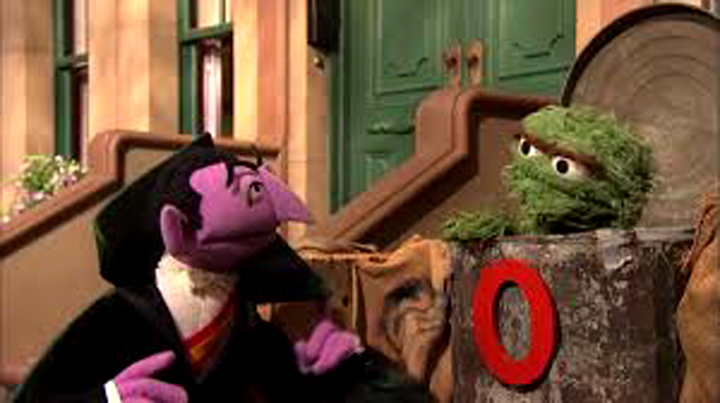
I’ve been a fan of Sesame Street since it first aired in 1969 and The Count is one of my all time favorite Muppets (he debuted in 1972). He was created by Sesame Street writer Norman Stiles and originally performed by Jerry Nelson and currently by Matt Vogel he’s right up there with Cookie Monster, Grover, and Animal. Count von Count has a compulsive love of counting (arithmomania, an affliction of vampires), and I have to admit I sometimes catch myself doing the same- along with the laugh, “Ah, ah, ahh..!”
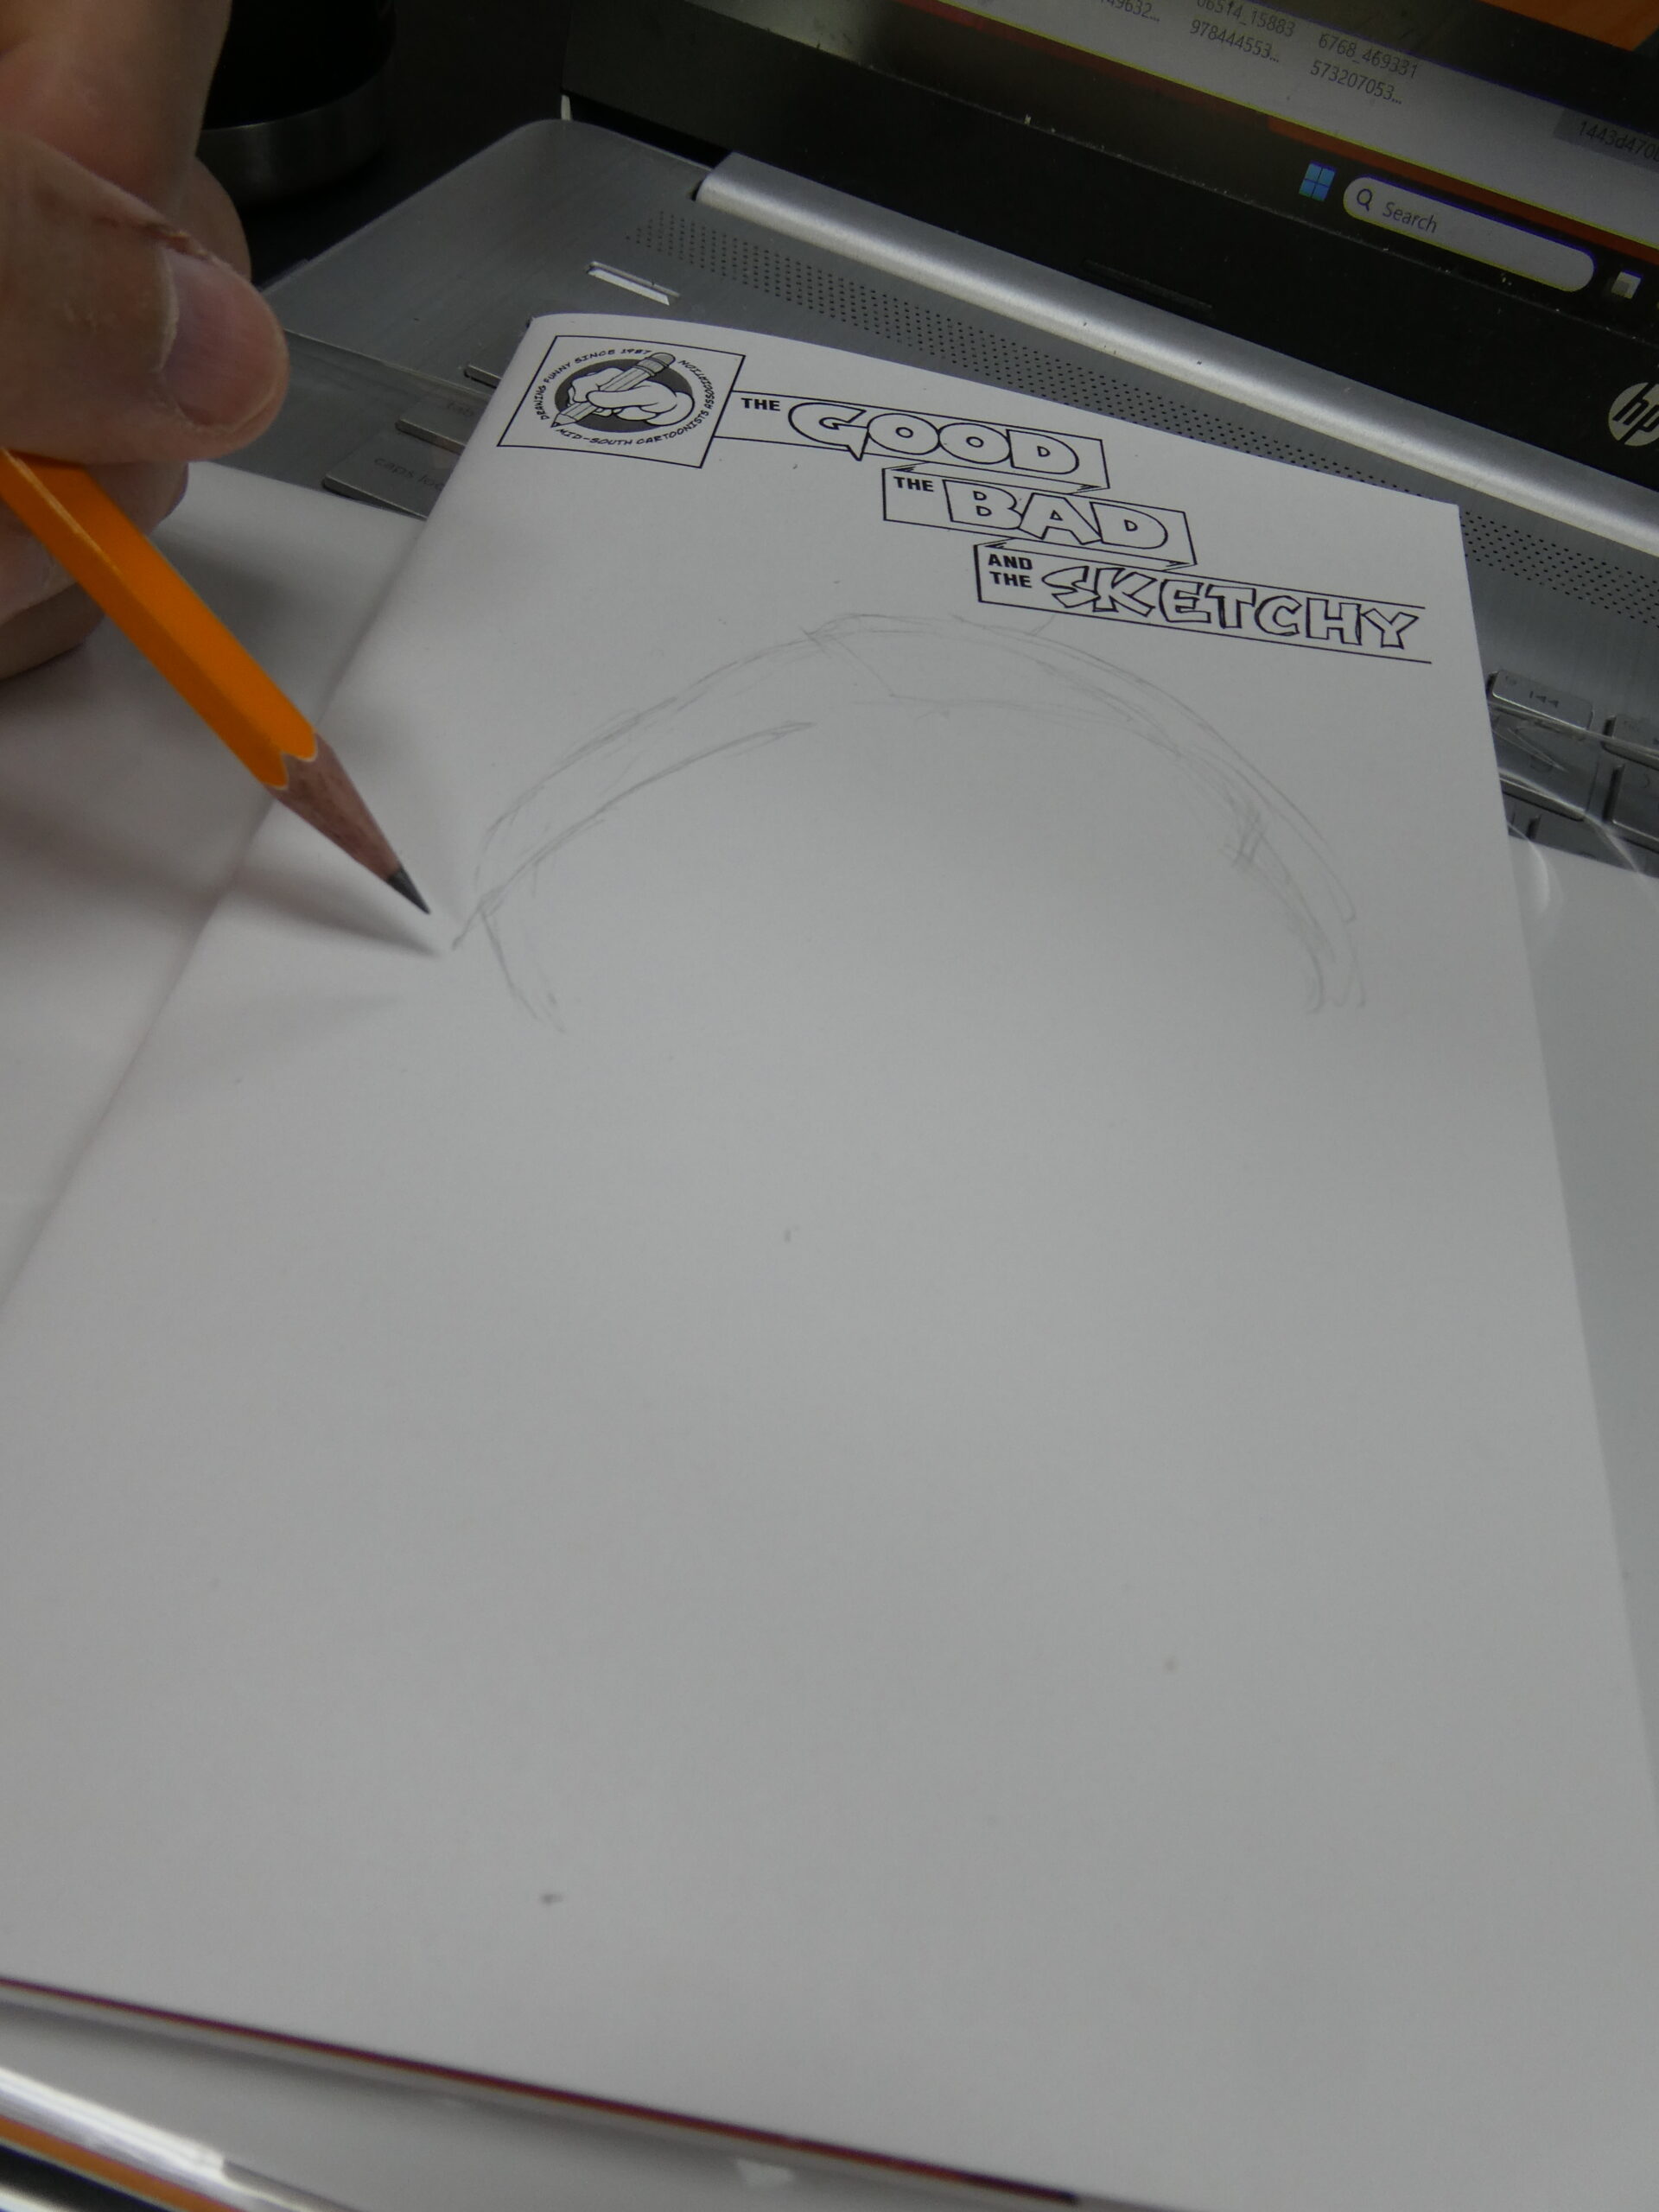
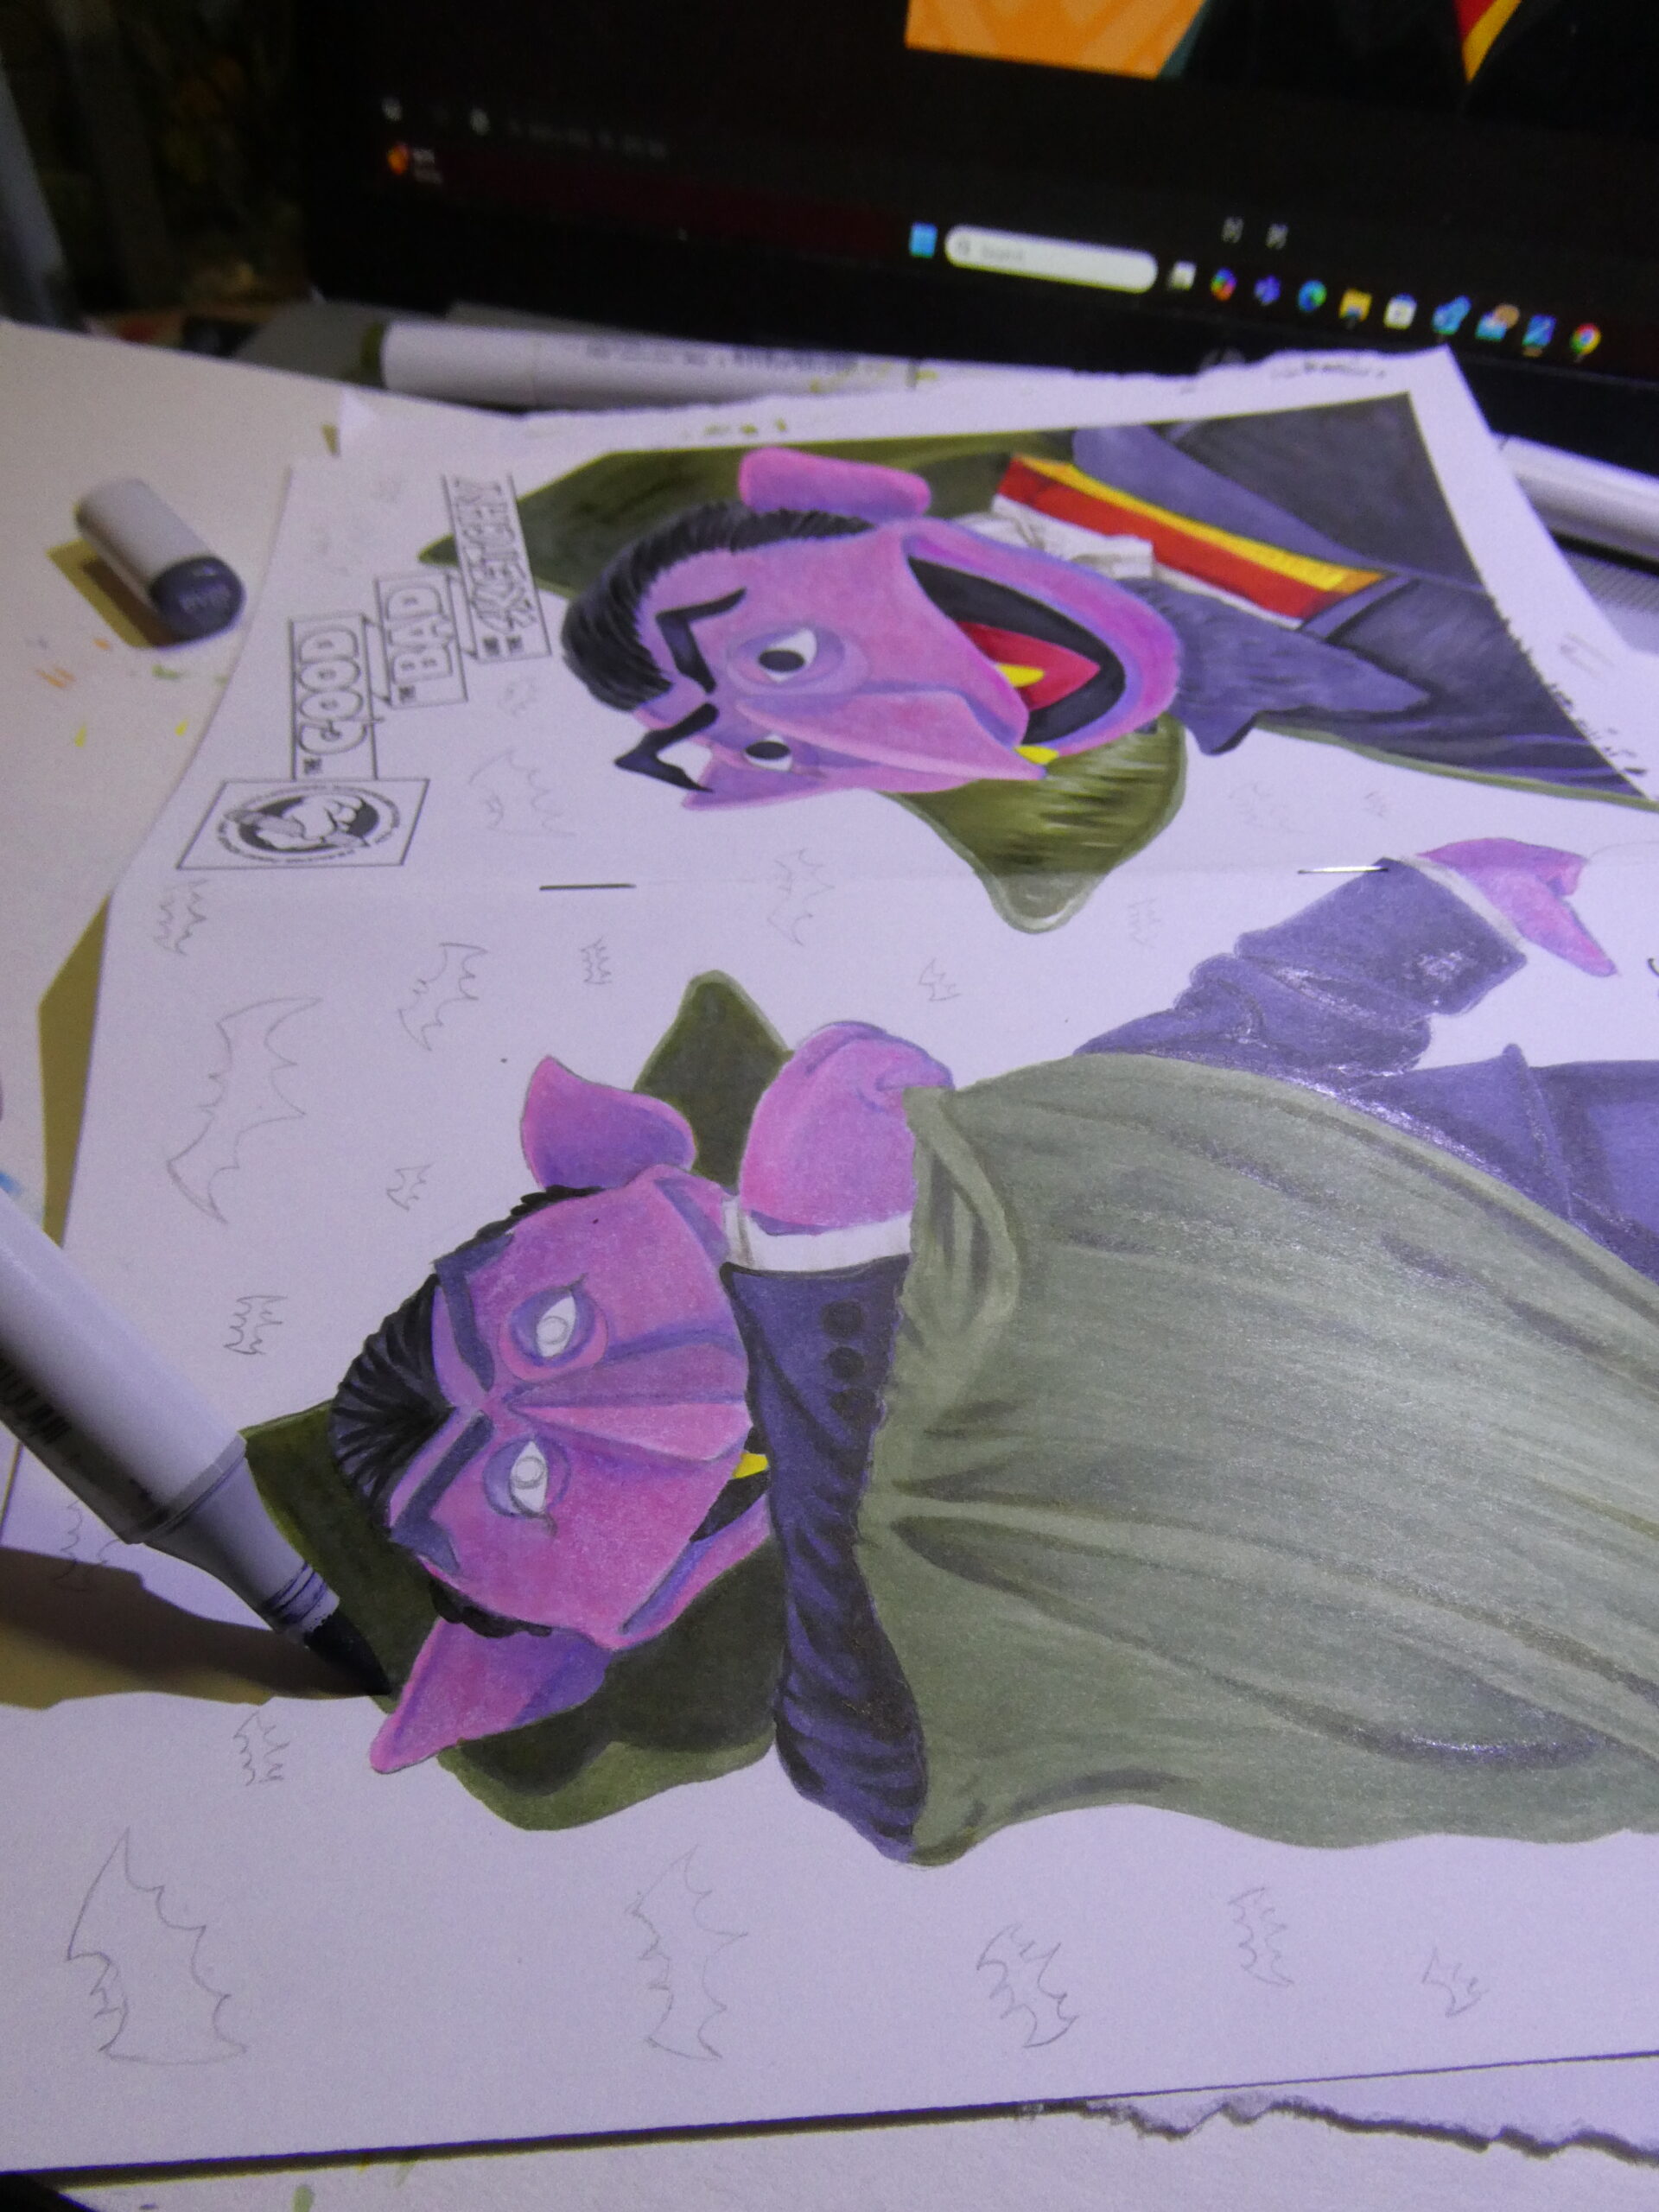
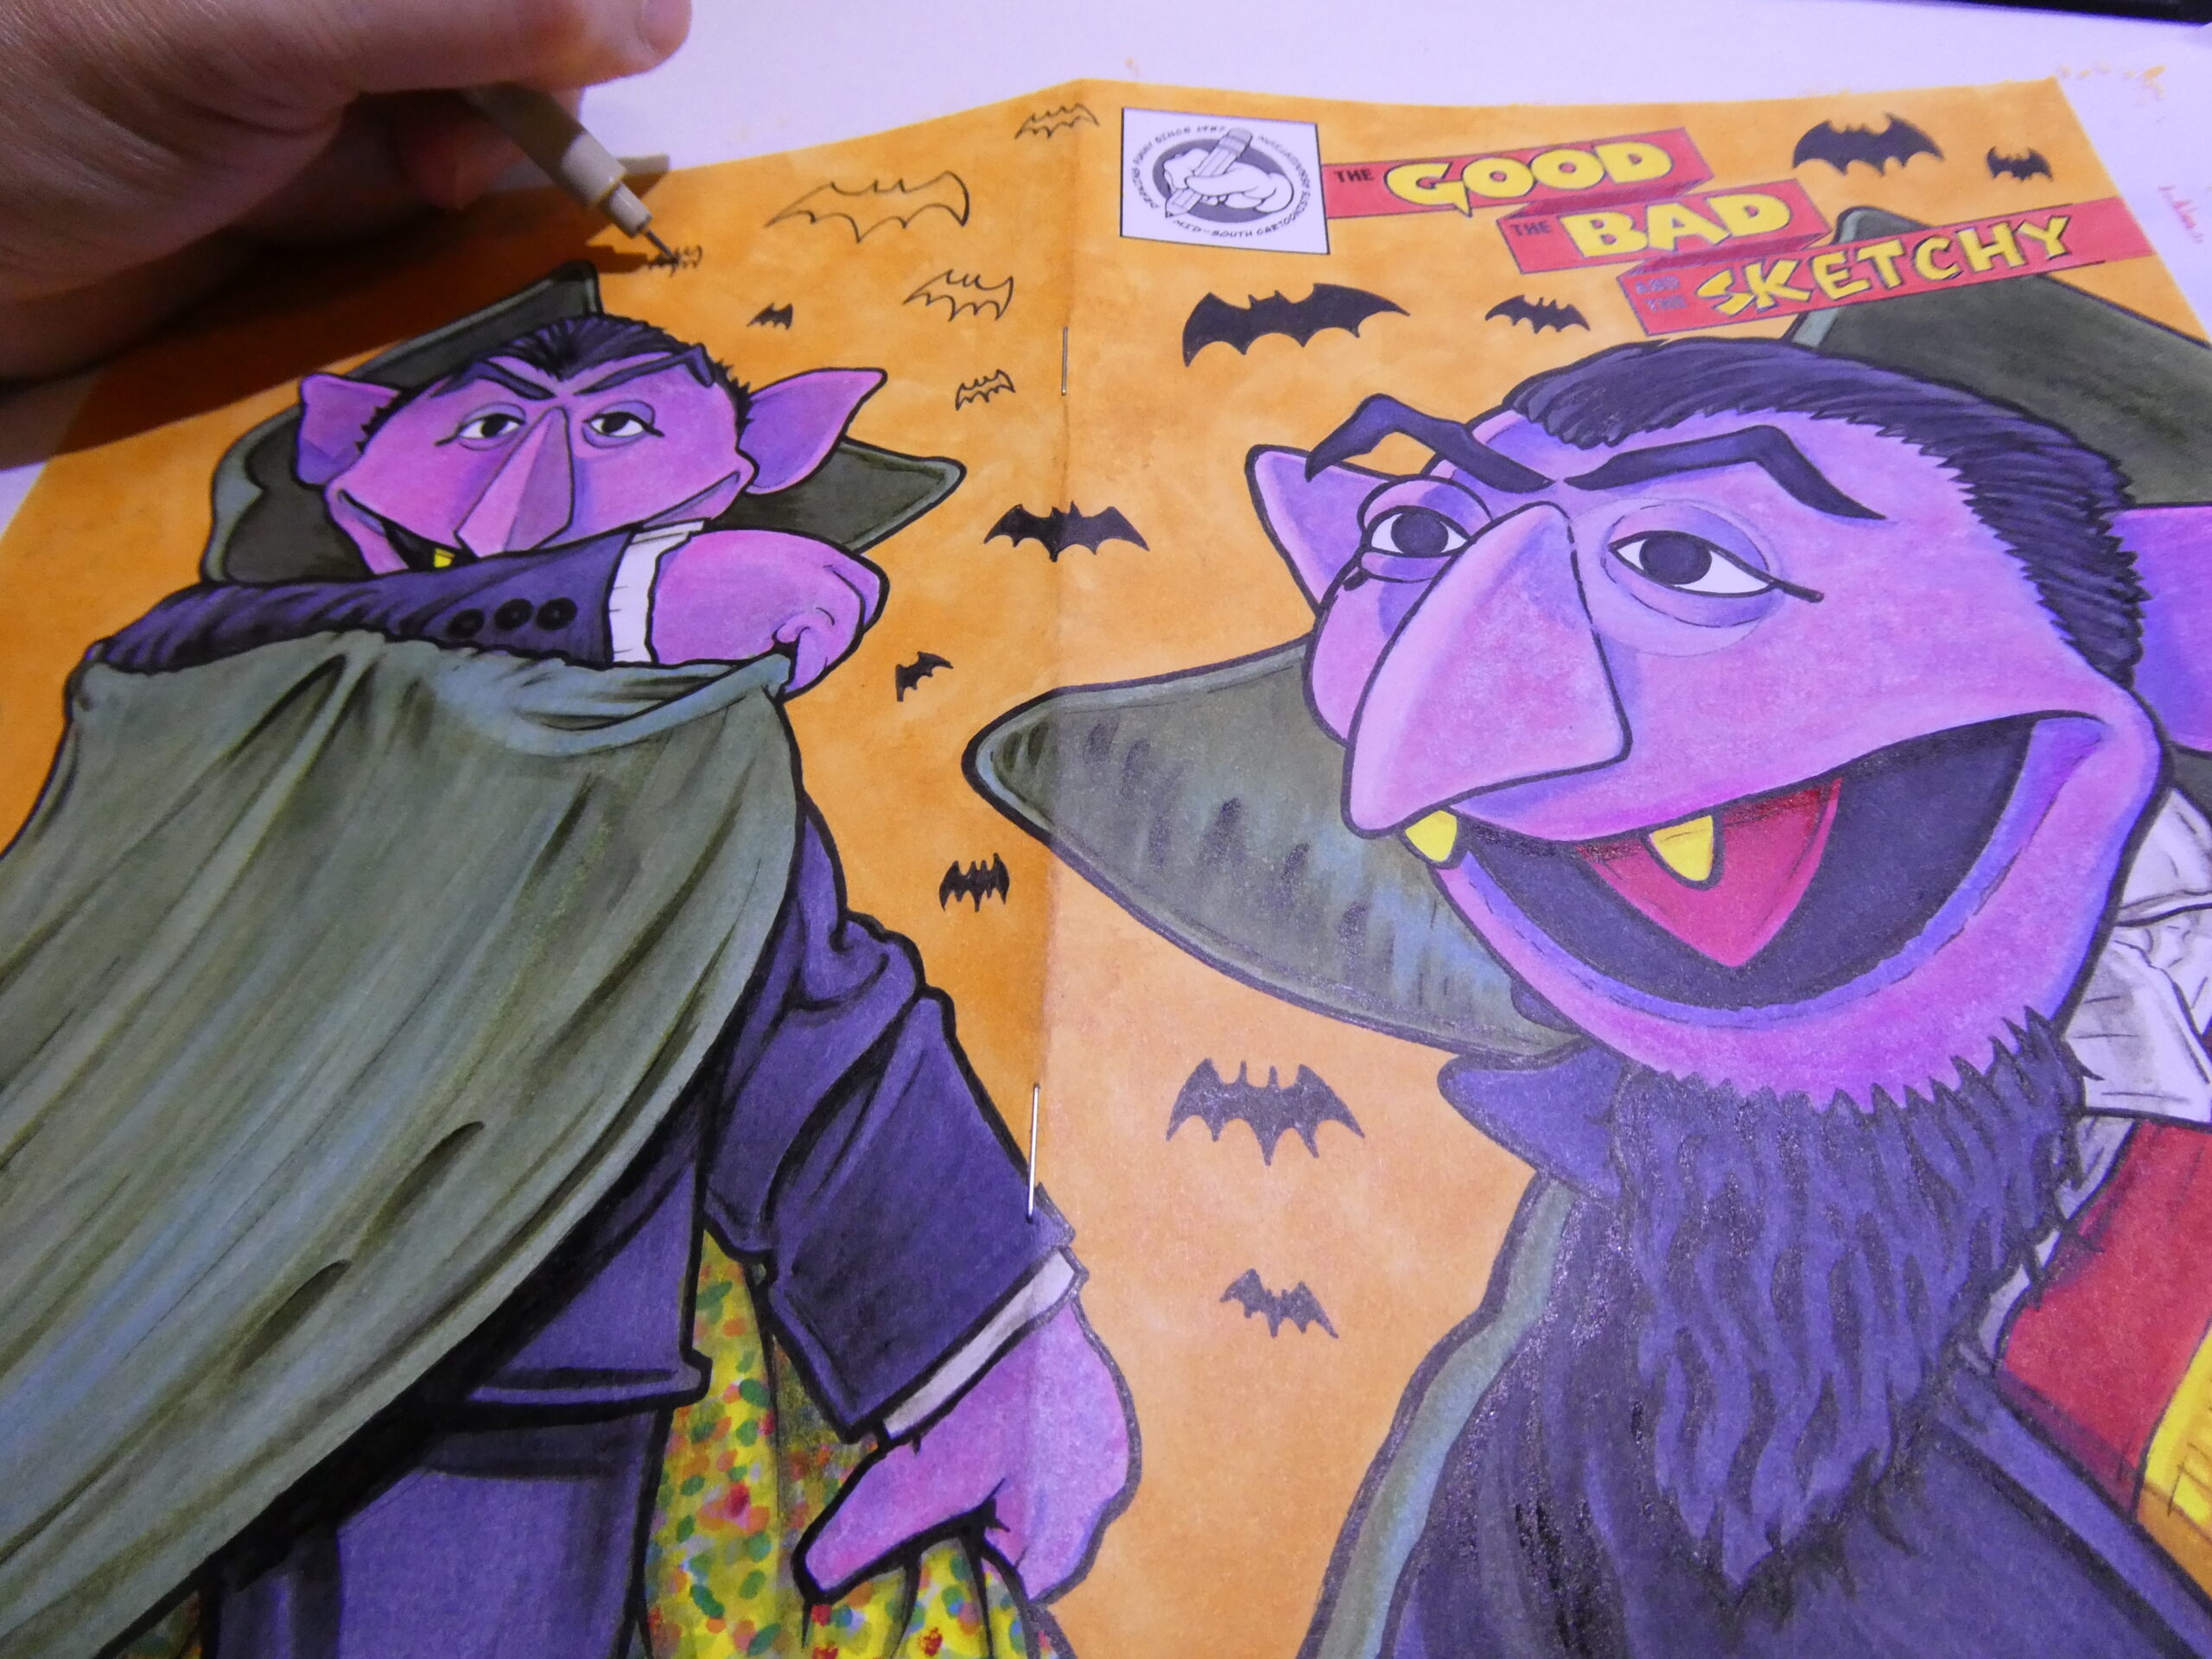
I started drawing this sketchcover with a yellow #2 pencil (“2, ah, ah, ahh..!”). Pencils havebeen my go to art tool since I was a kid watching Sesame Street, and they’re incredibly inexpensive! If I was going to do a pencil illustration I’d break out some of my nicer drawing pencils, but for this type of drawing a #2 does the job just fine for me. Occasionally I’ll use a cheap “click” mechanical pencil if that’s what’s handy.
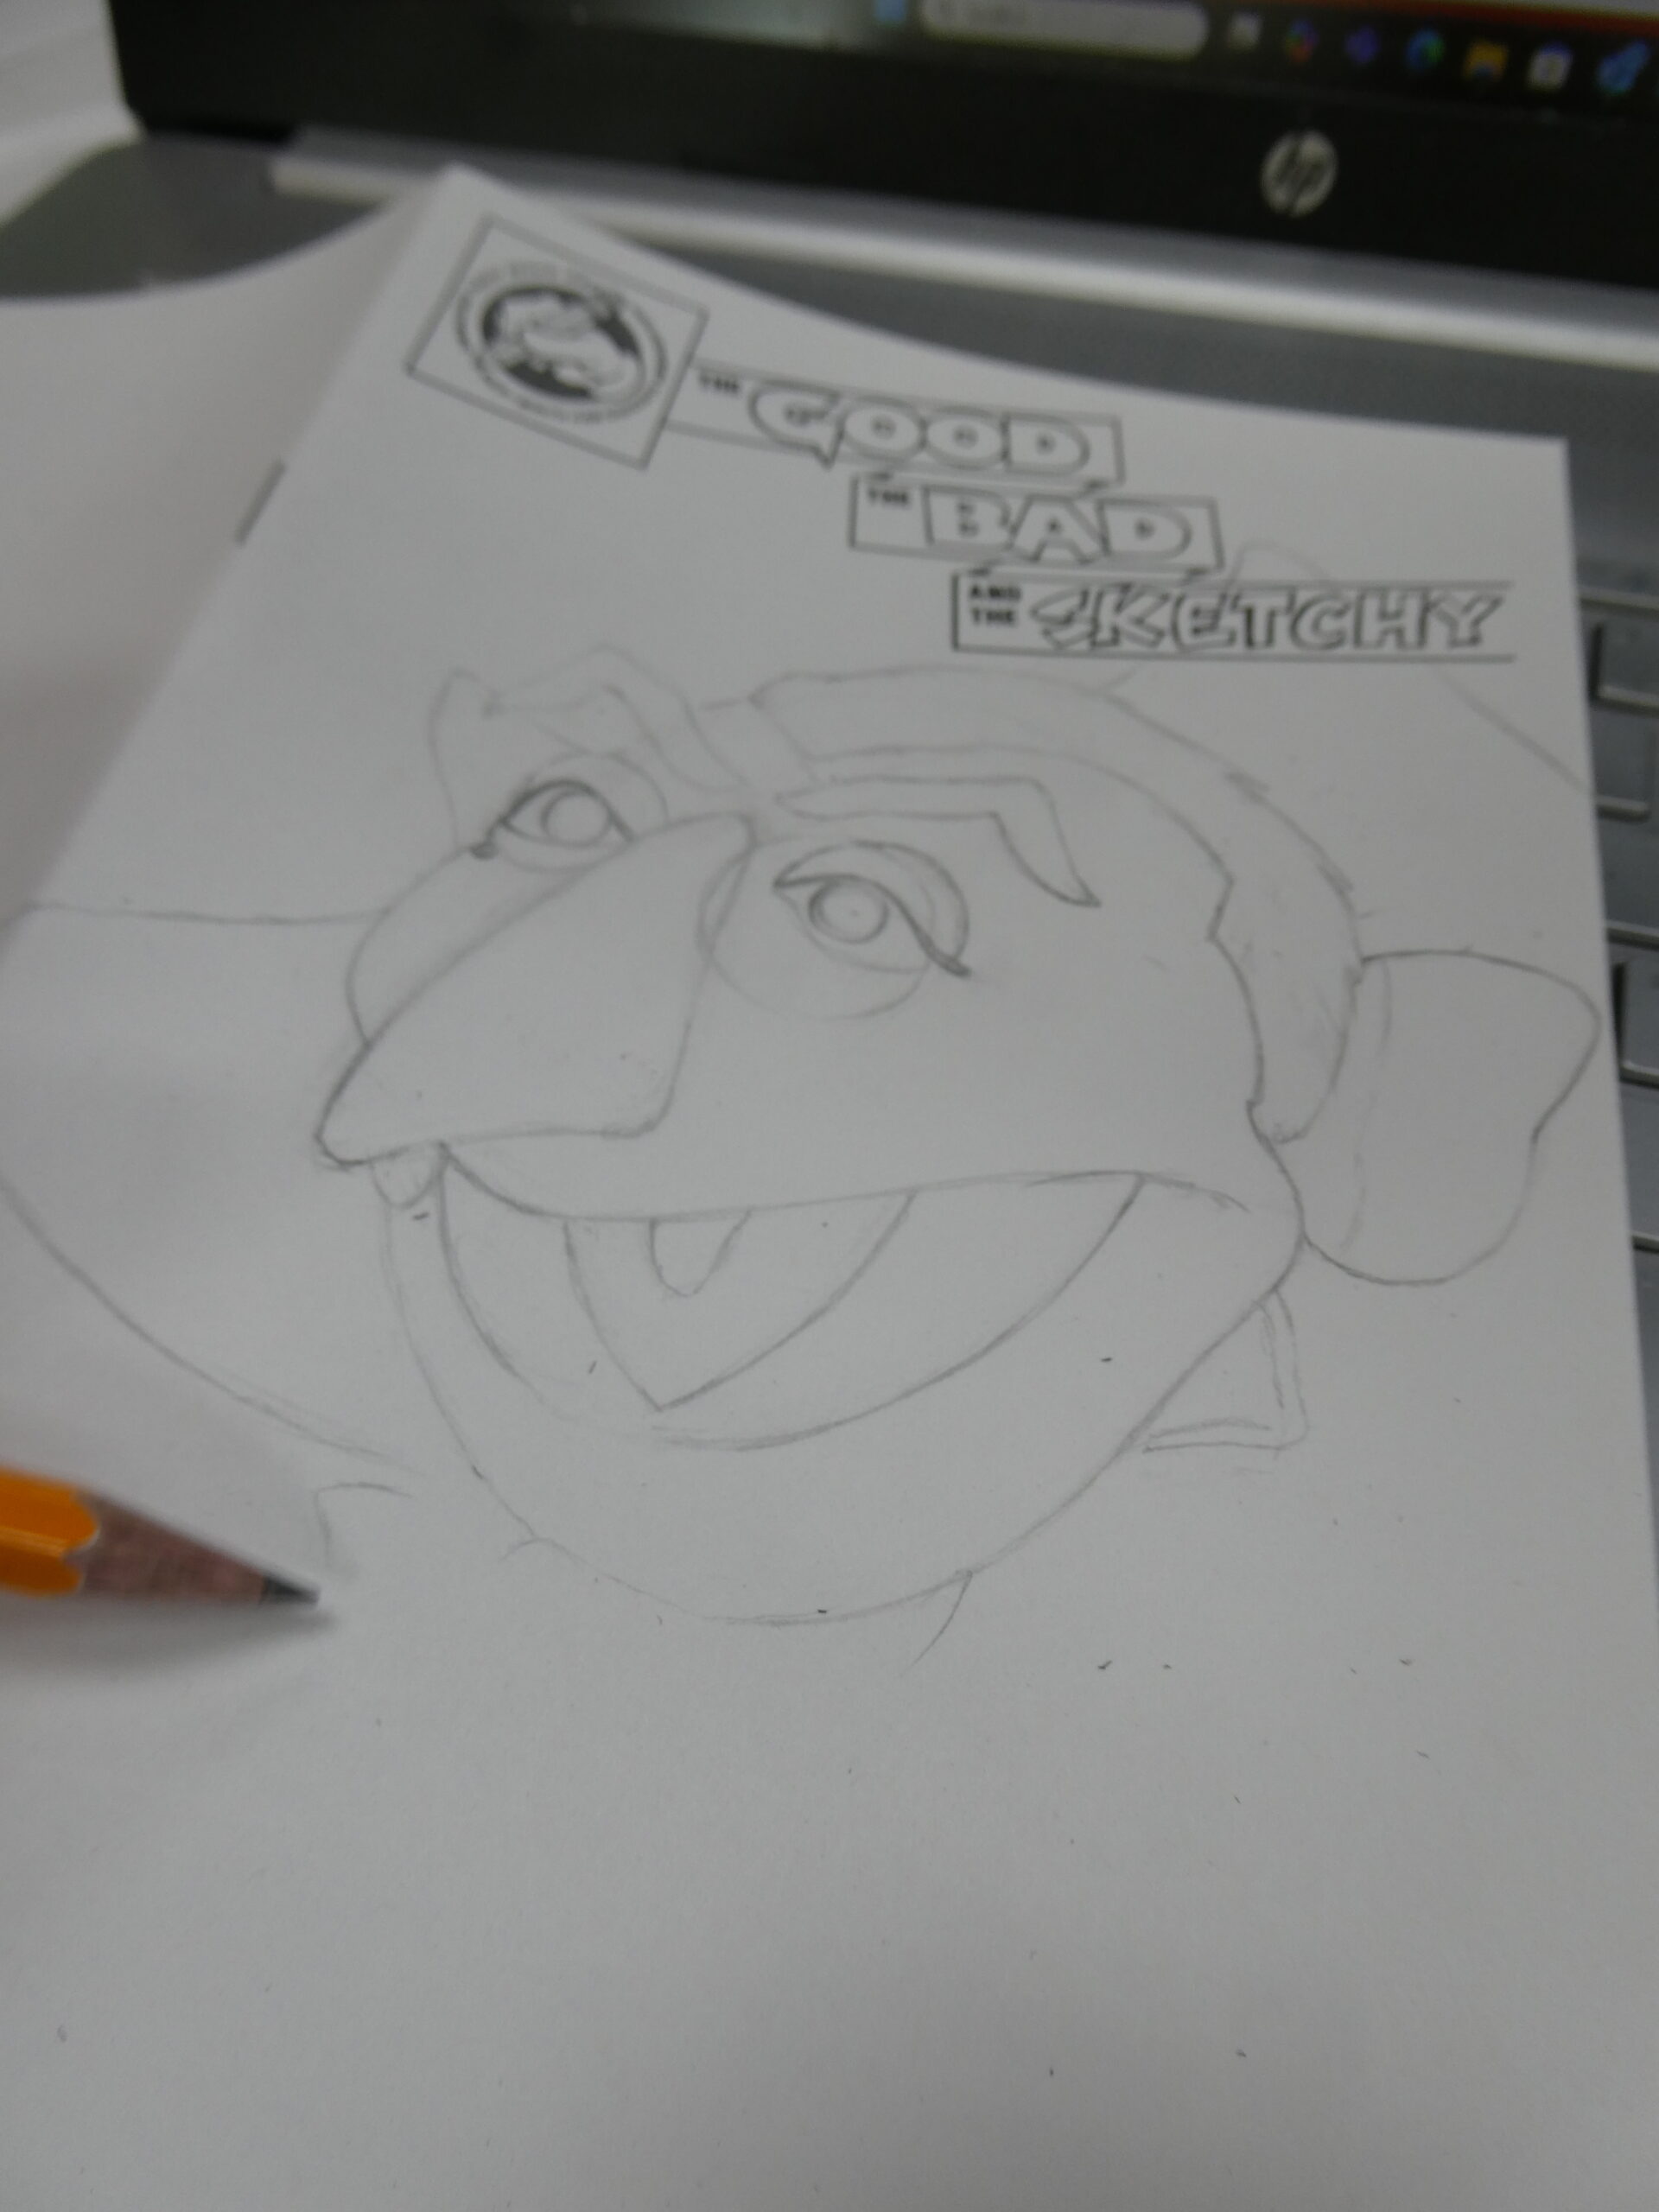
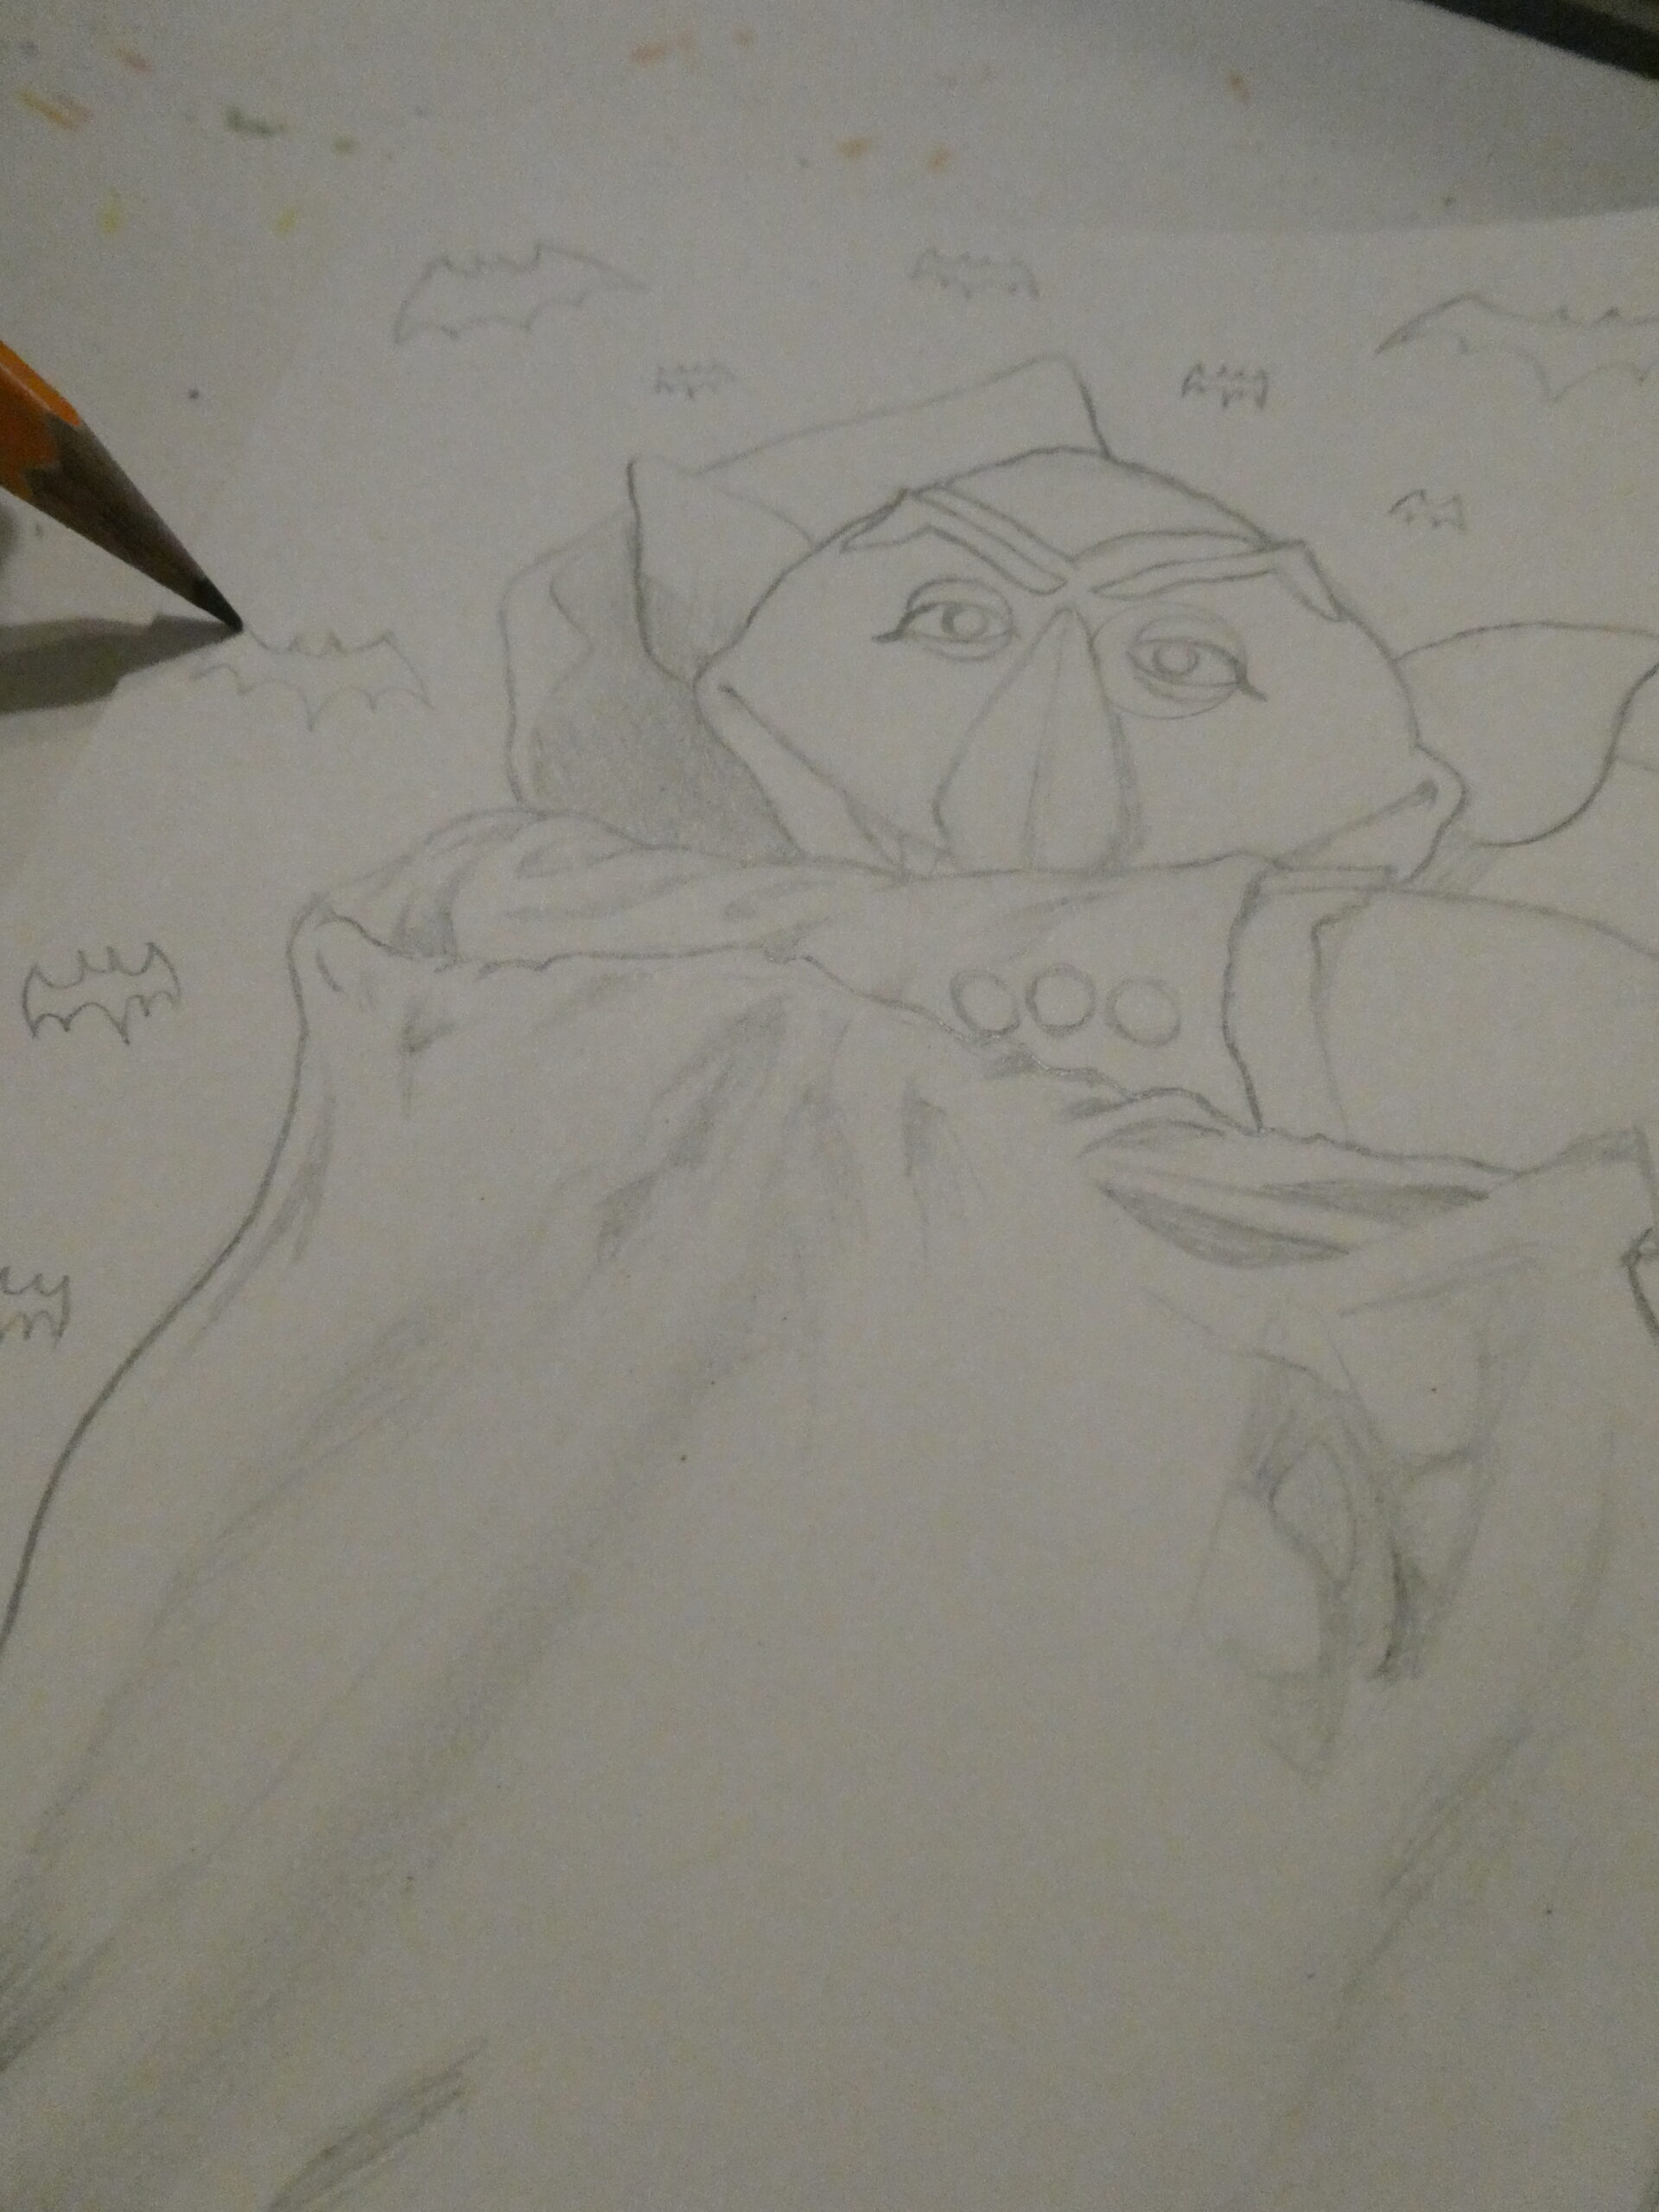
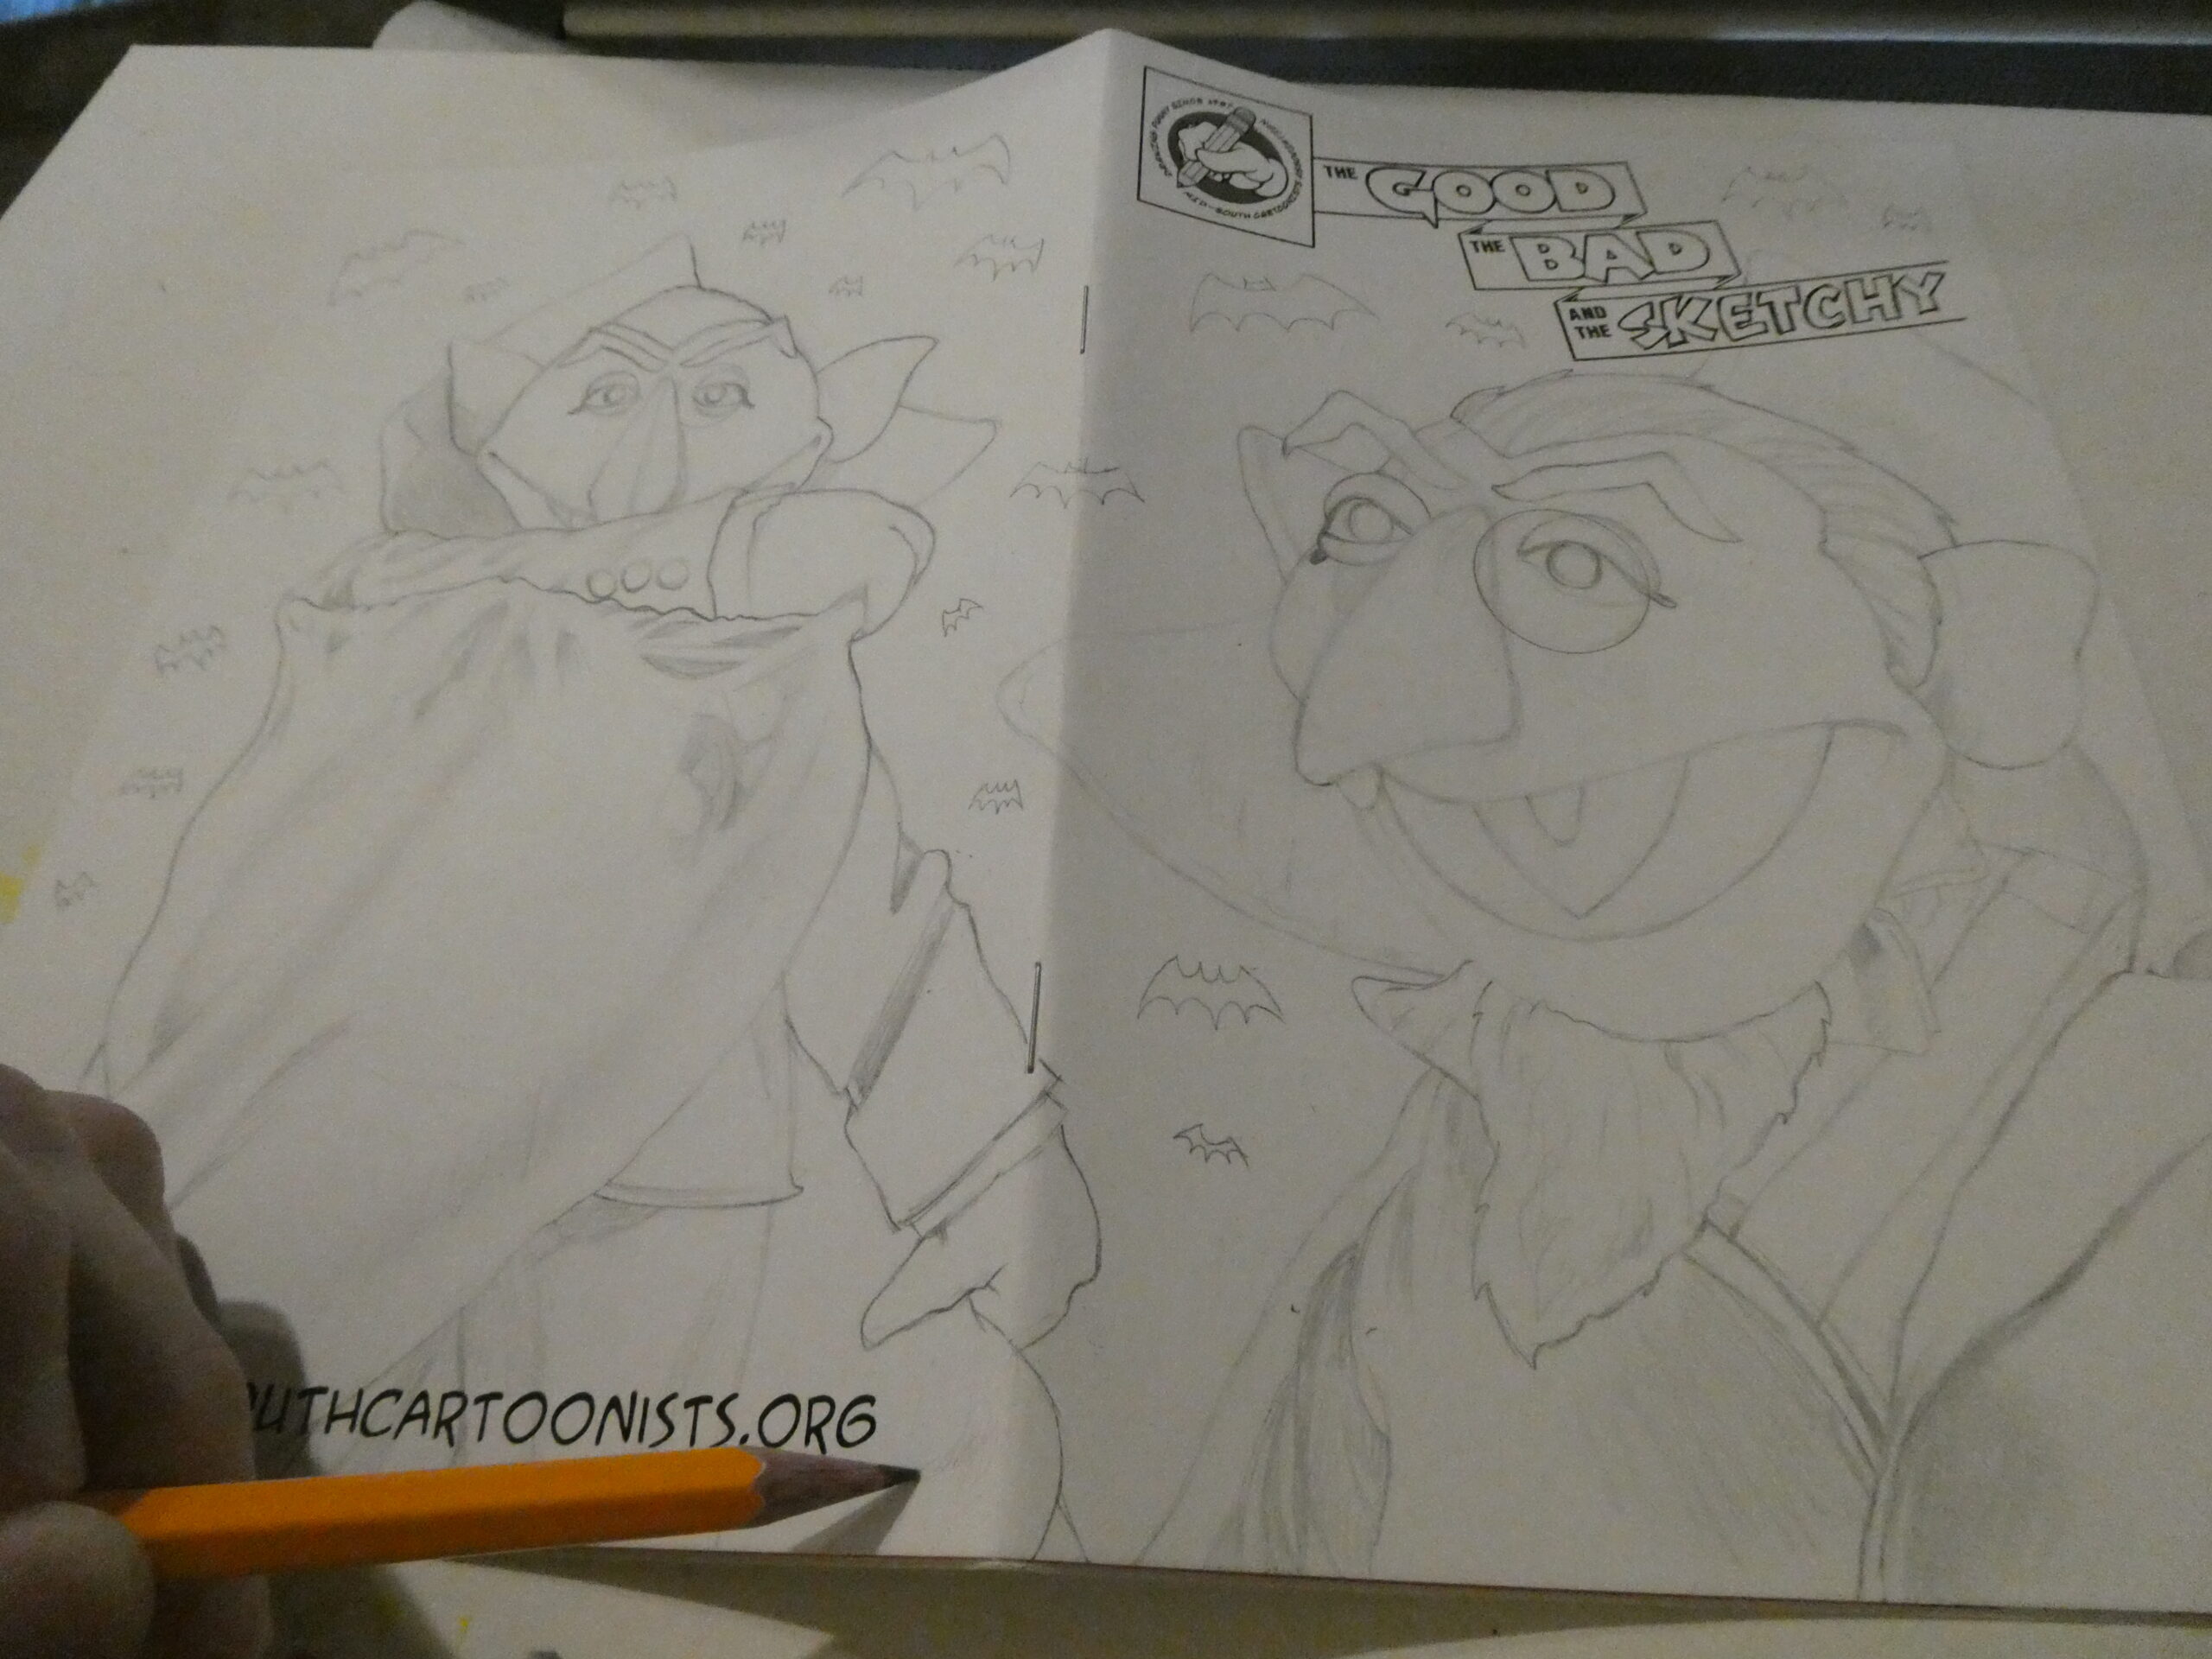
I drew bust on the front cover first, and then worked on drawing the figure on the back. I recently bought a new battery powered pencil sharpener from Walmart for just a few bucks and I love it. Fits easily in my sling bag or computer bag to go with me to events like the Sat-Art-Day.
Sometimes I might use Photoshop to size and arrange the art to fit a sketchcover, and then either lightbox the printed image or create a “carbon paper” on the back of the printout to transfer the drawing. I don’t like to try and trace every detail- just the basic outline and some good reference points like the eyes and mouth. Same for when I project onto canvases to paint.

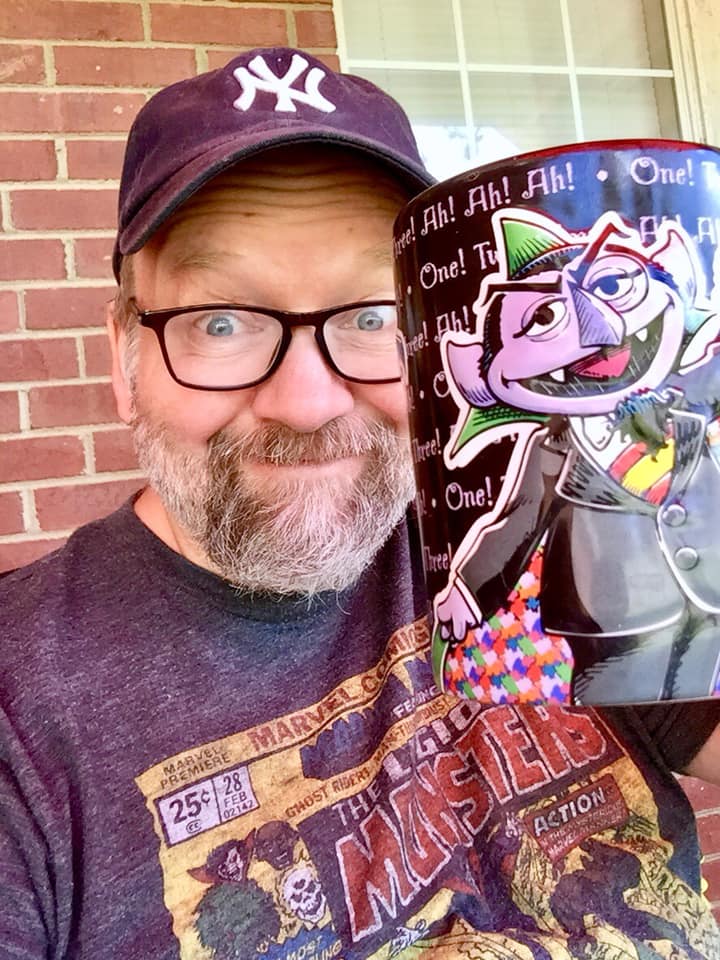
This one was fairly simple so like the other Muppet sketchcovers I just drew this one freehand at the event from reference photos I had on my laptop. I’ve got several reference files saved on my computer. Sometimes I’ll google a subject on my iPhone to draw from, or bring along a reference book. I’ve got several Star Wars, Doctor Who, and super-hero reference books around the house.
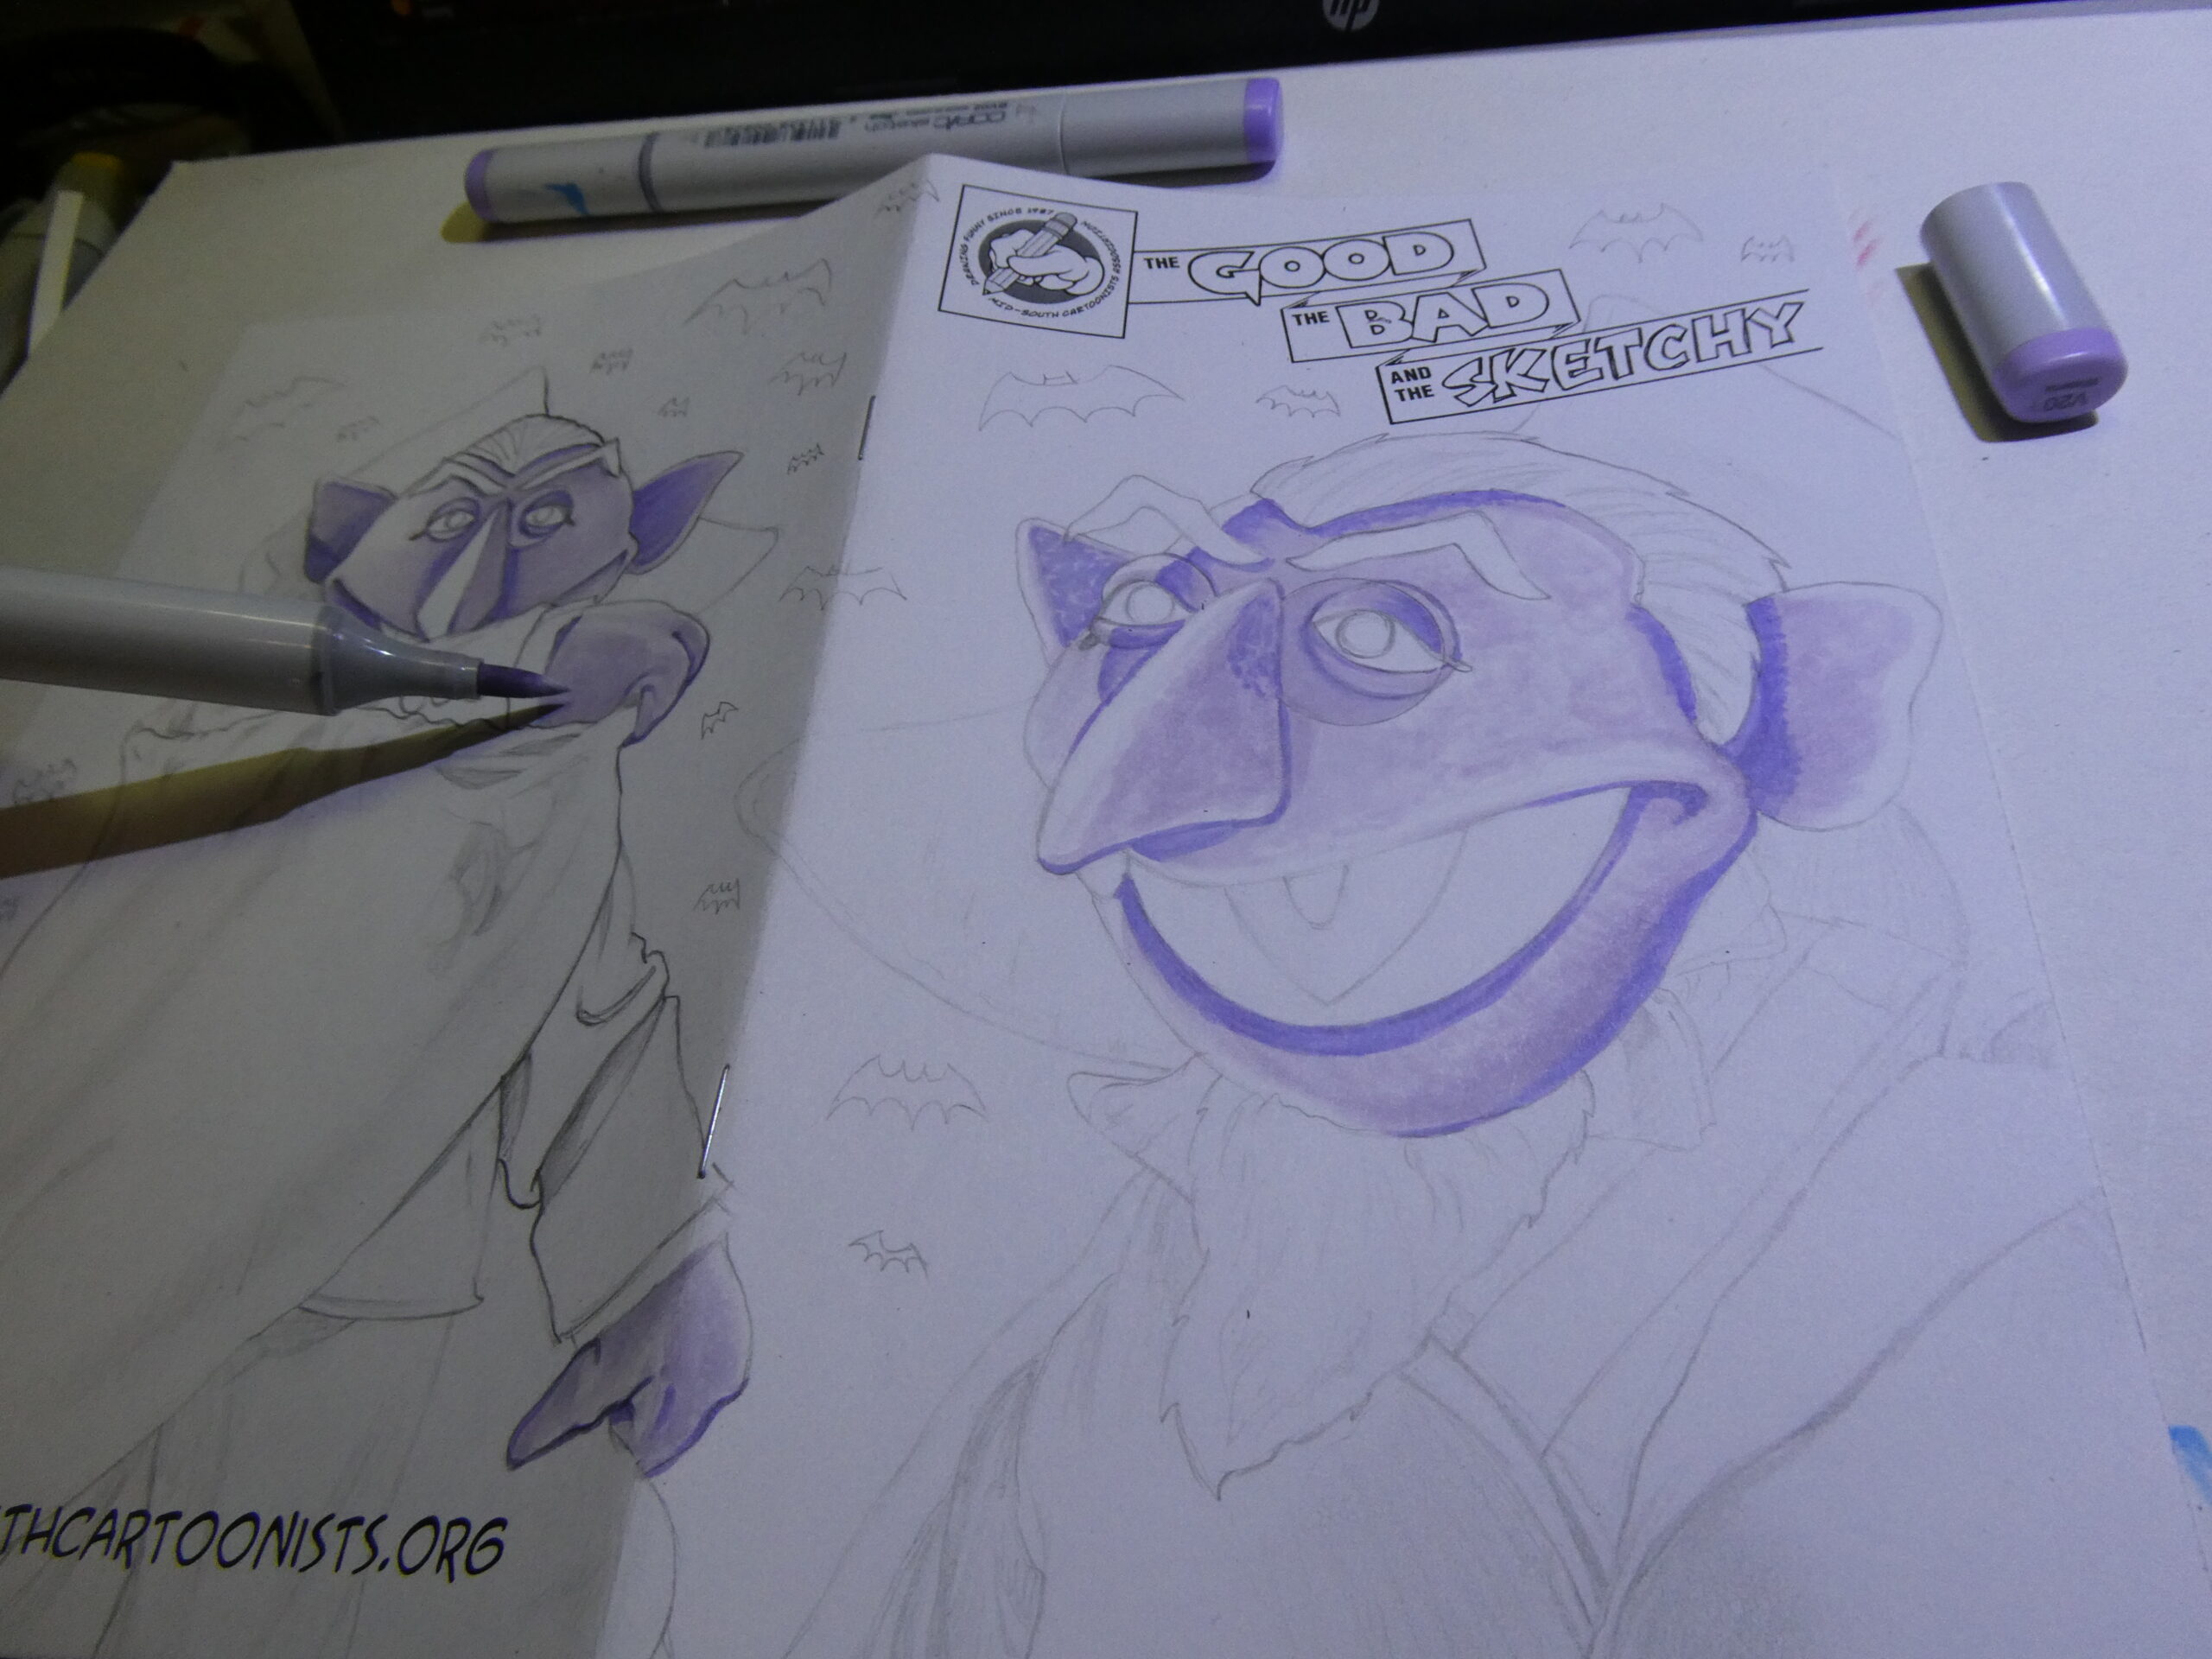
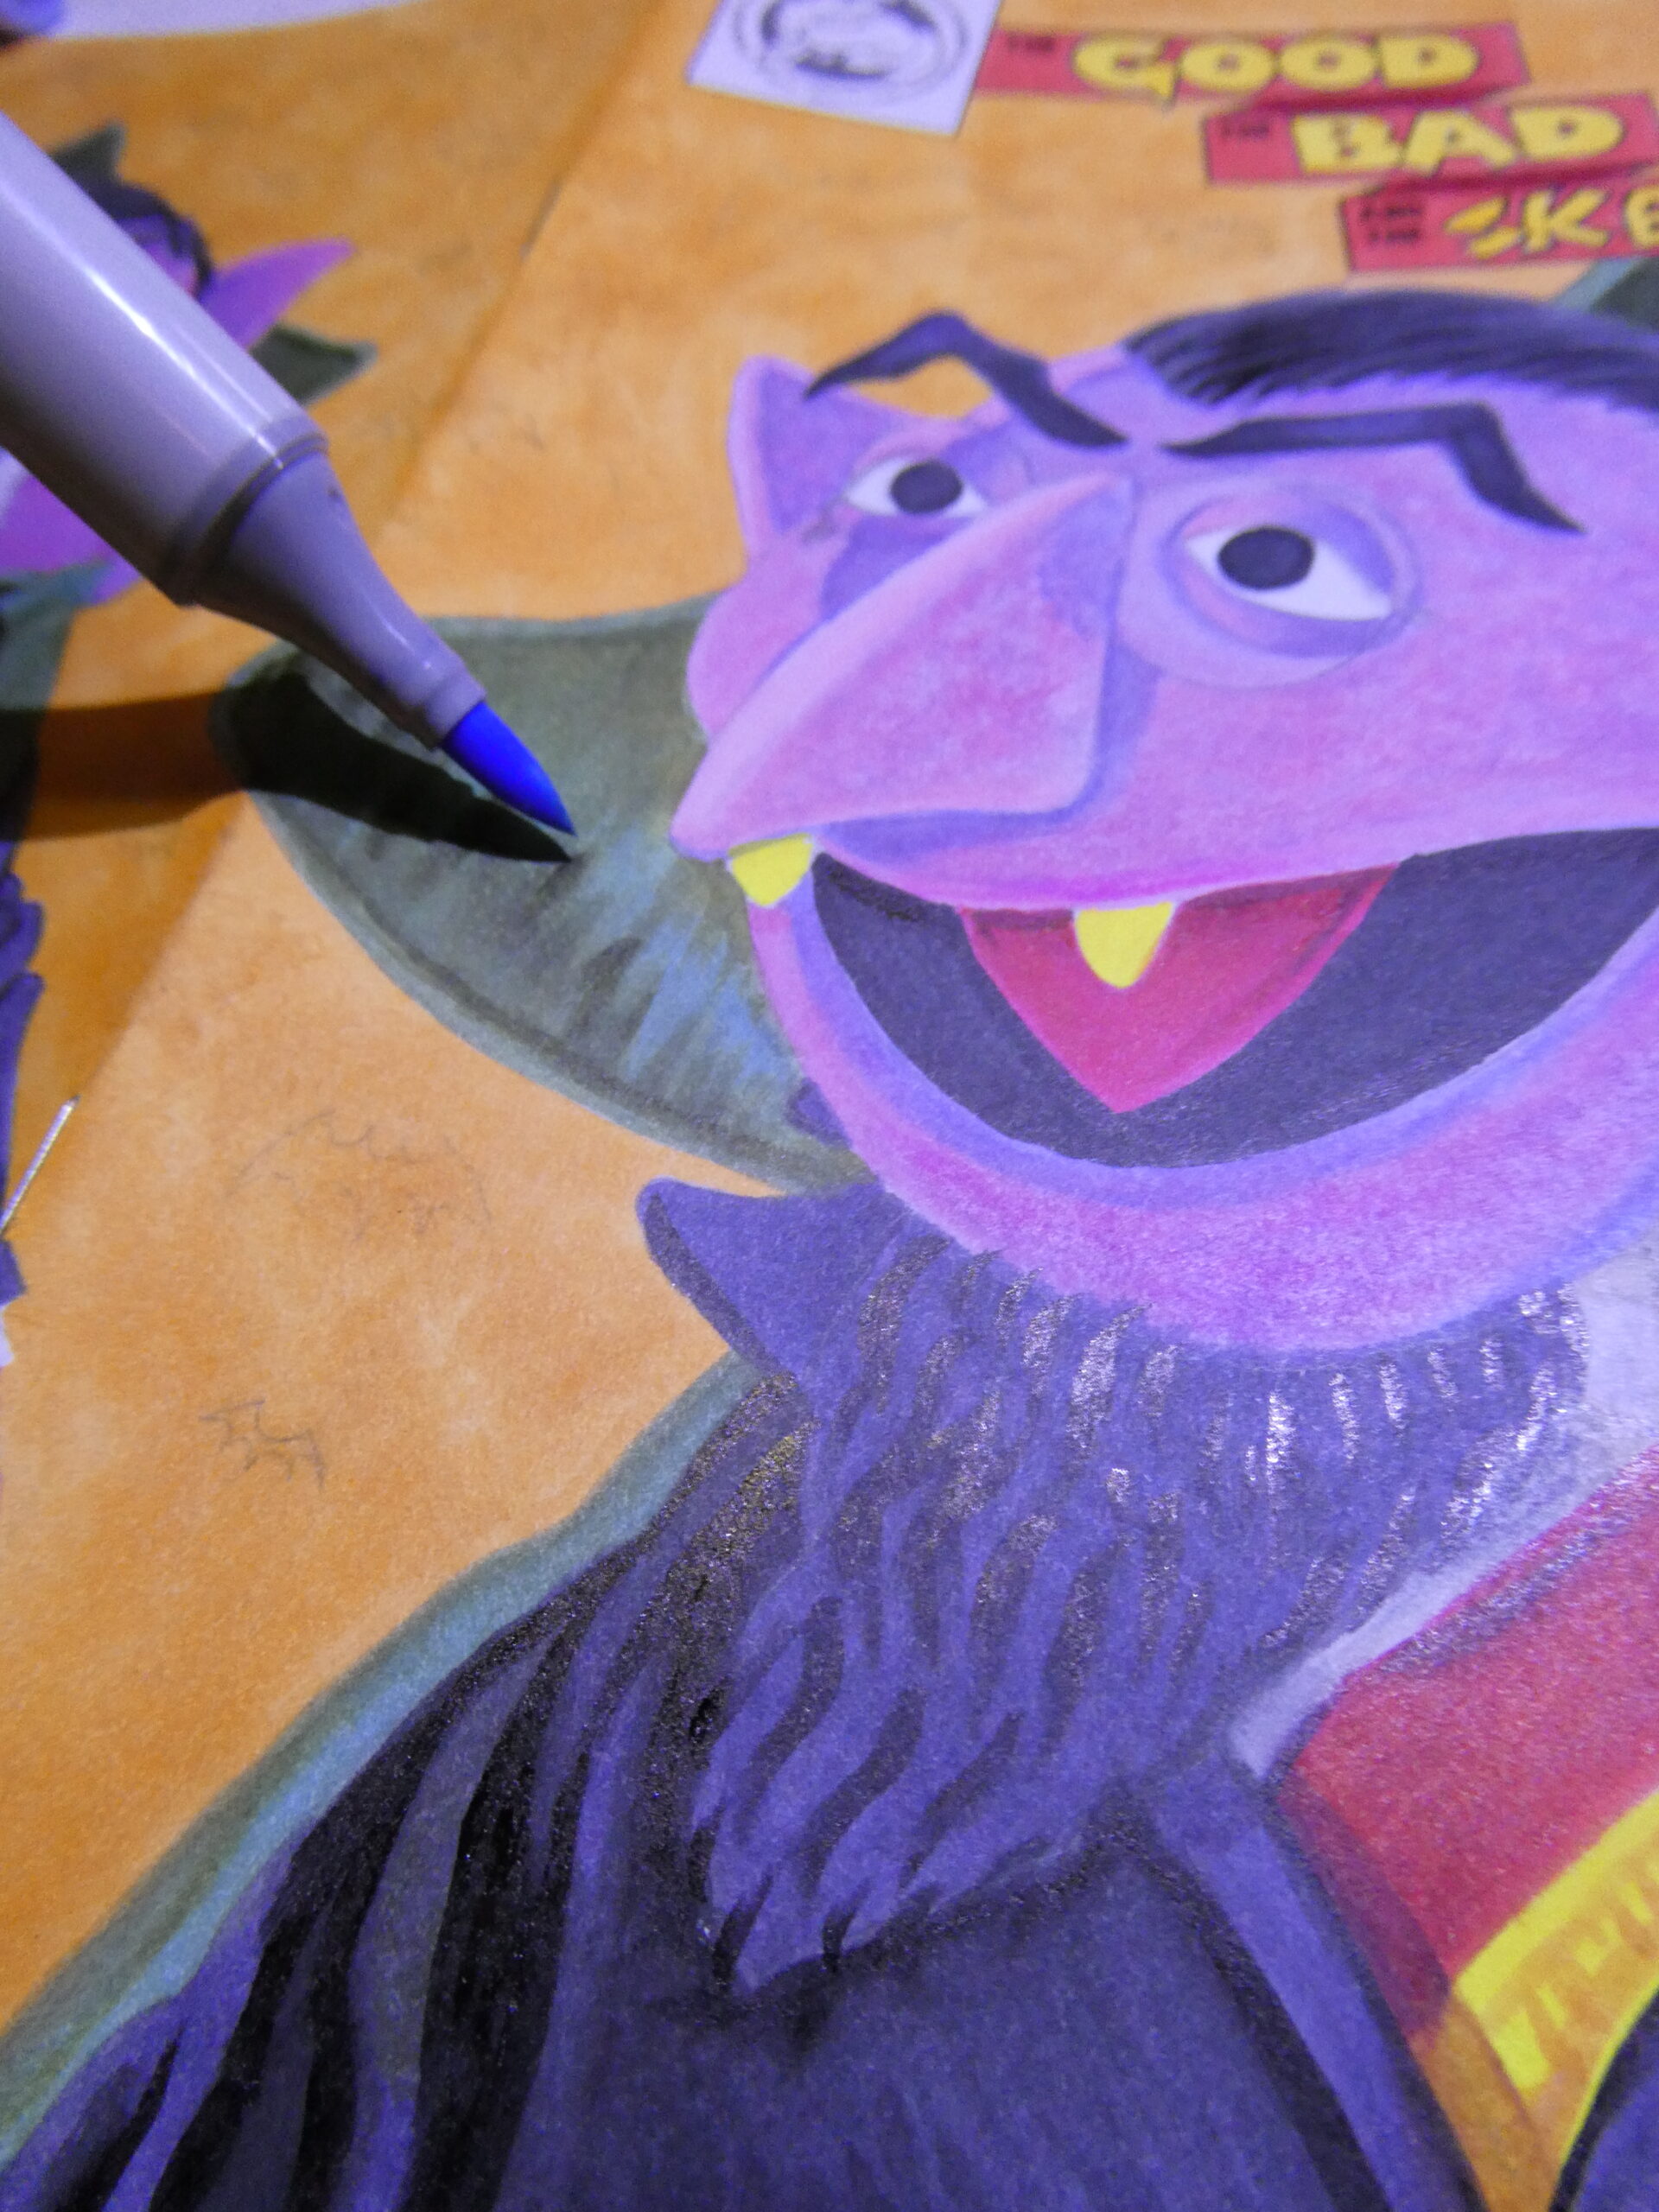
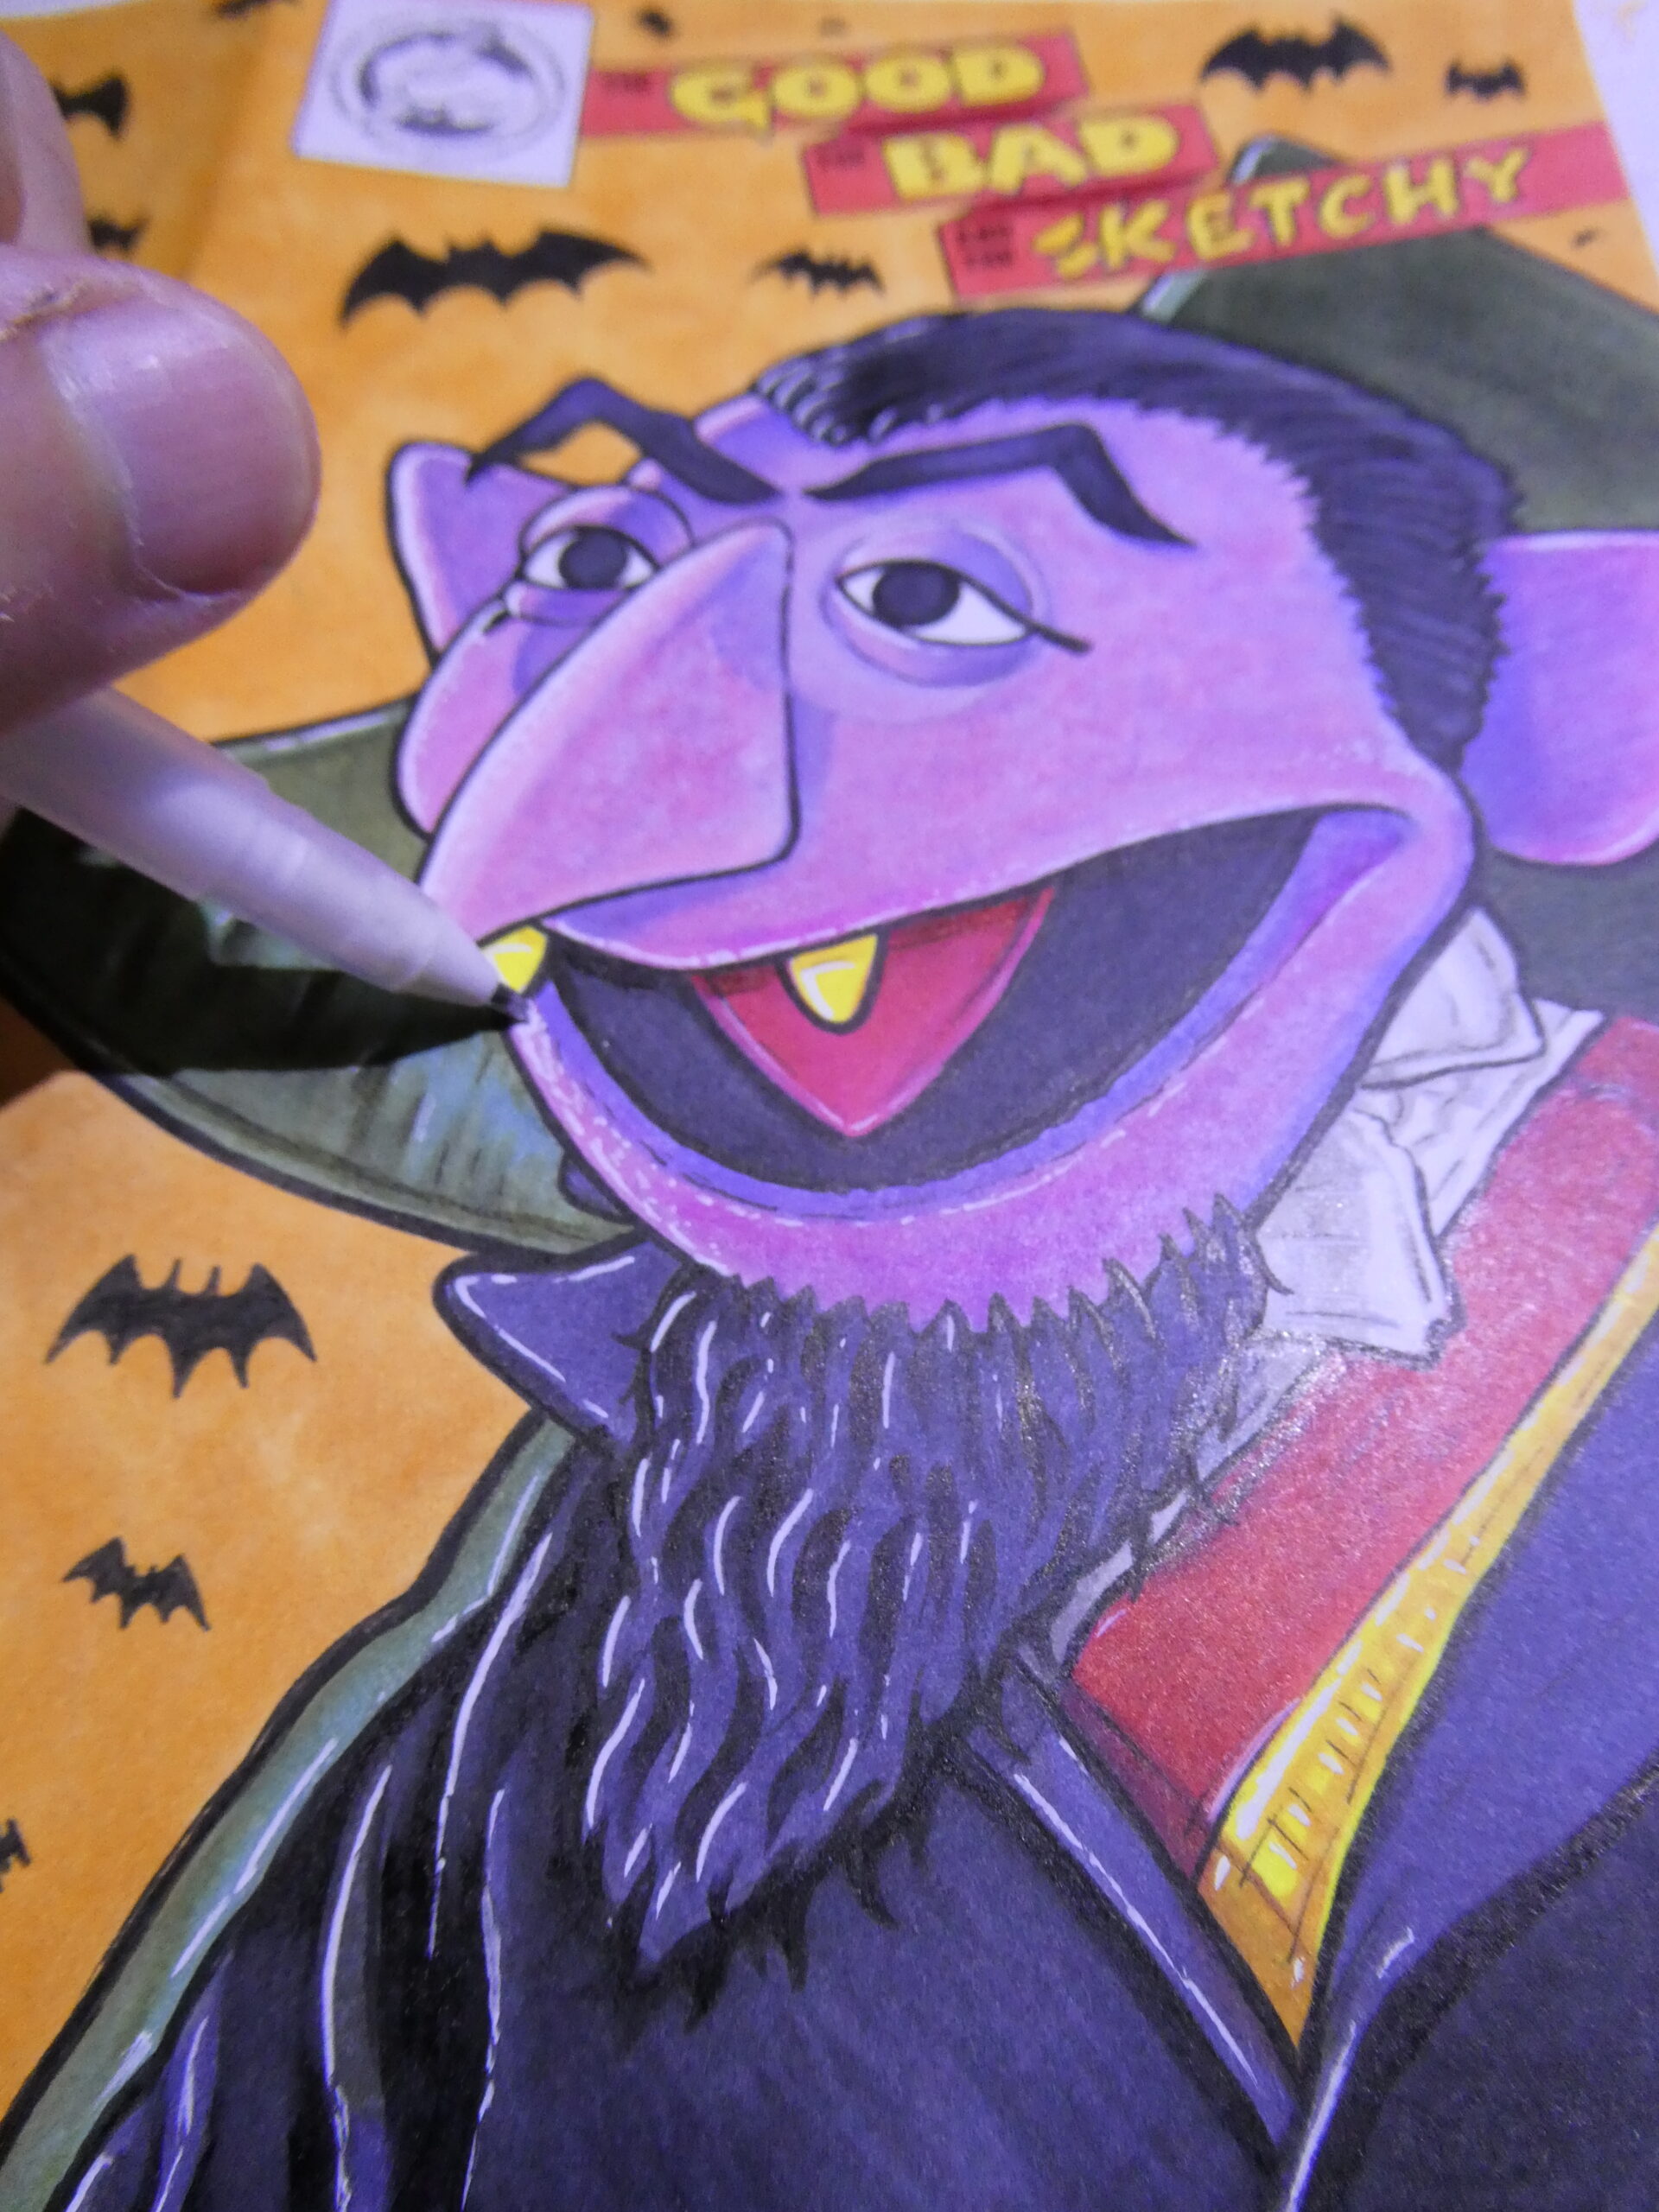
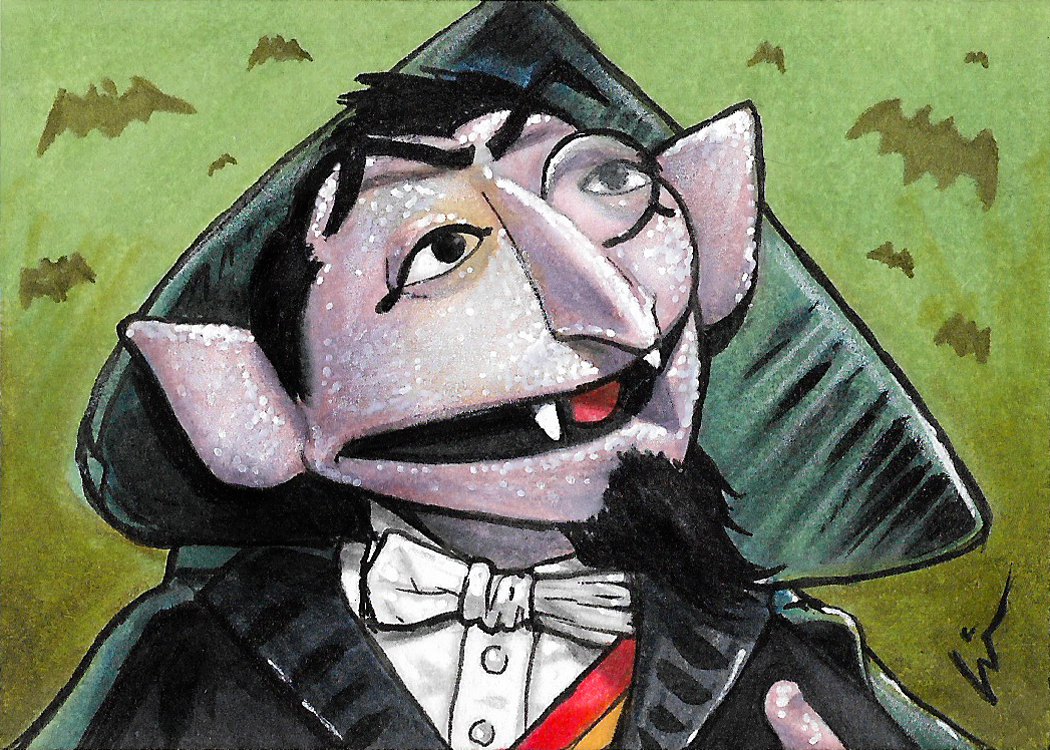
I used Copic markers to color this sketchcover. I’ve been collecting and using them for years now. For the Count I started out with a few different shades of violet/mauve/prune purple markers for his flesh- ugh, fleece.
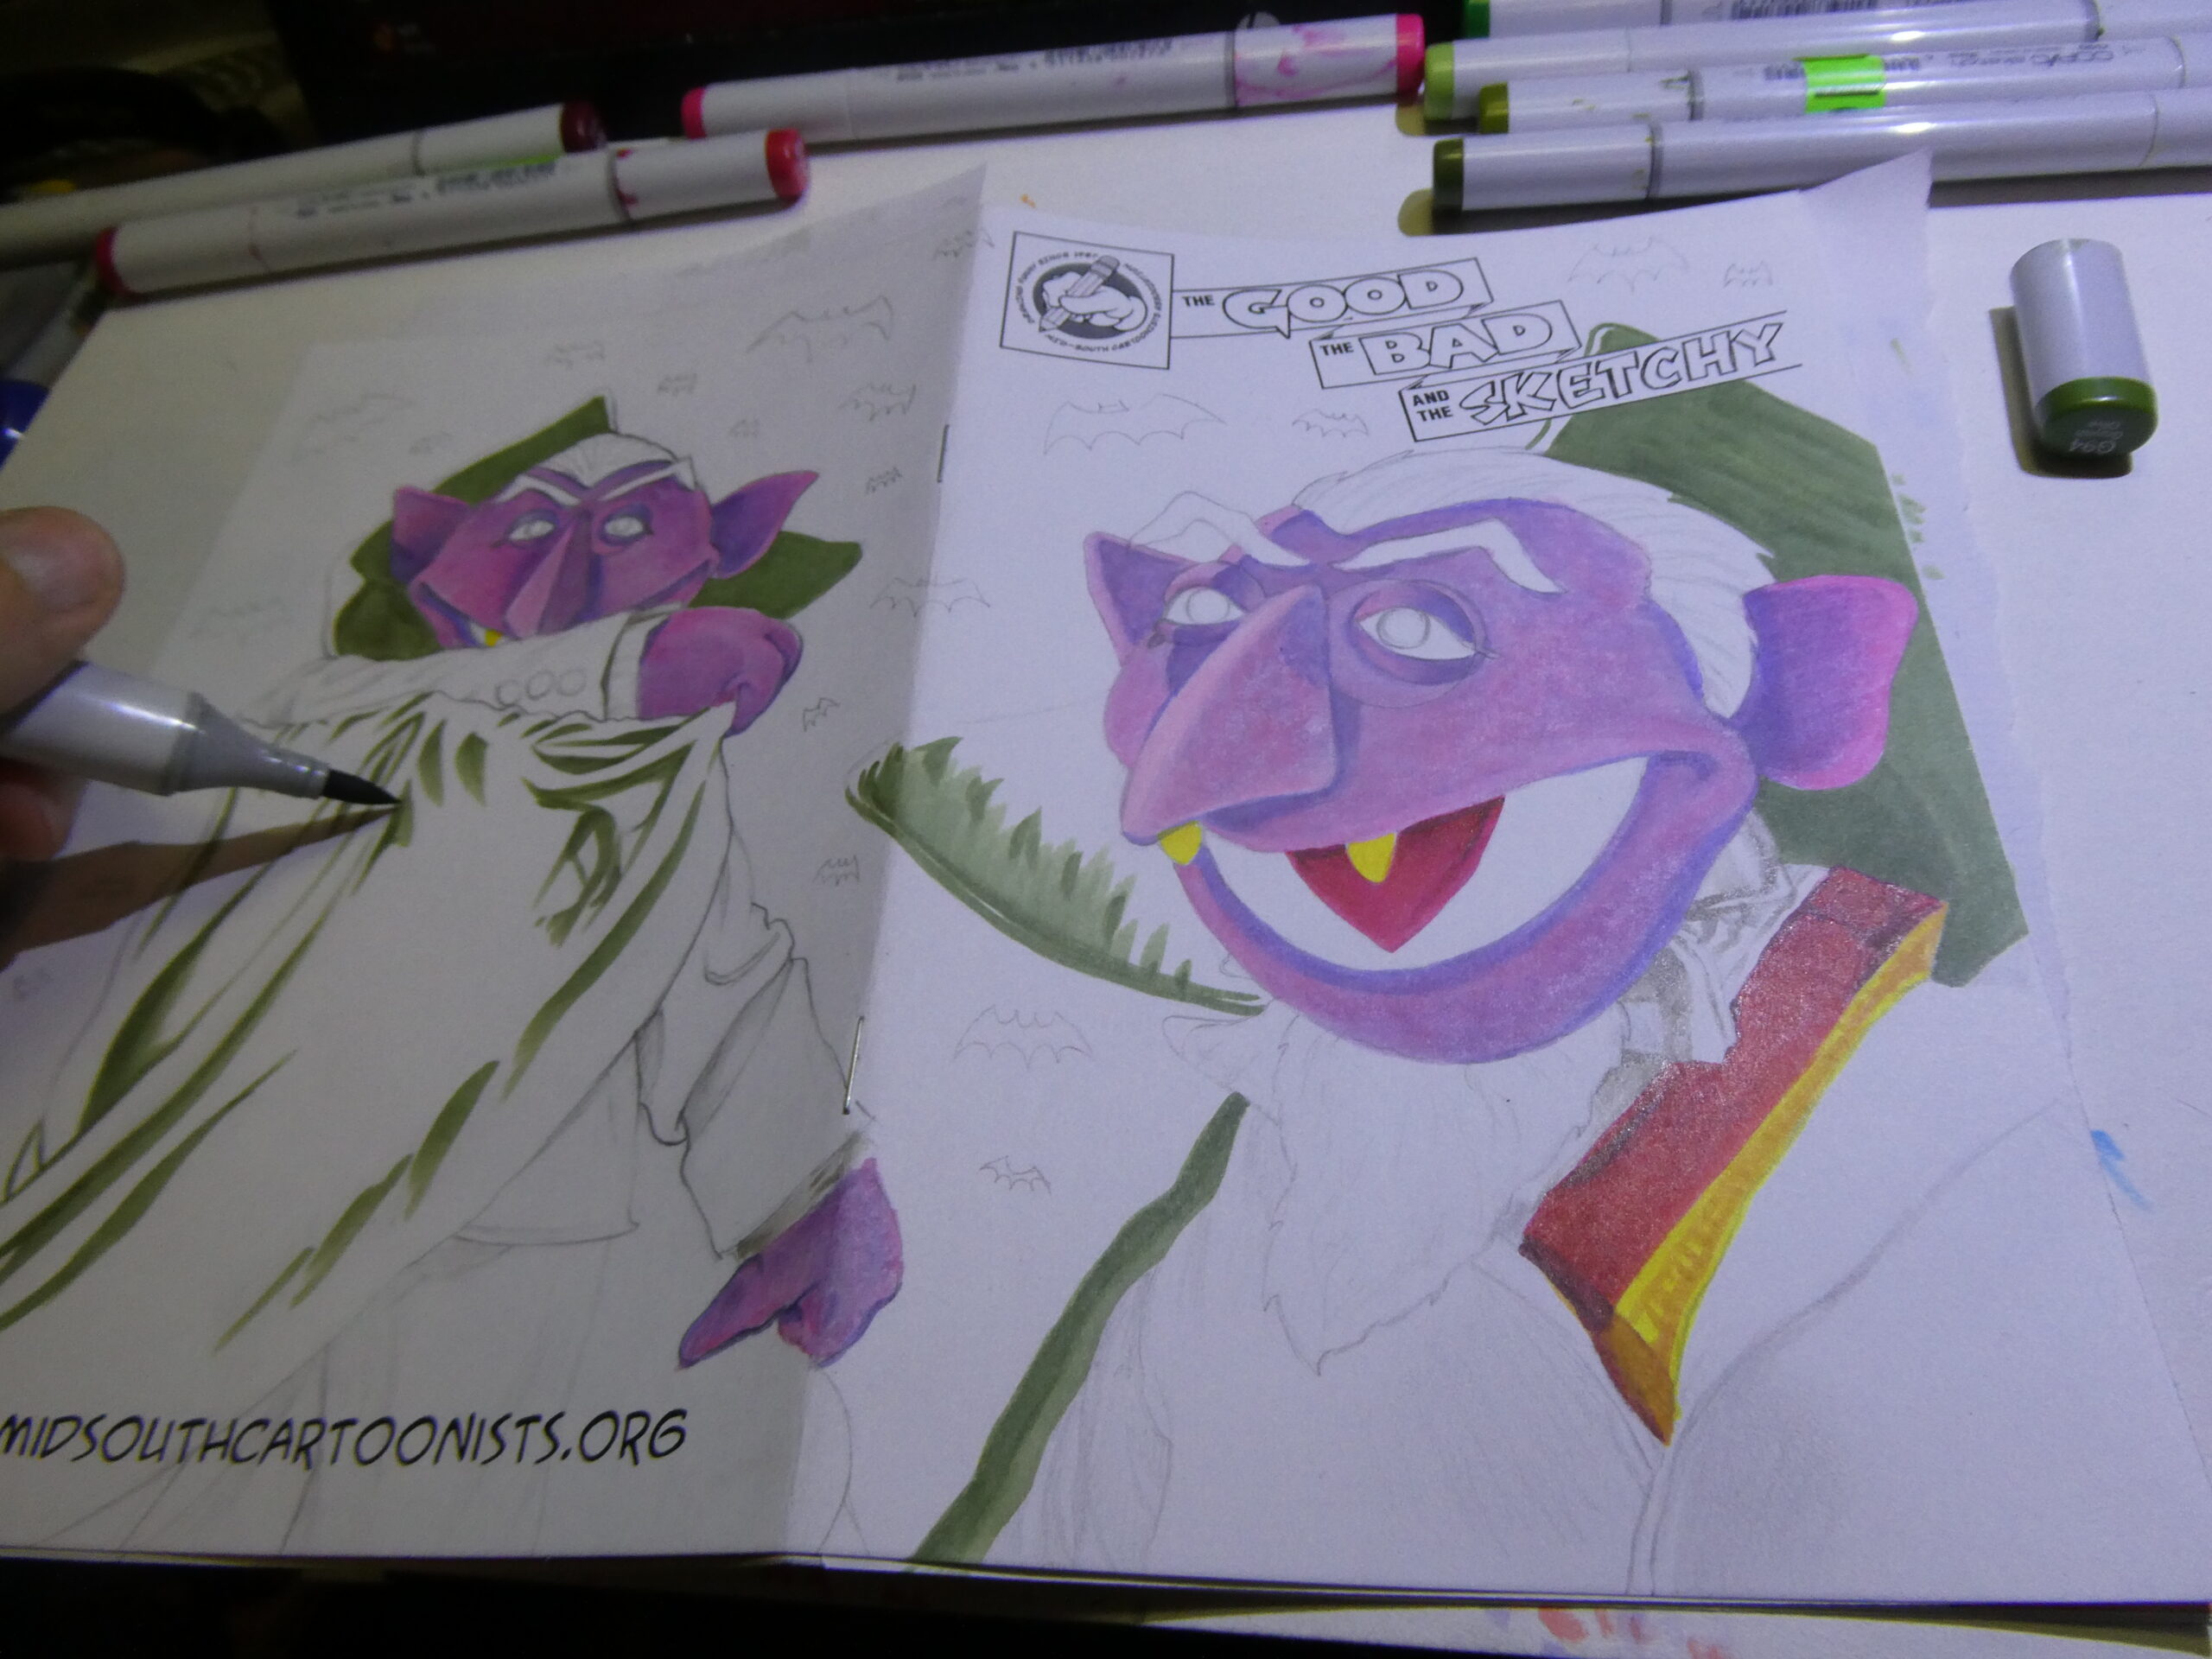
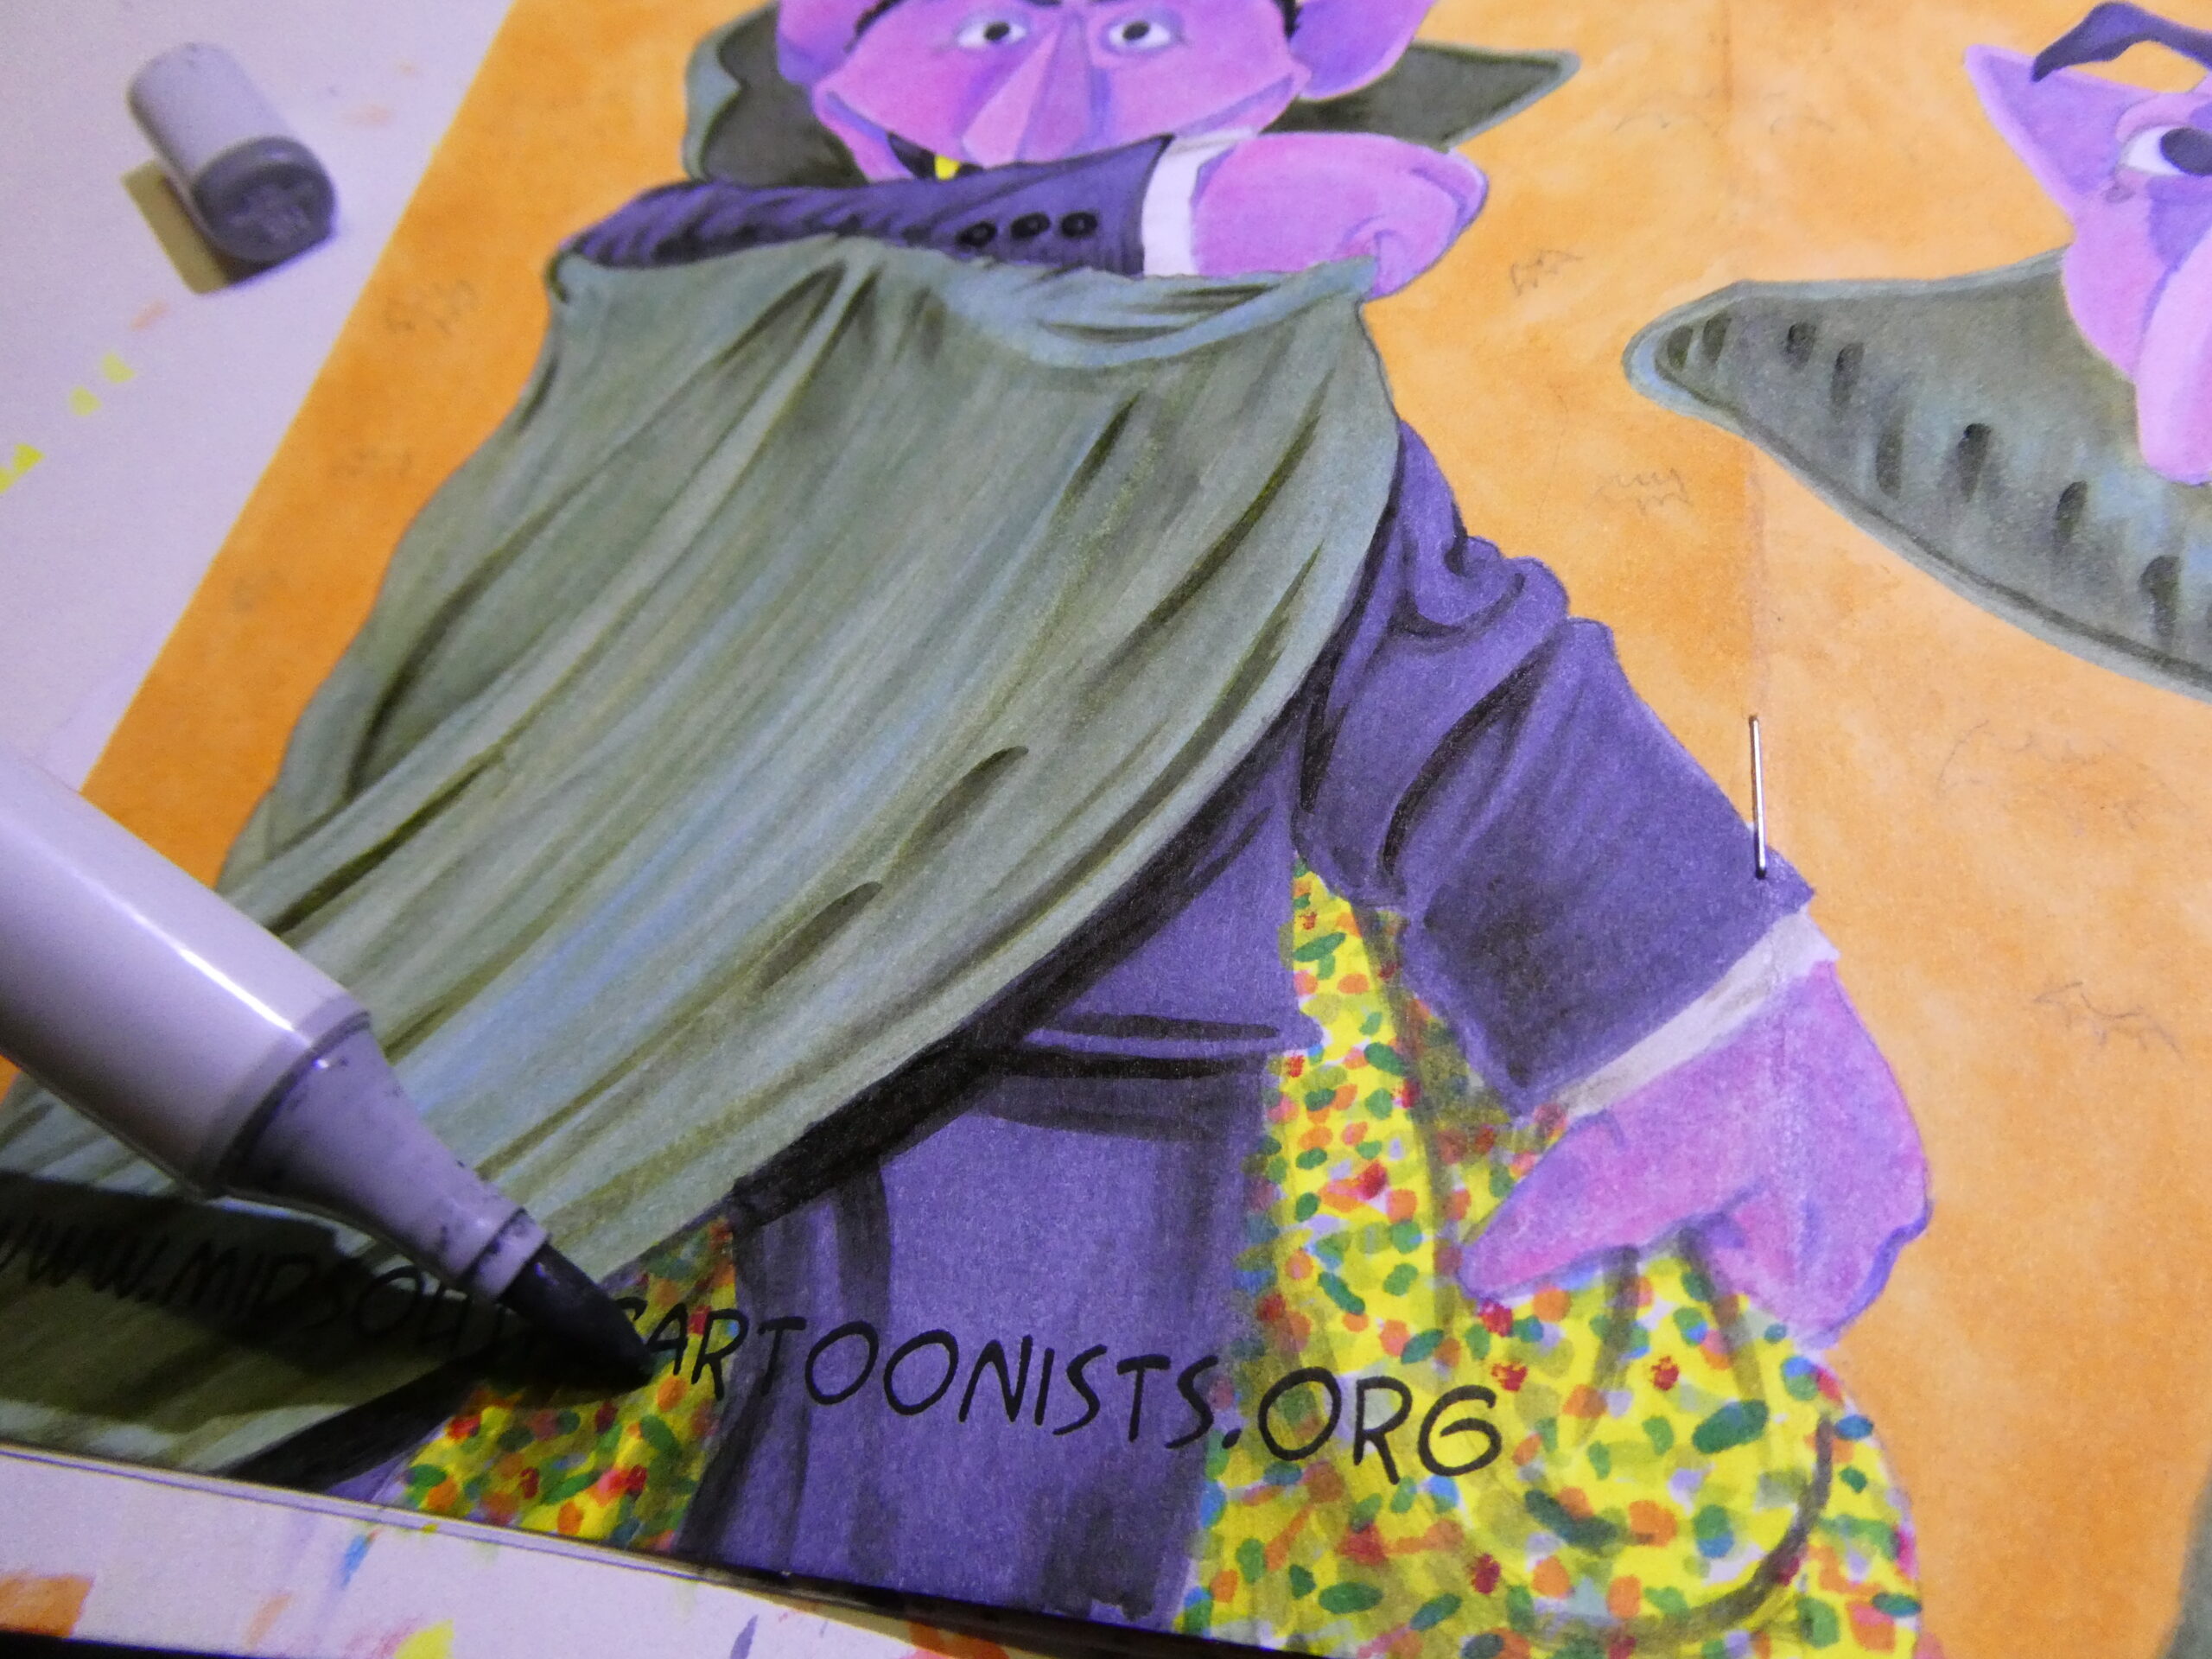
I then used a few different shades of green Copics to color in his cape. A lot of times I’ll see someone just use one shade of a color on their marker drawings, and they rarely try to leave any white space to show through for highlights. Limiting your color pallet and/or not indicating a light source can really make your images look flat. You’d be amazed at how just a little bit of color blending, shading, and/or highlighting can do to help make your illustration POP!
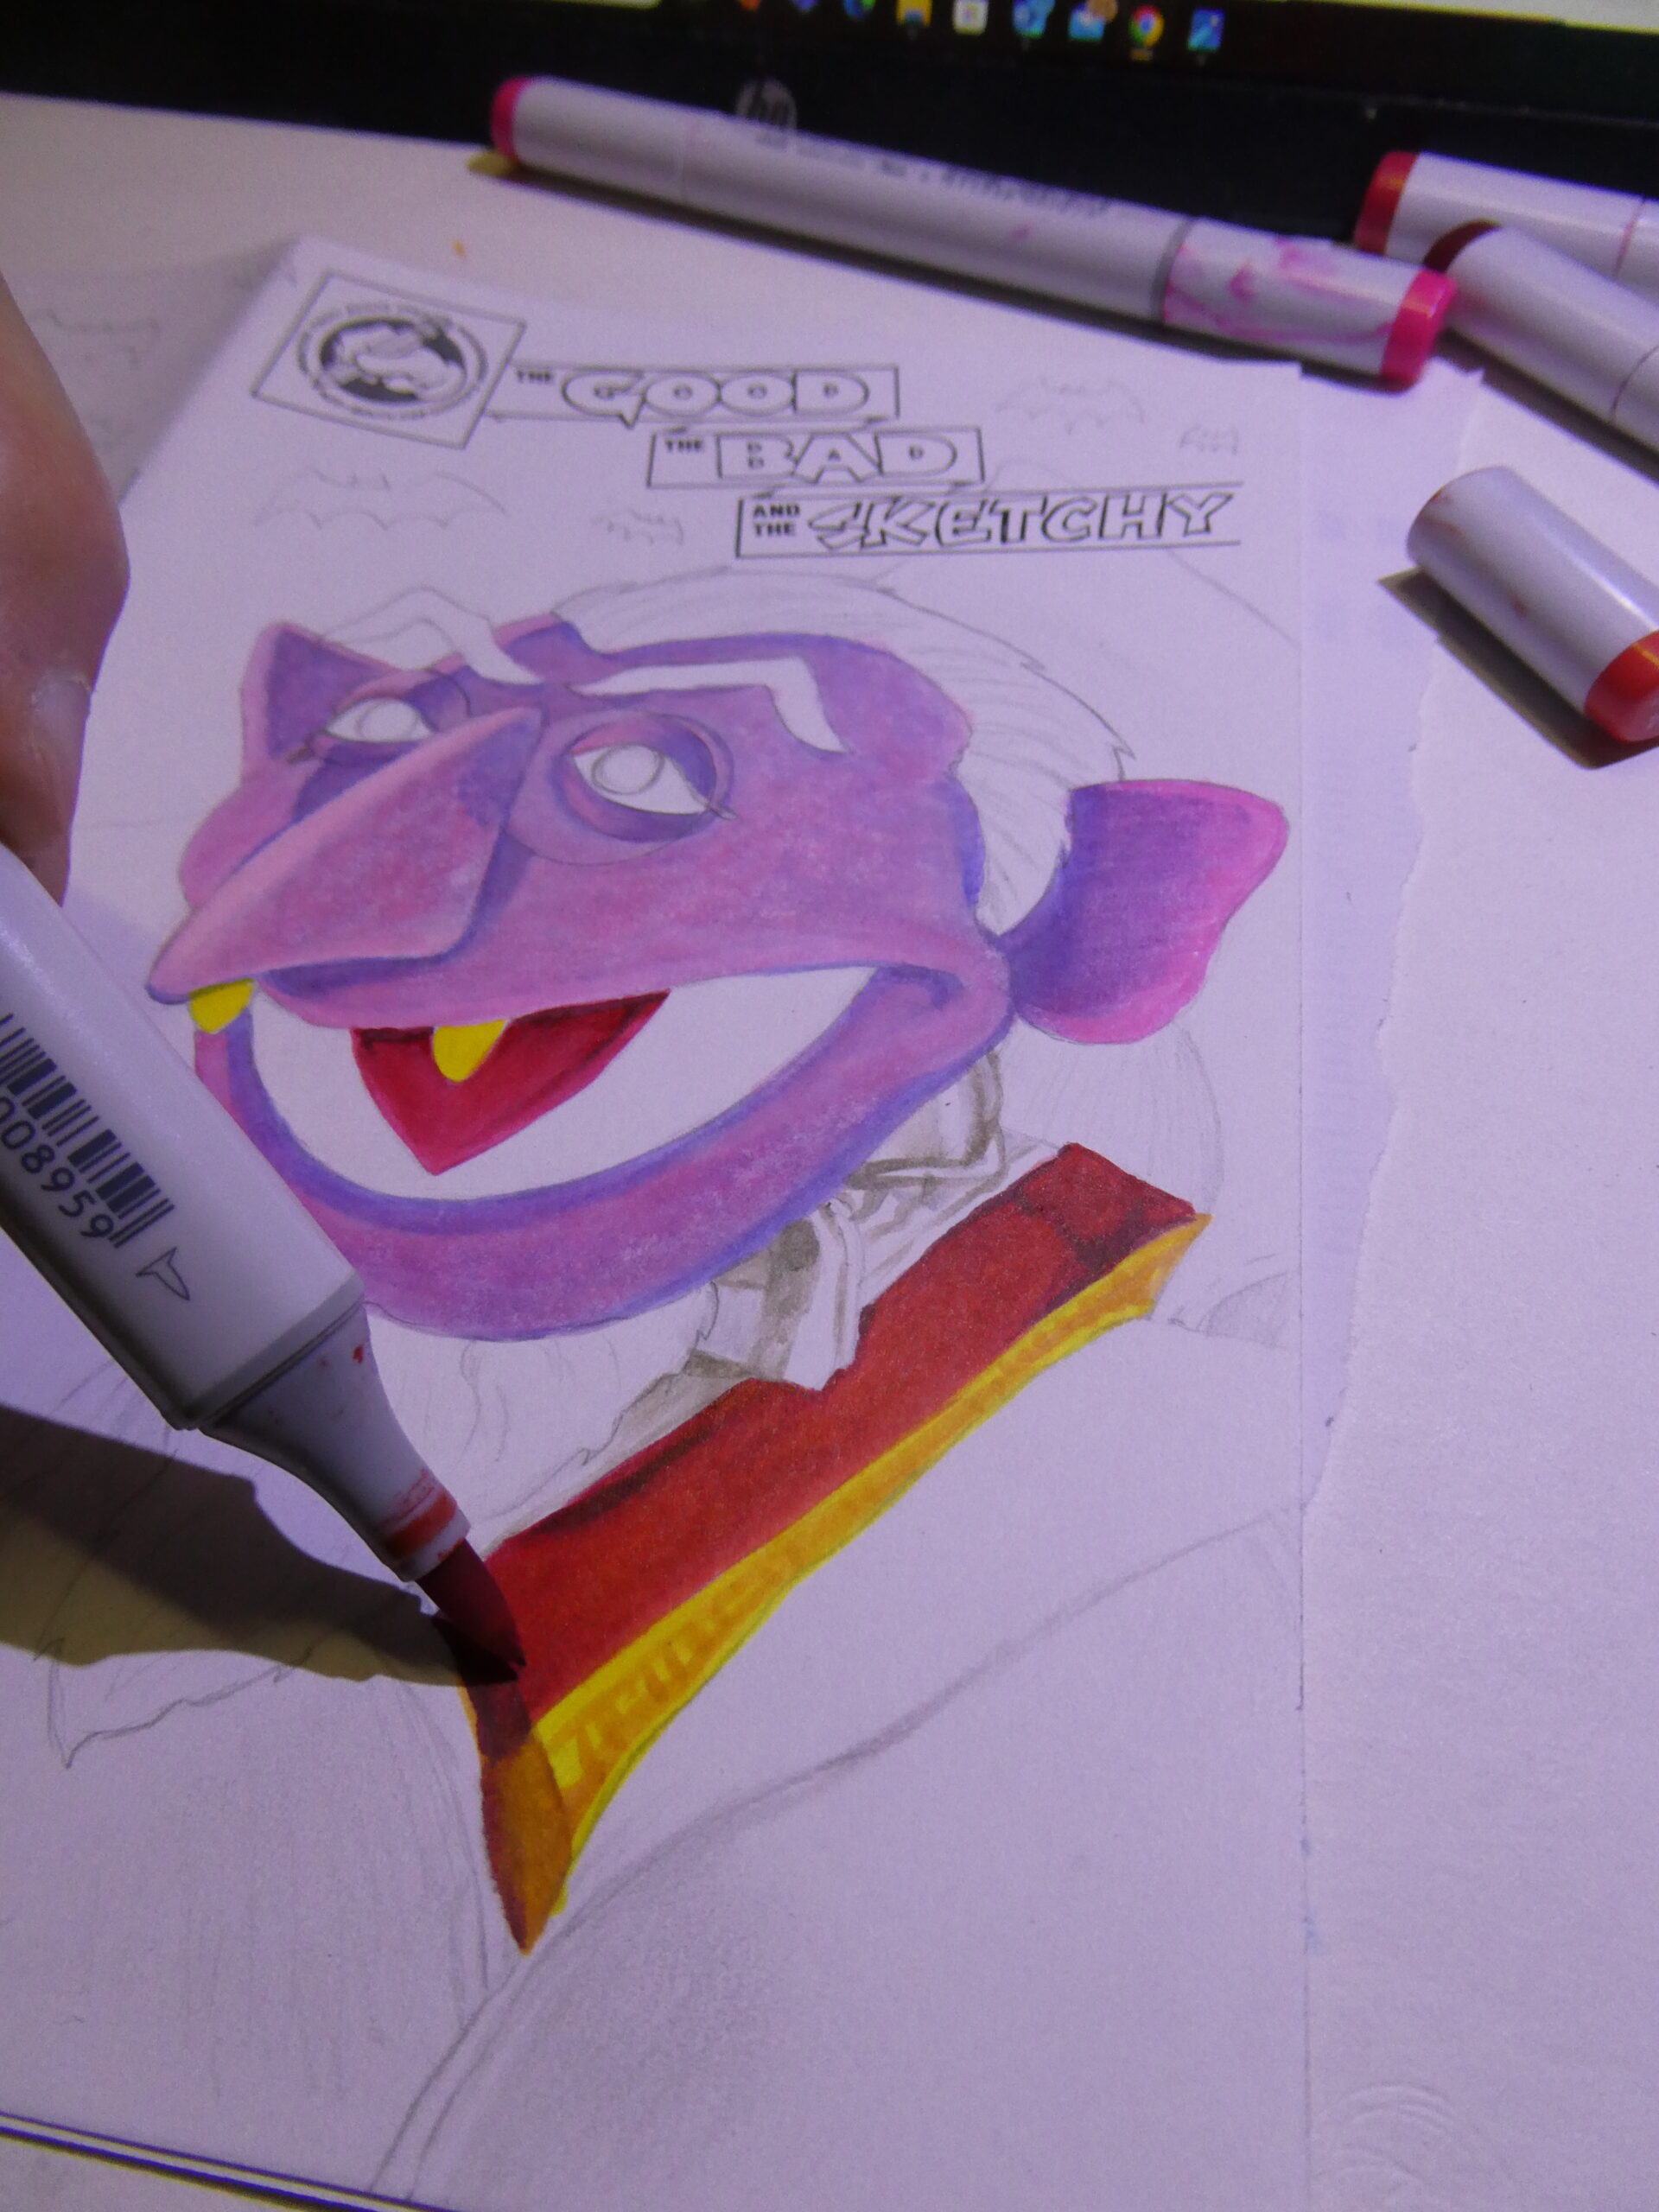
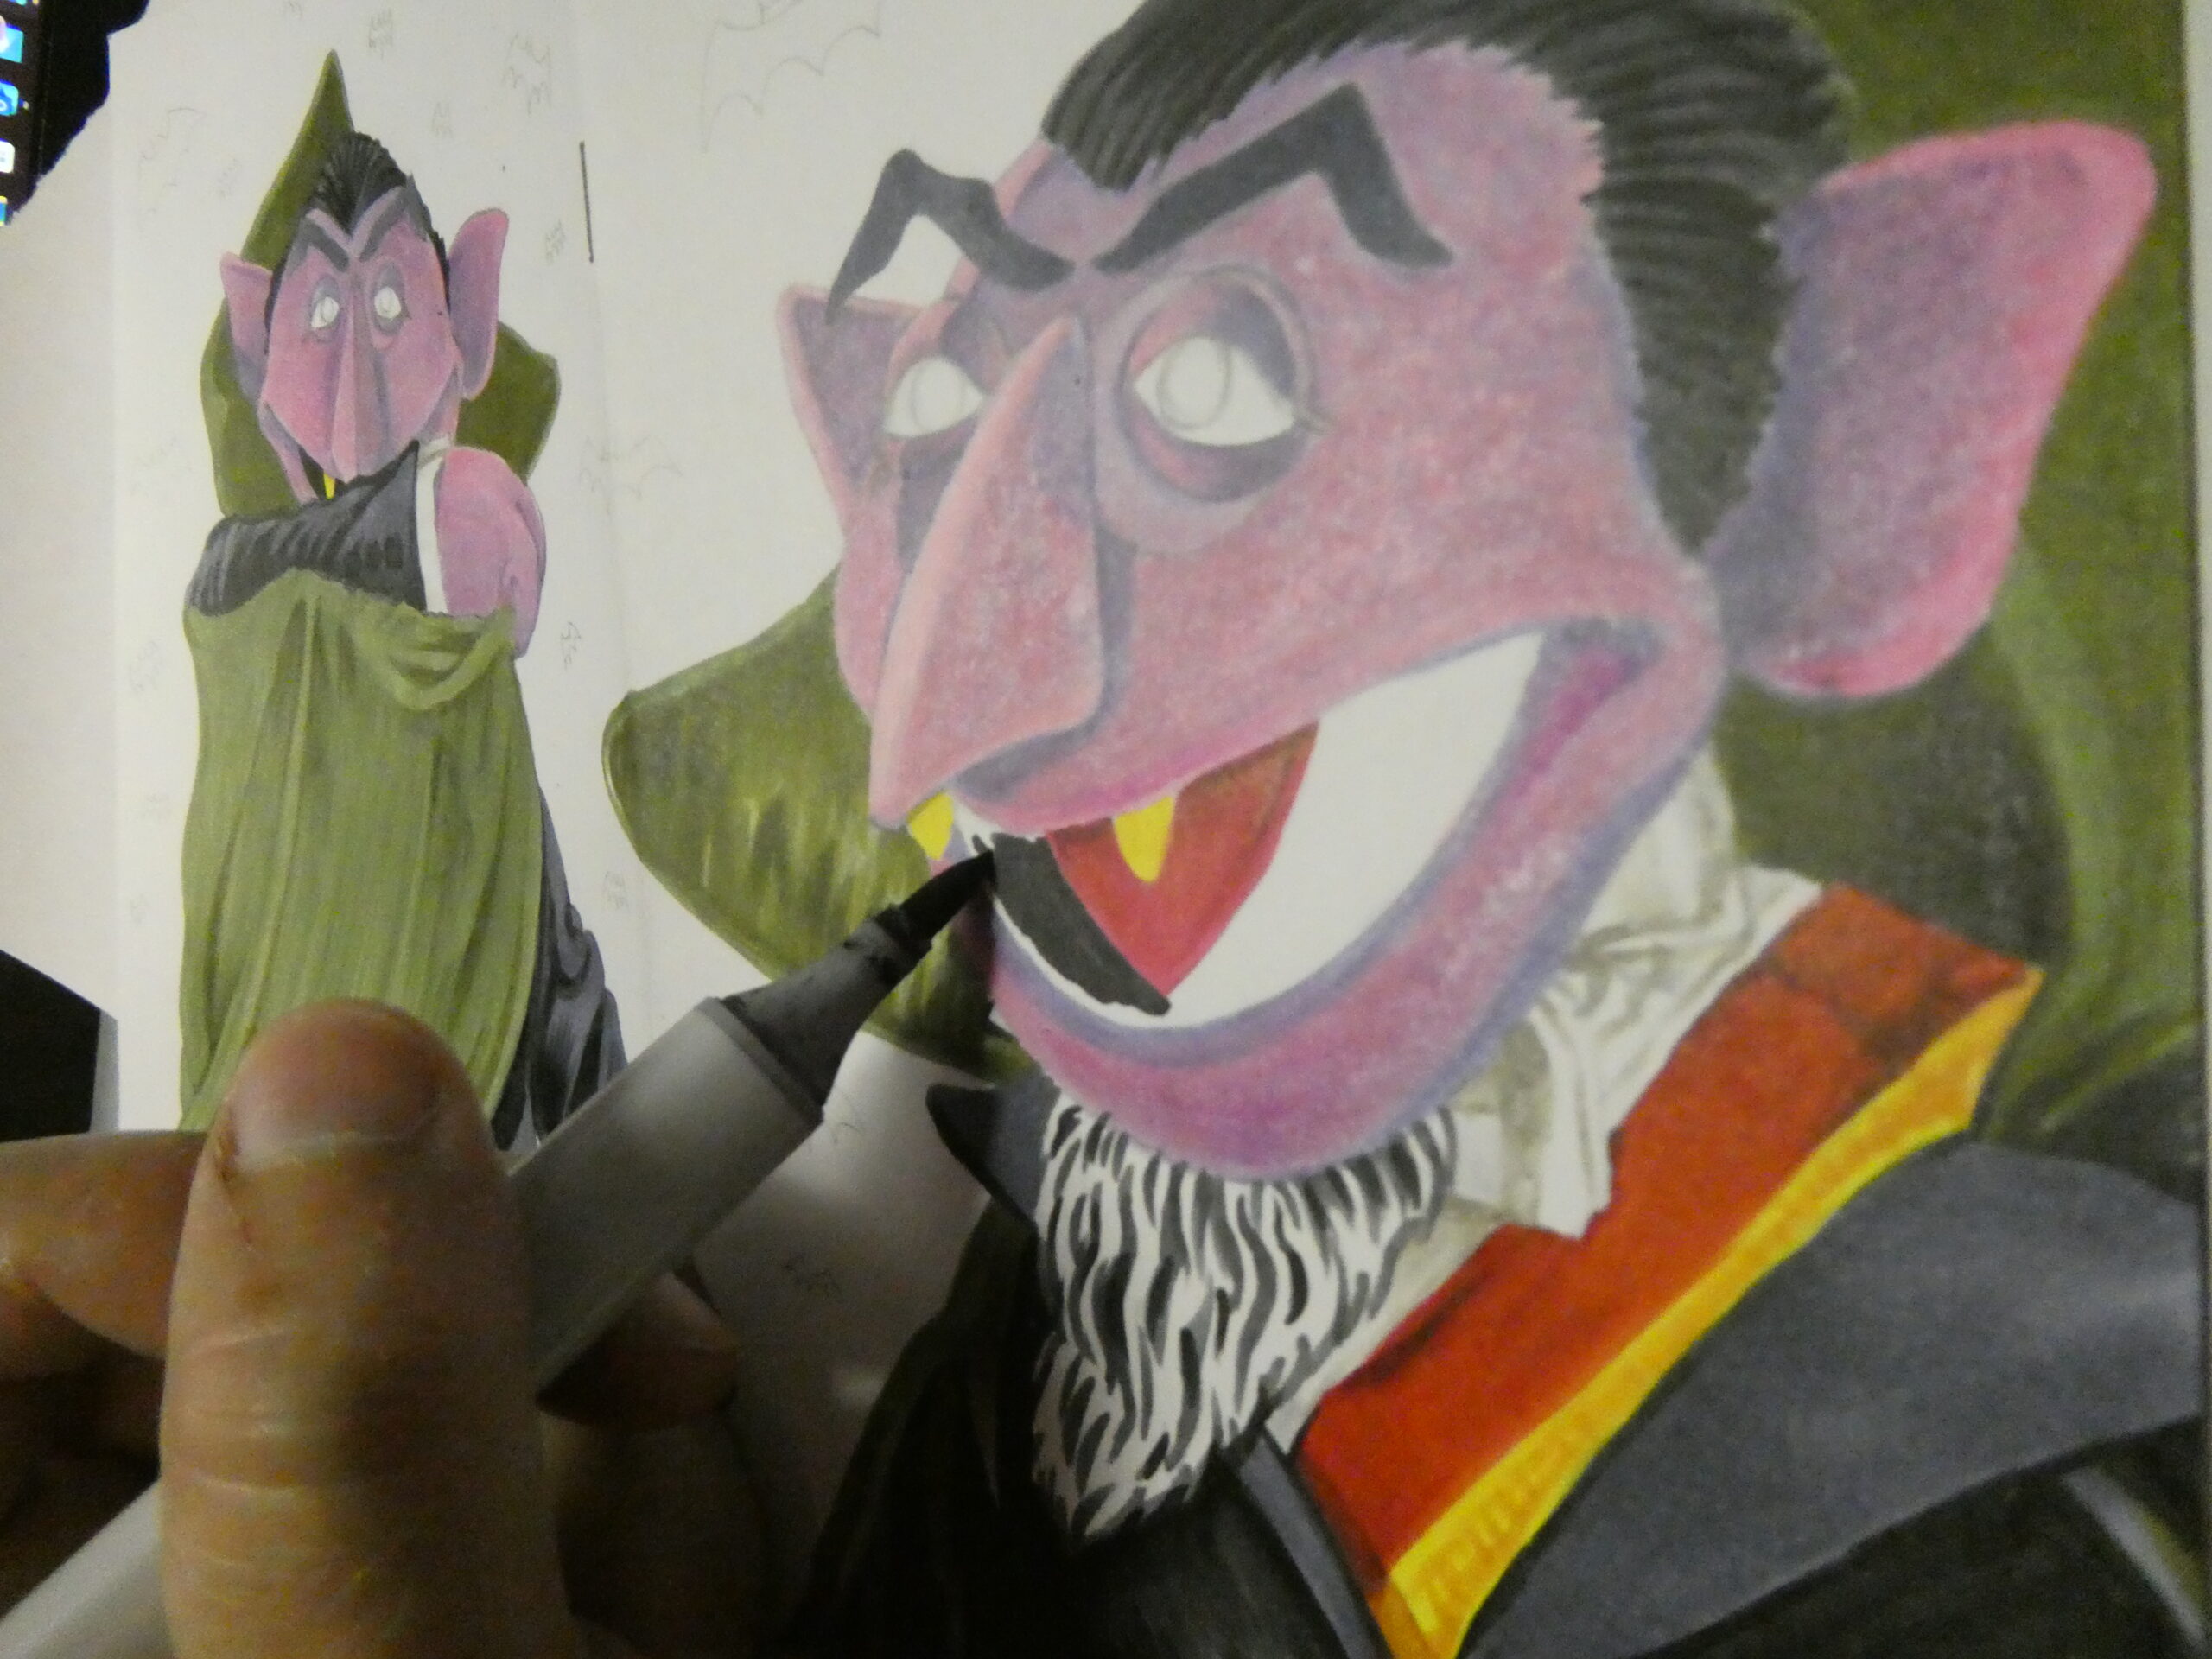
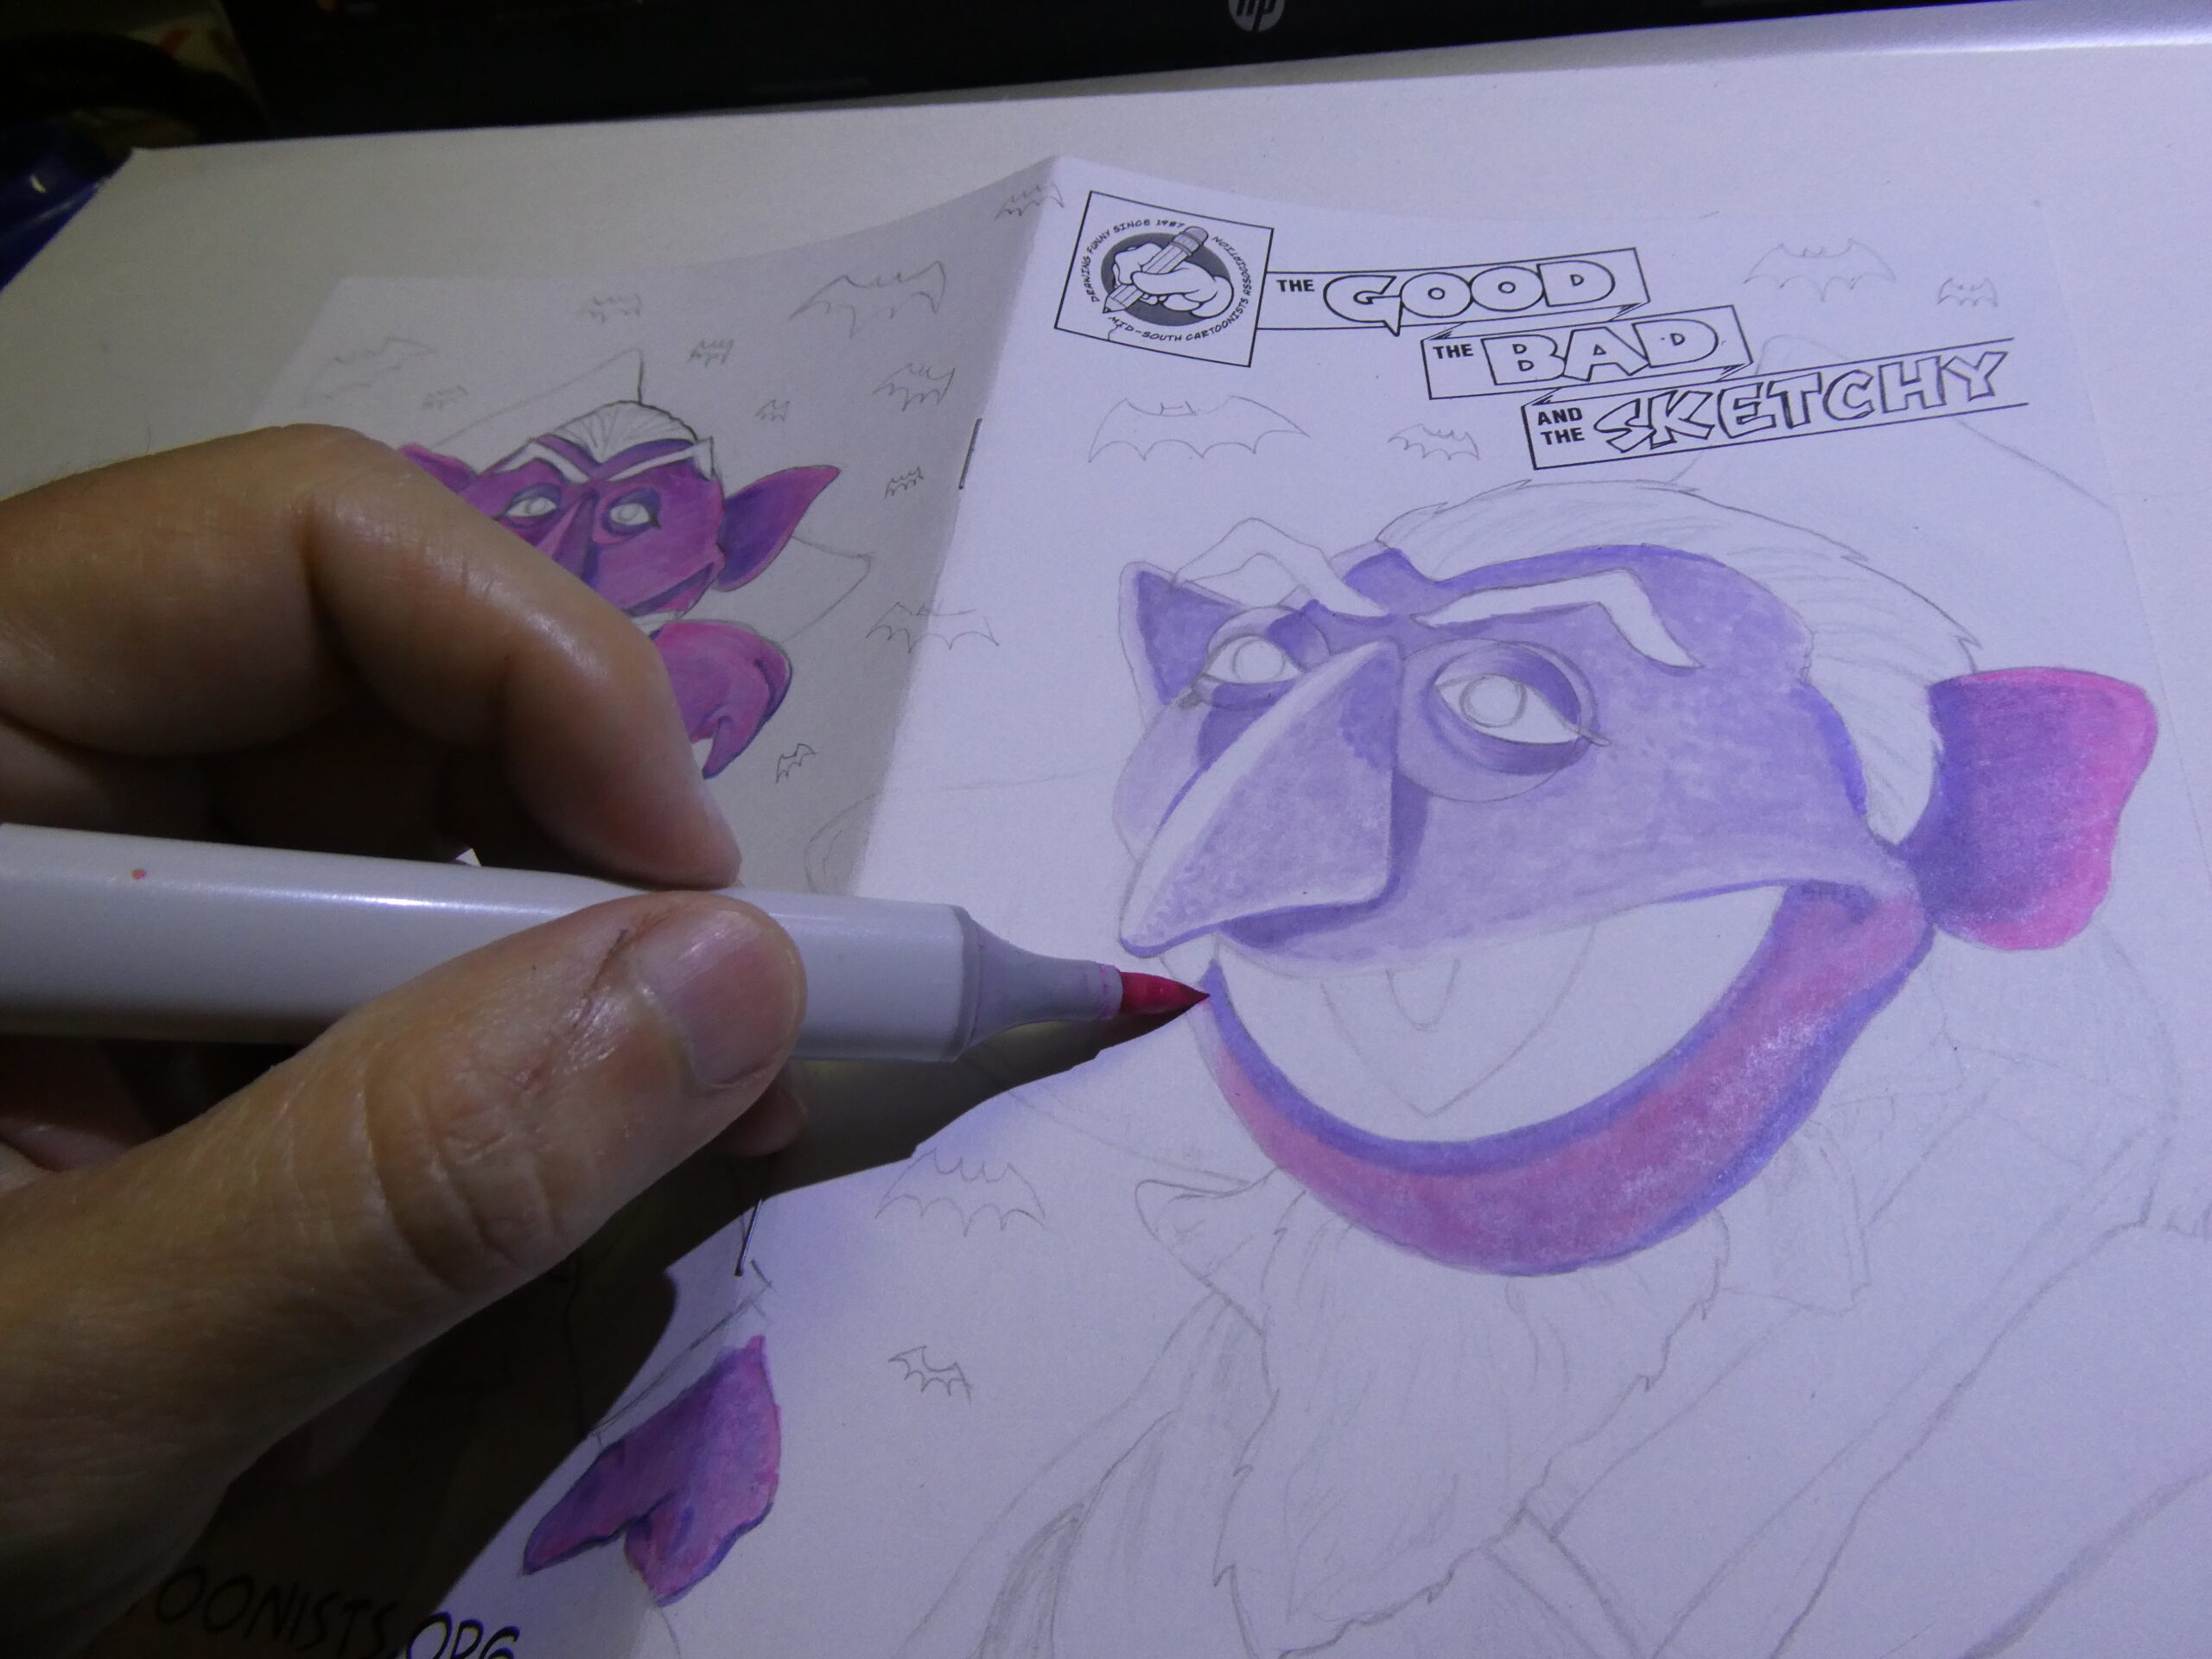
Next I used some reds, yellows and magenta to color his sash, tongue, and fangs. I then used different shades of grey for his suit, hair, and pupils. I also used a bit of grey to shade the greens on the cape. Again, I rarely use just one color to fill in an area on a marker drawing. I’ll at least do a base color and a darker shadow color- and either a lighter highlight color or white. If you can practice blending the colors that will help your work look more polished and professional.
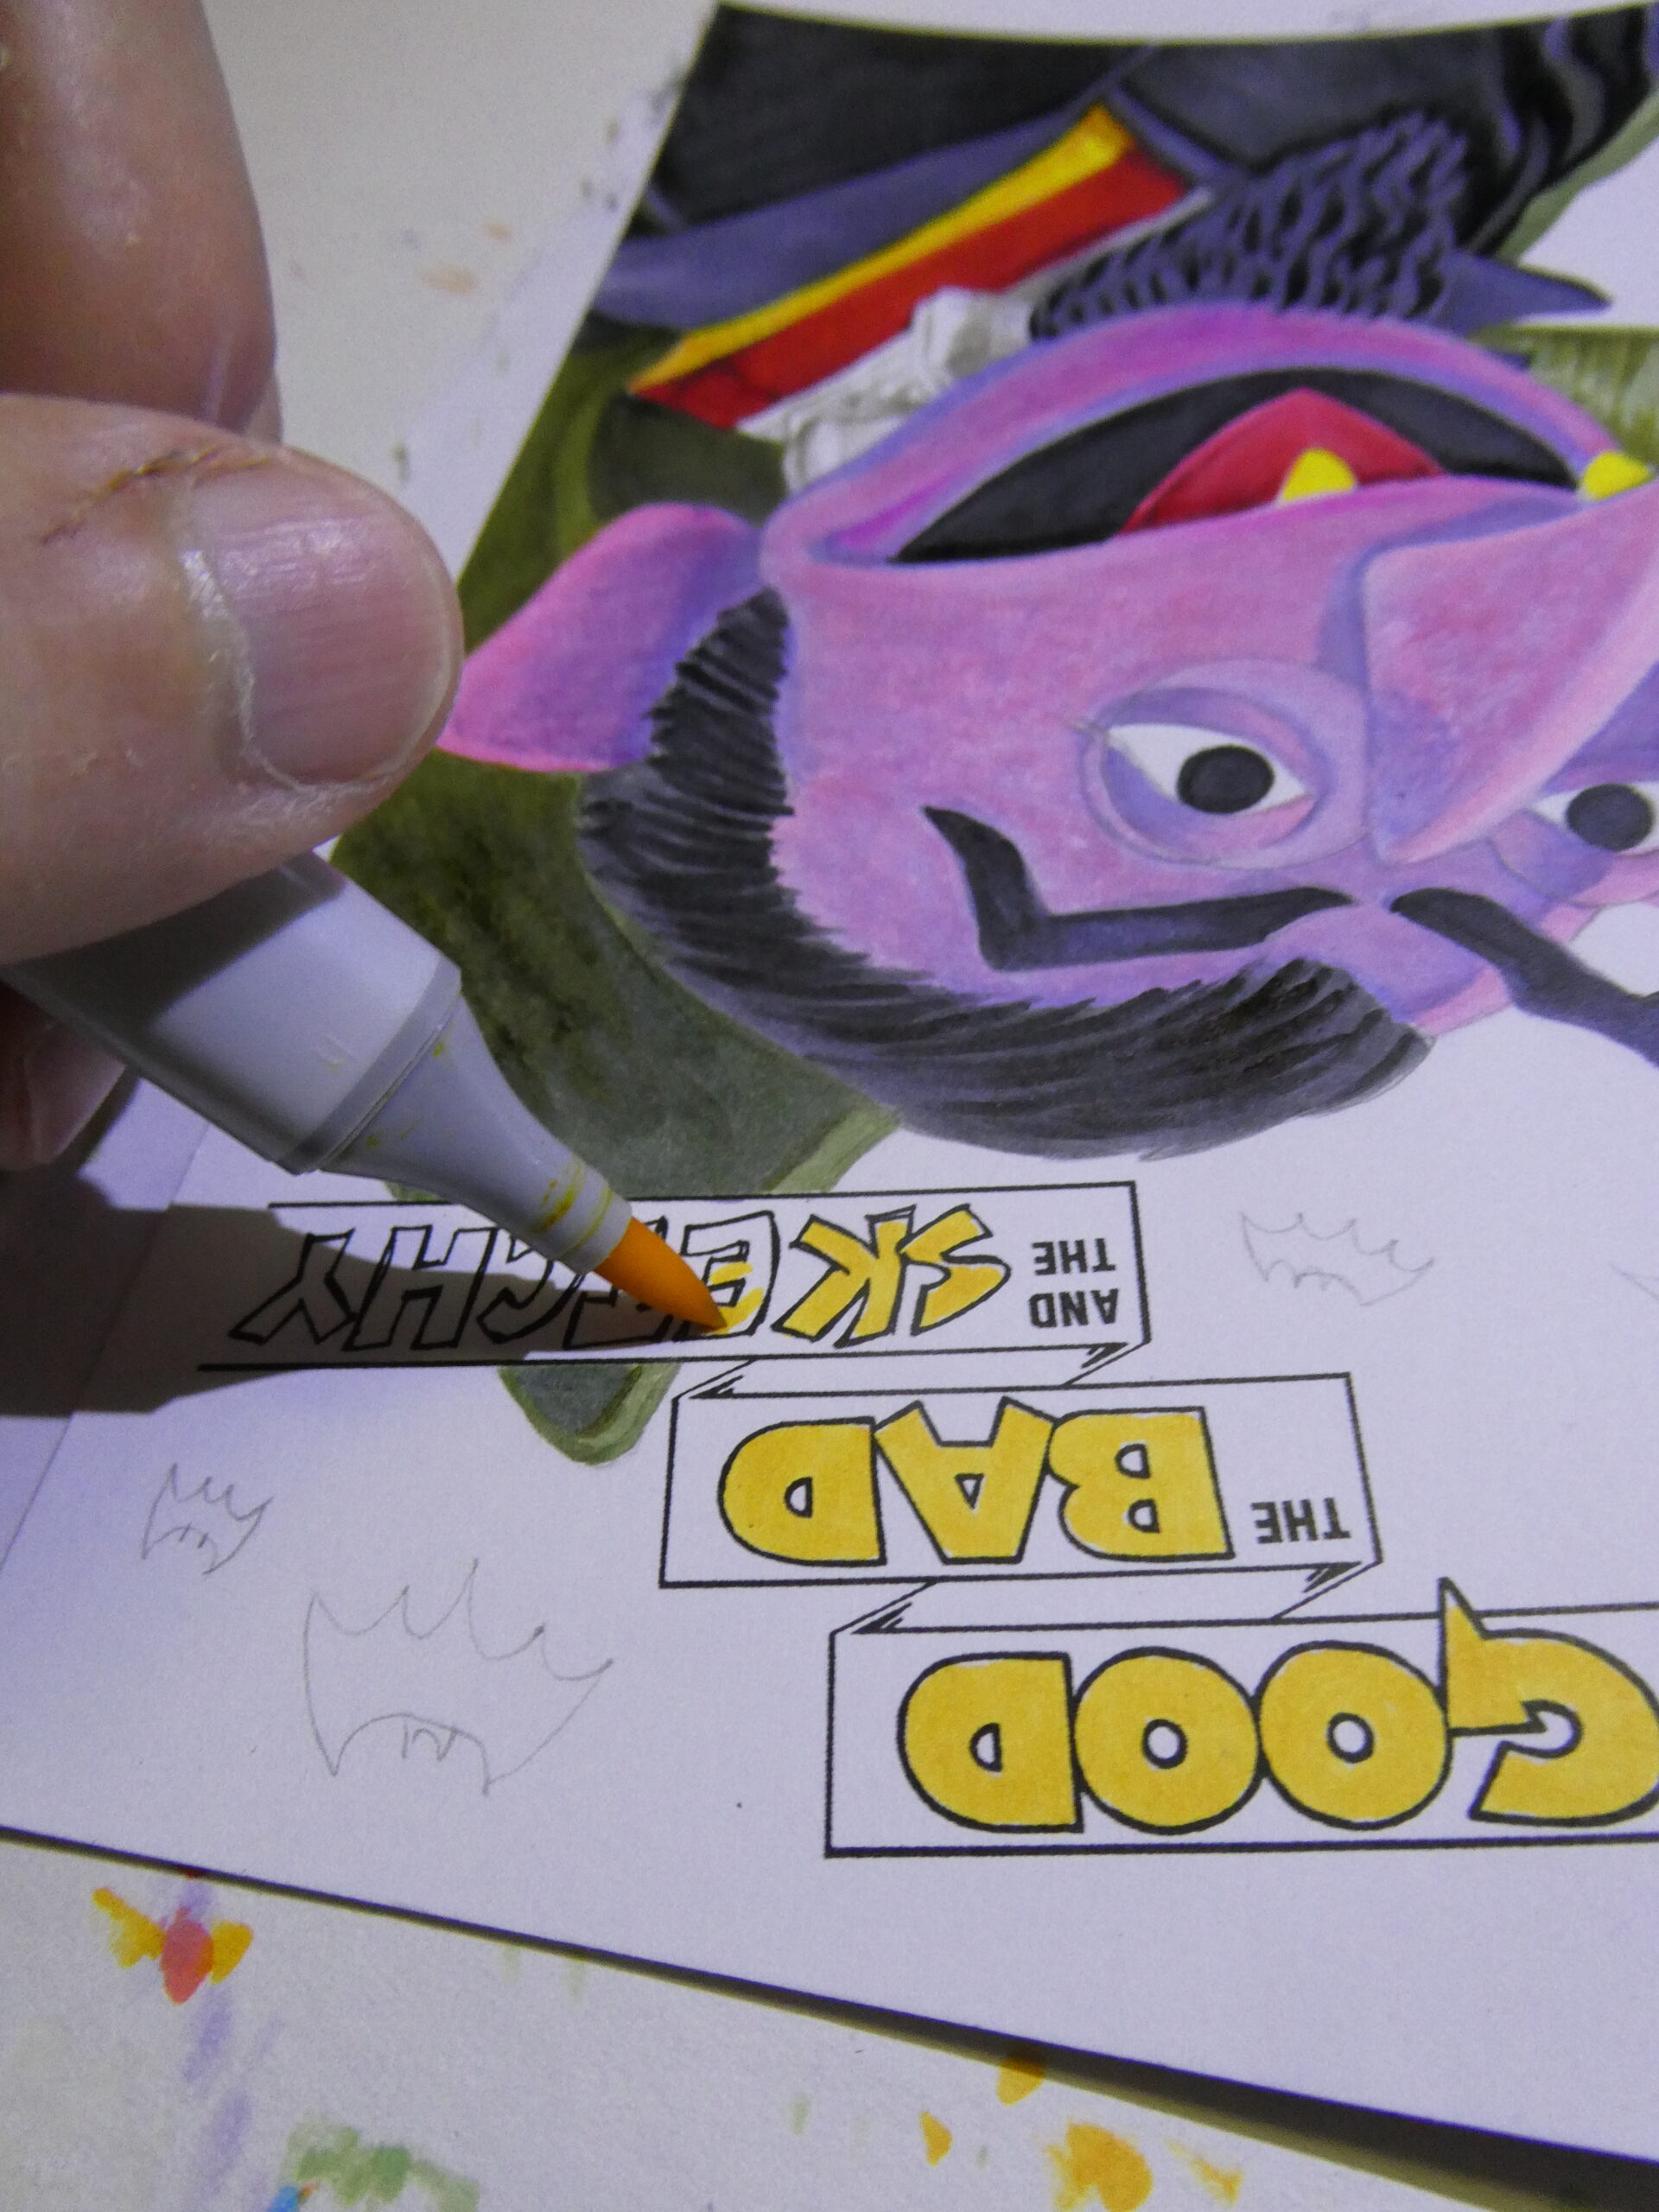
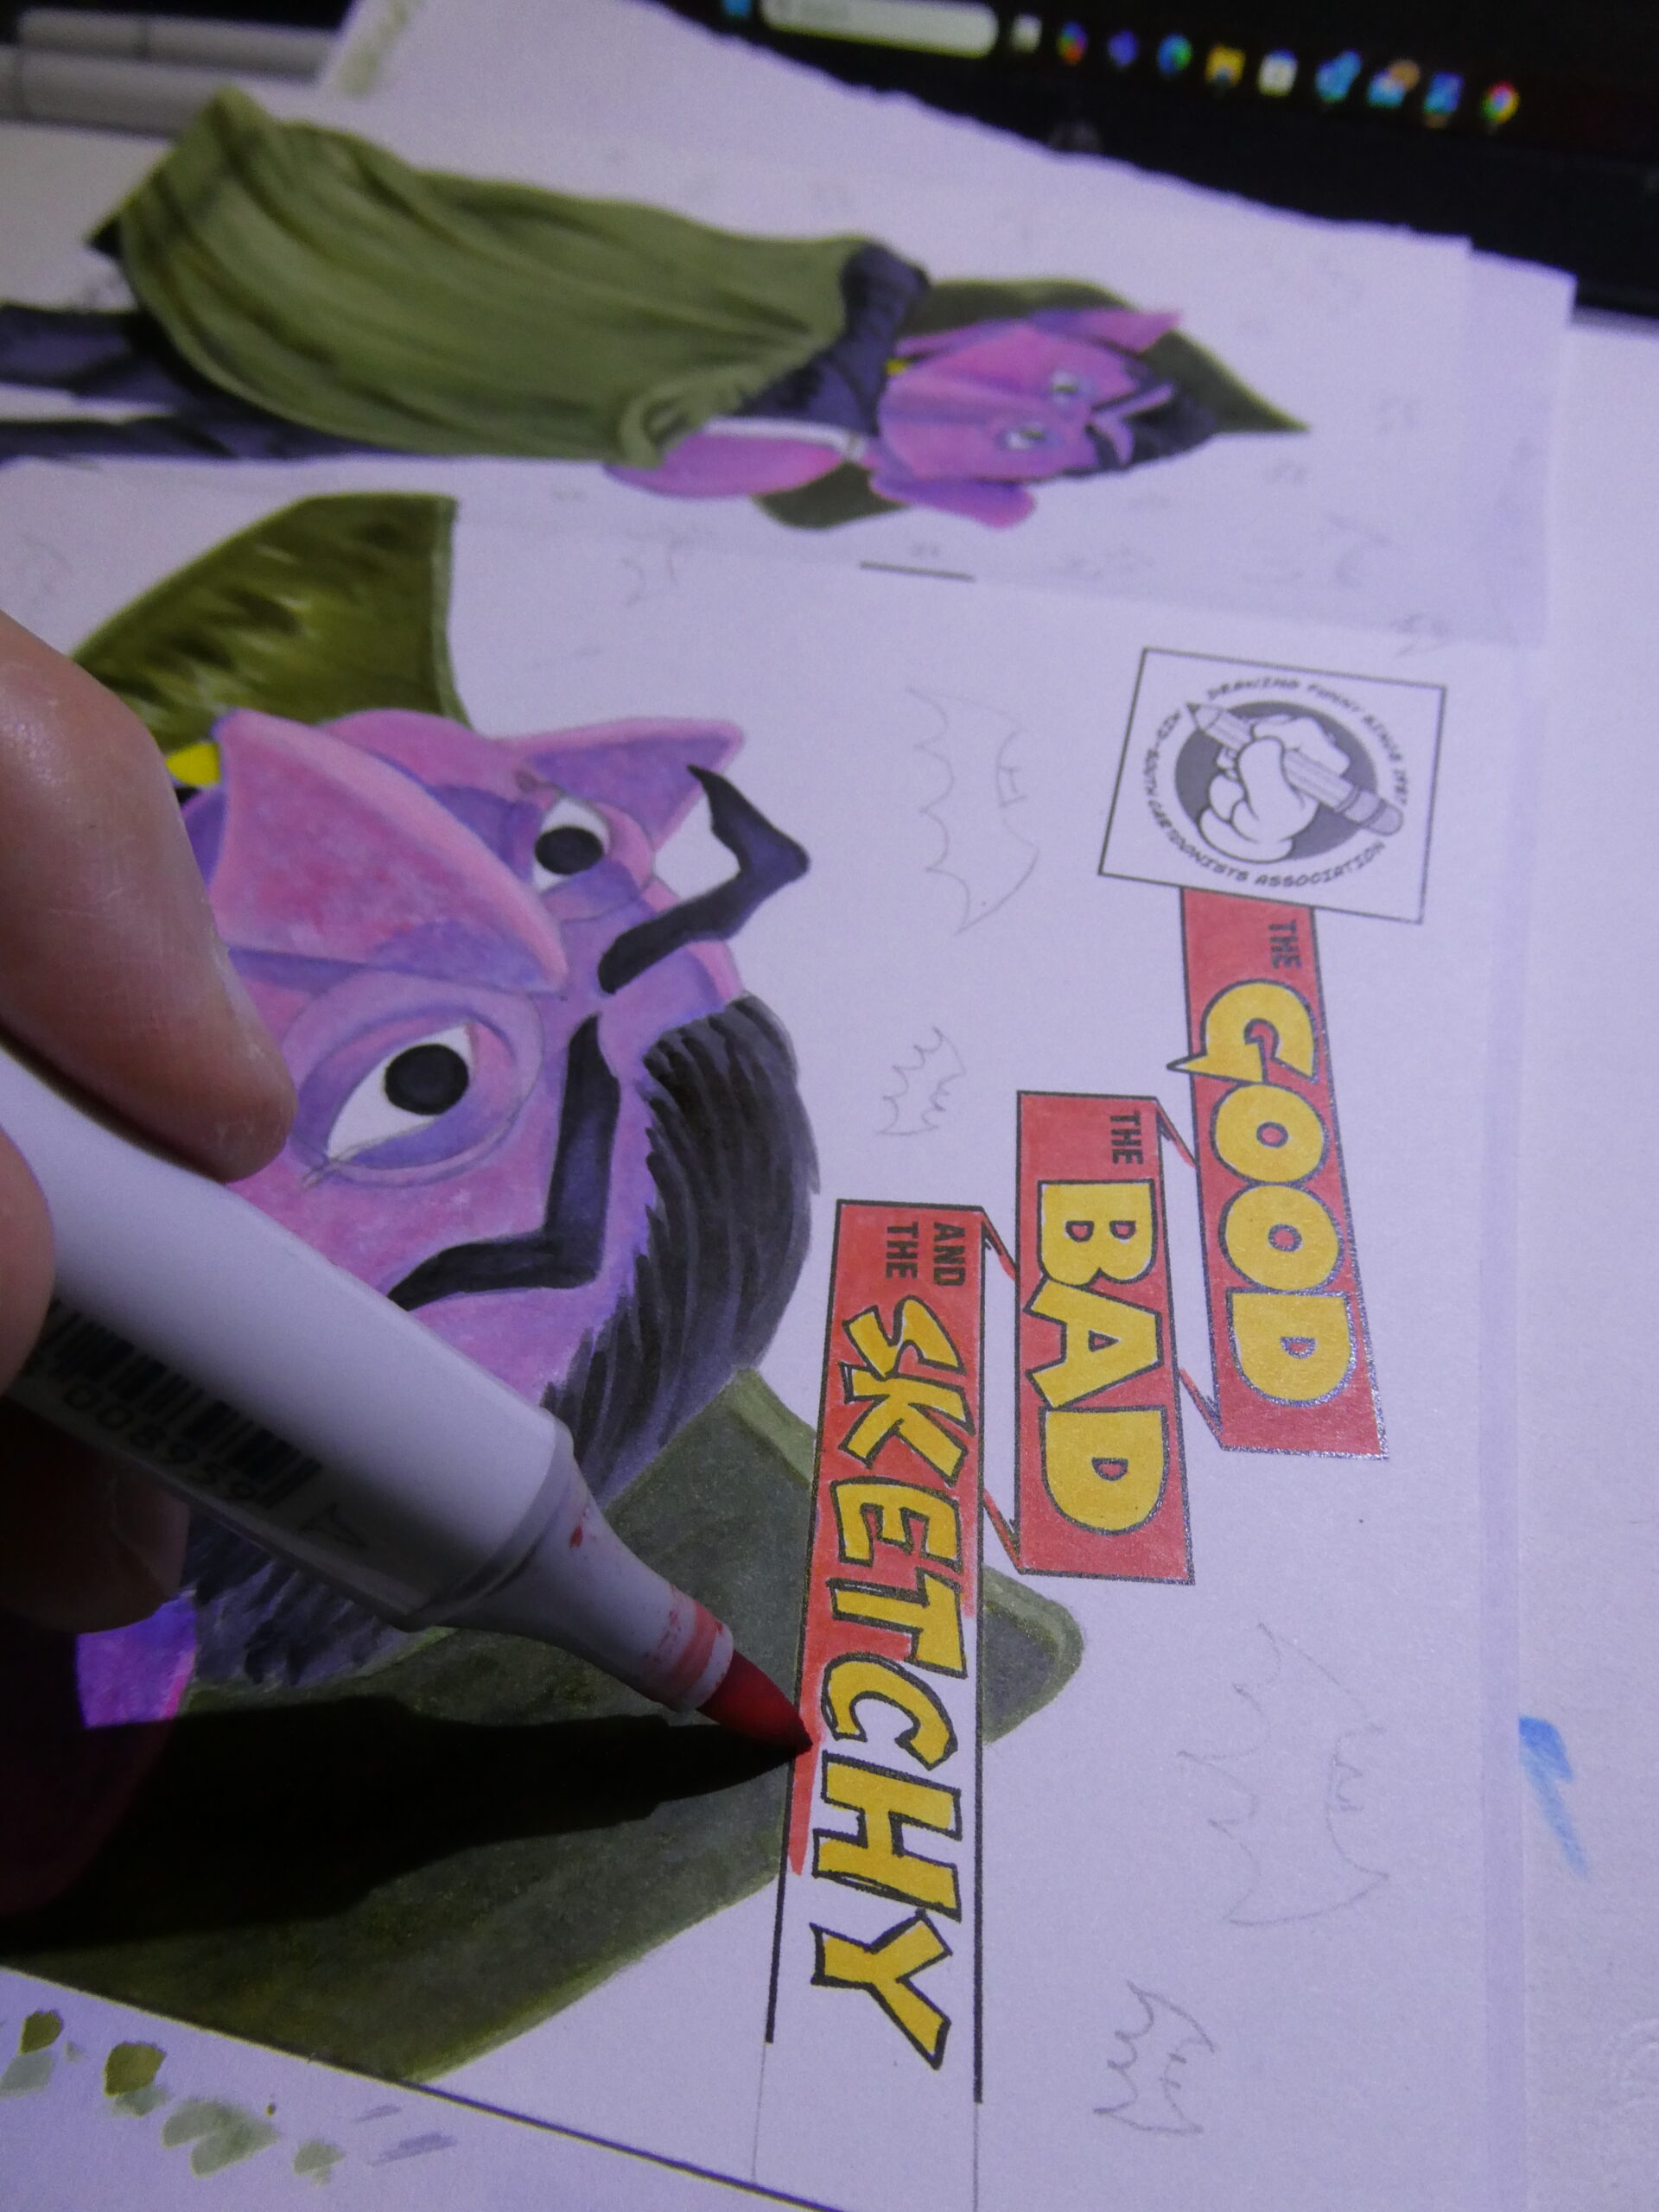
I then started to color in the masthead logo with red and yellow markers. I wanted it to stand out a bit, but not be glaring and take away the focus on the Count’s face.
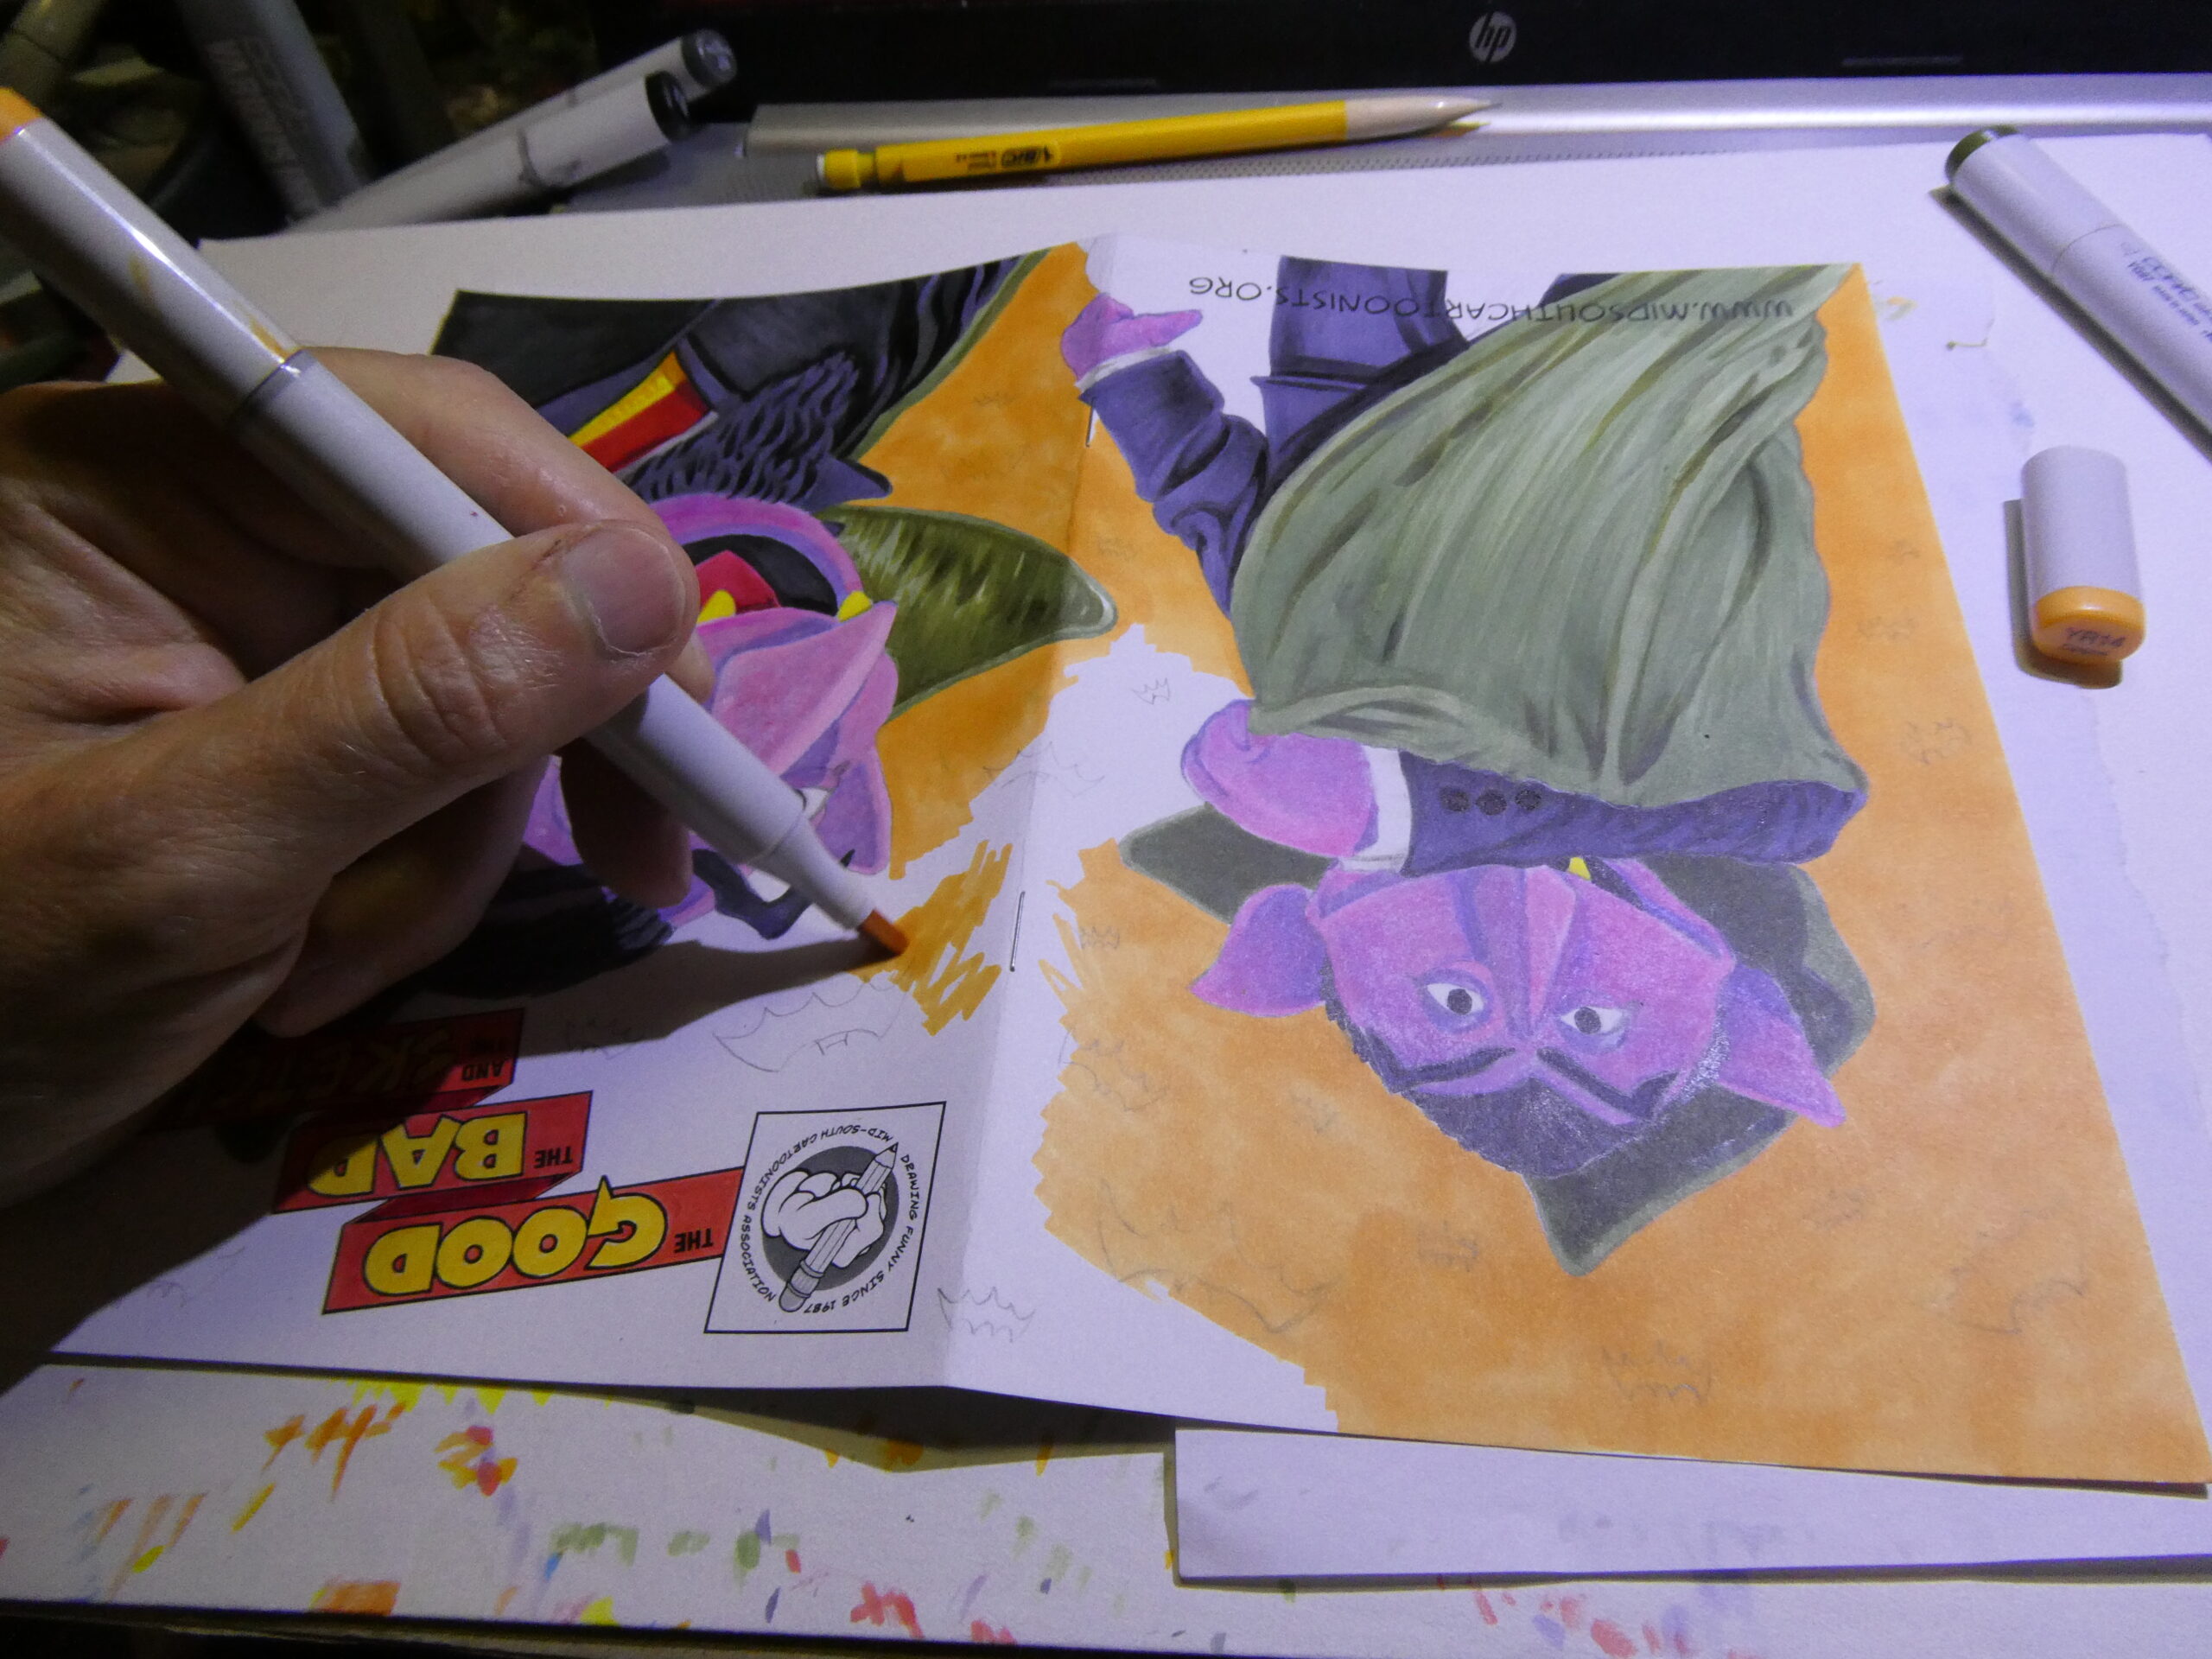
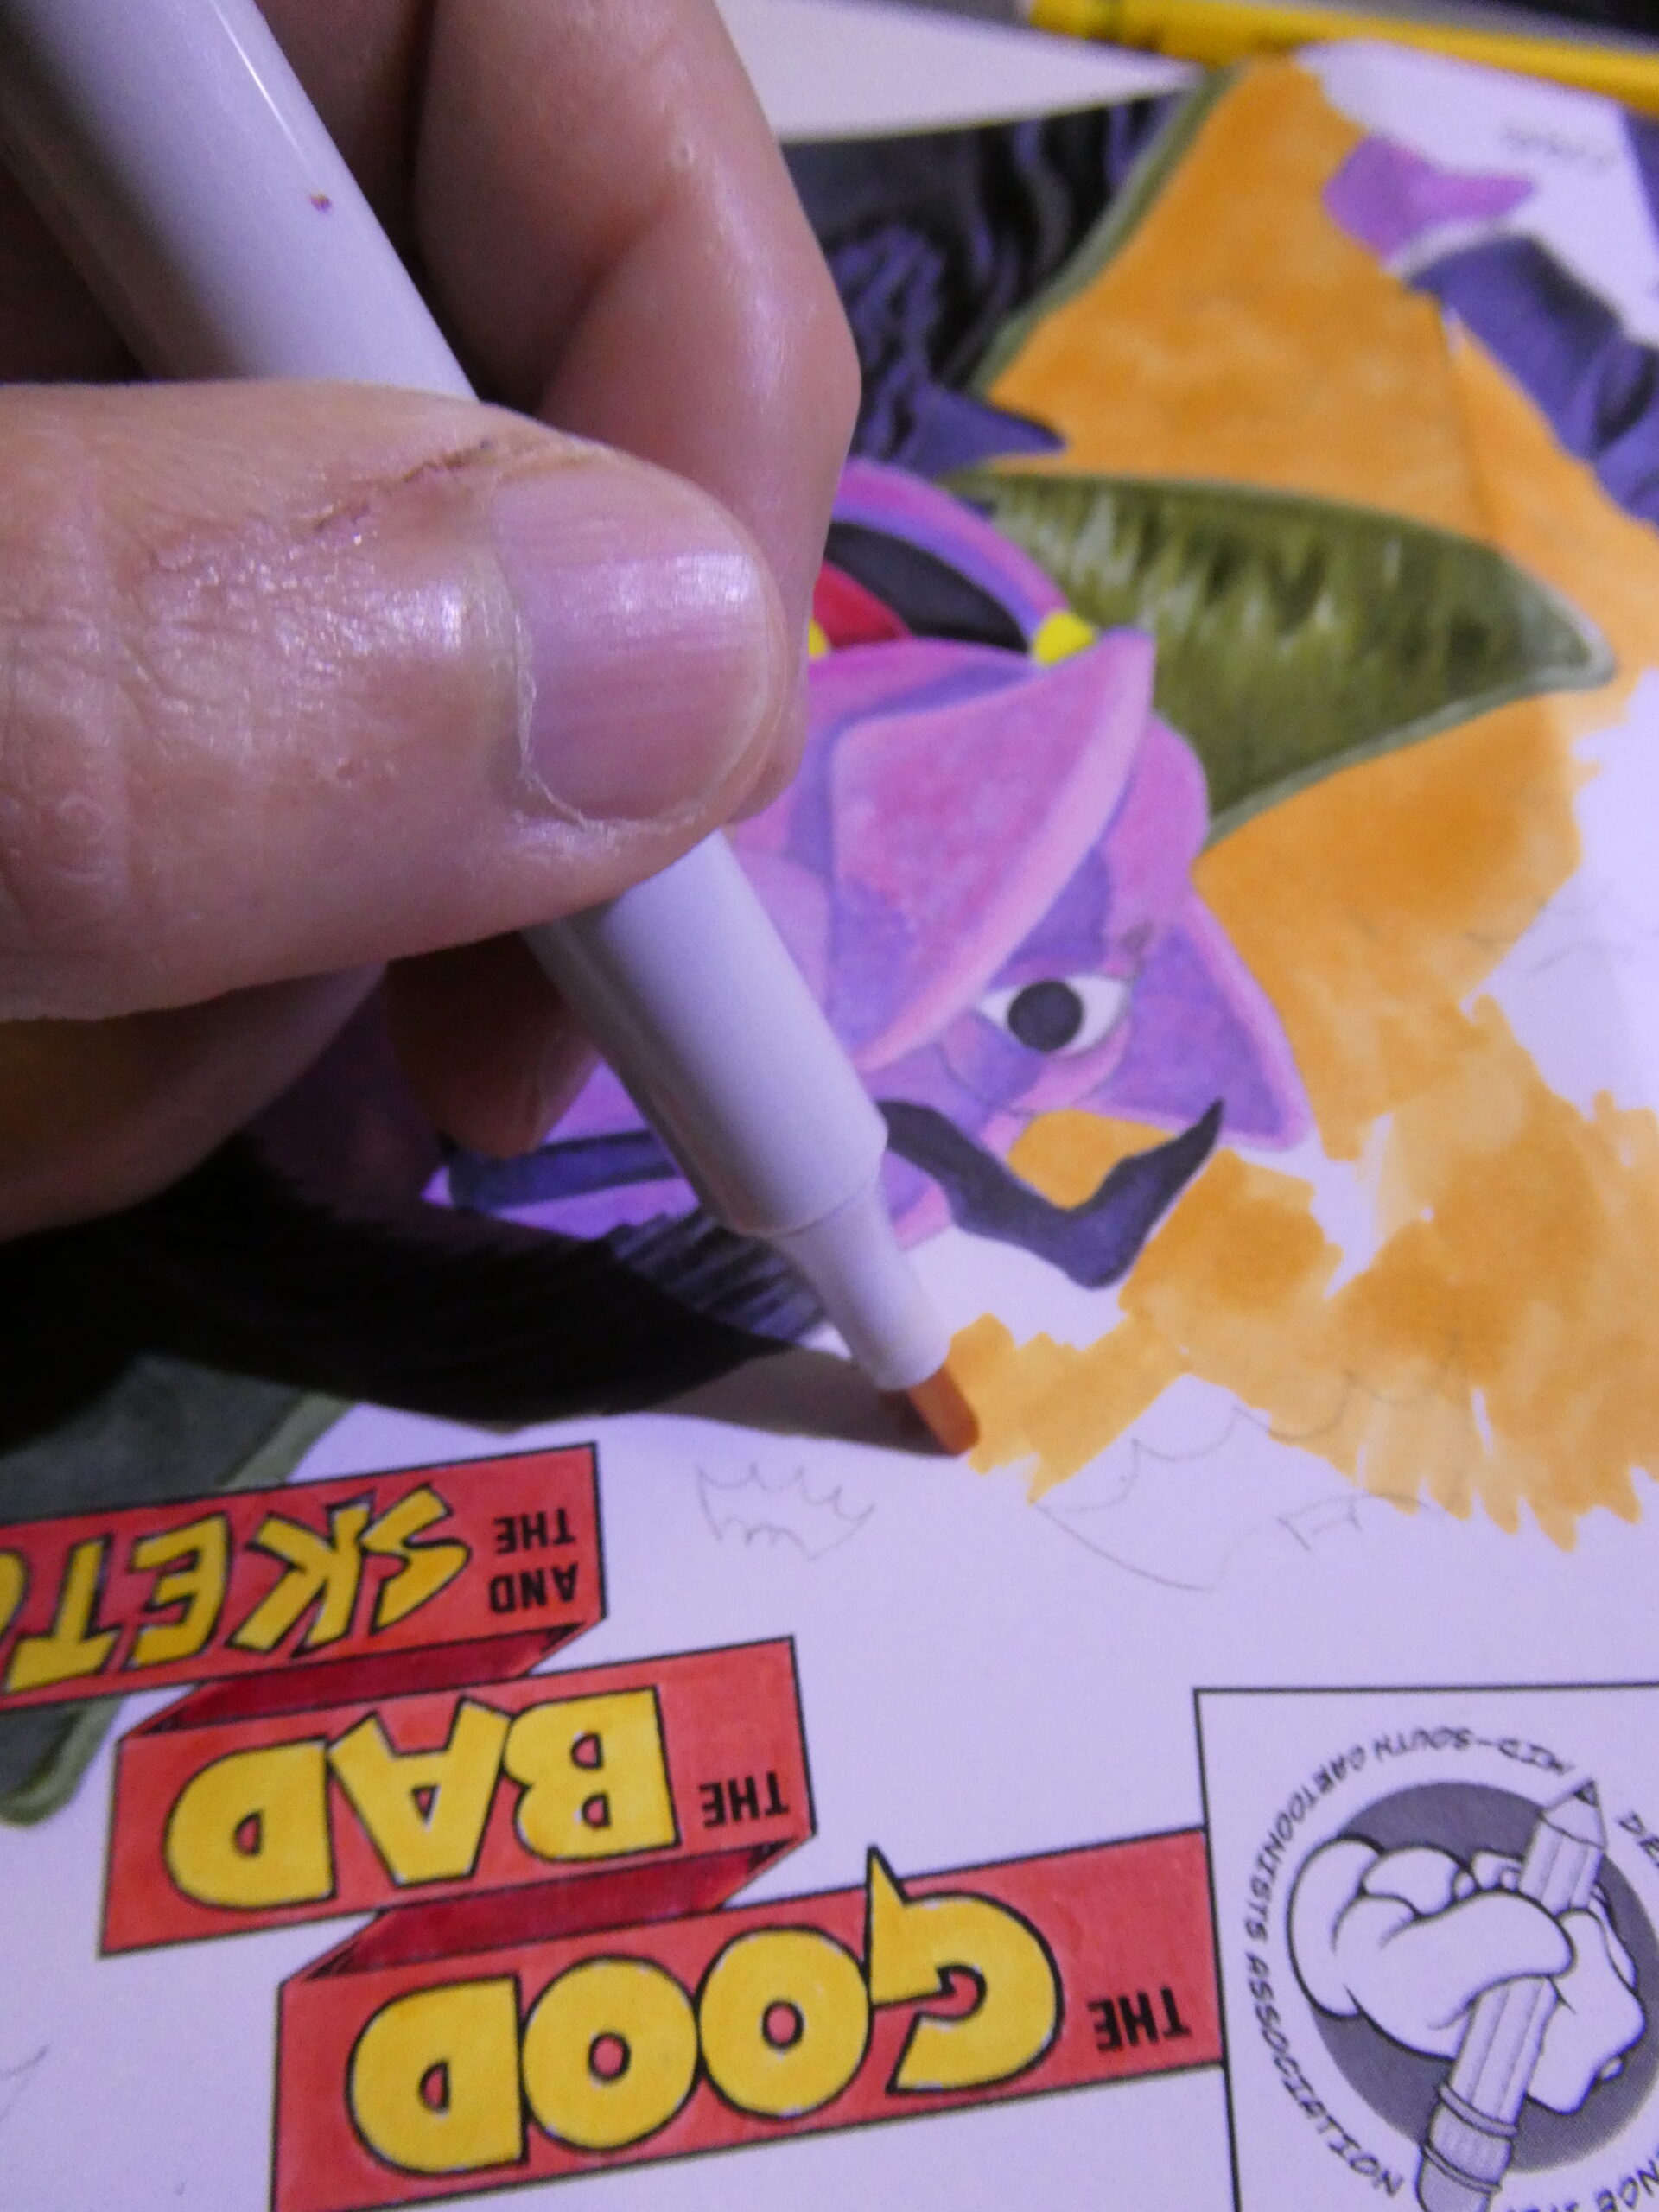

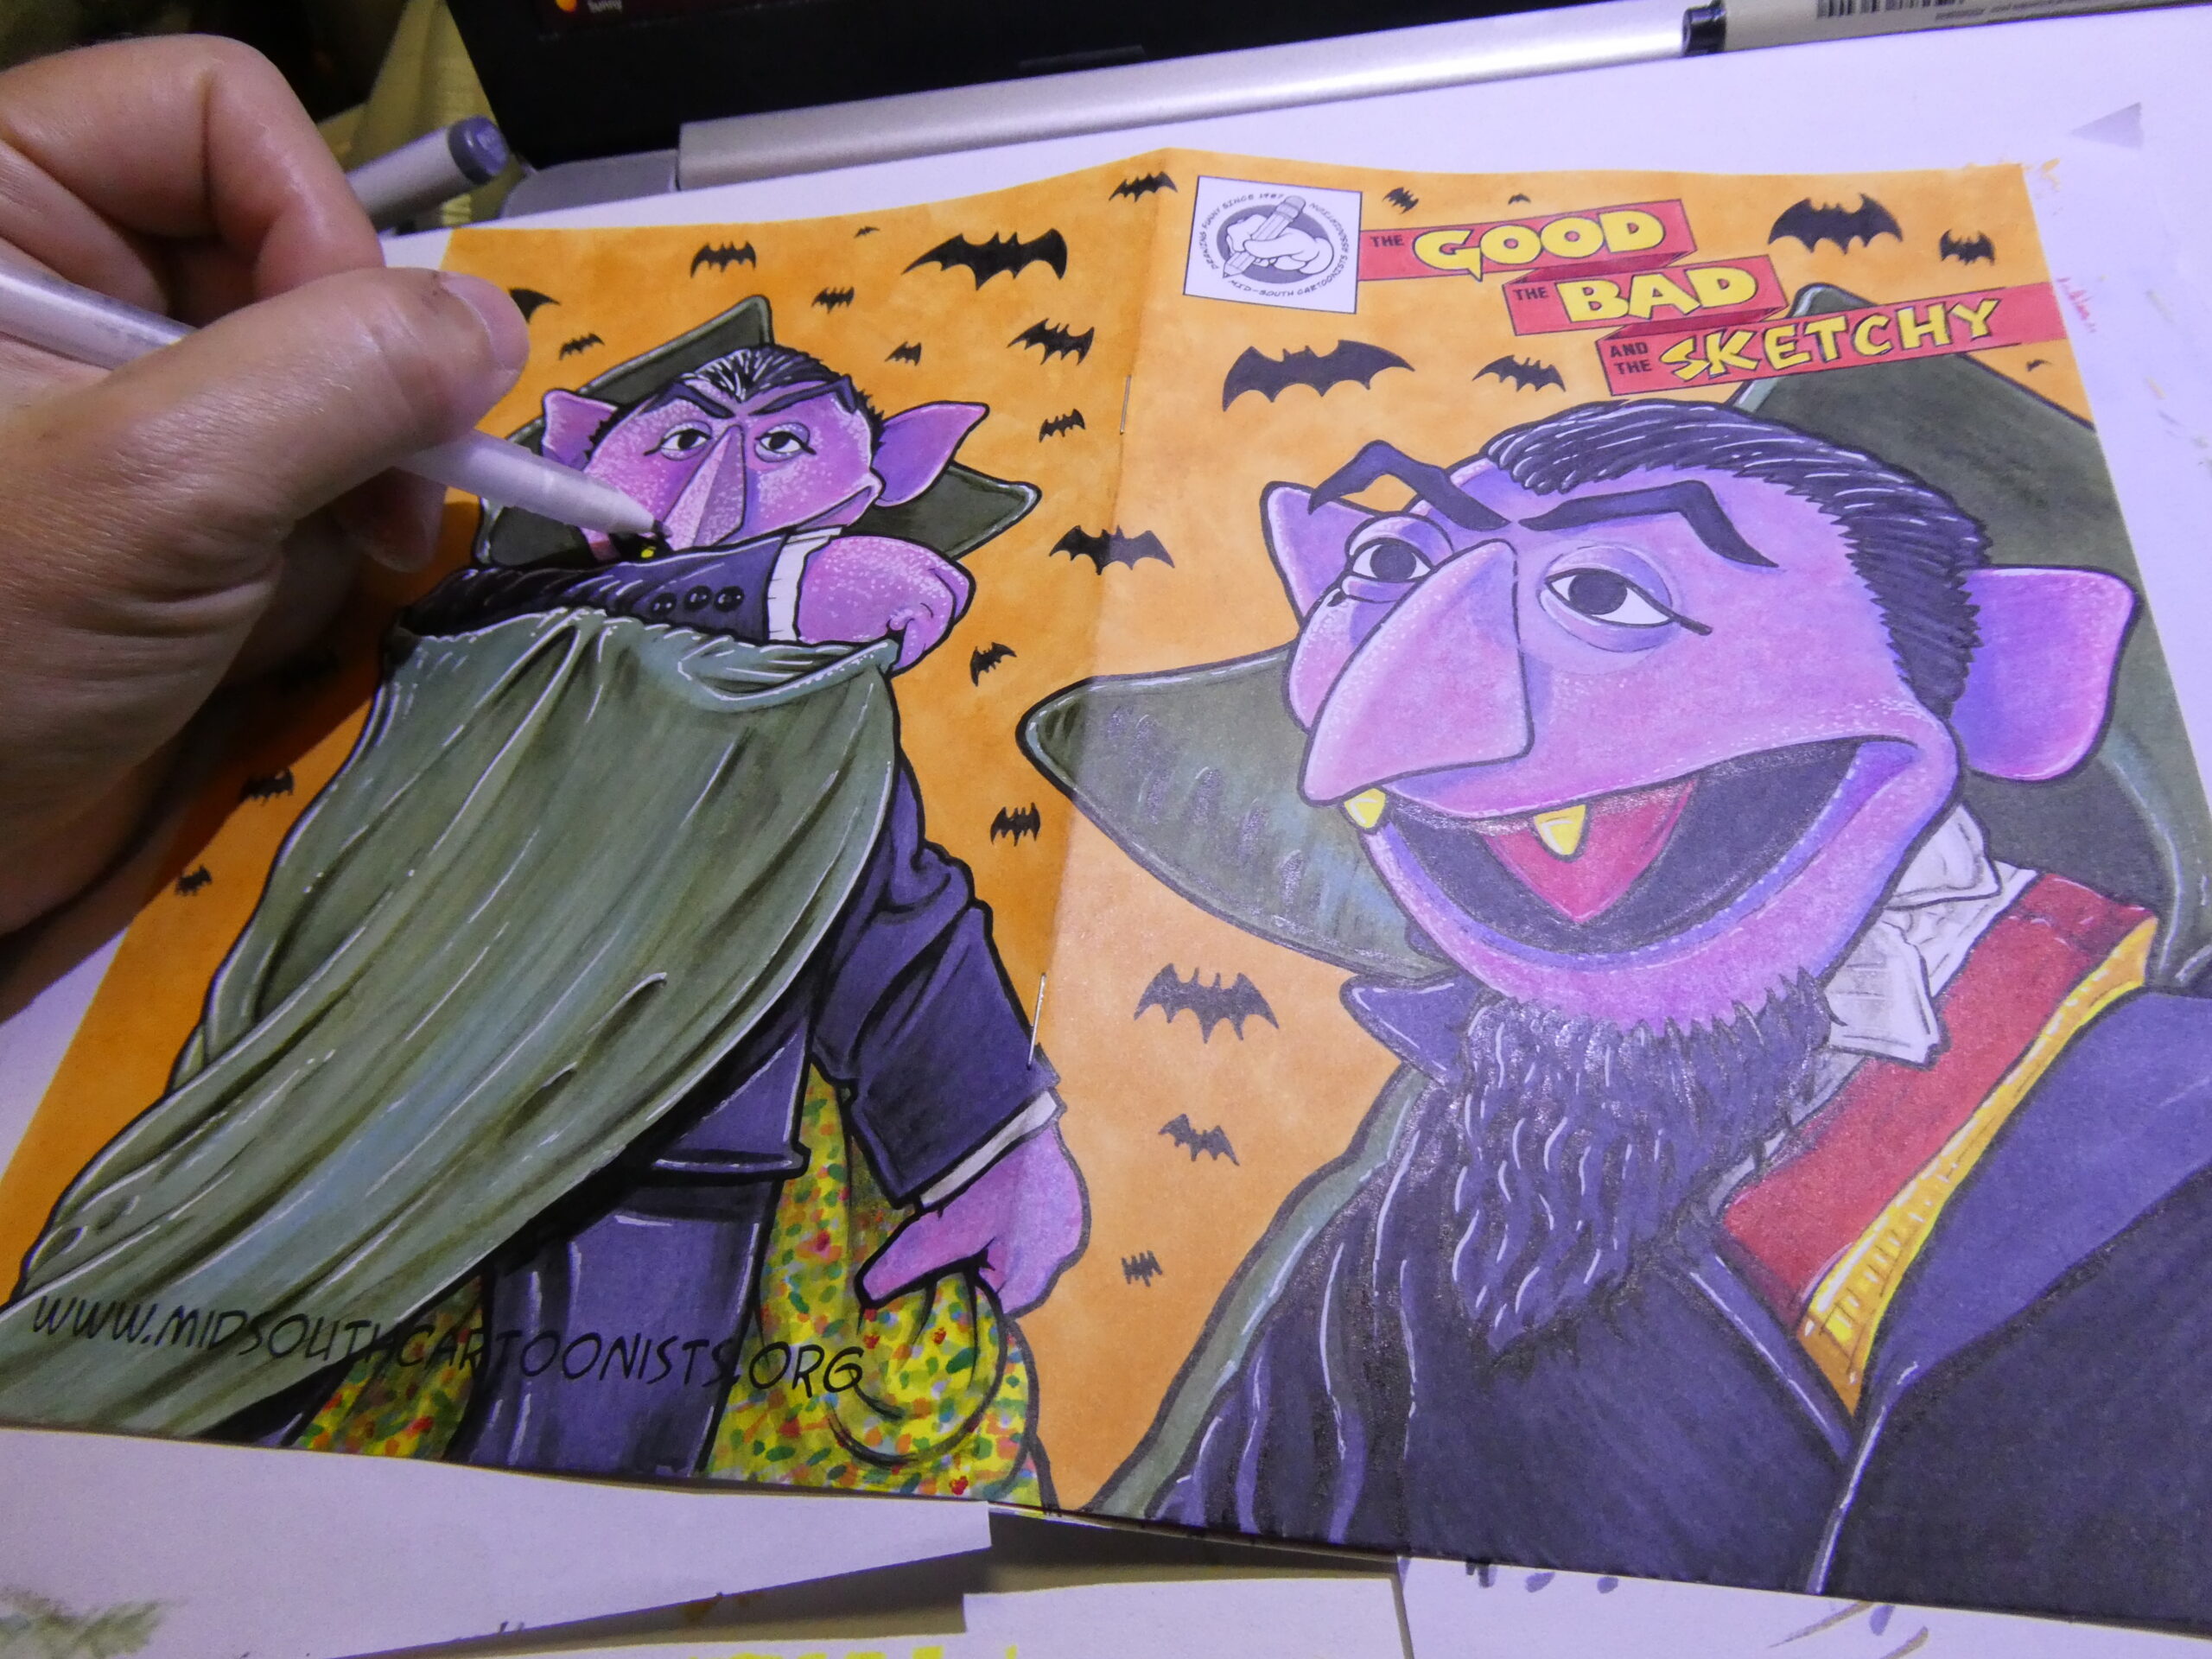
I used a Y38 honey golden yellow Copic marker to color in the background, and then took a YR61 bright orange Copic refill and some torn tissue to to add a bit of texture by dabbing it around on the paper. I’ve done this technique before on other covers and marker illustrations. It helps to add a bit of interest to the solid color background. You don’t have to color in the whole background. Just a bit of color around the figure can help it to stand out in your drawing. Sometimes a background with “high/low” spots can be interesting. If you’re not sure, just experiment and have fun. You can always do a test of your effect or color combinations on a separate sheet of paper before drawing the final background. For this one I wanted it to have a Halloween feel, and figured the orange would go well with the greens, greys, and purples.
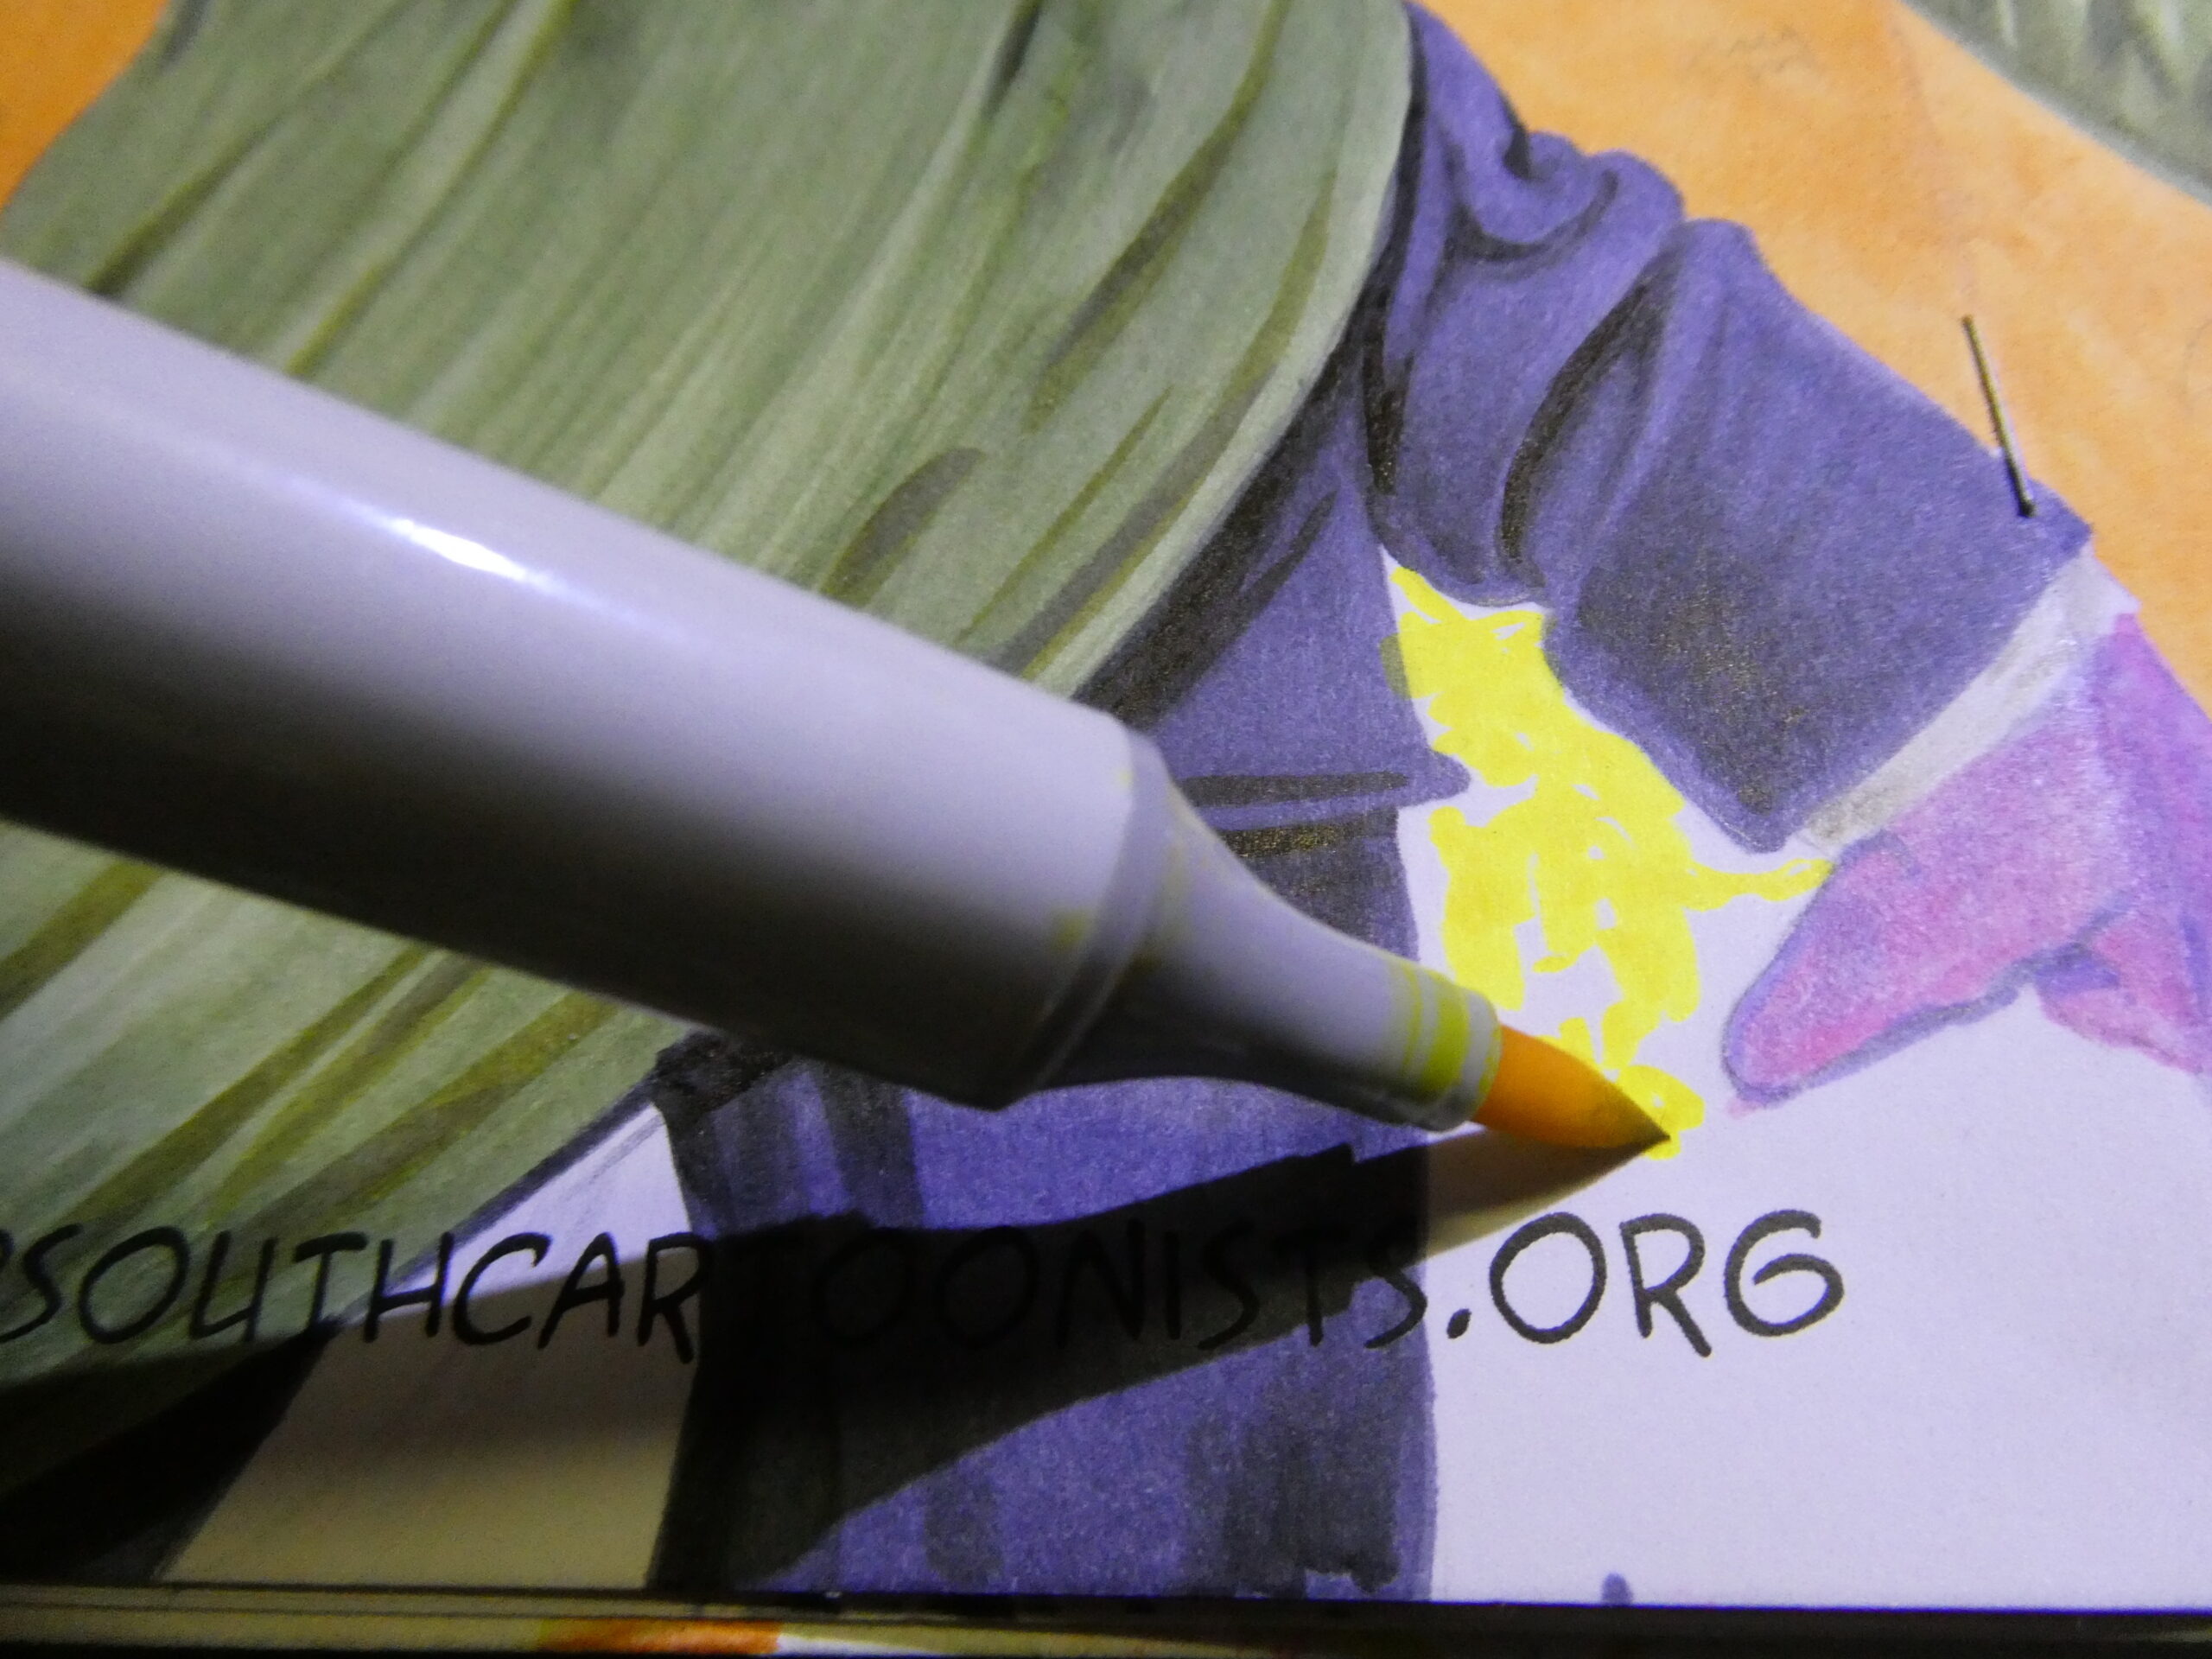
Once the background was colored, I then started to work on the inside of his cape with some bright yellow. I left some white showing through here and there for other colors to go over.
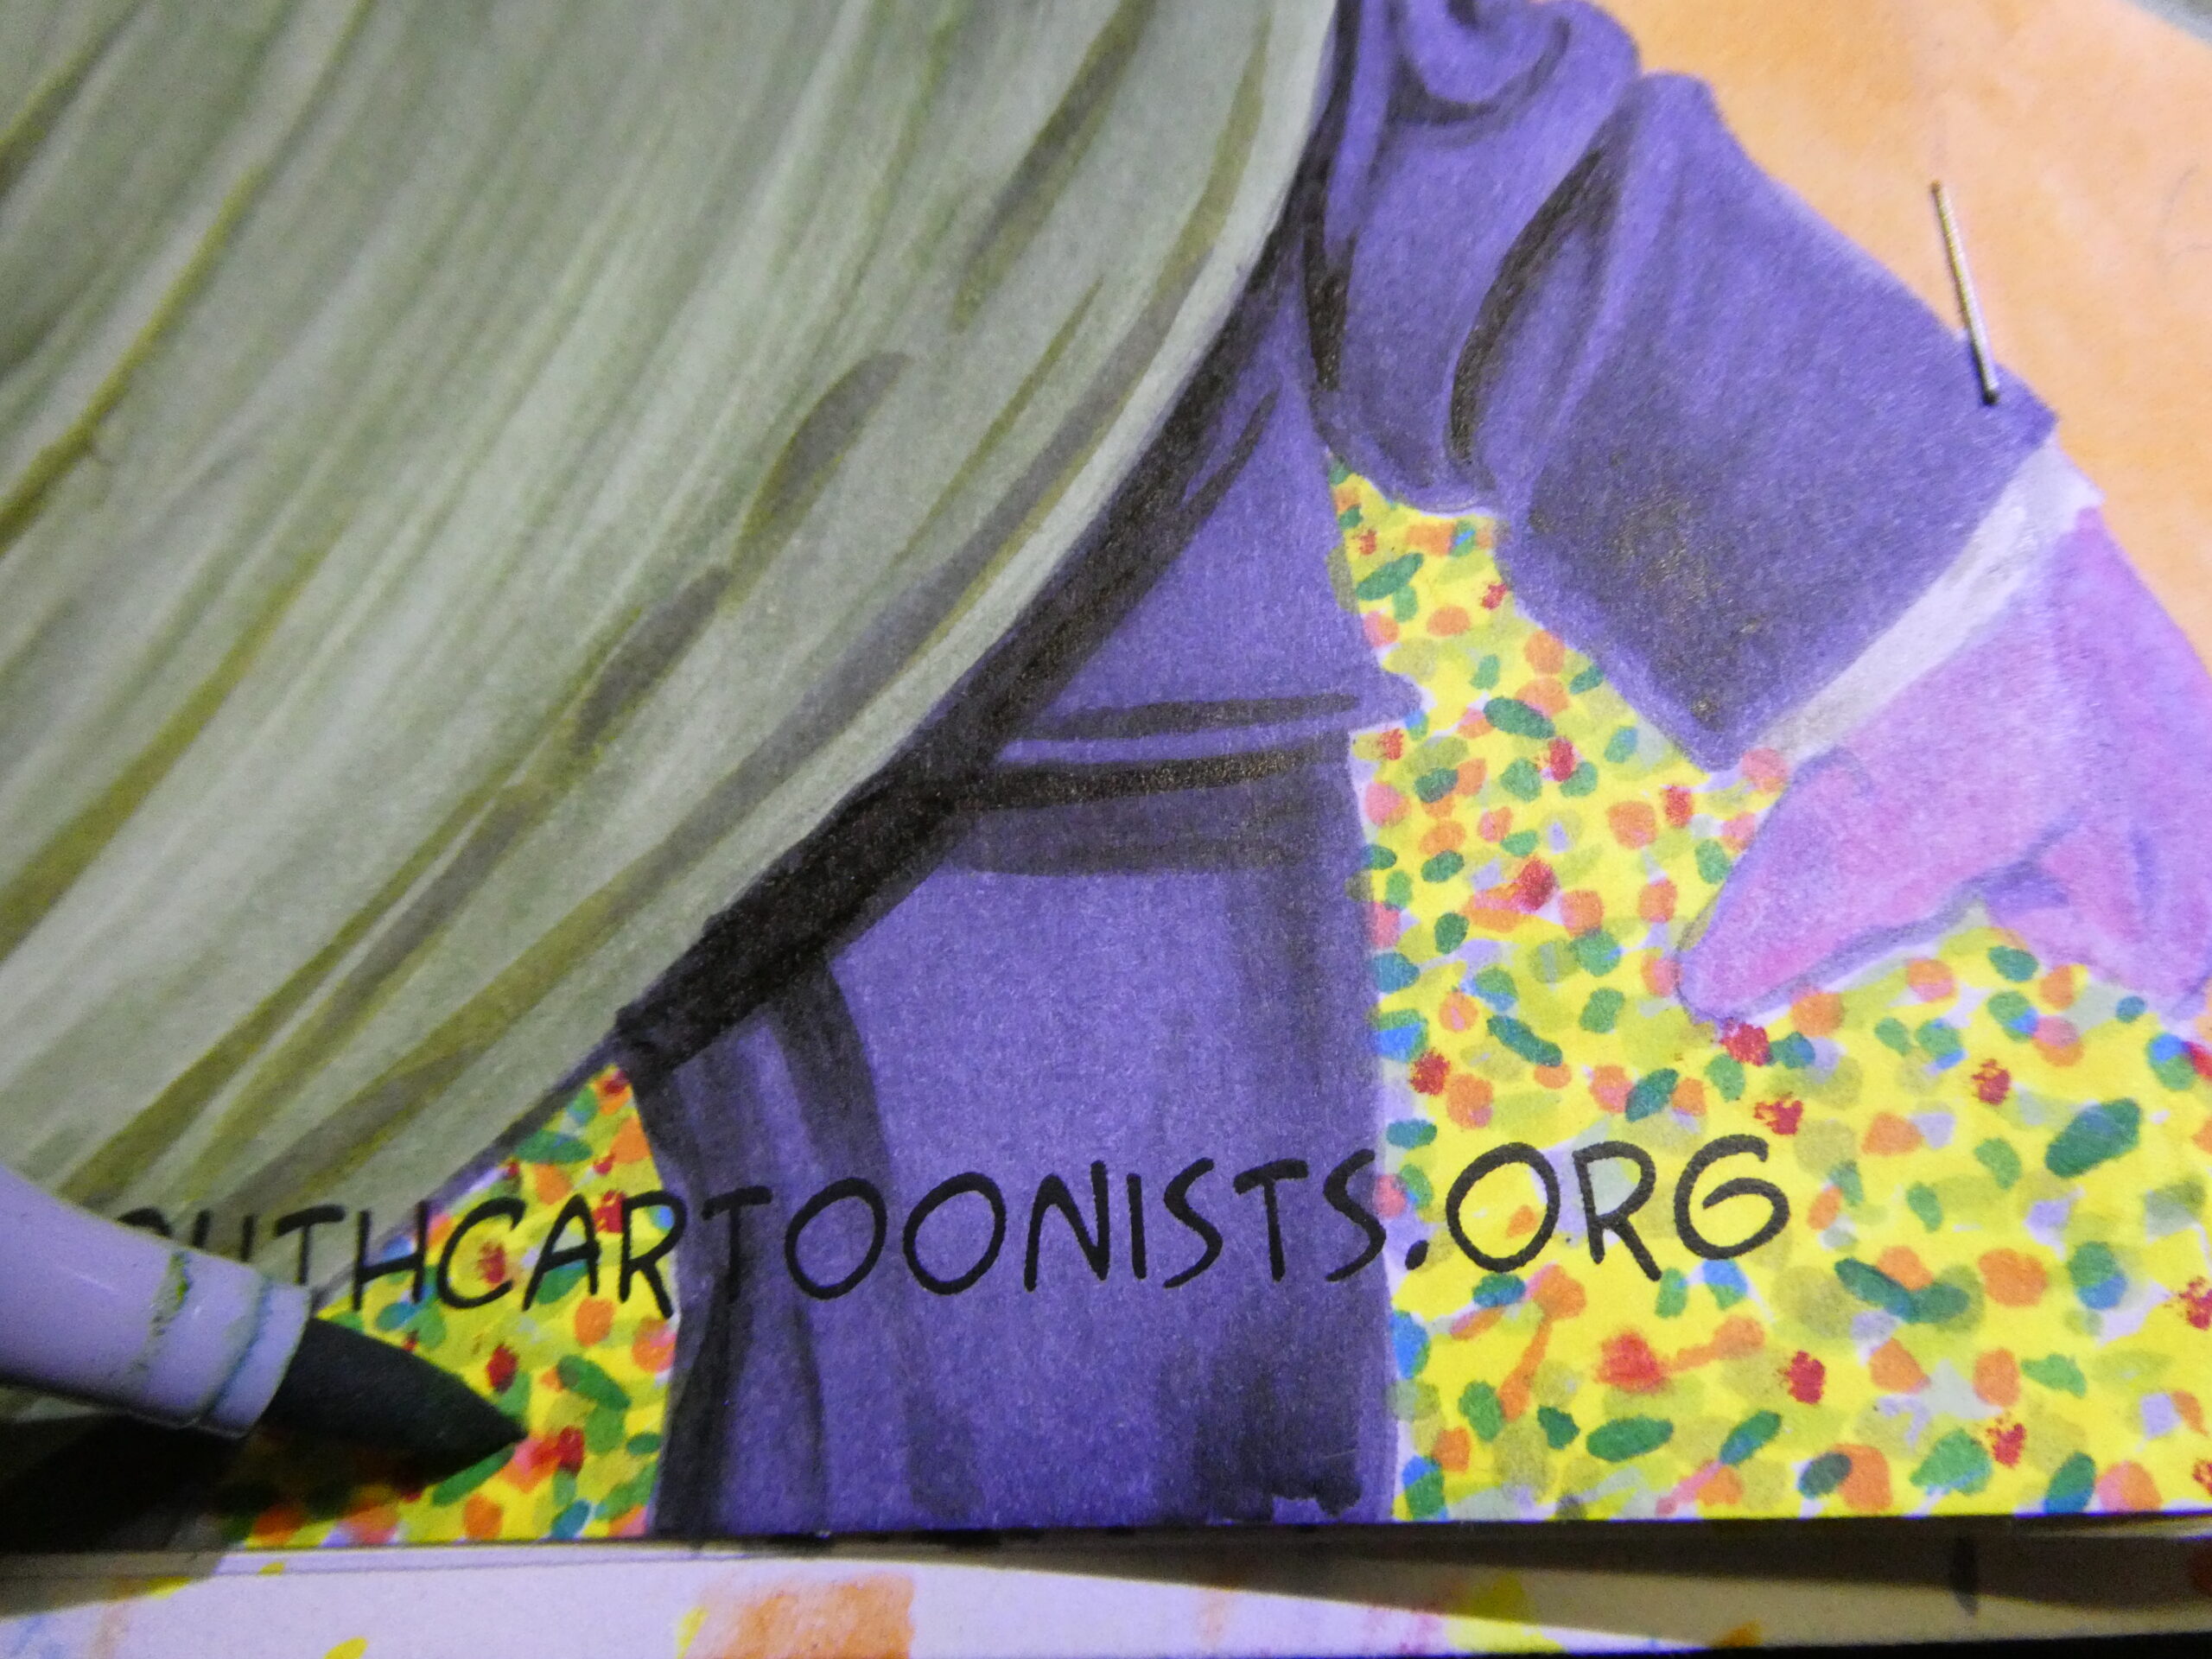
I then used some reds, blues, greens, and orange to make the pattern. I tried not to replicate the material’s design exactly, but do more of a simplified impression of it. I wanted to to be there, but not be too distracting with a lot of details. I also went back over the outside of the cape with a light blue marker to tone down the greens.
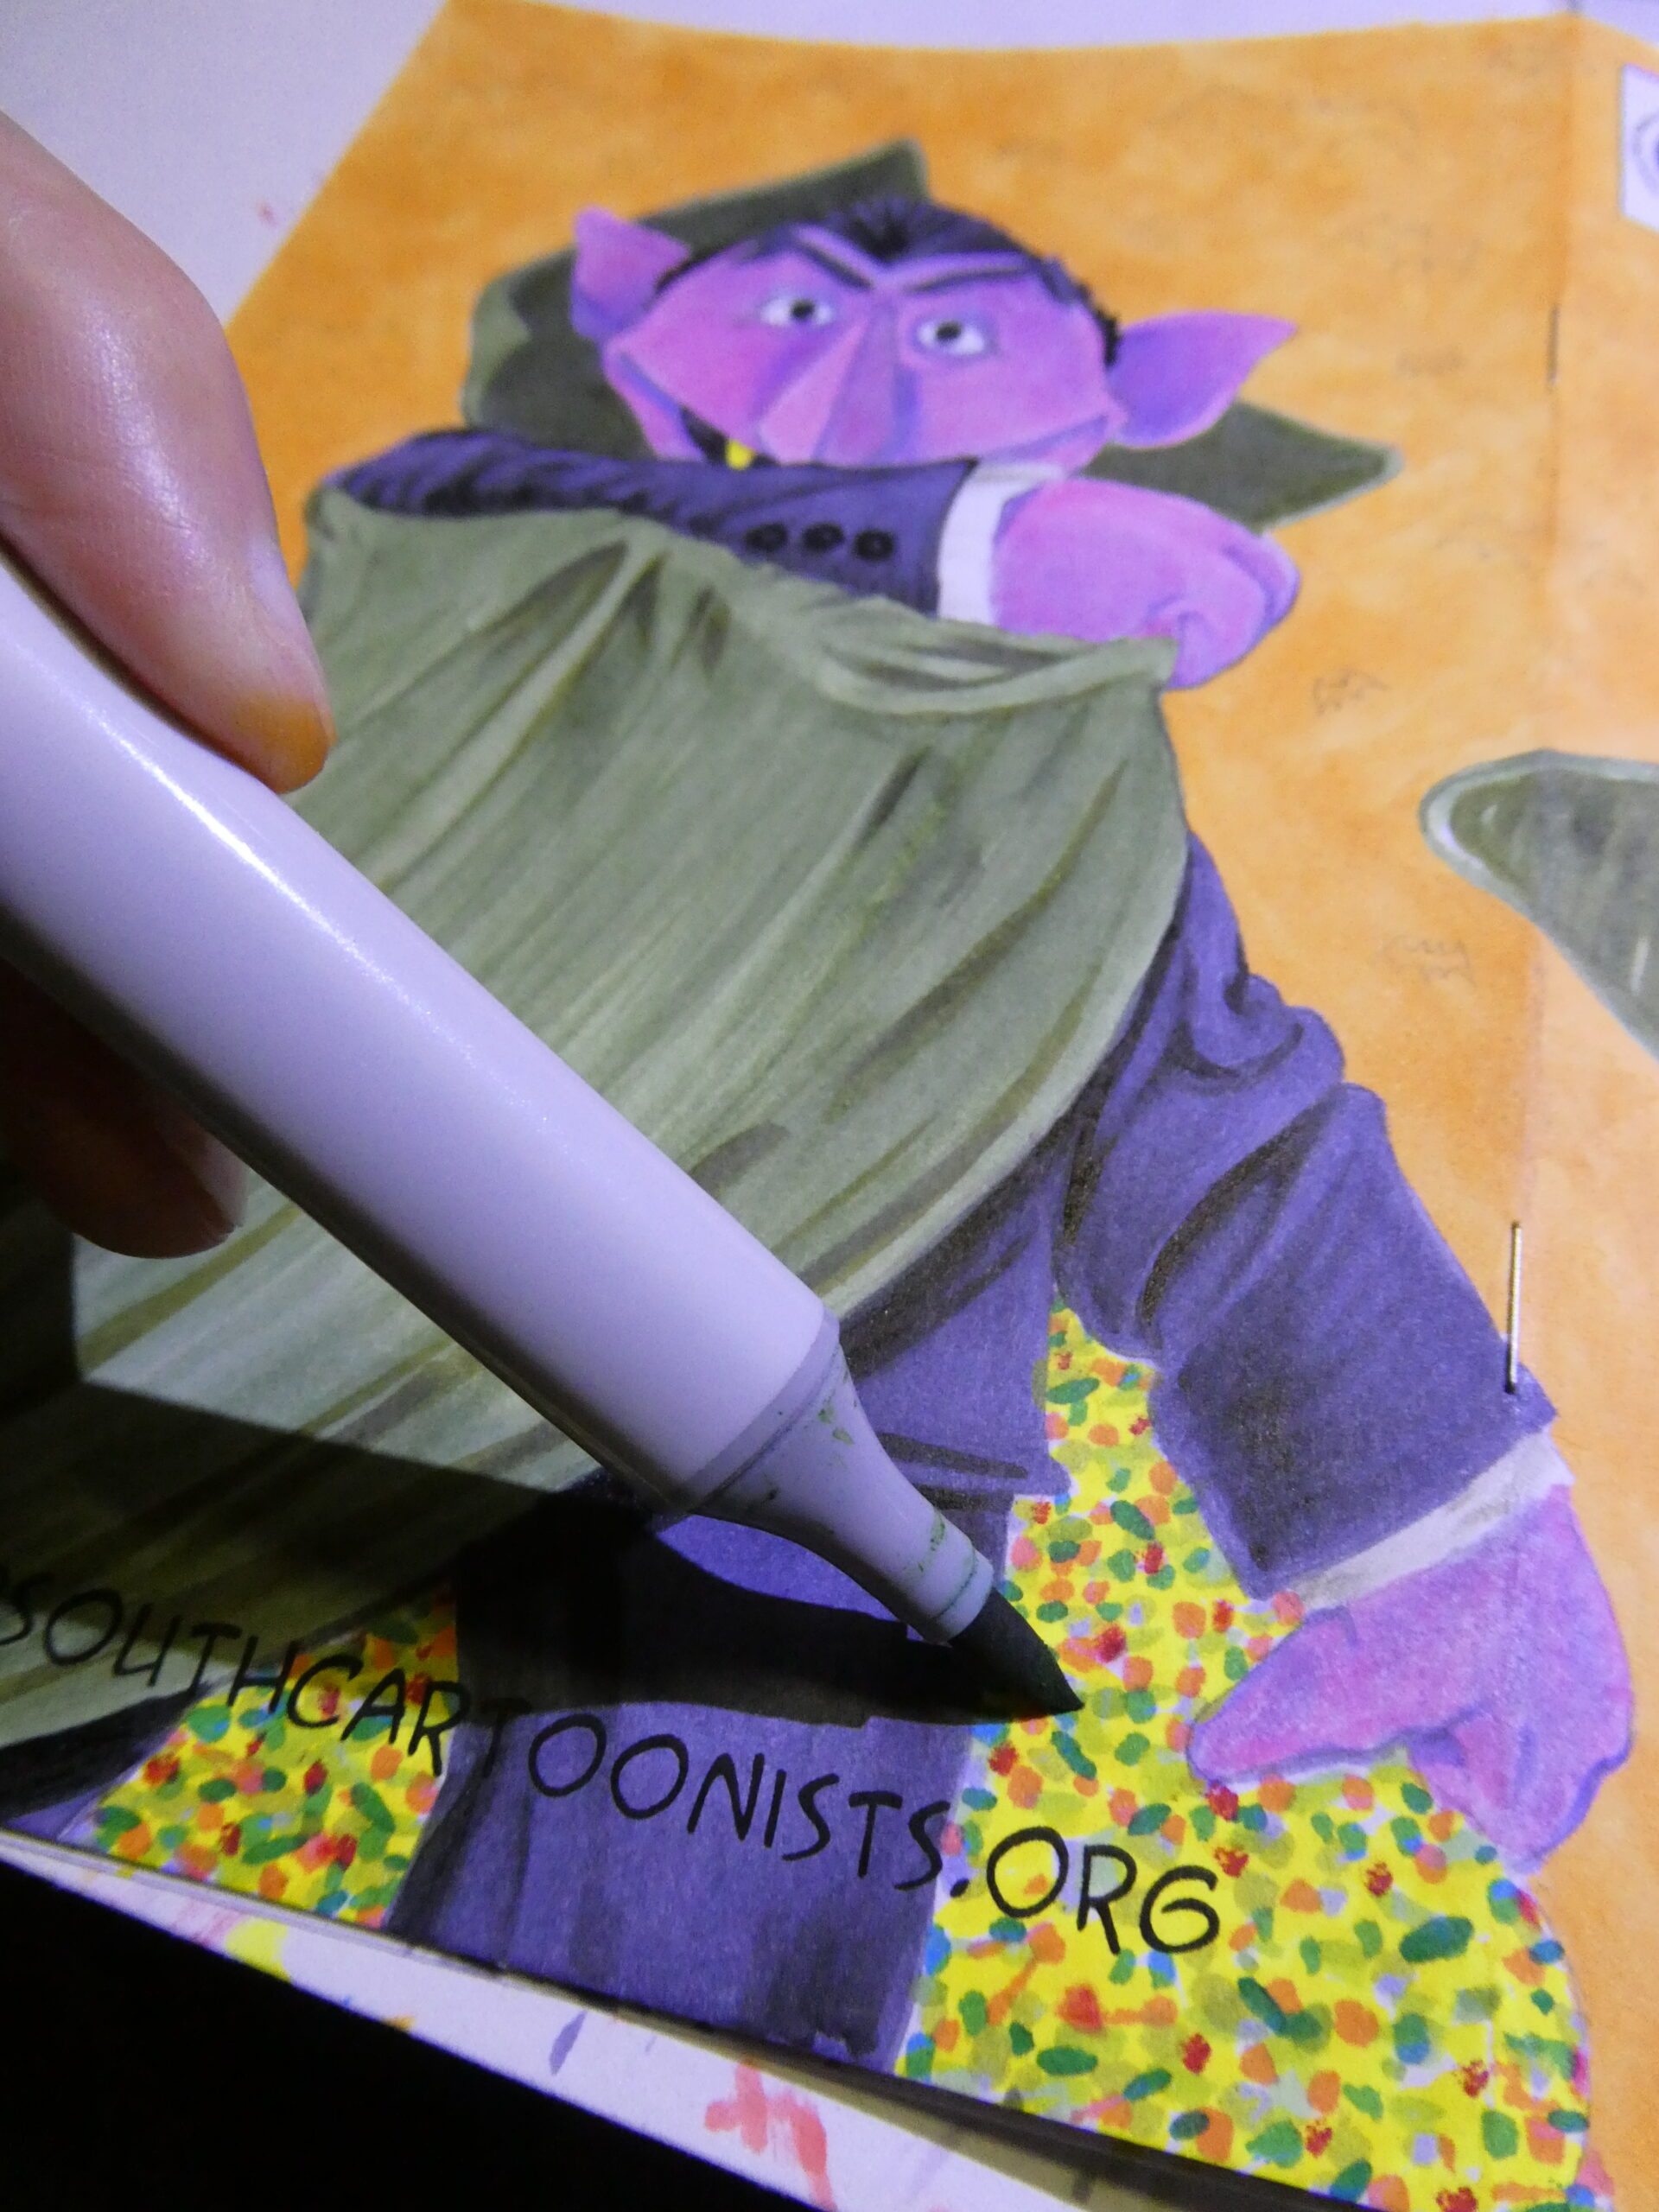
I then used a few different grey markers to add some shadows on the cape.
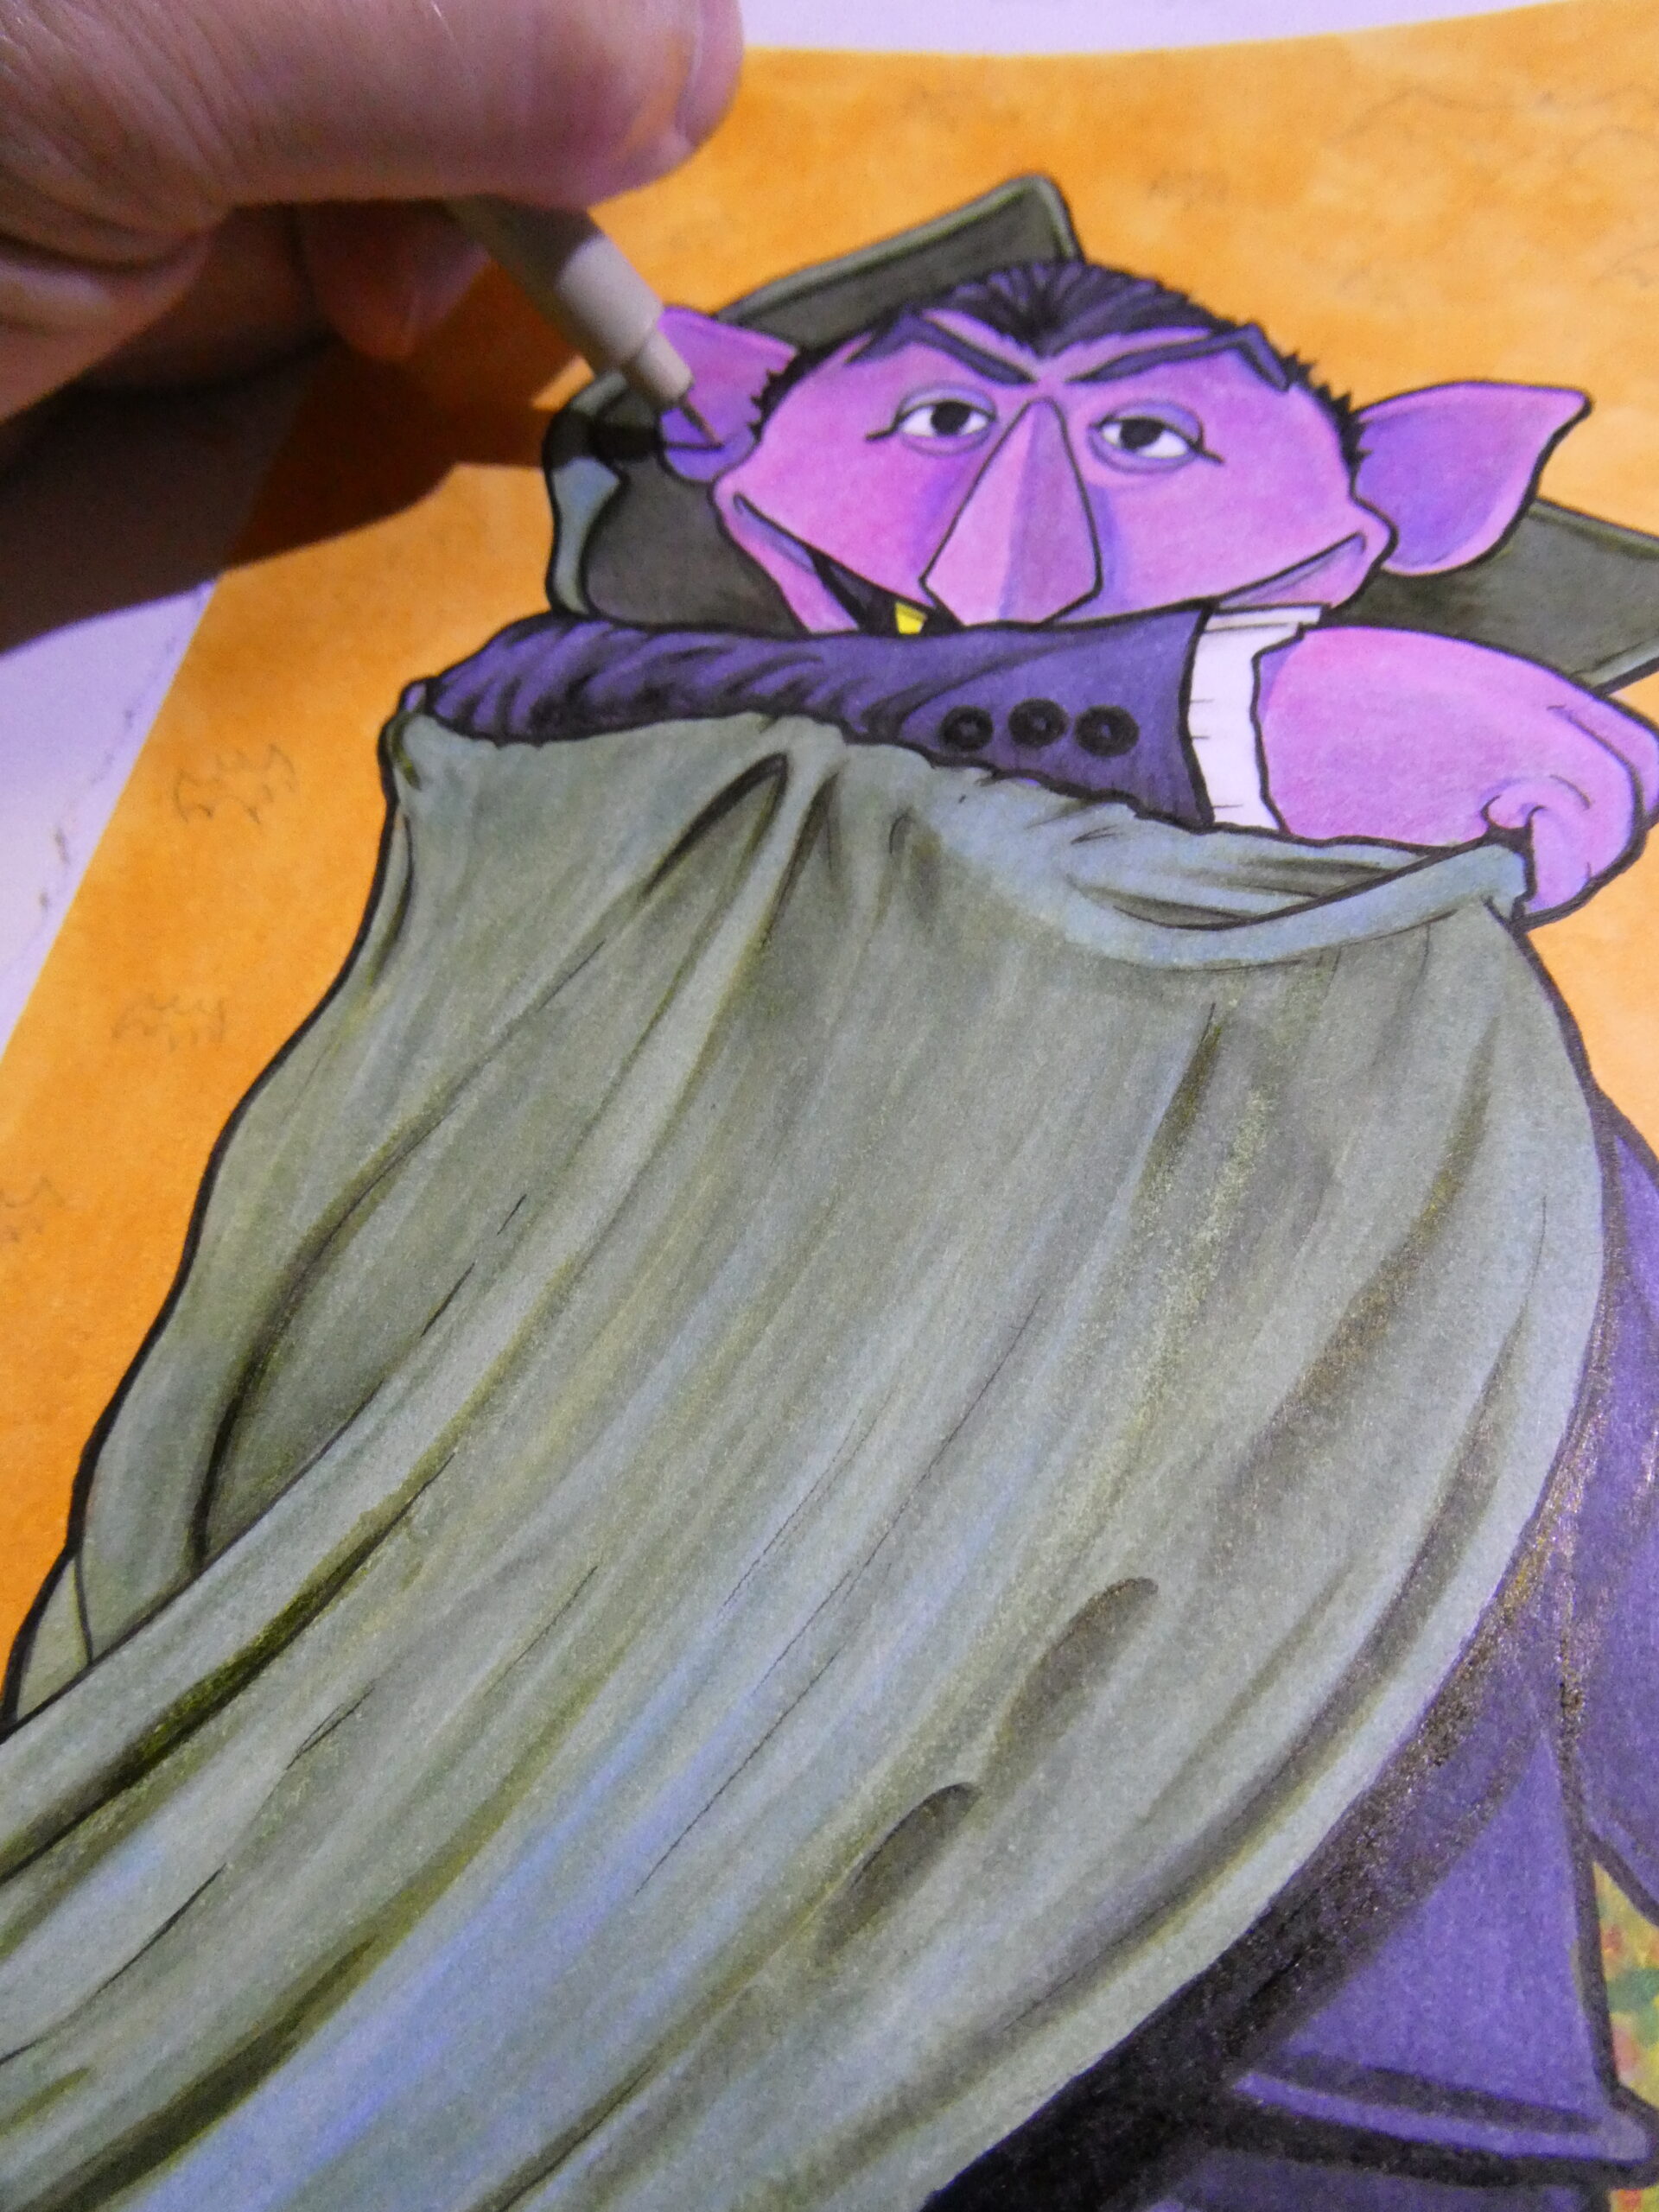
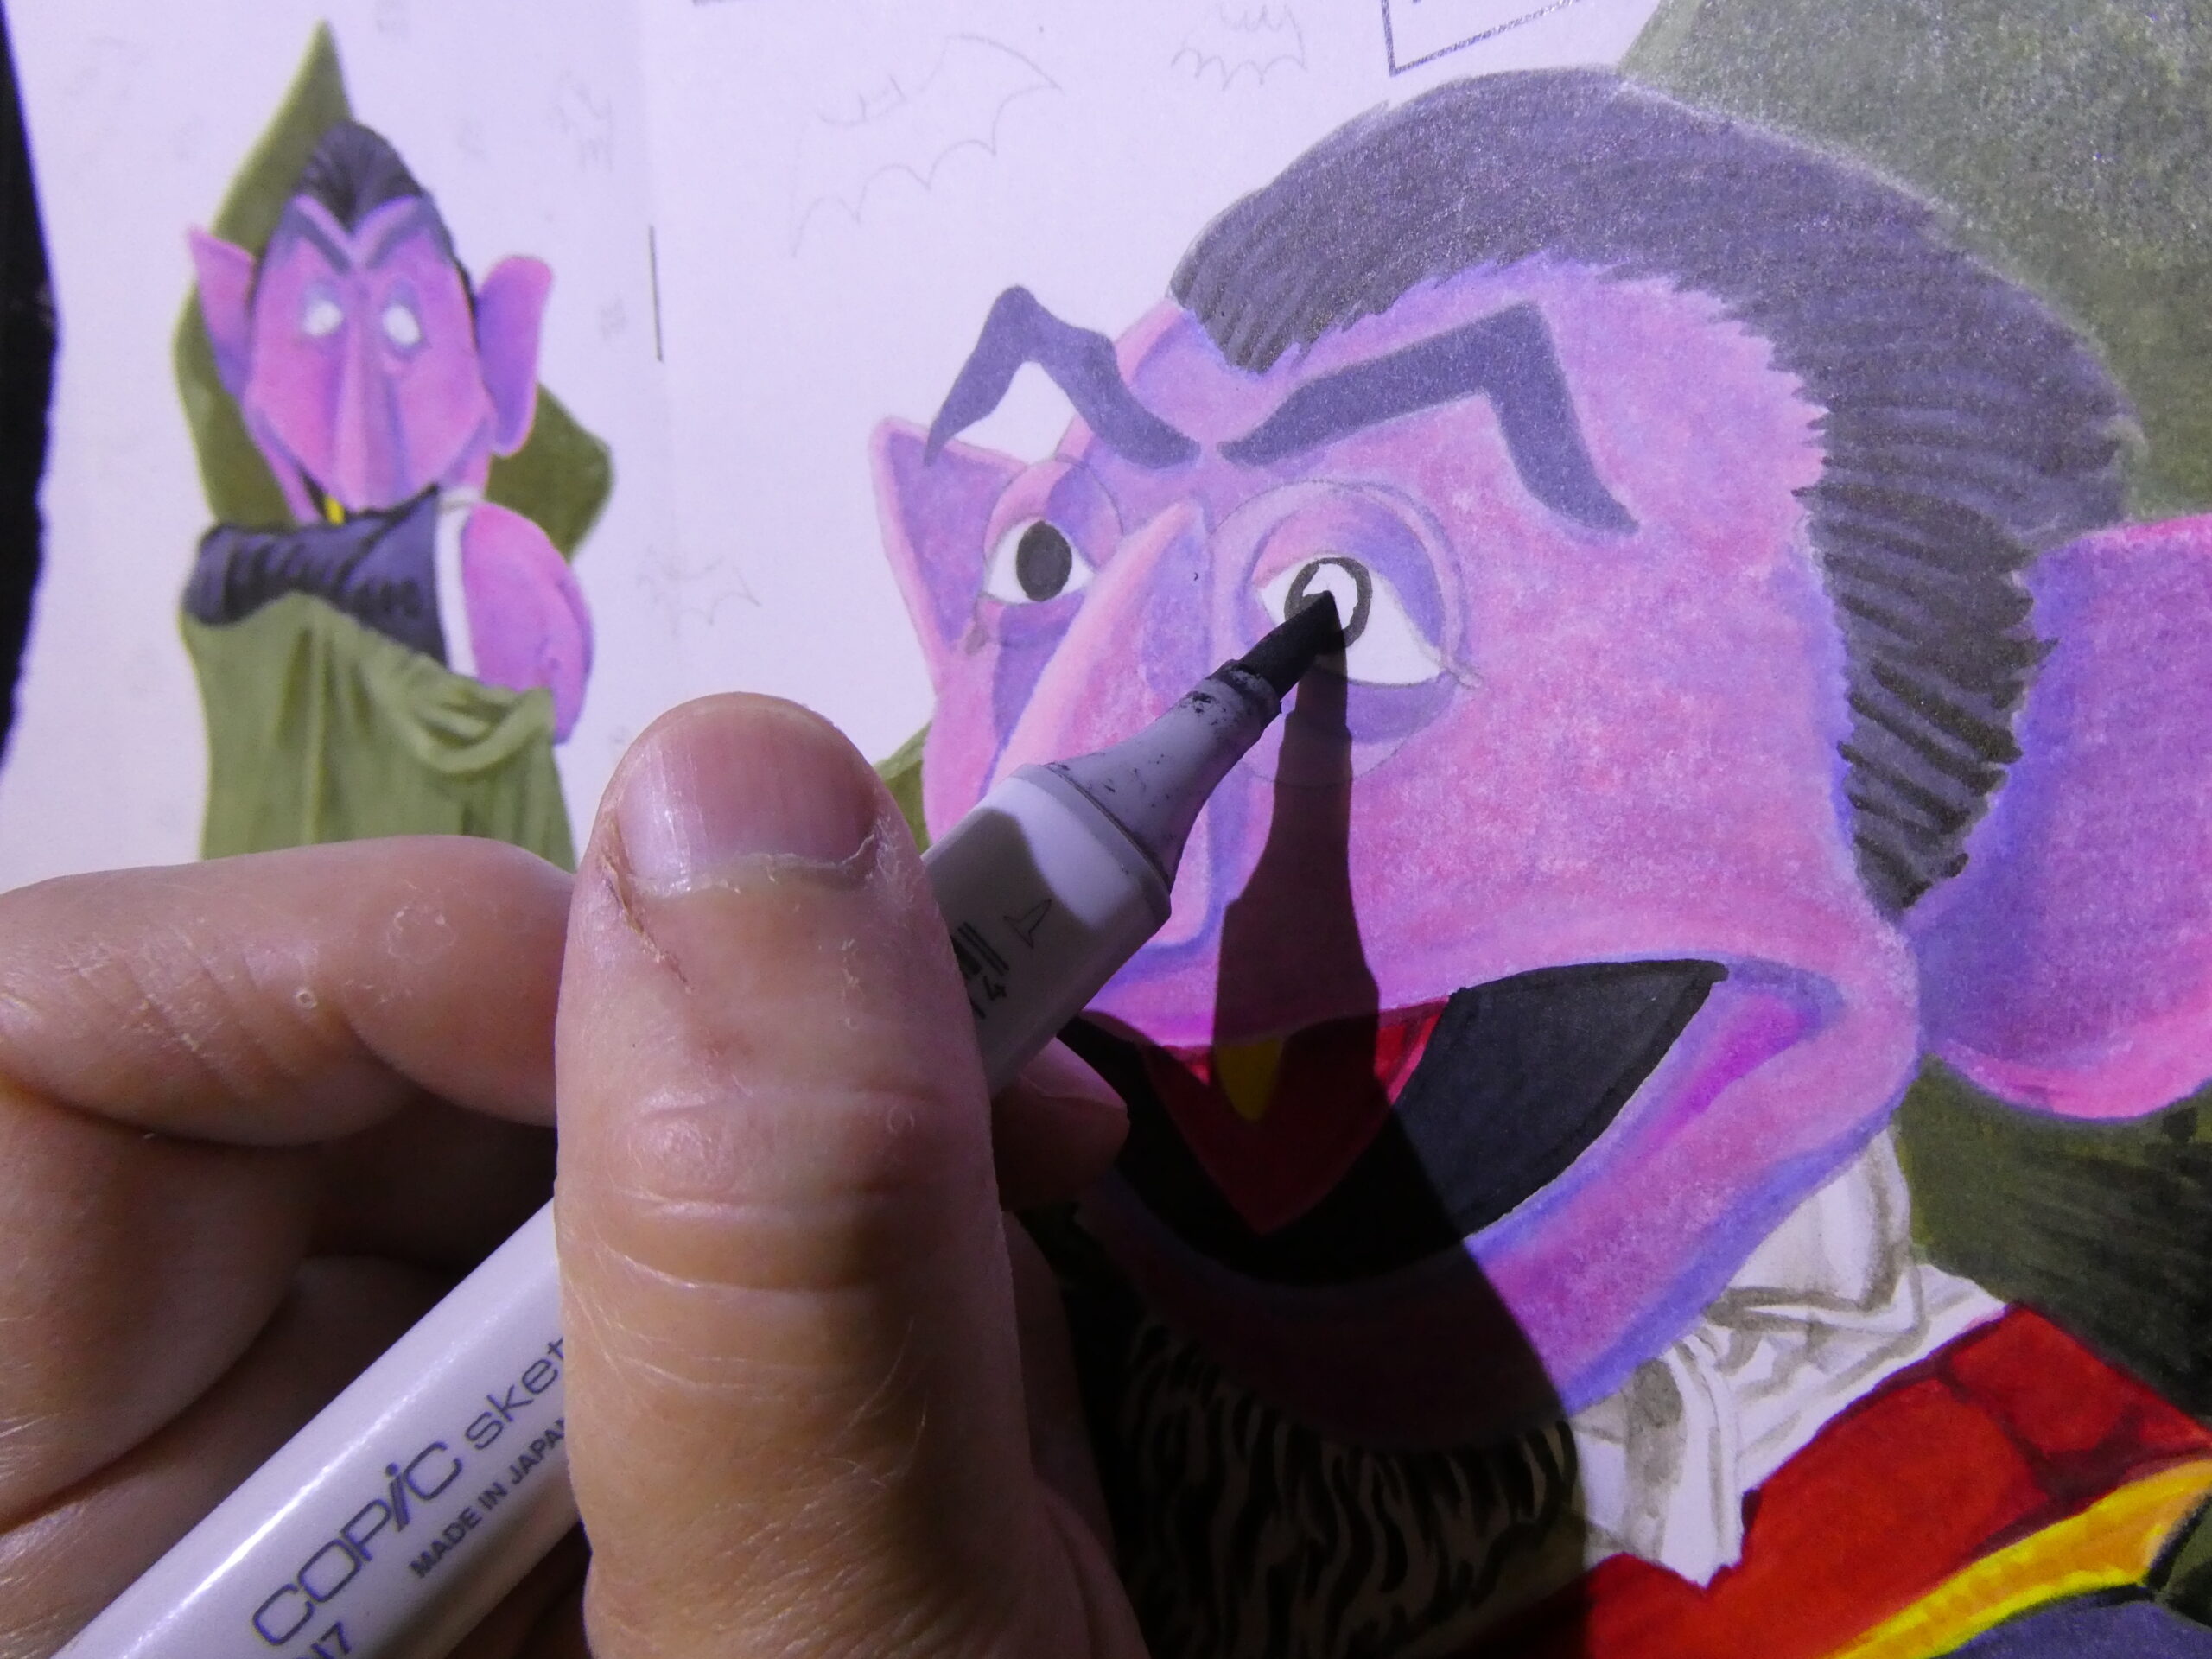
Then it was time to ink the black lines with a Pigma Micron pen. I did his outlines and all the background bats with an 03 sized pen nib. For the Muppets, I tend to go a bit thicker on my lines than if I was drawing a human. I’m not a big fan of my inking, and it’s probably the part of drawing I like the least.
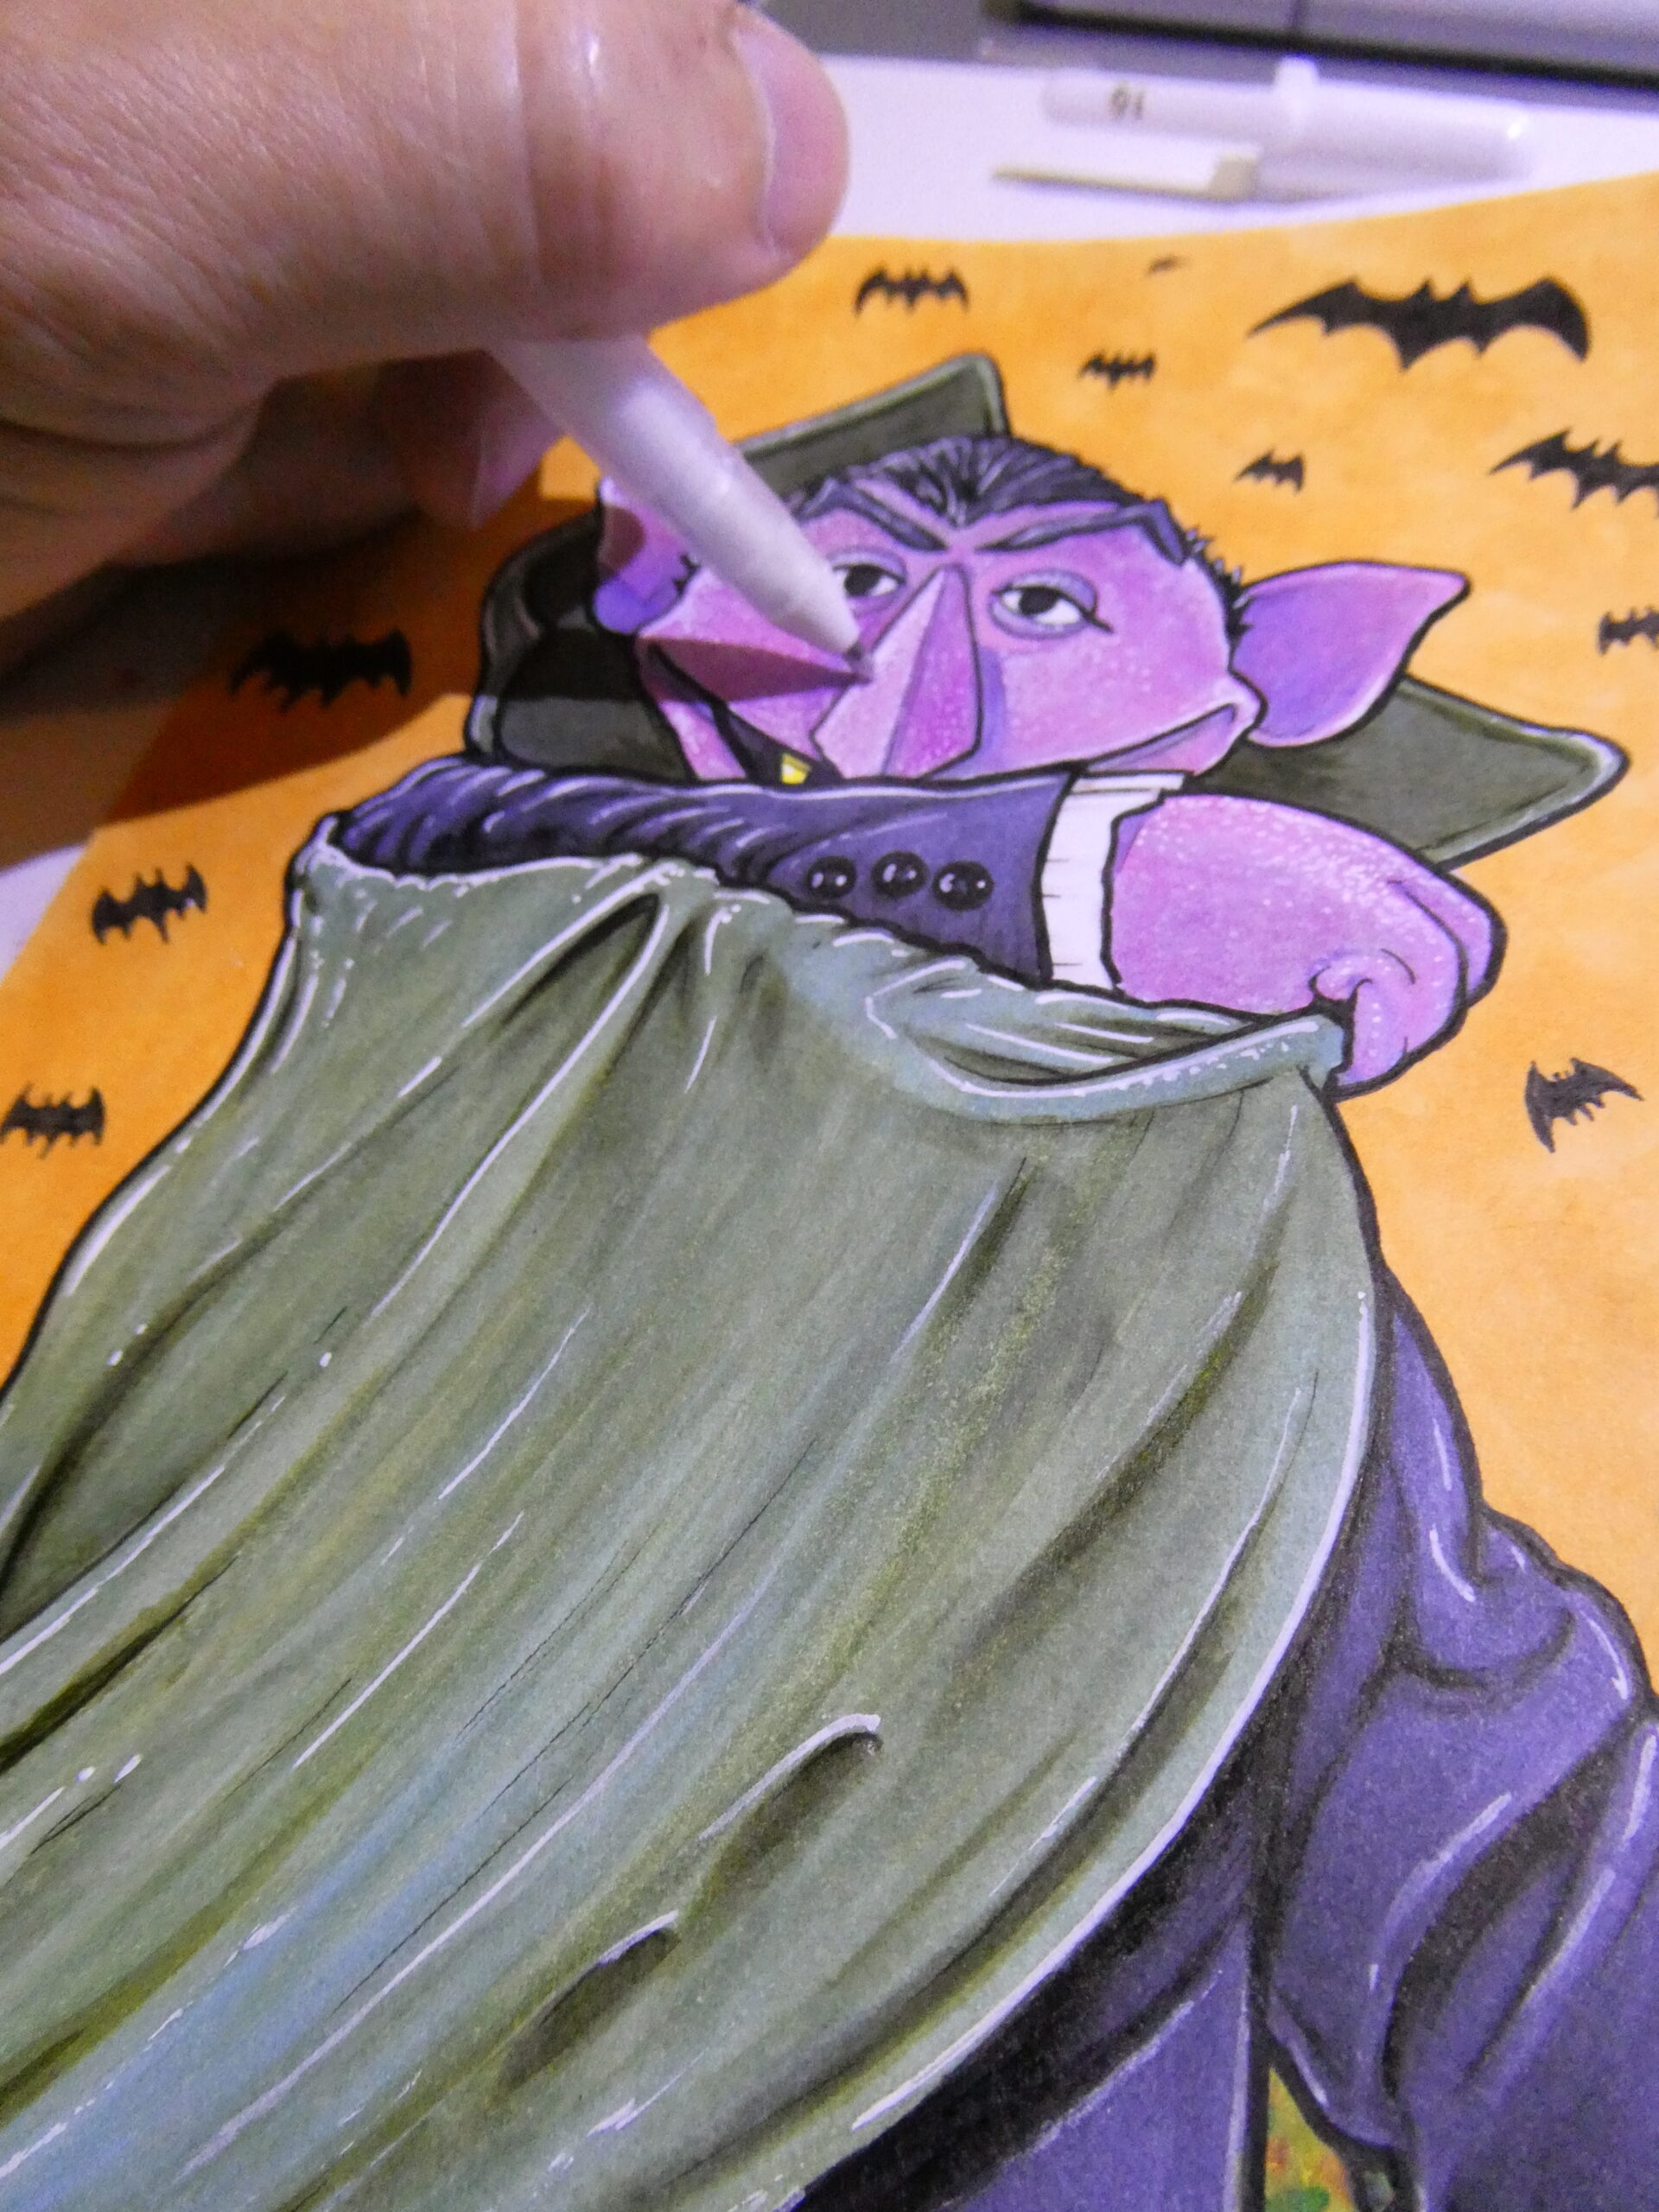
Once the inking stage was complete, I then used a white Gelly Roll pen to do the highlights. I tried to do a bit of stippling to replicate the fleece look. Sometimes I’ll tough the white with the tips of my fingers to pick back up some of the white. You need to be careful not to smudge the highlights, just tone them down a bit.
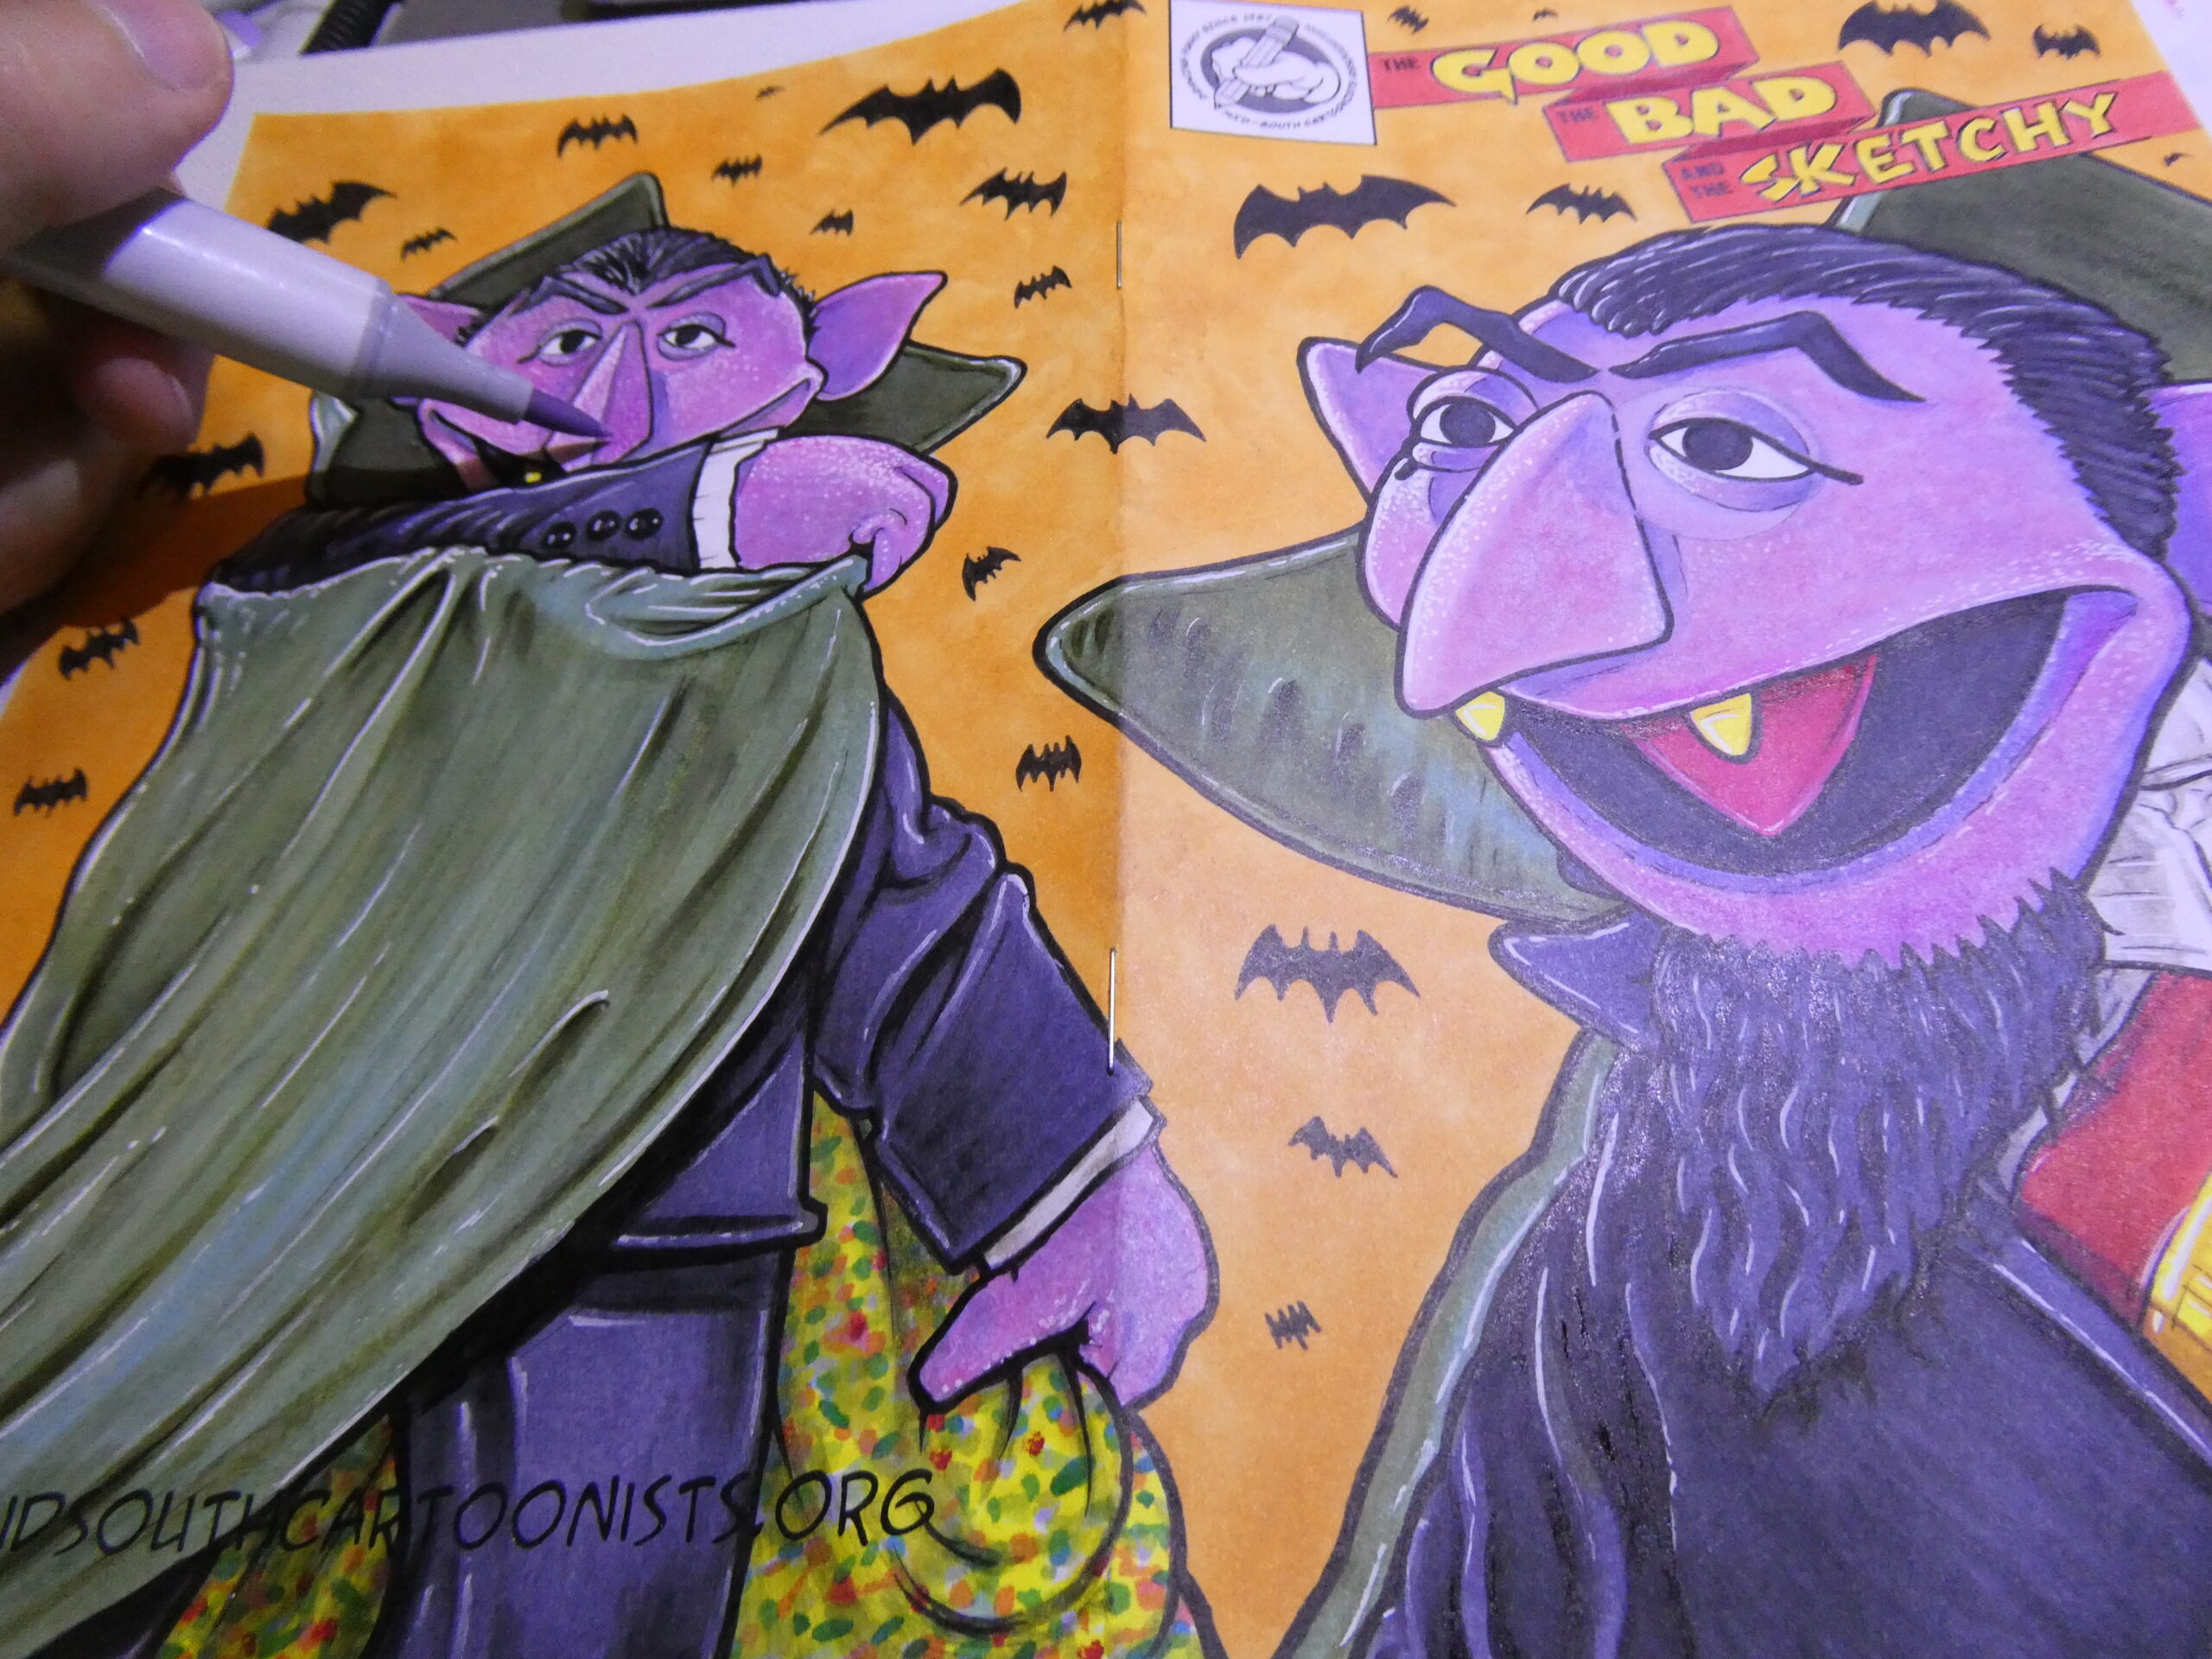
After the white had dried I then went back over some of the white highlights with a light purple marker, and then back over a few areas with the gel pen again.

I let that all dry and then used a white Prismacolor pencil to add more highlights. Sometimes I’ll spray a light coat of workable fixative between the gel pen and colored pencil.
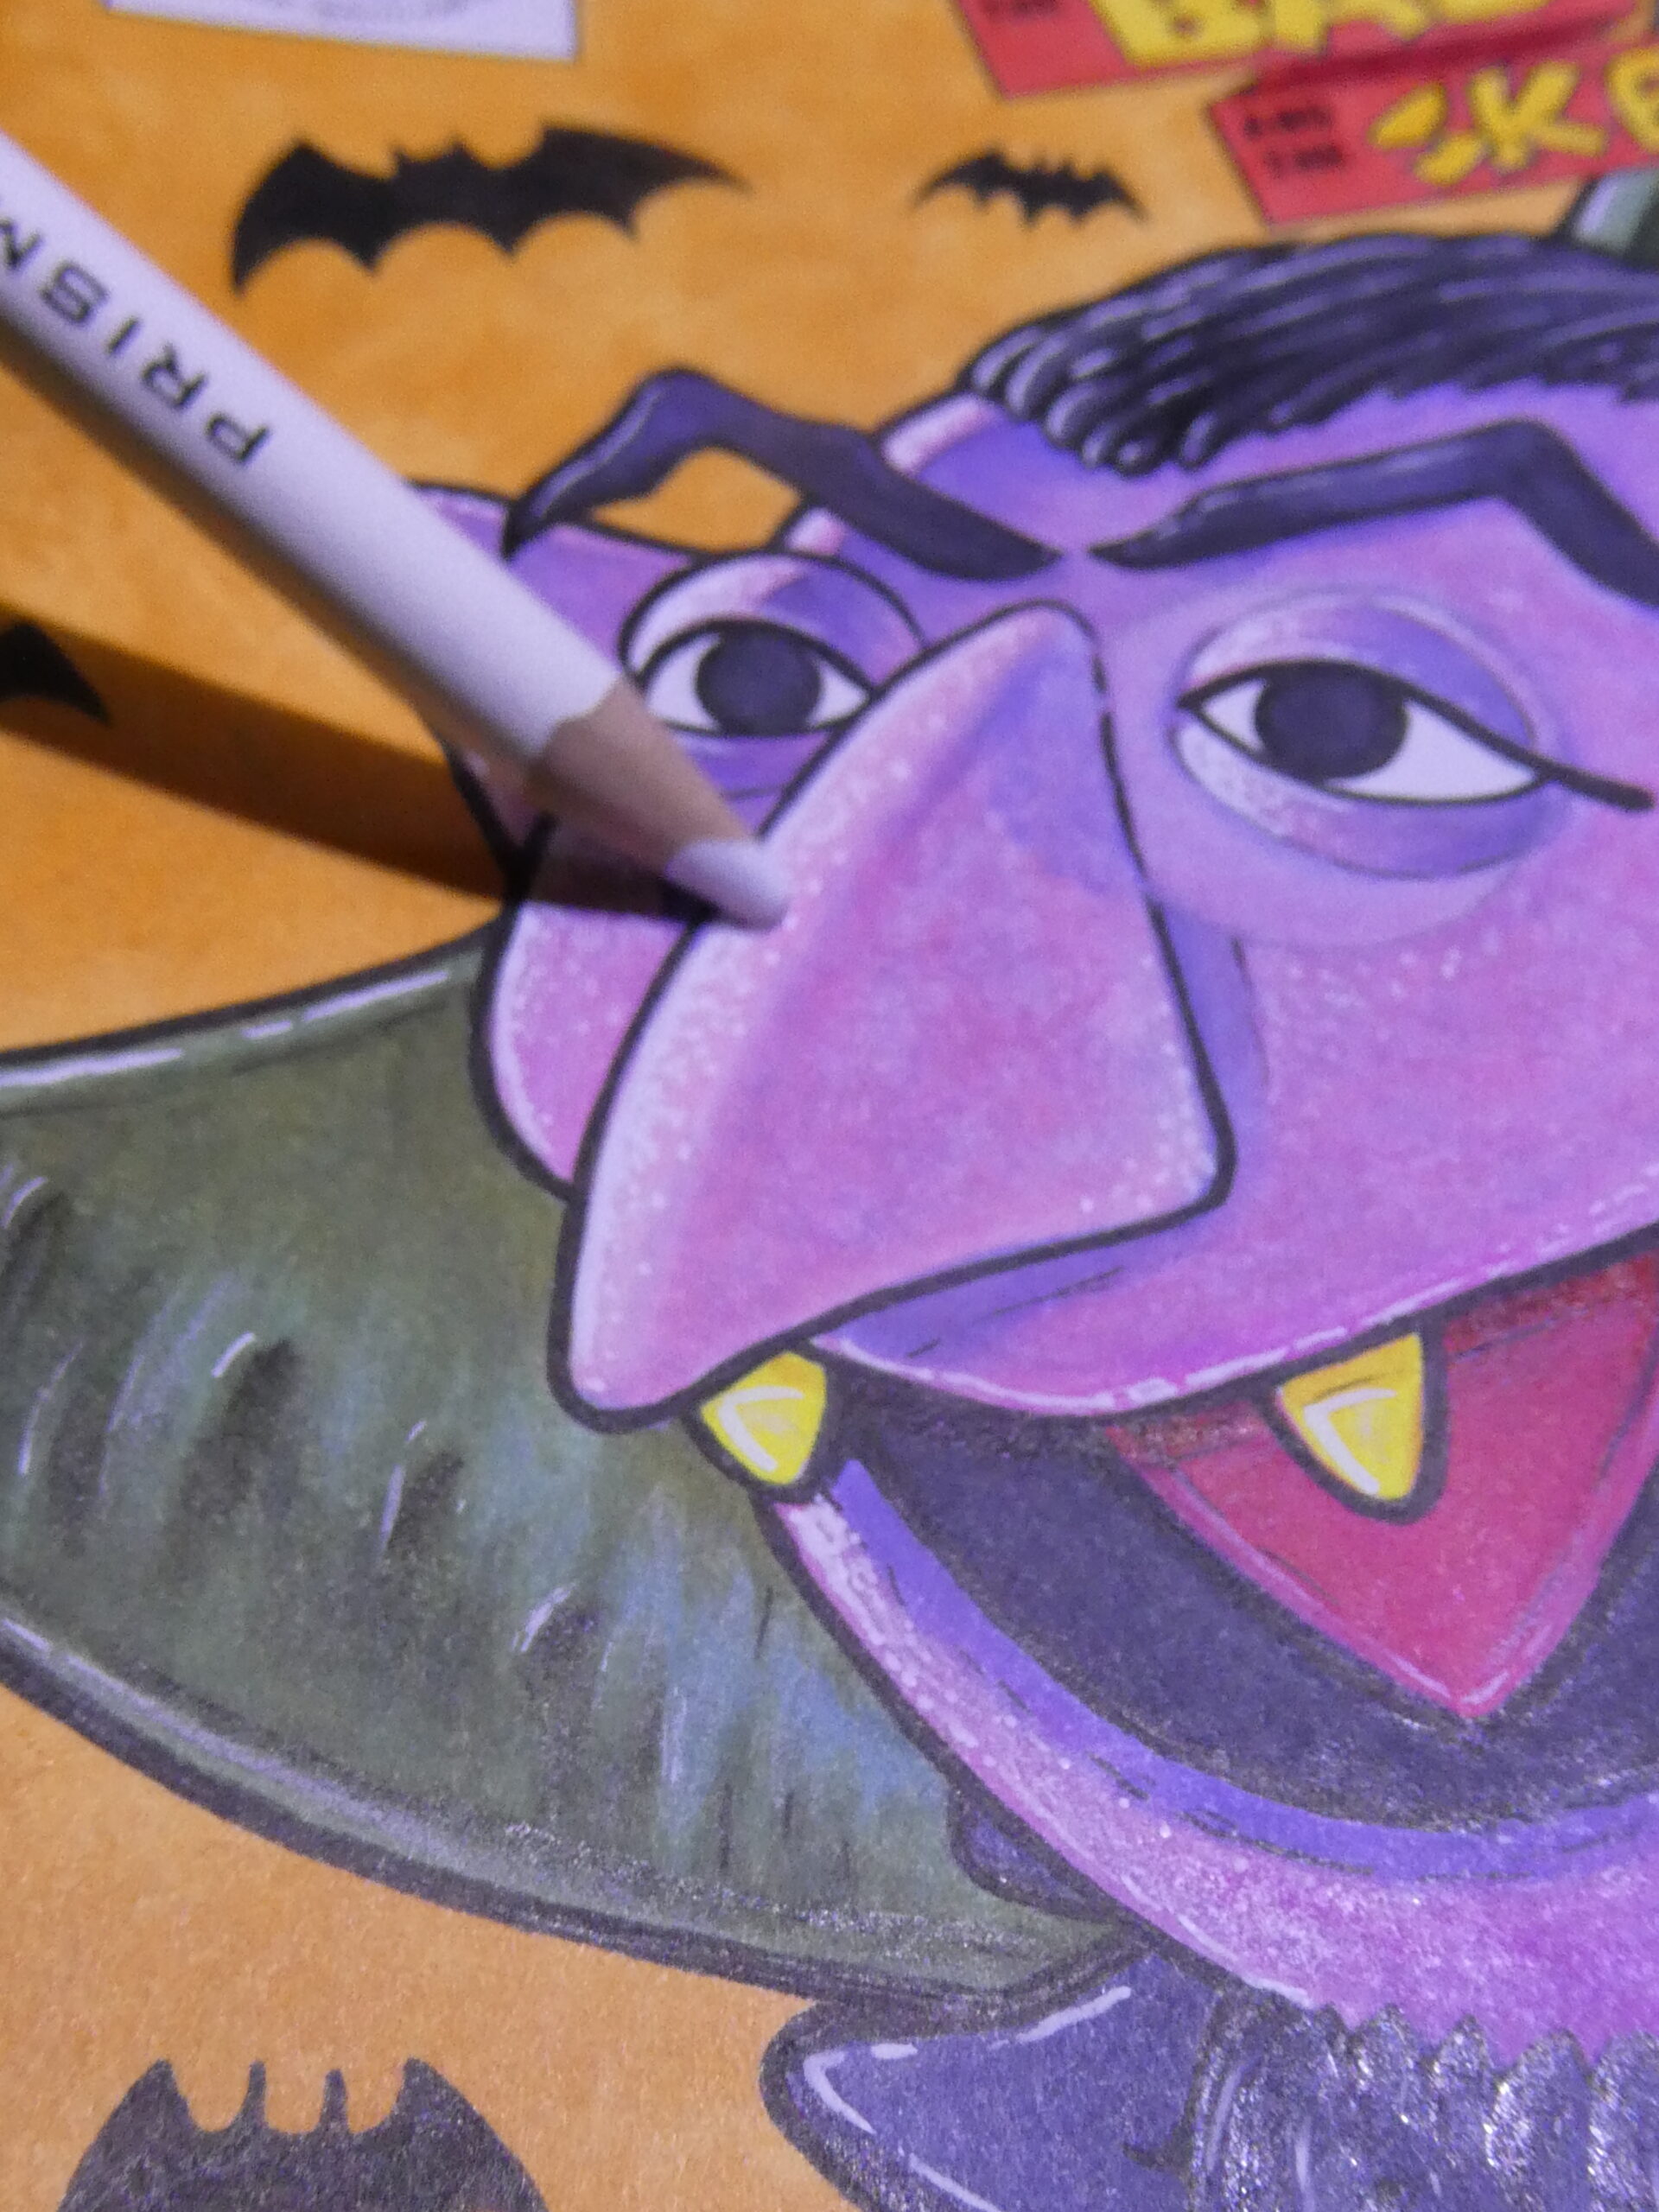
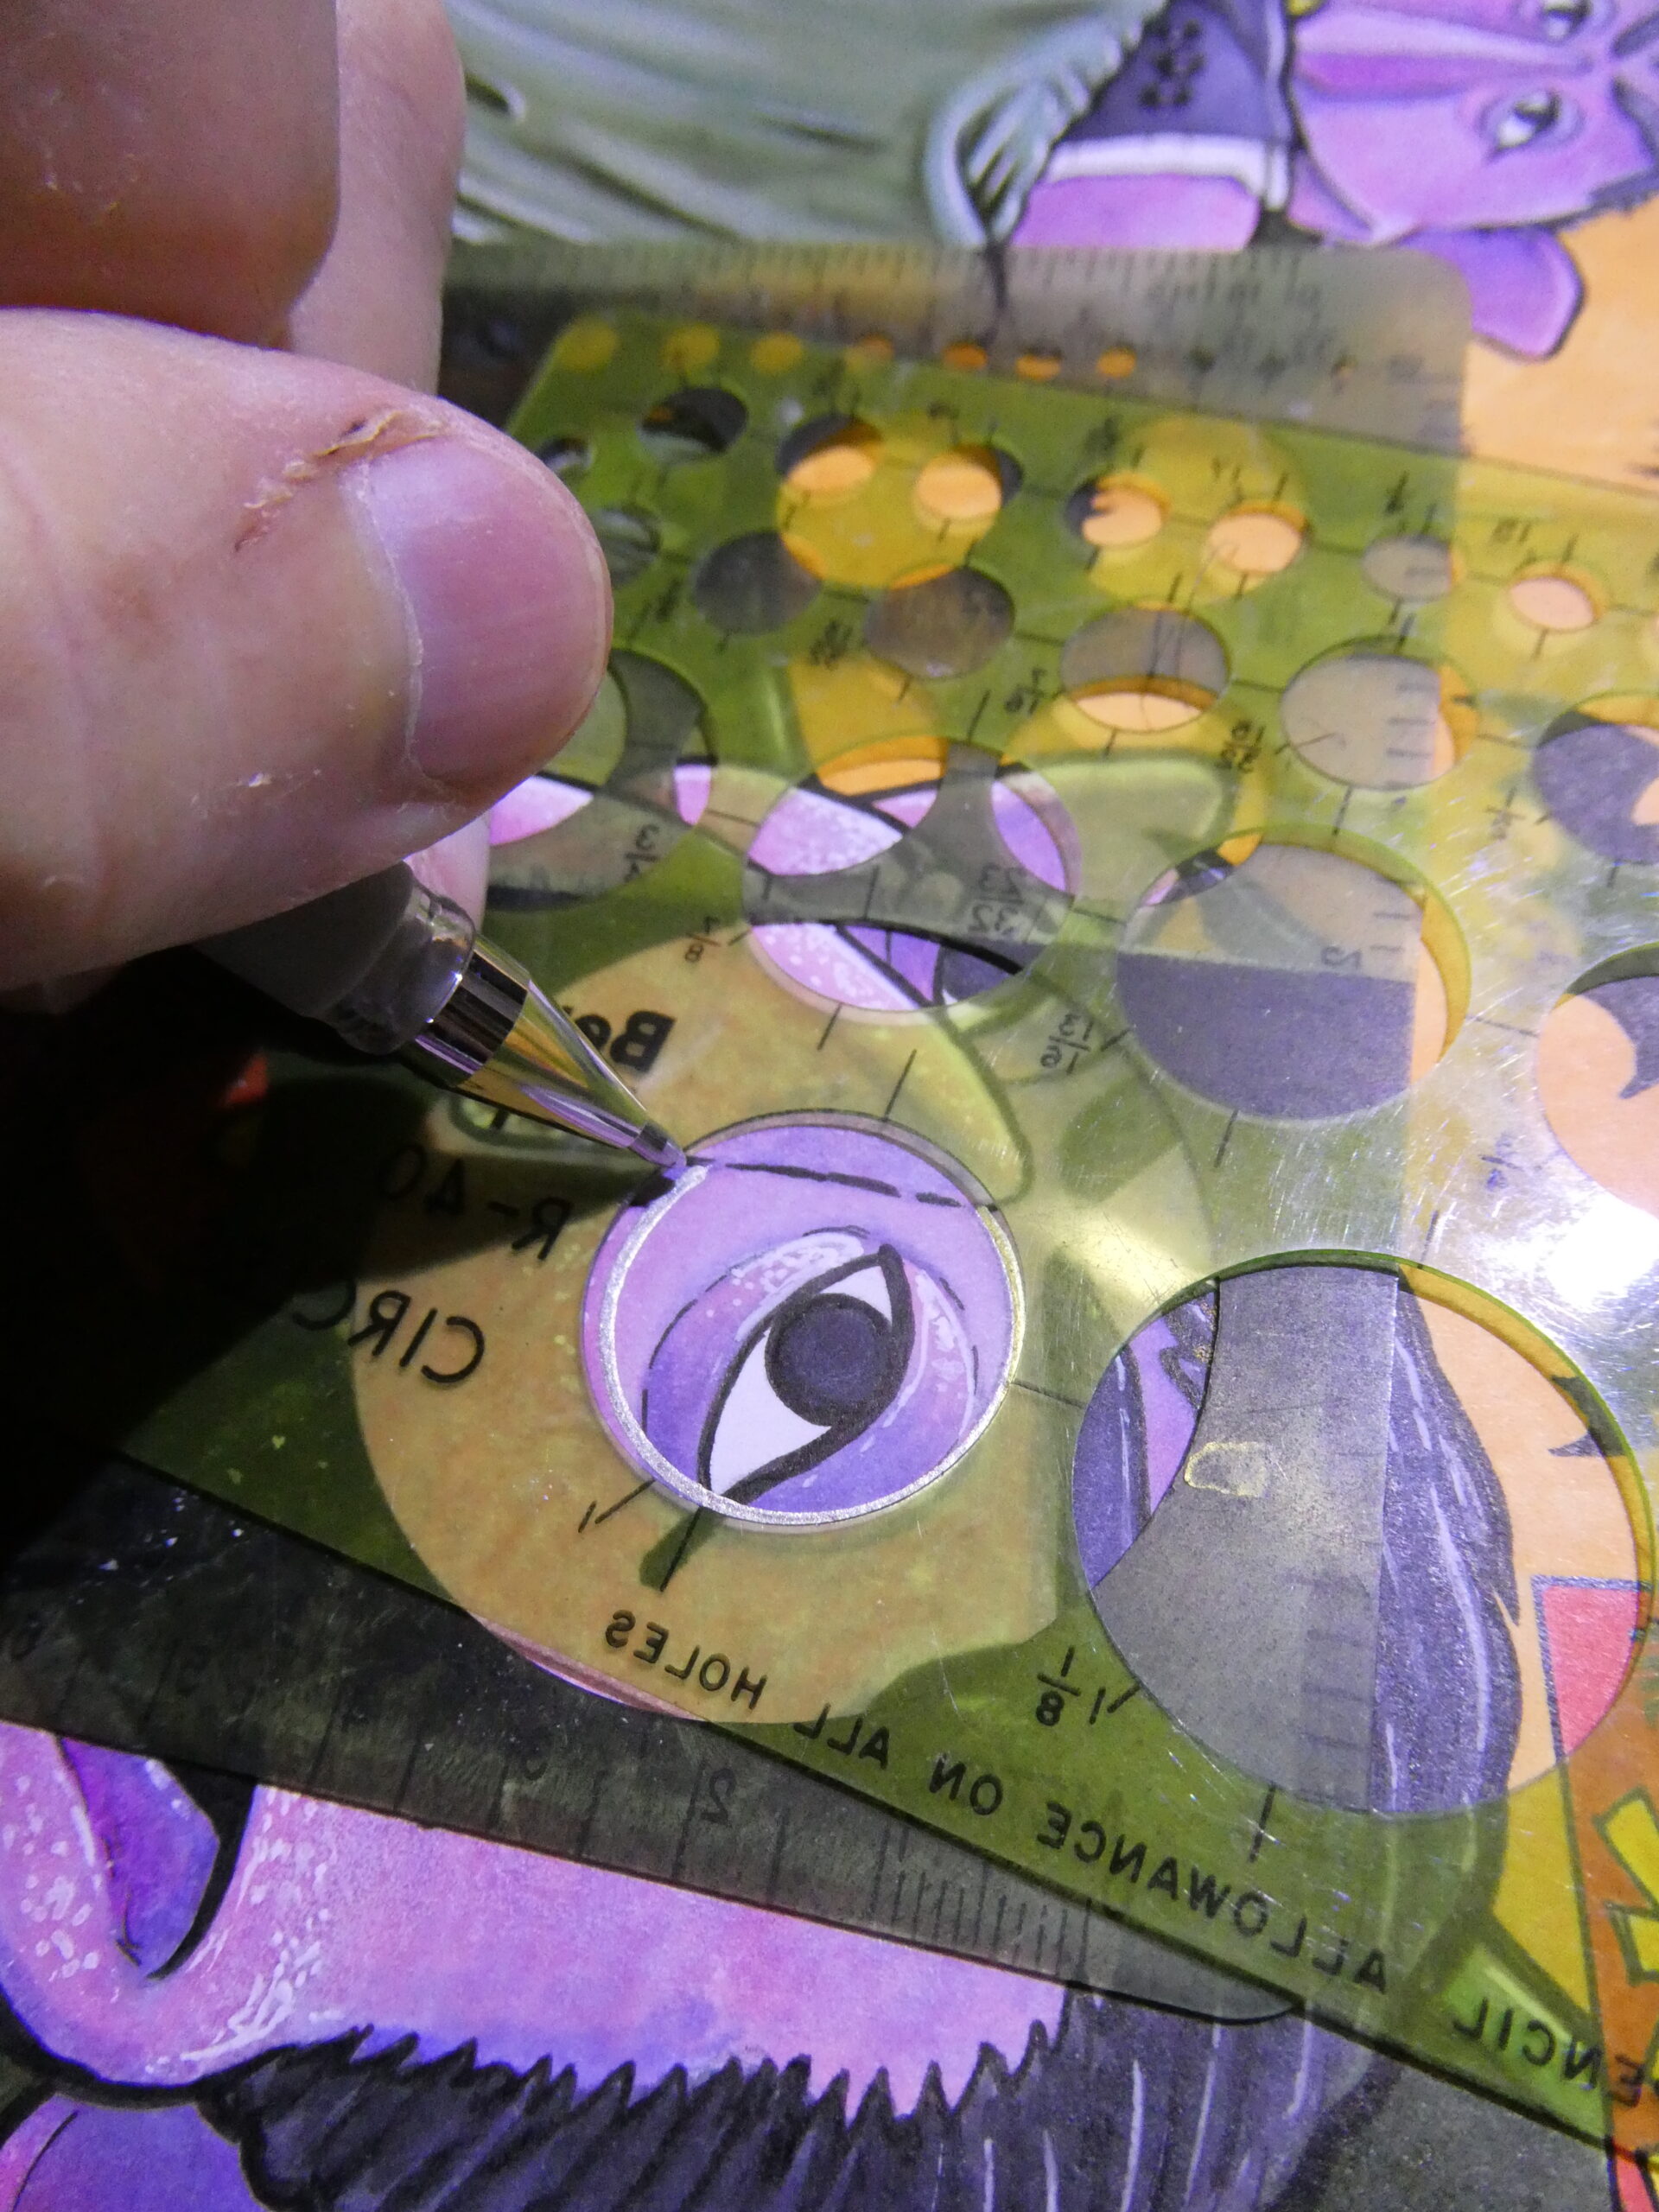
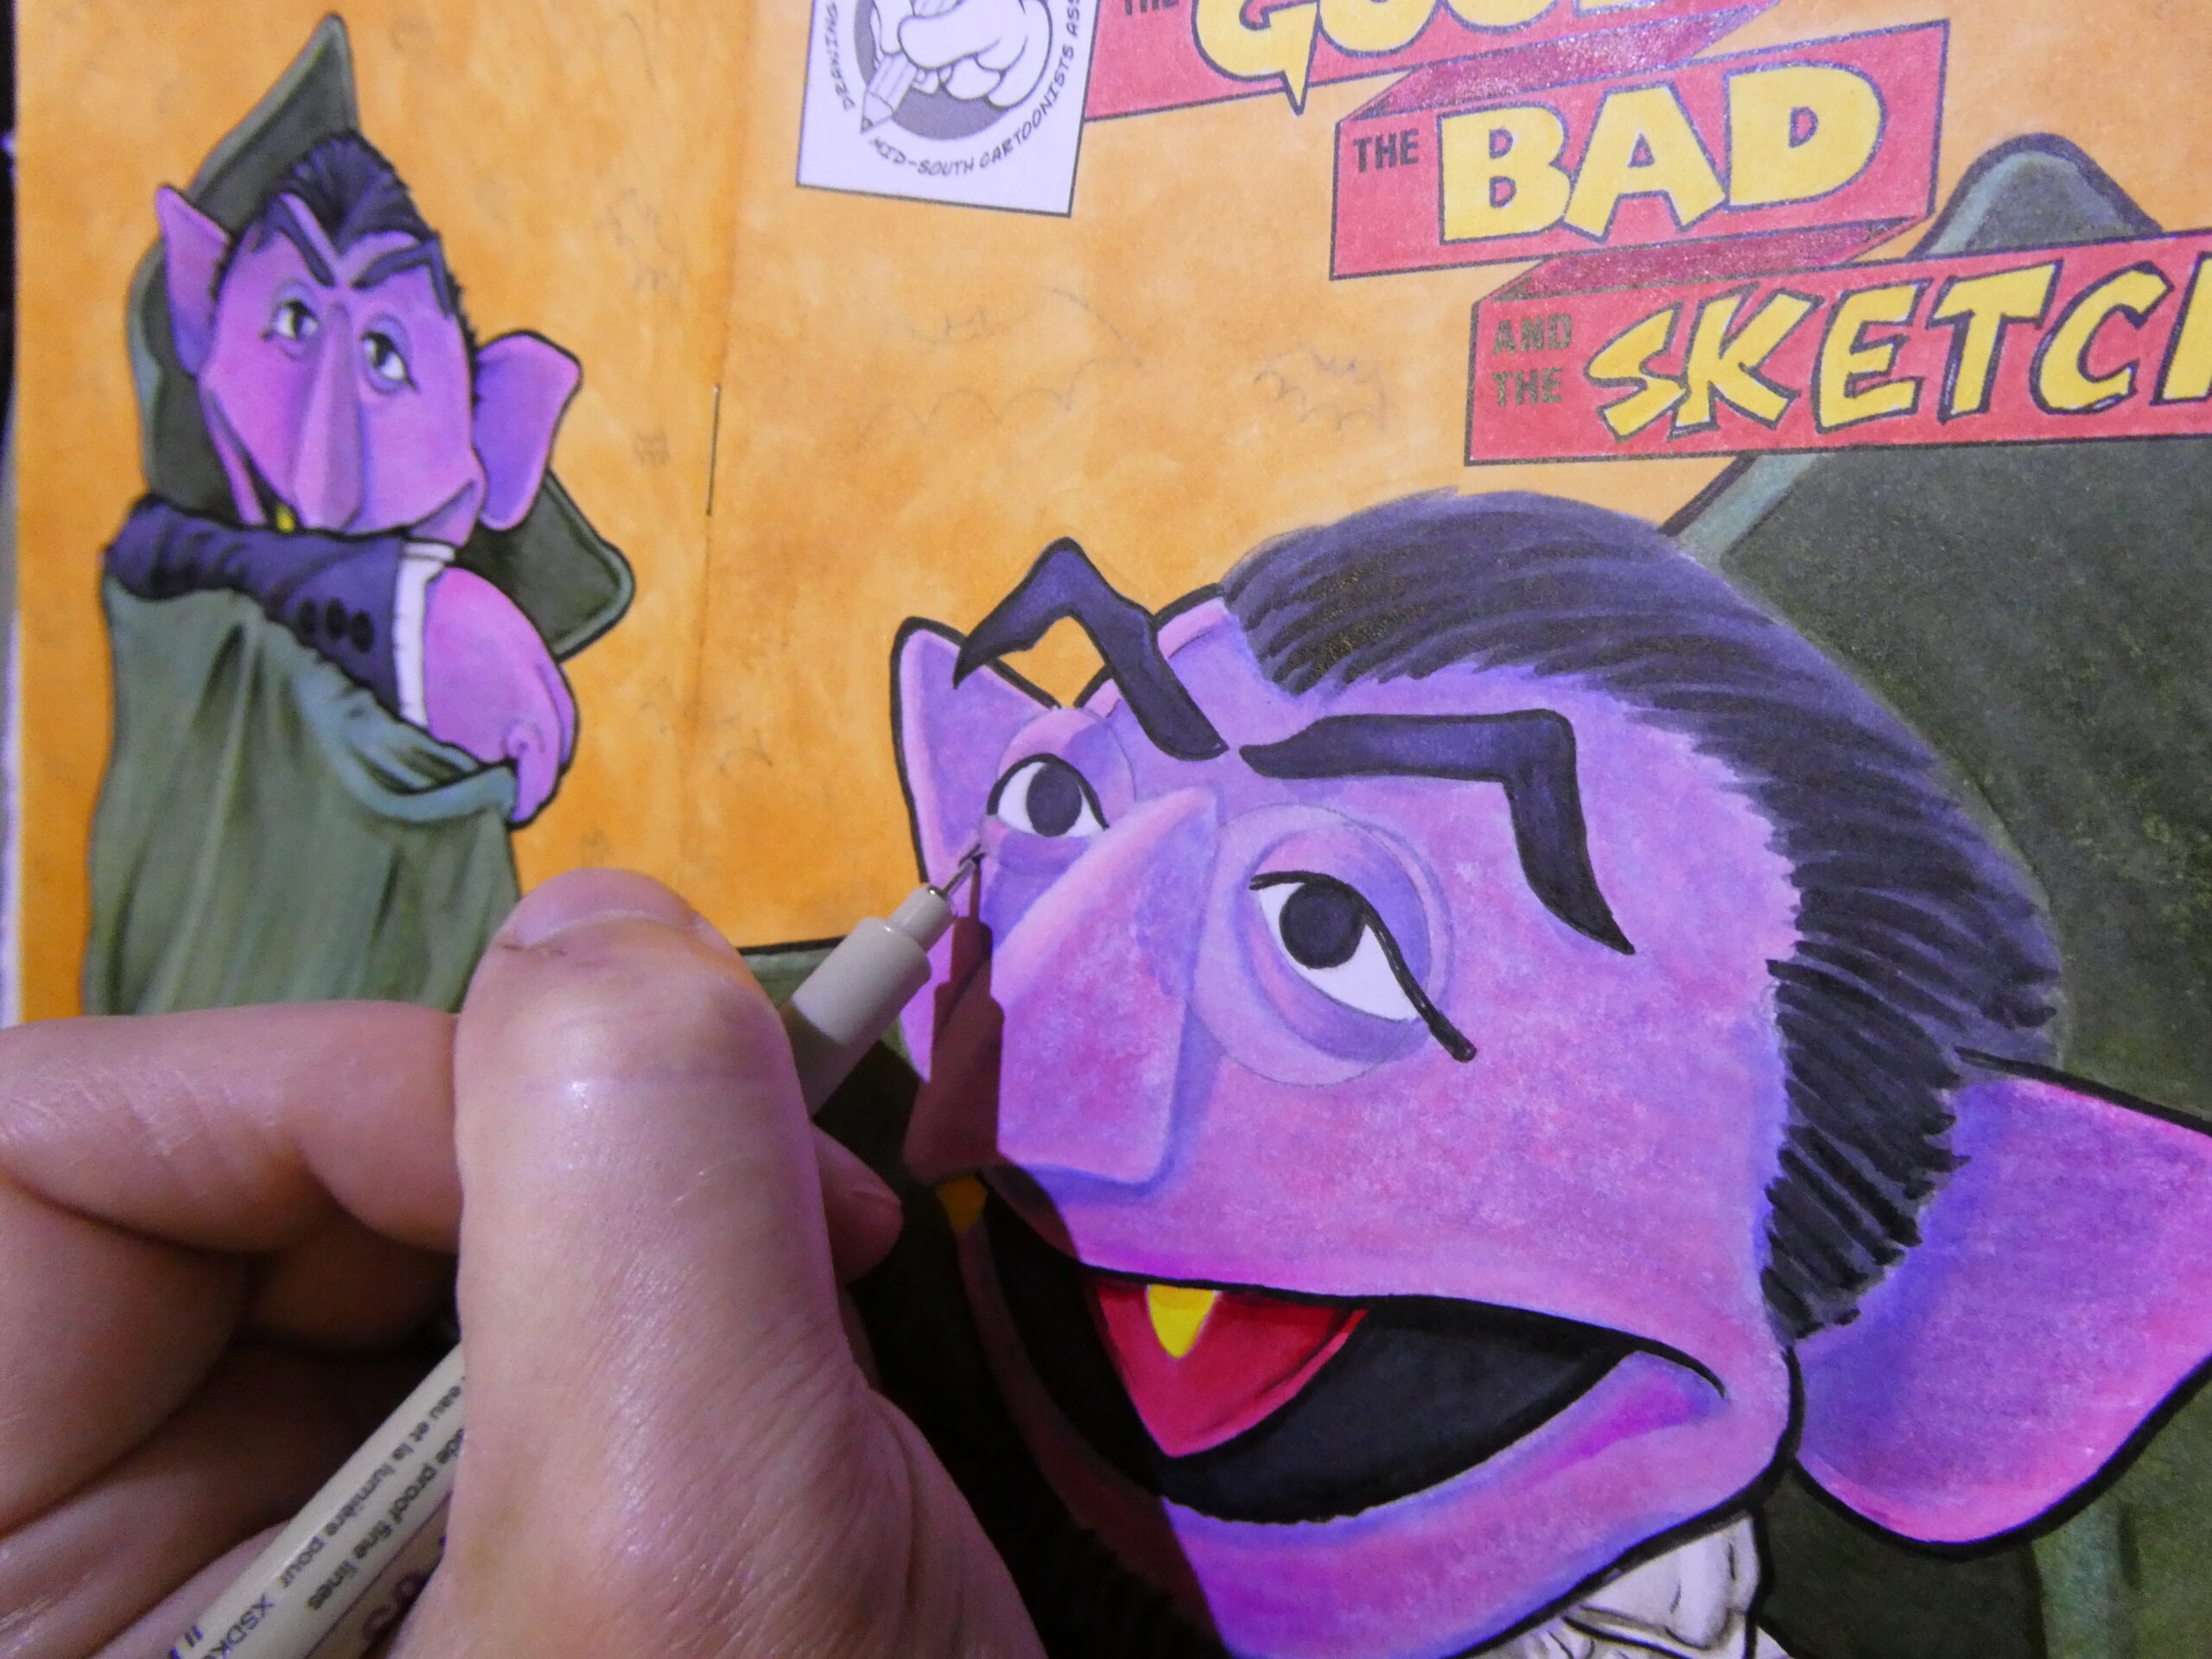
I gently went over areas like the bridge of his nose to blend and bring out the highlights with the white pencil. I then broke out a couple plastic circle templates to draw his monocle. I’ve had these and several others for years (some since high school) and have used them for everything from drawing cartoons and blueprints to airbrushing!
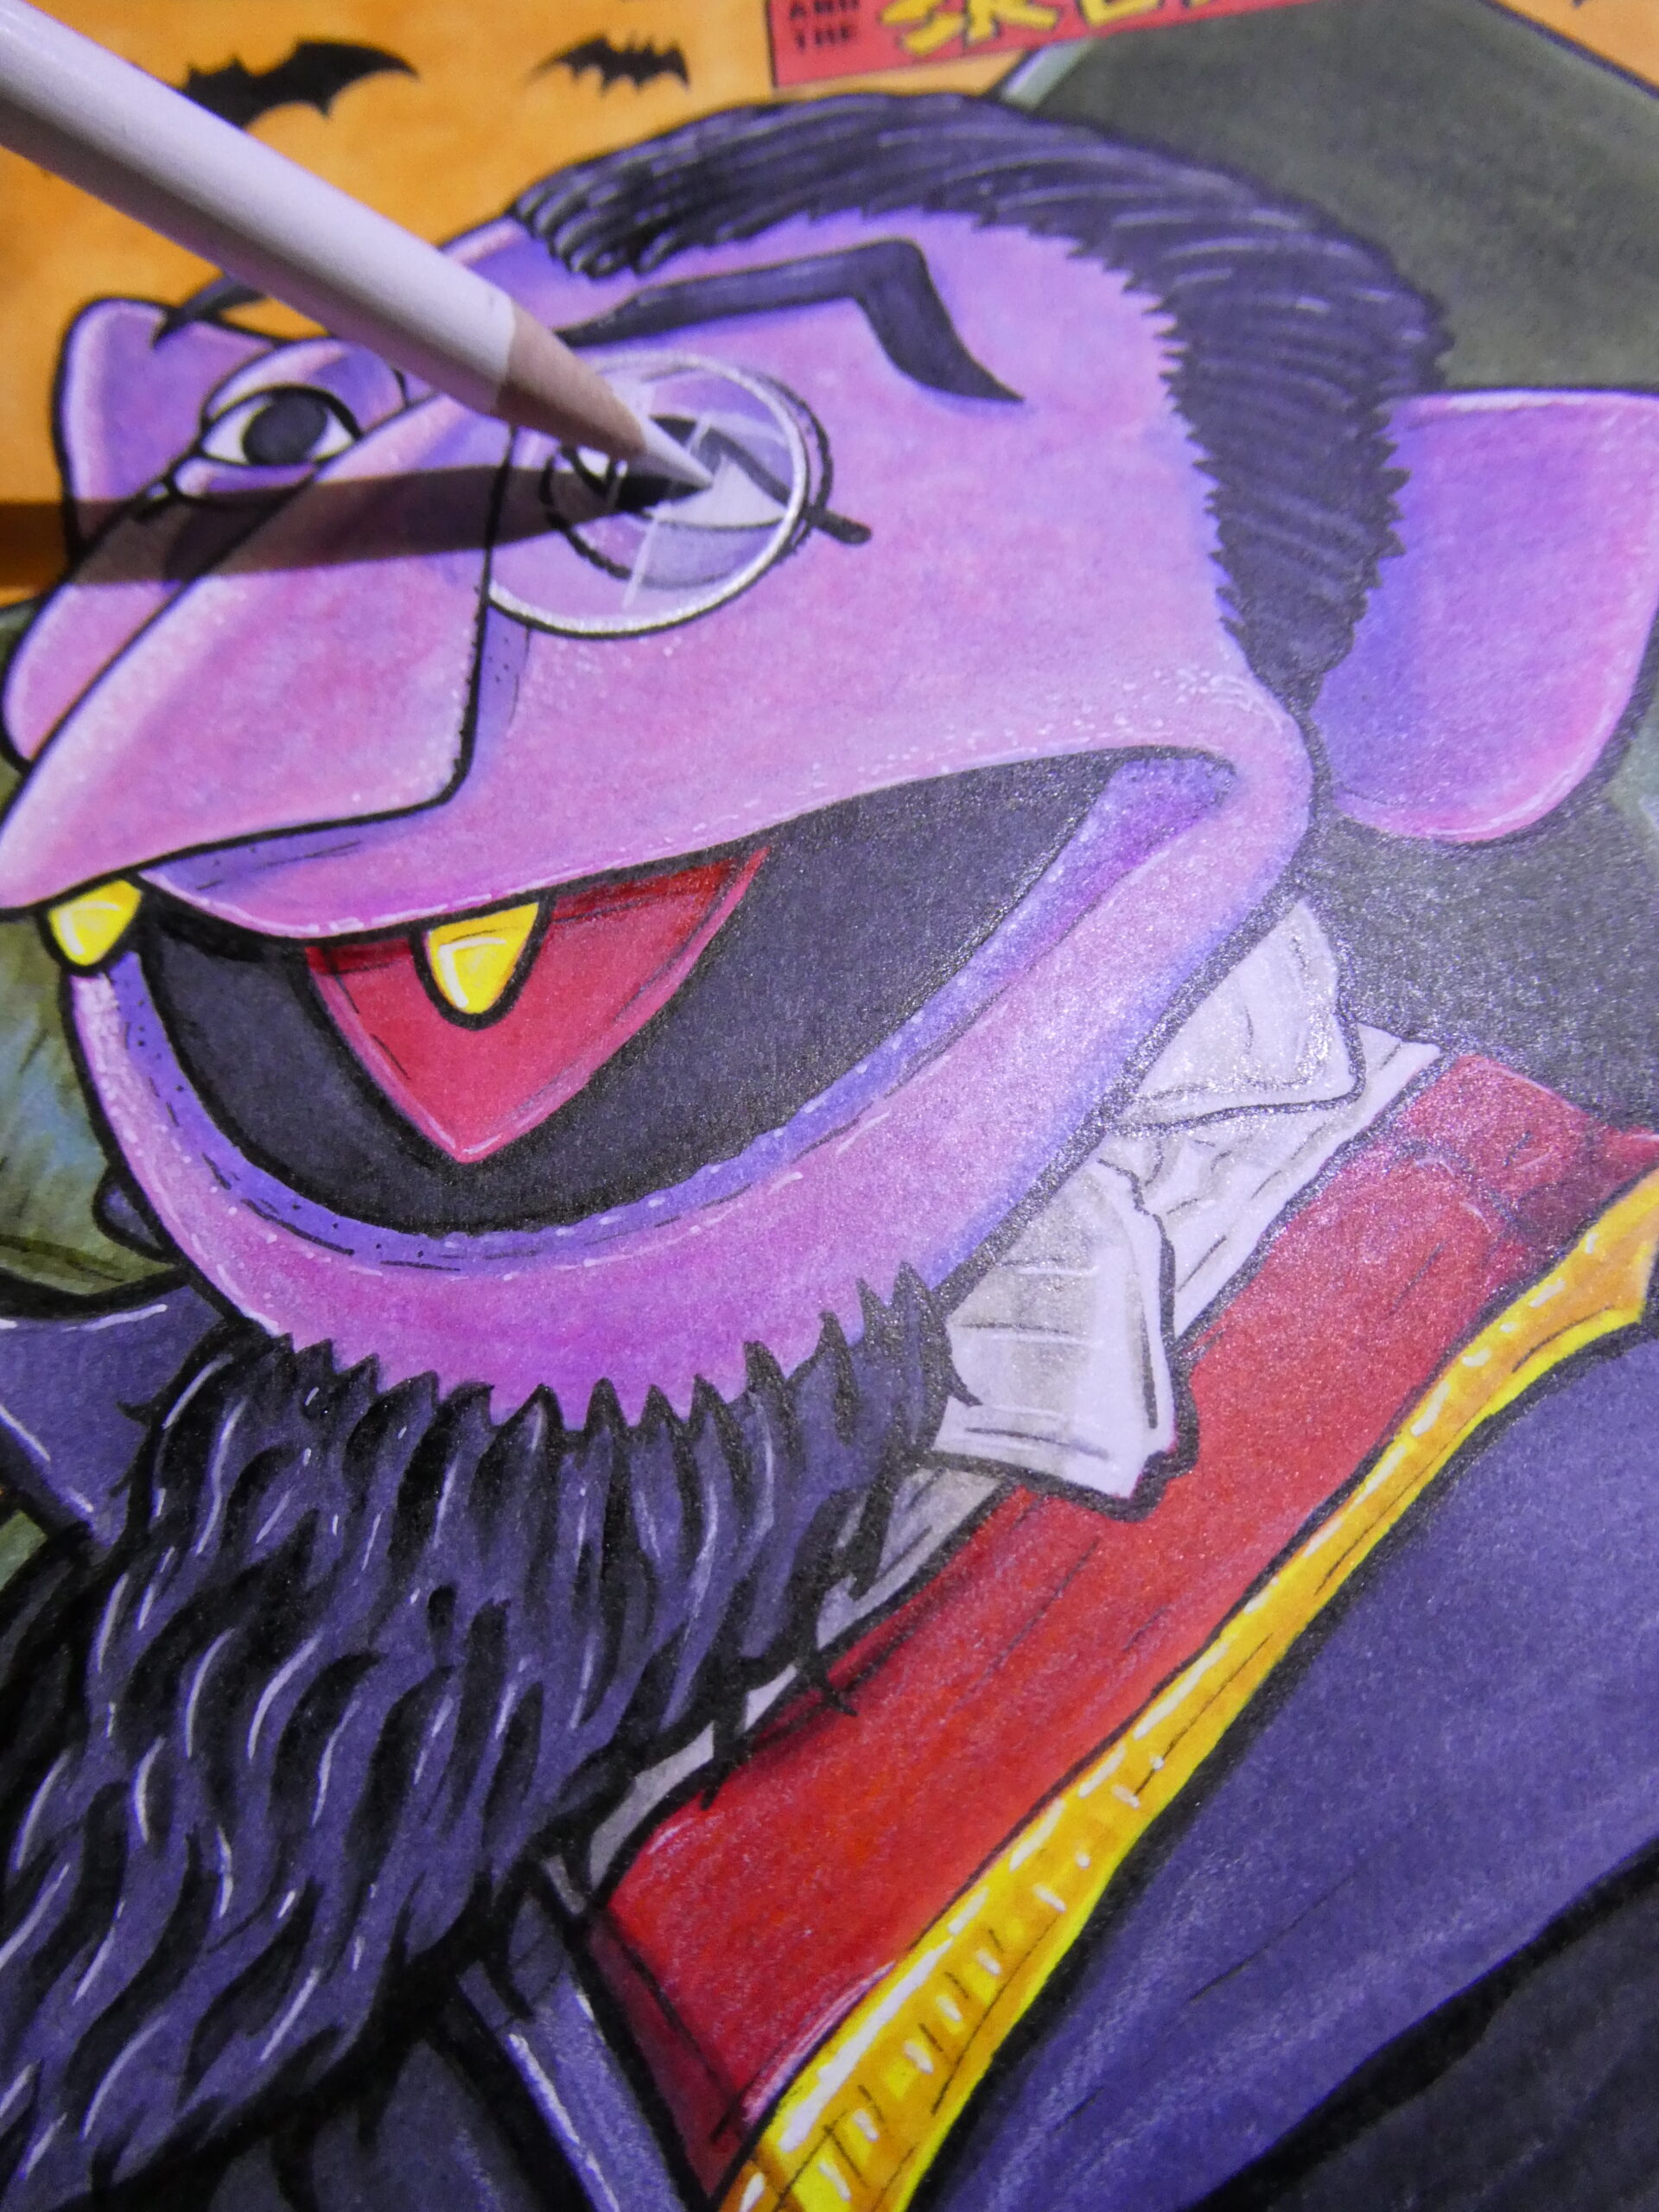
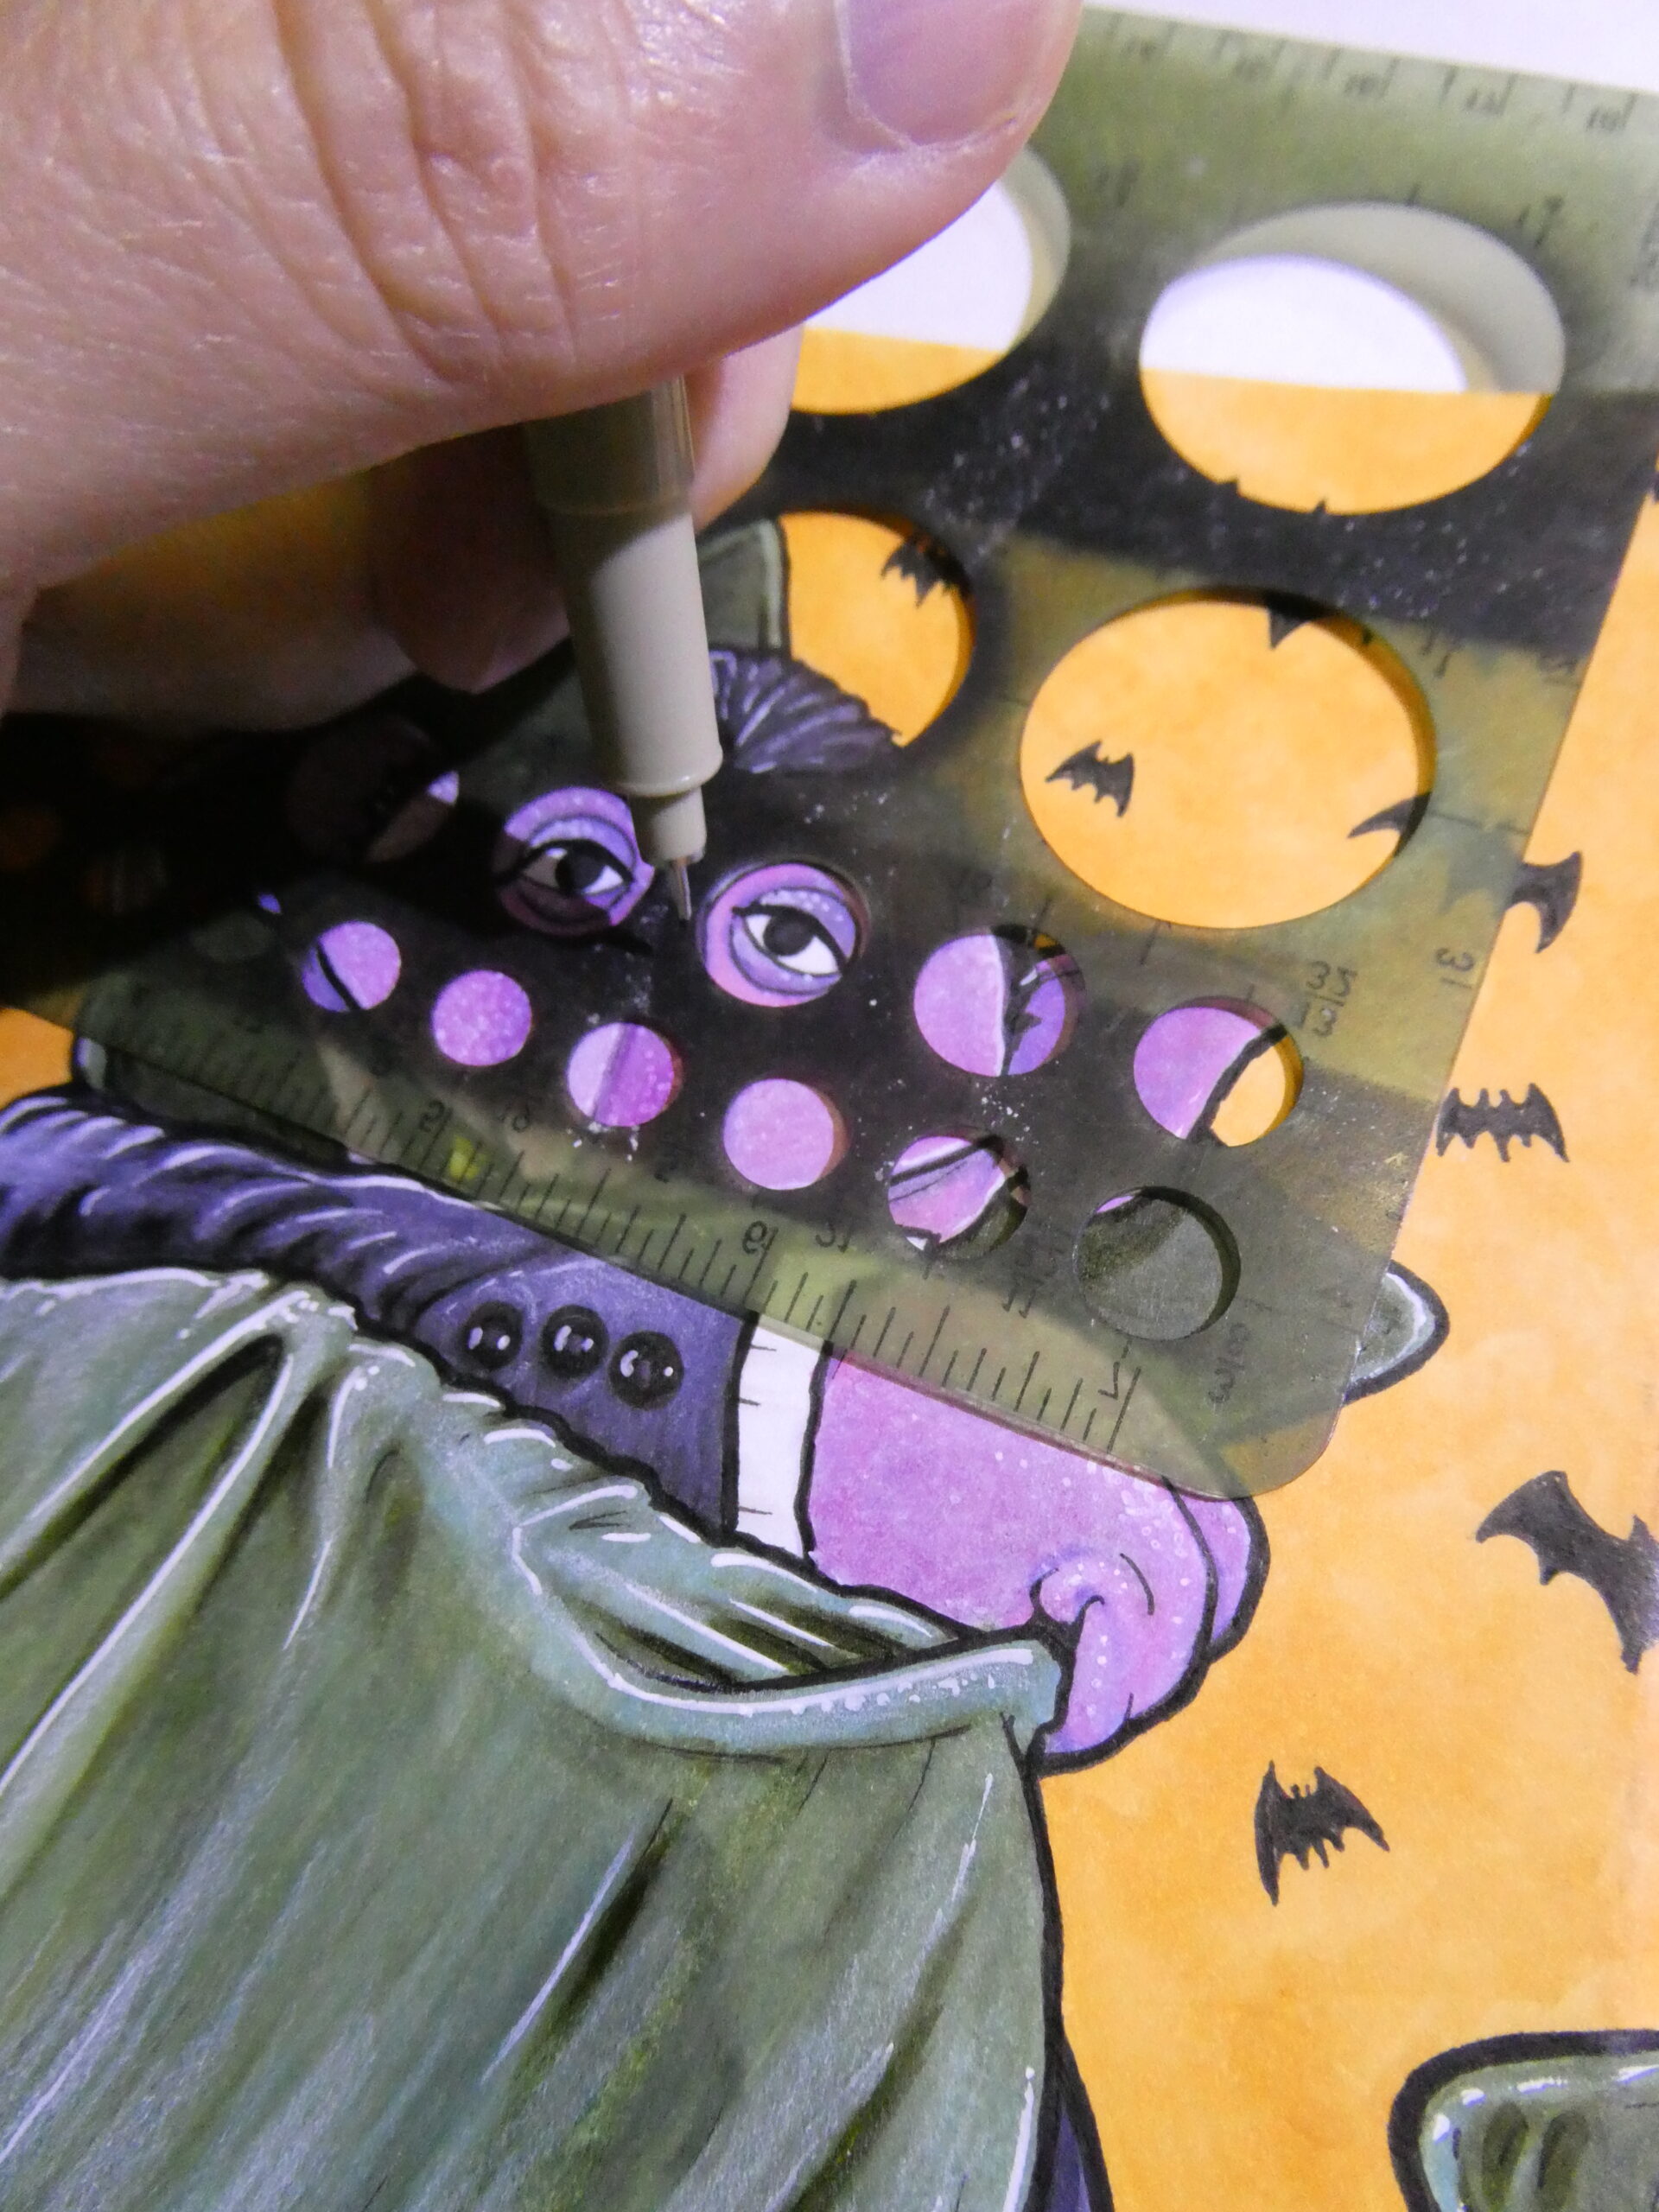

I used the white gel pen and colored pencil to add highlights on the monocles, and the black Micron pen to do some shadows on the side of it.
I sprayed the whole cover with some Krylon Workable Fixative and let it dry for a while before scanning/archiving it. It’s best to do light overlapping layers than a heavy coating, and I recommend spraying outside or in a well ventilated area.
I love drawing Muppets, especially Count Von Count and the Sesame Street monsters!
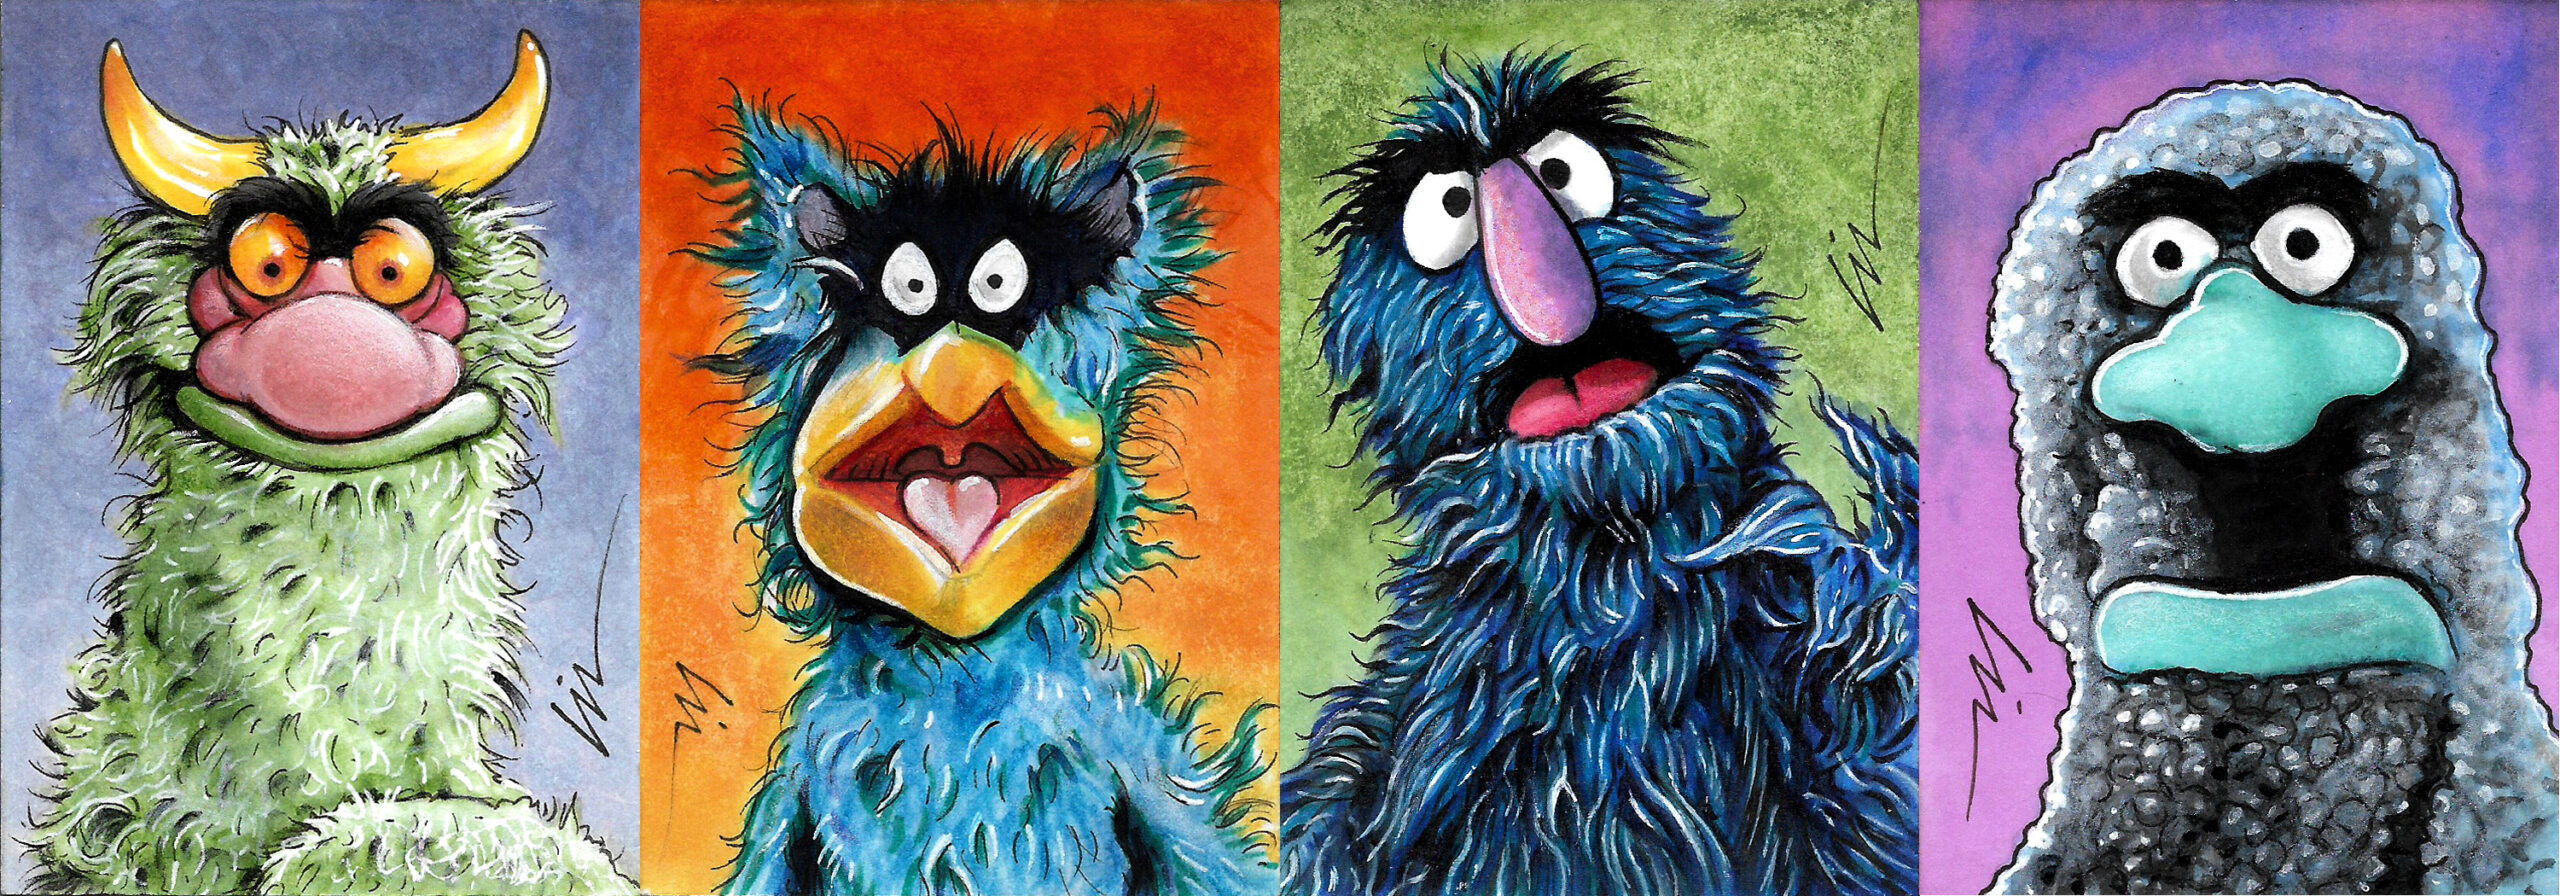
You can check out many of my previous blog posts for more examples.
I’ll have more of my monsterpieces art back at the Monster Market this year from October 10-16 at the Medicine Factory in downtown Memphis, TN.
Lin