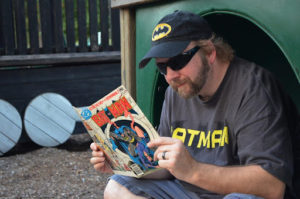
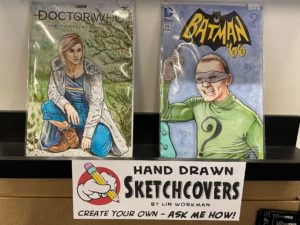
In case you didn’t know, I’m a bit of a bat-fanatic.
Some days more than others.
And although I don’t draw as much Batman art as you might think a bat-fan would/should, I do enjoy it when I can get some done.
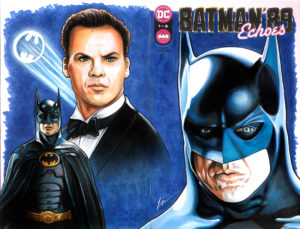
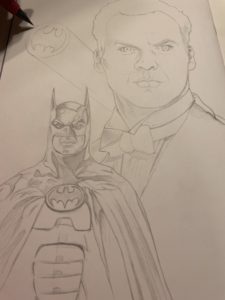
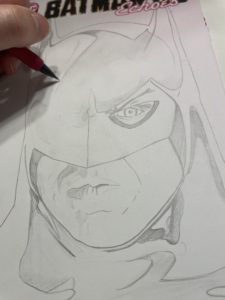
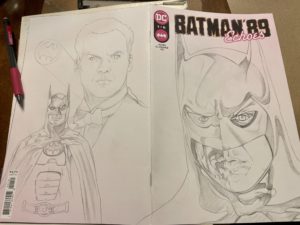
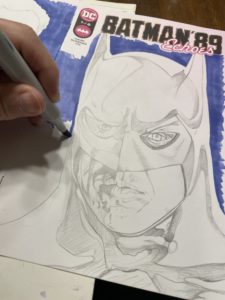
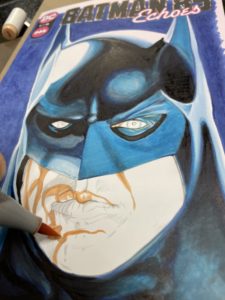
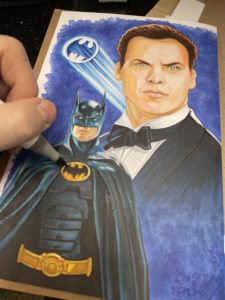
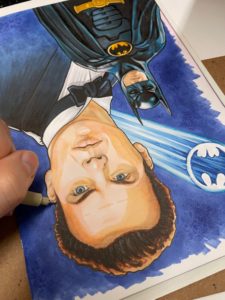
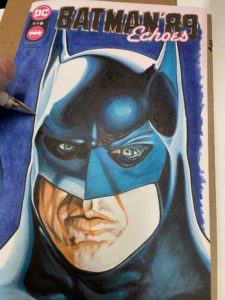
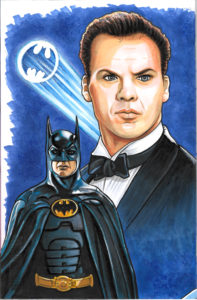
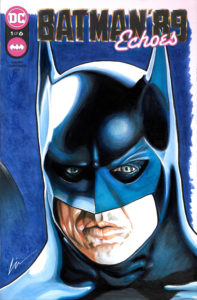
This time I drew Michael Keaton as Bruce Wayne/Batman on a DC Comics “Batman ’89: Echoes” blank sketchcover.
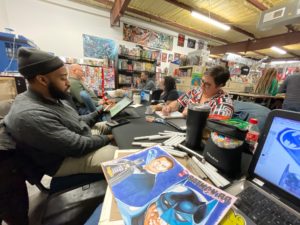
I worked on it some during the recent MSCA Sat-Art-Day at 901 Comics East, which we do every other month at the Cordova comic shop. The Mid-South Cartoonists Association events are a great time to get together and not only hang out with other artists, but a great oppourtunity to learn new techniques and about different mediums. Artists use paper, wood, digital tablets, laptops, and more. We even have some free sketchcard blanks and other art supplies you can use. The events are free and open to the public. All ages and skil levels are welcome, but if you’re not old enough to drive yourself have a parent come out with you.
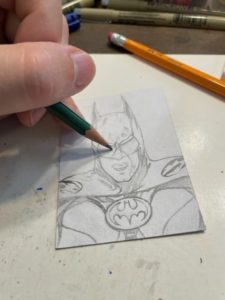
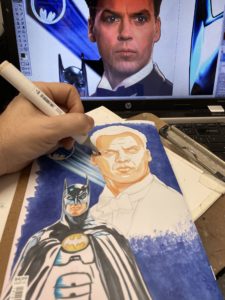
I started this Batman sketchcover by taking a few Michael Keaton/Batman photos into Photoshop and getting them sized to fit the comic cover. Once printed out, I then transferred the images onto the comic by using graphite (or pencil lead) I had rubbed/carboned on the back of the printout (here’s a similar video). I traced the image which marked some of the outline locations with a yellow #2 pencil. It’s kind of like using homemade carbon paper for whenever you can’t use a light box. You can buy premade graphite paper (google search for some or check out Michaels, Amazon, or an art store near you). Or you can make and use your own like I do. (Here’s a blog on how to use it.)
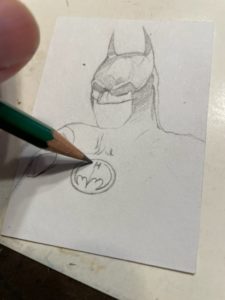
Using an HB click pencil I start drawing in the details and shading freehand. Even when using a lightbox you’re not going to be able to see most of the details, so you have to know how to draw. A lot of the time I’ll just freehand an image- especially when having to do most sketchcard gigs. But if I want to do something like this that has to fit in a certain area using a lightbox and/or the “carbon paper” method gets the image cropped correctly , and saves time. Same for my using my 4oyr old Artograph projector when I paint. I can crop the photo reference by making the projected image bigger/smaller and decide on exactly how I want it to fit on the canvas. Cropping in a bit cometimes can make the image more interesting and dramatic.
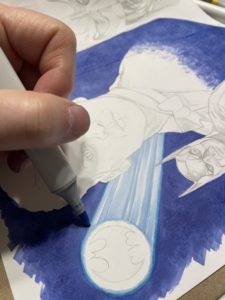
Once the pencils were complete I filled in the background with medium blue Copic marker. I switched between the fine tip and broader wedge shaped tip.
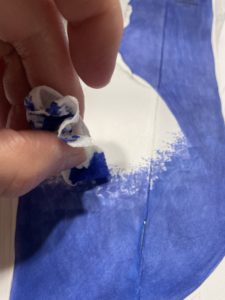
I took some tissue and a Copic refill to “sponge” in some texture. I saw Jim Lee do this technique (with better success) while doing a Joker drawing for Mark Hamill in a video interview once. I’ve used it on a few sketchcovers now, mostly my horror ones (have also used a sea sponge on painitngs for this kind of effect). I then used a brush tipped marker to clean up the bue area and get into some of the smaller areas.
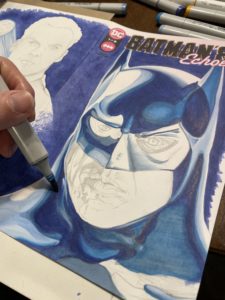
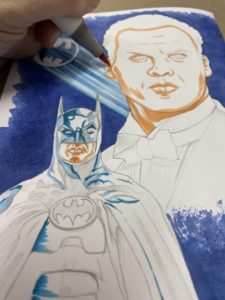
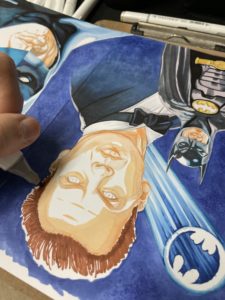
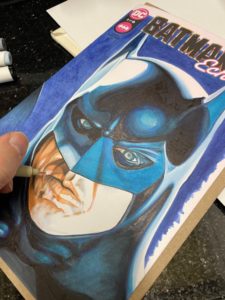
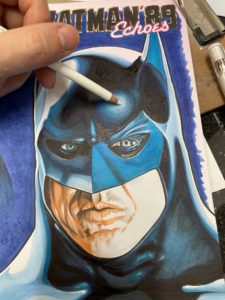
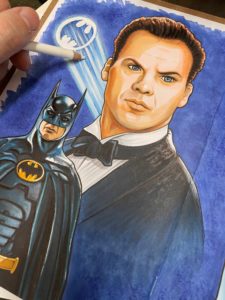
Once the background was finished, I started working on the front cowl and the two figures on the back.
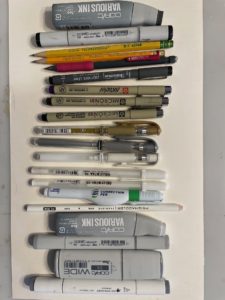
I tried to build up layers of color using various blue, flesh/brown, grey, and black Copic markers and Weisbrandt markers. Both are alcohol based design markers and each have pros/cons to using them, and I’ve found that you have to be careful with how each reacts to the other. I usually tend to work light-dark, but I also skip around a lot or use a lighter marker to soften a darker one, or even occasionally (and sparingly) use a blender. Experiment, practice, and d o what works for you.
One of the biggest pros for Copics is that you can refill them and change out the nibs. I’ve got Copic markers I bought 12-15yrs ago that I still use today, and I was able to catch a bunch of wide ones on sale when Michaels was clearancing them out. Also got some regular ones and replacement nibs/tips CHEAP when Archivers closed here.
When it was time to do the line work I used an 03 black Pigma Micron pen. They’re disposable tech pens and come in a variety of sizes and tips, but I tend to mostly use the 03 (and occasionally an 01 or 05) on sketchcovers and sketchcards- it’s a personal preference. When I was taking drafting/mechanical drawing classes I had a couple sets of nice refillable tech pens. I like them, but the con is they can be high maintenece when it comes to keeping them clean. The pro is you can choose what brand of ink to use in them and refill as needed.
I used a white Signo gel pen and a Gelly Roll pen for some of the highlights. I like both, but am still looking for the perfect white gel pen. Signo is very white, but the tip dries quickly, and Gelly Roll ones don’t dry on the tip as bad, but don’t seem to cover quite as well. I want to get some with a bigger tip/nib for doing some drawings on toned paper. Do you have a favorite..? (Above are some of the pencils, markes, and pens I use.)
I did some more highlights and blending with a white Prismacolor pencil, and some more shading with a #2 pencil. If your wanting to do more pencil drawings I suggest getting a good pencil set with a few different hardnesses of leads (or picking up a few different singles) and experimenting with them, as well as learning the differences between each lead hardness.
Once the sketchcover was completed I took it outside to spray it with a few light coats of Krylon workable fixative and let it dry well before it was bagged and boarded up to sell/display.
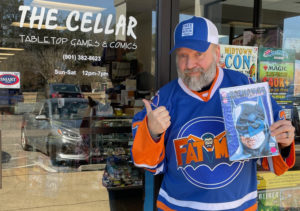
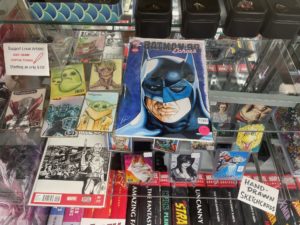
This one is for sale at The Cellar Table Top Games & Comics out on Bartlett Blvd. near Bartlett Park and Stage Rd. in Bartlett (Memphis suburb).
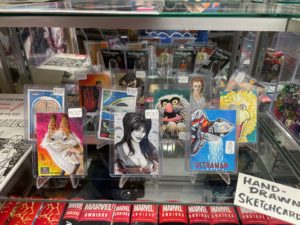
I currently also have some sketchcards for sale there, and I’ll have more sketcovers out there soon.
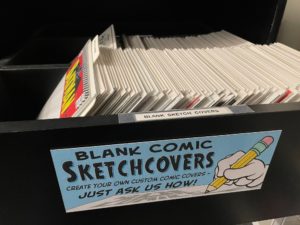
If you ever have any art questions or need sketchcover blanks be sure to slide by. I don’t do any art commisions or freelance work, so buying these finished pieces at comic shops or a few events/cons this year is the only way to get them.
My 2-sided hand-drawn sketchcovers run $75, sketccover comic blanks are usually between $4 and $10, and advice is always FREE!
Gotta get back to the batcave- type at ya again soon!
Lin
