Hey, gang-
I was talking to a fellow artist the other day and they mentioned some advice they got from an artist. They were told to stop working from photos.
Now, I wasn’t there for their conversation, and am not sure exactly what the other artist meant. It did seem like a bit of an absolute to me and I have overheard other artists say similar things.
When it comes to taking advice from others I always say to listen, take notes if needed/warranted, ask questions if you have any, thank them (definitely if you asked them to take the time to look at your work and/or ask for advice), have a leave behind card or sample art with contact info in case they ask, and most importantly- don’t make excuses for your work. It doesn’t matter if you created it 10 years ago or yesterday. Doesn’t matter if you did it while you were sick or healthy. Let the art stand on its own merit and take the criticism- good or bad. You’ll come across as more professional, will learn more, and may make them willing to give you more advice in the future.
If someone genuinely acts like they want to learn from a critique and my opinion I’ll talk to them for as long as they’d like- or as long as I can depending on the situation/location. However, as soon as someone starts zoning out or making excuses for their work, I close their portfolio and politely tell them, “Hey- you’re doing great./this looks great. Good luck with your work.” No need wasting my time and theirs, and I can usually tell if I’m wasting mine in under a minute or two. I can probably count on one hand the number of folks who actually came back again to show me their work. Either the others quit, thought I was full of crap, or took my advice and others and grew as artists- don’t know for sure. I do know I loved seeing that the ones that did come back listened and learned.
Hey, even if you learn how not to do something you’ve learned something, right..?
Now, my advice about not drawing from photos is: yes, and no…or maybe.
Very decisive, huh..?
Okay, first here’s my “yes” answer…
I know lots of artists who not only use photos, but shoot photo reference of themselves- folks like Mike Norton, Adam B. Shaw, Larry Elmore, Steve “The Dude” Rude, Alex Ross, and even Norman Rockwell…the trick when using photo reference is to not be a slave to the photo. Use it for anatomy reference, costume details, lighting examples, textures, etc., but be willing to exaggerate it for dynamic effects if the shot calls for it. Make the lighting have a bit more contrast or color, make the person skinnier/fatter/taller/shorter, etc. By only drawing what is in the photo or the way a camera sees things can lead to a flat or static piece of art.
A good example is Frank Frazetta and Boris Vallejo. Both are amazing fantasy artists who use photo reference- sometimes pics of themselves or friends and family, but have completely different styles. Frank tends to be more painterly and Boris tends to stick closer to the reference photos. Nothing wrong with either and I love both of their work, but sometimes Boris’ figures can come across as too posed/stiff for my tastes. Frank’s always seemed to be more dynamic and fantastical, and there’s some cool motion in the brush strokes- not to mention some of color choices he could make. To me Frank’s work looks more like a painting, and Boris’ looks more like Photoshop. I tend to study Frank’s work more, and seem to notice something new each time I look at it.
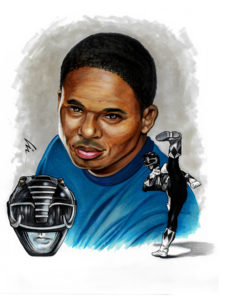
I use a lot of photo references because I draw/paint a lot of likenesses. If you are doing celebrity/character likenesses that need approval by the publisher, property holder, or the celeb themselves, you probably should stick a bit closer to the photo reference. When I painted portraits of “civilians”, even if I nailed the likeness, some folks still didn’t think it looked like them or their kid, or whoever. Now, if I did a portrait of Elvis and got his sideburns close folks would know exactly who it was.
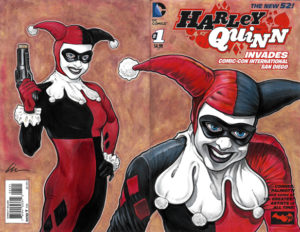
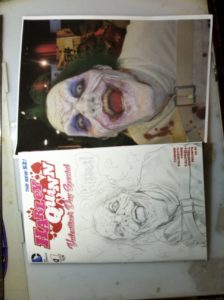
Sometimes I’ll change up the drawing from my reference photos because I’m looking for something slightly different. Other times I may take a couple shots into Photoshop and make a new image to use for reference- did that on one of the Harley Quinn covers from two photos I took of cosplayer Tara Strand in San Diego at Comic Con (the back figure), and one off the Gotham Public Works website another photographer had taken (front cover).
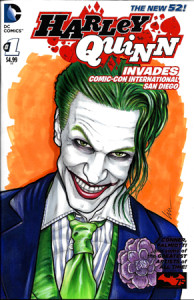
Also drew her hubby Donald Strand as the Joker from a photos I took there and at an after party for GPW.
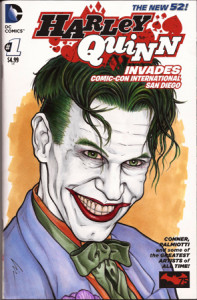
Oh, also did this Joker sketchcover from a photo I took of a passing cosplayer at SDCC. I got one shot as he went by in the crowded dealers room.
Another time I wasn’t sure about how Adam West’s Batman costume looked from the backside- had pretty much only seen it from the front for all these years. Luckily I had a Hot Toys 12″ doll that was pretty detailed and was able to take a few reference shots to use.
Here’s that example of using multiple photos: Batman VS Super-King
I had Steve Rude tell me once while discussing this sort of thing that if you don’t know how to draw a horse, find books with horse photos or ones on how to draw horses. Practice drawing them until you feel confident in it. Better that you learn as you go than to just wing it and folks think it looks off, especially on a paying gig.
Steve’s also been known to pose in his underwear in the backyard for his photo reference shots..! But, hey- that’s another story. In person I’ve seen Steve pull amazing work from his mind, and I’ve see him work from photo reference. If someone as talented at The Dude can use photos to draw from, why can’t I, or you, or anyone else..?
Some folks recommend turning your drawing upside down when using photos. I’ve heard it can really help with portraits, but I’ve never gotten the hang of that technique and am just too impatient (aka ‘lazy”) to try it.
Many artists, especially comic book and animators, keep a mirror in their workspace for quick reference. Many animators will video themselves or others performing to get a feel for the motion the character should be doing. If it’s an animal they may take a trip to the zoo for research- and a break from the studio.
Which leads me to my “no” answer…
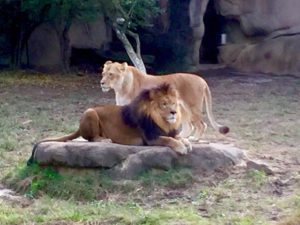
Don’t rely on photos, but learn to draw from life. Take life drawing classes with models, draw still life, do landscapes, draw architecture, go to the mall and do quick gesture drawings of people, go to a cemetery and draw the monuments, go to the zoo and draw animals- many like the lions will seem to sit there and pose for you. My friend Jack Chapman would take a sketchbook to the doctor’s office and while sitting in the waiting room he would do quick sketches of the other patients sitting there, too. Have heard of other artists doing similar things.
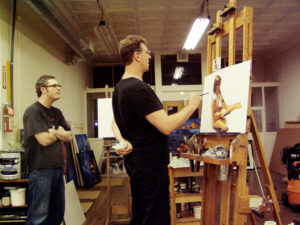
It’s a great exercise to give yourself a time limit- 1 min, 5min, 30min, 1hr, etc. when drawing from life. Don’t get hung up on trying to capture all the details- that’ll slow you down and not what this type of drawing exercise is for. Just look at form, light and shadows, composition, positive and negative space and such. Have done it when I was doing the live model drawing classes at Adam Shaw’s studio. The more you do this the more drawing muscle memory you will develop and the less dependent on having to have a reference photo you’ll become. I really wish I had gotten into this habit when I was much younger. It’s a good confidence builder.
Finally, here’s my “maybe“…
Many times when I’m drawing cartoons I wing it- those are a bit easier to get away with things being exaggerated and/or simplified. You have more creative license with cartoons. The more exaggerated and free a cartoon can be, the more it seems to be in motion for me even when the figure is standing still. I have a real problem with things being too stiff in my work, and really try to work to improve it.
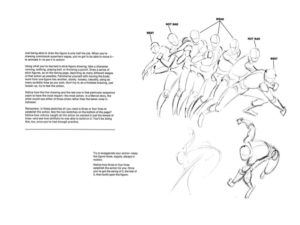
A good example of pushing a pose that I try to live by is one I saw as a kid in my first art book “How To Draw Comics The Marvel Way” (which I highly recommend!). You can see just how more dynamic a figure can be by pushing a pose. If’ I’m drawing someone getting hit, I need the audience to feel that impact through my drawing. If someone is flying I want them to look like they are soaring or floating and not just laying on a diving board with their arms outstretched. Unless that’s exactly what you want it to look like, have something moving- hair, cape, clothes, etc. It can really make a difference in your drawings.
A great example of example of exaggeration in characters is artist Sean “Cheeks” Galloway. That guy can stretch and squash in his drawings and they look fantastic! He;s done a lot of comics and animation work, and is constantly evolving as an artist- and is obviously much taller than me. Definitely check out his work.
Now, as an artist I did learn a lot about depth of field from studying photos and photography, as well as taking photos. Looking at old Hollywood glamour promo portraits really taught me how to make my painted portraits look more 3D. The trick I learned was to “focus” my details on the center triangle of the face- the area going from each eye and to where the nose meets the mouth. From there you soften/lesson your details the more the face goes out and back. It gives you the effect of having a wide aperture on a camera lens and “draws’ your attention to the subject’s eyes. Really effective, and sometimes it would really give the auto-focus on my camera fits when I would take shots of my finished paintings. Had to go manual mode most of the time.
It’s a simple thing, but I’ve learned that my paintings really come to life after I put the highlights in the eyes. Before that they can look flat, lifeless, and a bit off. It’s amazing what two little dots can do!
Learning things like how linear perspective (relative size of objects and how they appear smaller the further they are in the distance) and atmospheric perspective (atmosphere affects color value and detail/clarity as background objects get lighter the further they go into the distance) both affect the way we see things, how shadows fade from dark to light as they go away from an object, how rim-light or multiple light sources can affect a face or or mood of a scene, how camera apertures affect depth of field, and more can be acquired from studying photos and understanding the basics of photography.
Oh, and be sure to take pics of your work- not only when you’re finished, but as you go along. You’ll have a record of your progress, plus looking at a photo of your drawing/painting can show you what may be off and need correcting that you can’t see looking at your art piece with your naked eye. Taking a quick digital photo on my phone and looking at it has helped me see problems I couldn’t make out by just looking at the canvas.
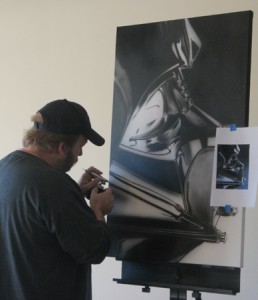
Another tip is if you are working large be sure to step back and look at your work from a distance. It can really help with “not seeing the forest for the trees” by only seeing the part of the painting you’re working on. I love working big, but it can be hard to force yourself to stop and step away from time to time.
Honestly, when it comes to art- do what works for you. Don’t be afraid to experiment with techniques and materials. Don’t be afraid to show others your work. Yes, it’s good to get advice from other artists, but just remember not everything they say may work for you.
One thing that drives me crazy is when an artist won’t share knowledge with others. It just shows me how insecure they are as an artist, and how afraid they are of any competition. Back when I growing up and through high school I didn’t have any friends who were artists, and I couldn’t just google info or go to panels at conventions. Luckily I met artists like Greg Cravens, A.G. Howard, Bob Kimball, and later Steve Stanley who would share with me what they knew over the years and never considered me a threat, just another artist. As a result I have always been willing to share what I know.
Hmm…I haven’t even delved into using lightboxes or projectors, have I..?
Okay, yes- I do use both in my art…sometimes, and you should be able to as well if you’d like. They are a tool and you shouldn’t feel like a tool for using them.
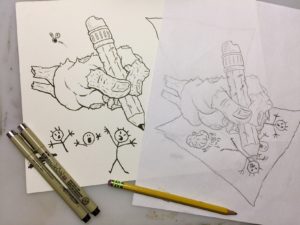
I really love my lightboxes (one on my drawing table and one that’s portable) for doing my cartooning. I like to draw loose, and then clean up the drawing by placing it and another piece of paper on my lightbox. Sometimes I’ll ink it straight on some Bristol, or do a clean pencil drawing on copy paper and then ink it on Bristol to scan.
You can see some of my technique for that here in my last post, or in my Zee Flash blog post.
If you’re a comic book artist, inking a penciled page by using a lightbox (or printing it out in blue line) can give you two pieces of original art to sell instead of just one. Just a suggestion…
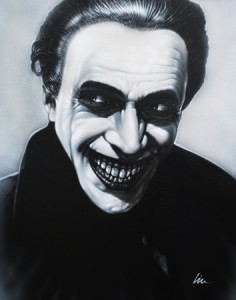
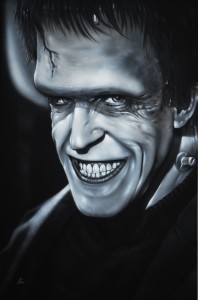
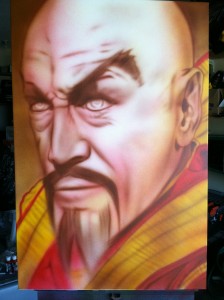
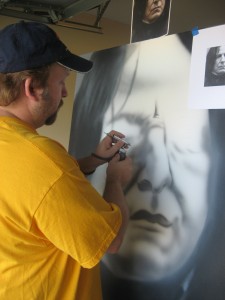
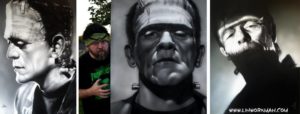
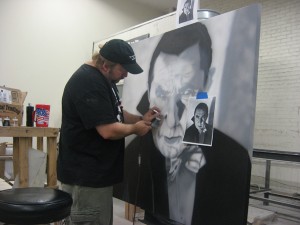
For many of my Monsterpieces I use an opaque projector. I bought it about 30 years or more ago while airbrushing at a t-shirt shop in a mall here. I had a lot of people wanting portraits and their vehicles on shirts for Christmas and I needed to be more exact and quicker with my painting. Faster + accuracy = more $$$. The projector allowed me to get my proportions accurate, my practice with an airbrush and understanding photography helped me make the paintings look more realistic.
I’ve had people tell me that using a lightbox and/or a projector is “cheating“. Same for using stencils or frisket. I’ve also had folks tell me that an airbrush does all the work. I’m guessing these folks have never tried airbrushing or had to hit deadlines..!
When I had a t-shirt shop and it was slow I would grab a blank shirt and a reference photo and freehand the painting. It kept me in practice, drew attention to what we do, entertained folks passing by, gave me a display to sell, and would shut up the folks who would say I had to have a projector to paint. (BTW- I miss the workspace and my hair, but don’t miss those pants!)
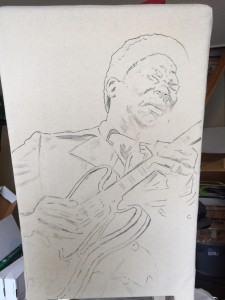
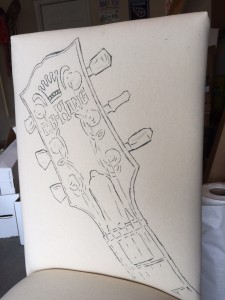
I really only use a projector or lightbox to help crop/position the design on a canvas or sketchcover. I usually just quickly sketch the basic outlines and positioning, and then freehand the rest. It saves time and keeps things better composed. Depending on the photo I’m using I may be able to get details to show up, other times I’m just going to get a rough outline and maybe a couple reference points with a pencil and/or Sharpie.
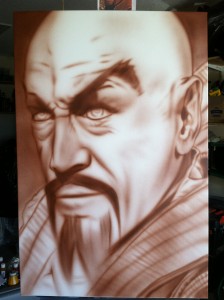
The projector really comes in handy when I want to transfer one of my drawings to a canvas, or doing larger paintings like this mural (which was 3 or so different reference photos).
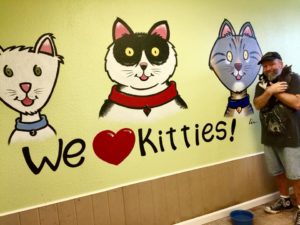
Occasionally I will freehand a mural like my recent one at the Tunica Humane Society shelter. It was just easier and quicker than trying to set up the projector and darken the room enough to use it.

Honestly, if I put one drawing or painting I used a projector or lightbox on next to one I free-handed I seriously don’t think you could tell the difference. That’s not bragging, just around 50 years of practice. Heck, some days I have a hard time remembering which ones I did or didn’t “trace”.
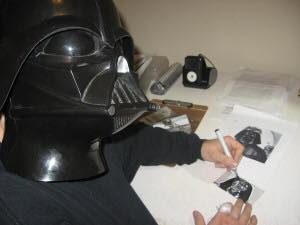
So, that’s my opinion and advice on using and/or not using photos to draw from. Hope it helps you and your art process. You don’t have to wear the helmet, but- hey…if that’s your thing then go for it. Who am I to judge..?
If you’d like to read any more of my opinions on art and some of my art history, here are a few more of my blog posts for ya:
Southern Exposure- My Thoughts On What’s Good Exposure For My Art And What’s Not
“Expose THIS!” My True Feelings On Working For Free
“How Much Is That Sketchcard In The Window?”- Why I Charge What I Charge
It’s A WAYback Weekend- Rocktober And My Hand In Rock103 History
“Don’t Quit Your Day Job, Kid!”- What My Day Job Really Is
BTW- I’m back drawing at The Cellar on Wednesday nights from 5-9pm, and can usually be seen at most MSCA events. Fell free to stop by and share some of your opinions on art with me.
Lin
