Hey, gang- back again with another how-to blog. This time for “Freaky Friday” I’m here to tell you how I did my 3rd wood panel painting- a Beetlejuice one.
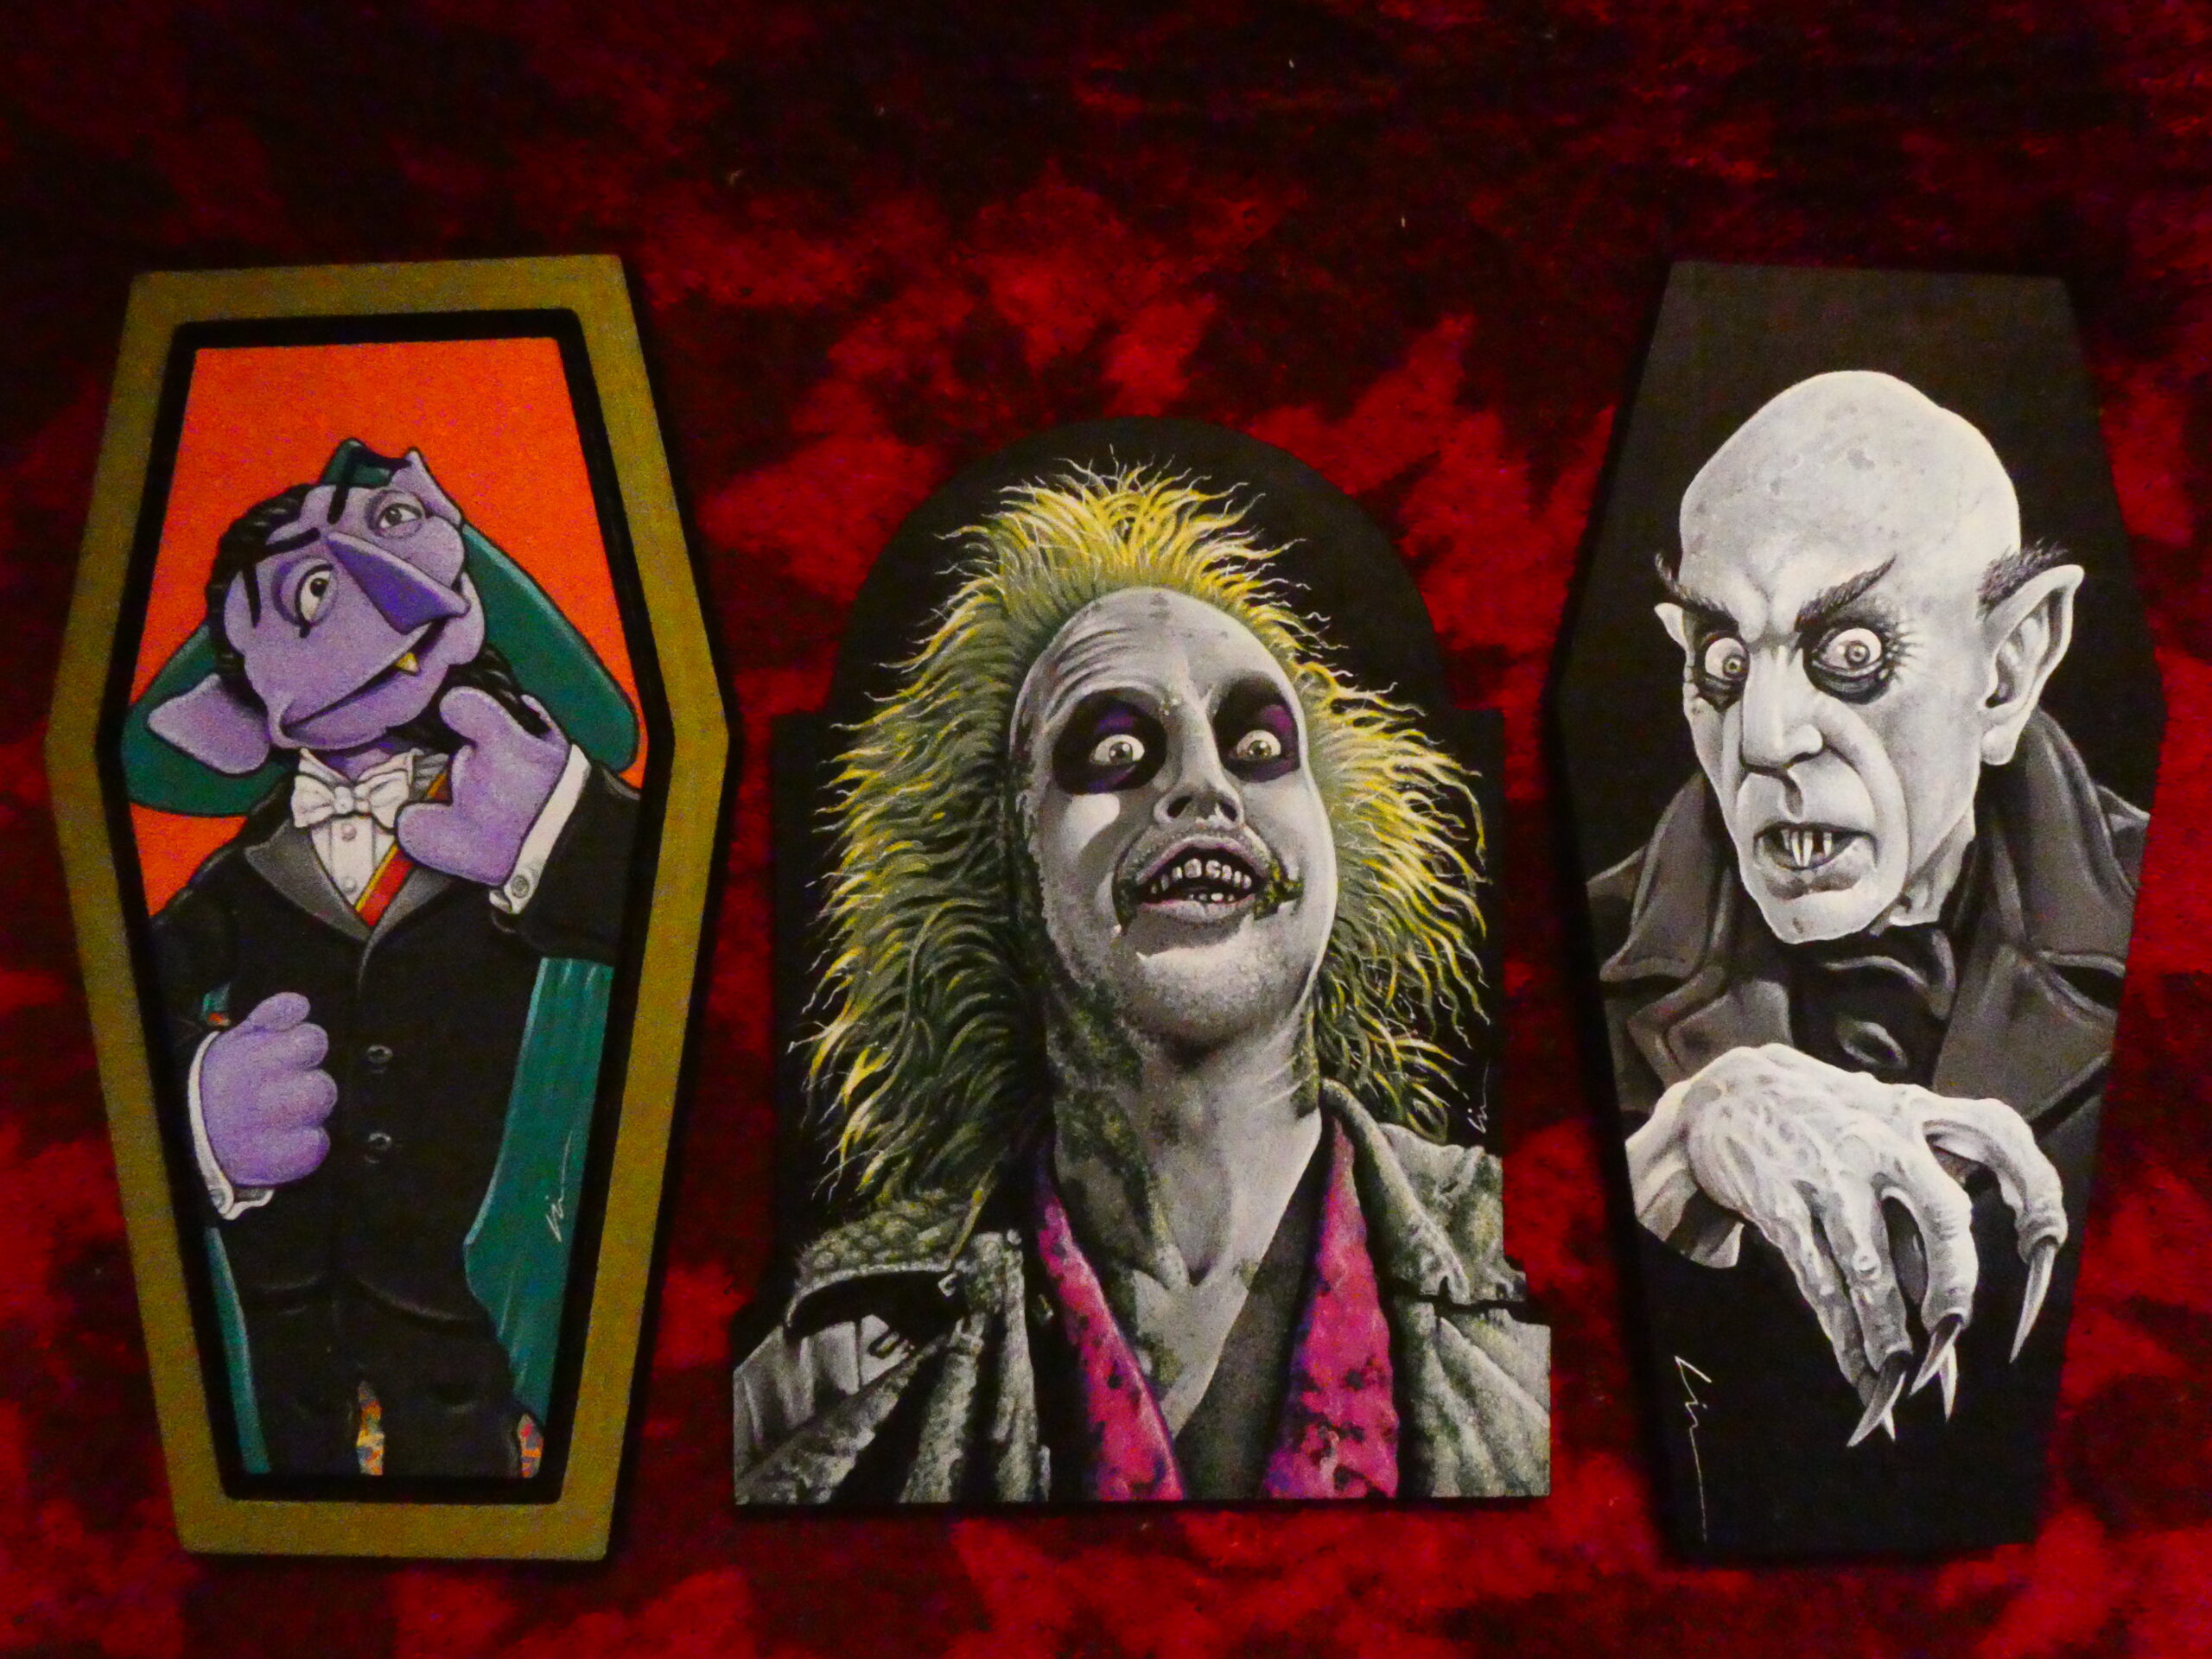
My first two were Nosferatu and Count von Count on some Trekellcoffin panels.
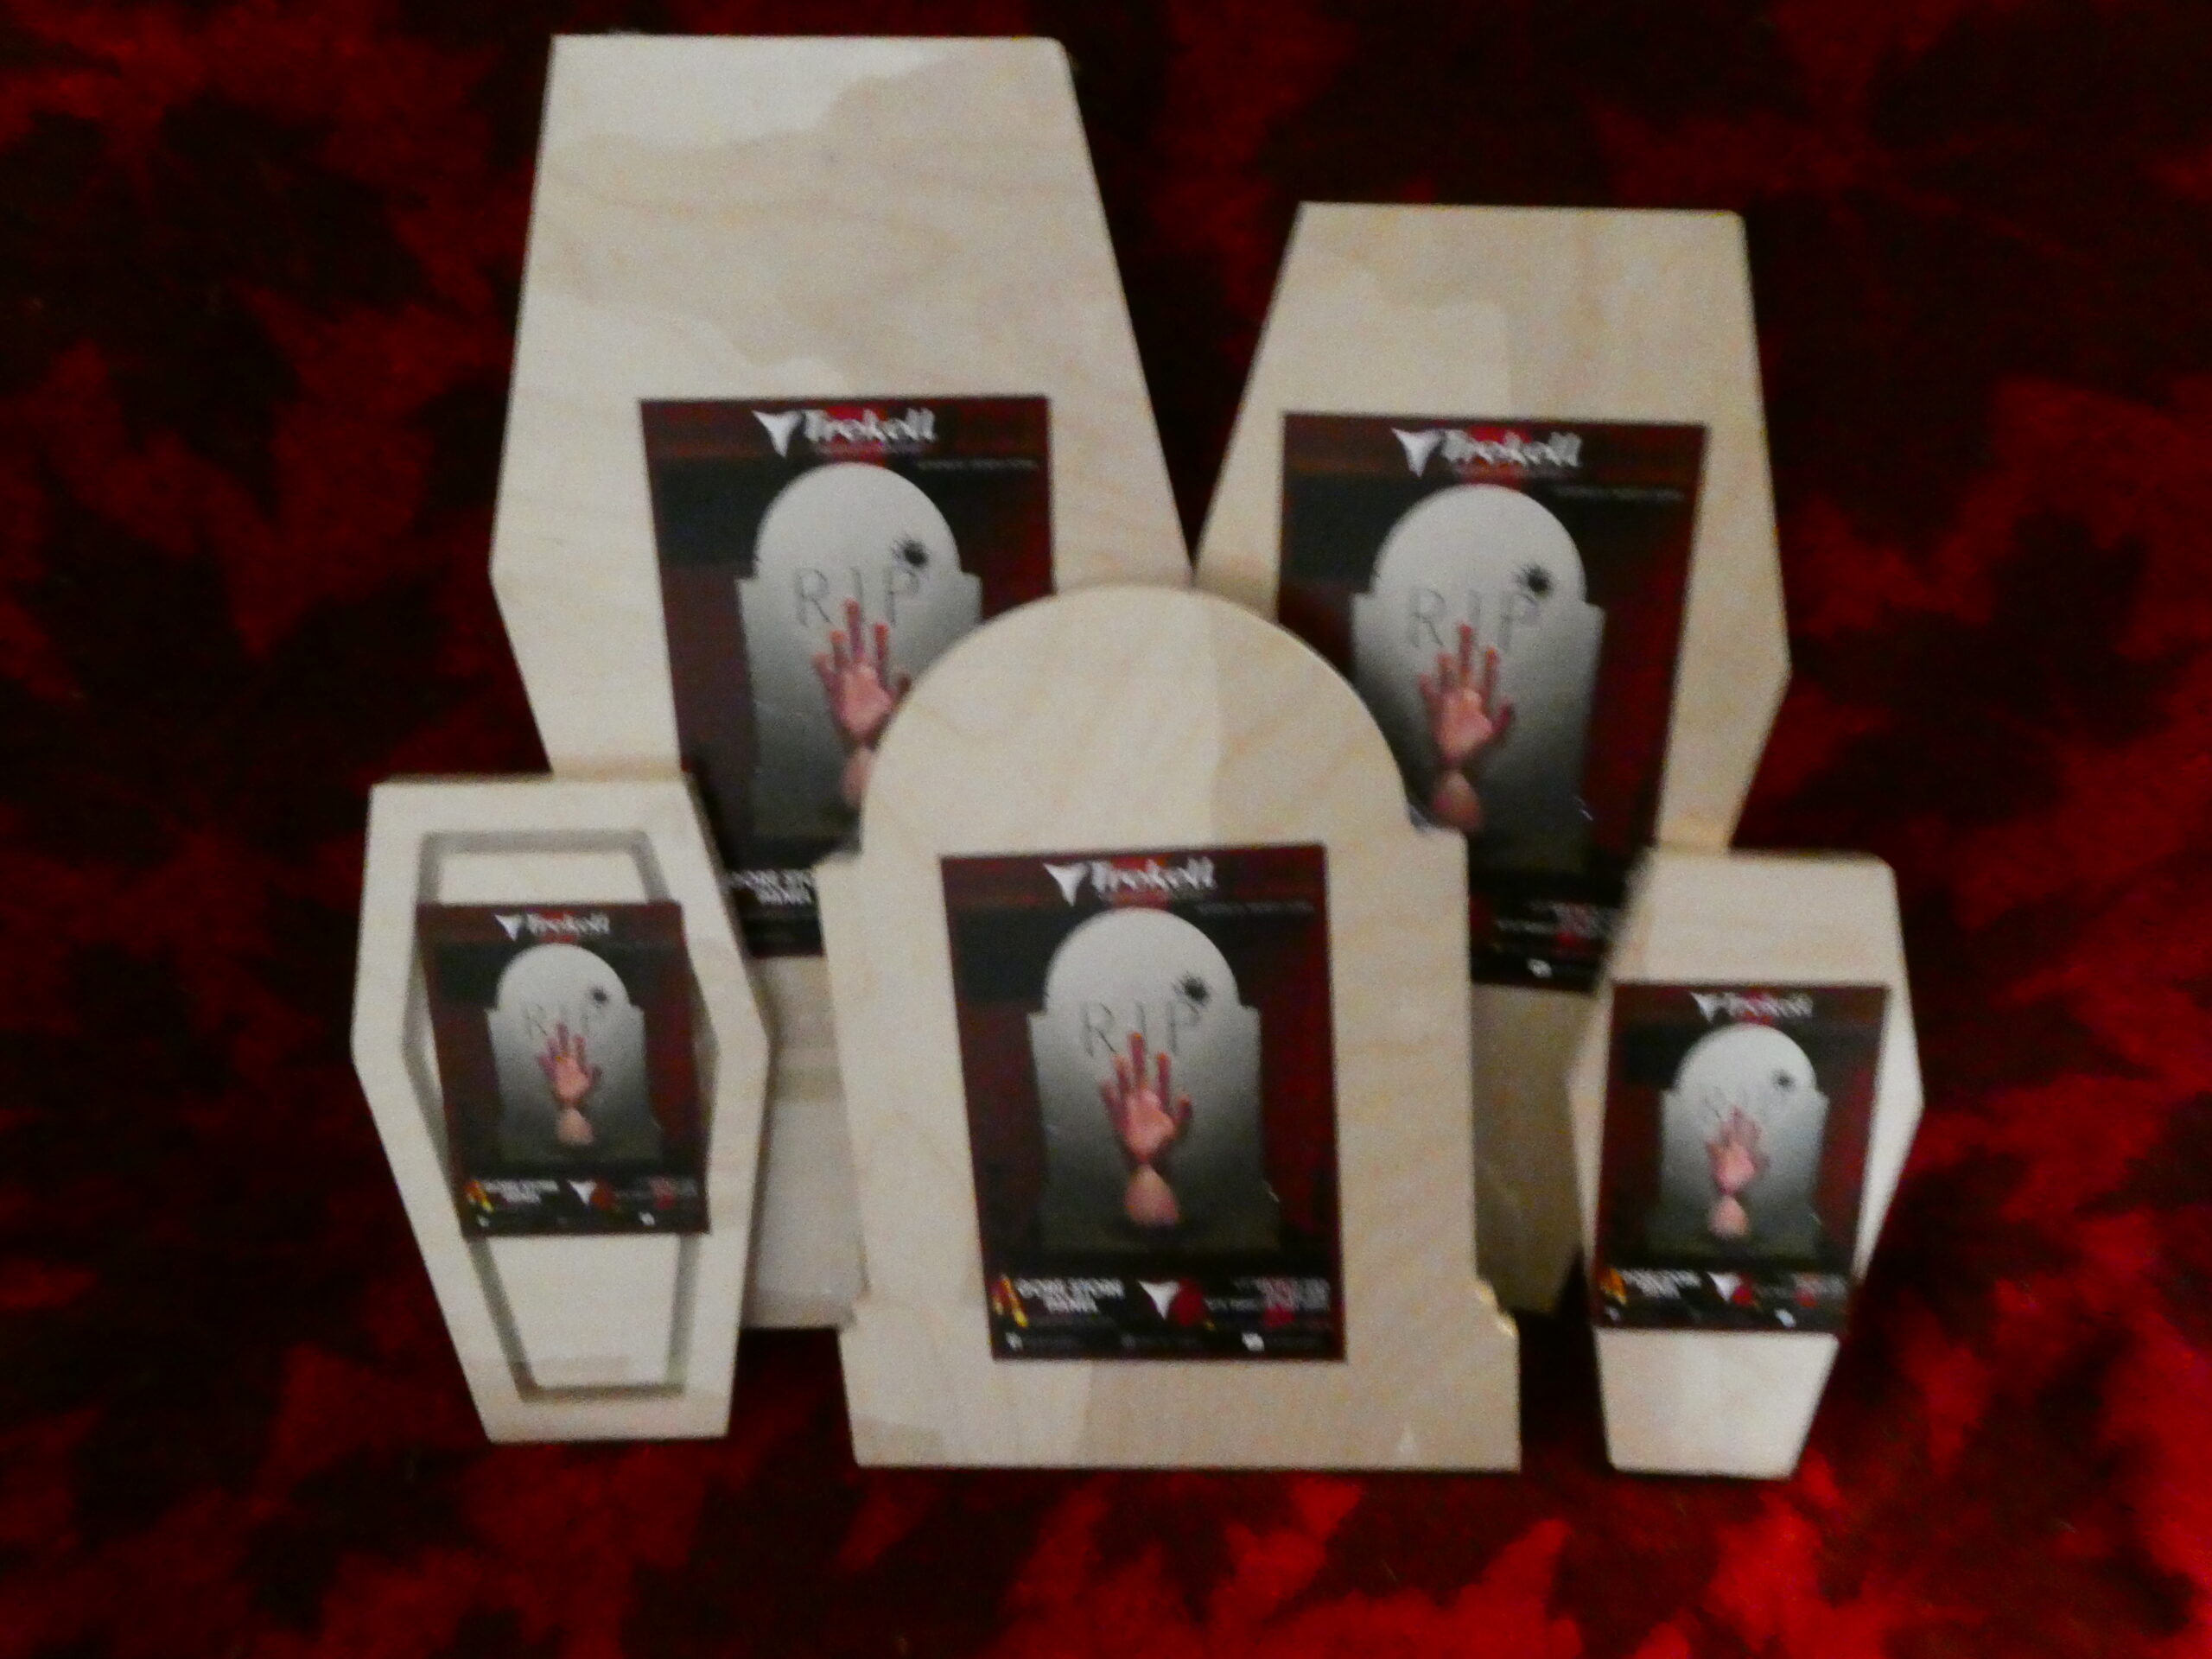
I bought several online last year while they were on sale but am just now getting around to painting on them for this year’s Monster Market downtown in October. I ran out of time last year and completely forgot I had them until I ran across them a couple weeks ago while looking for some canvases and frames out in the garage.
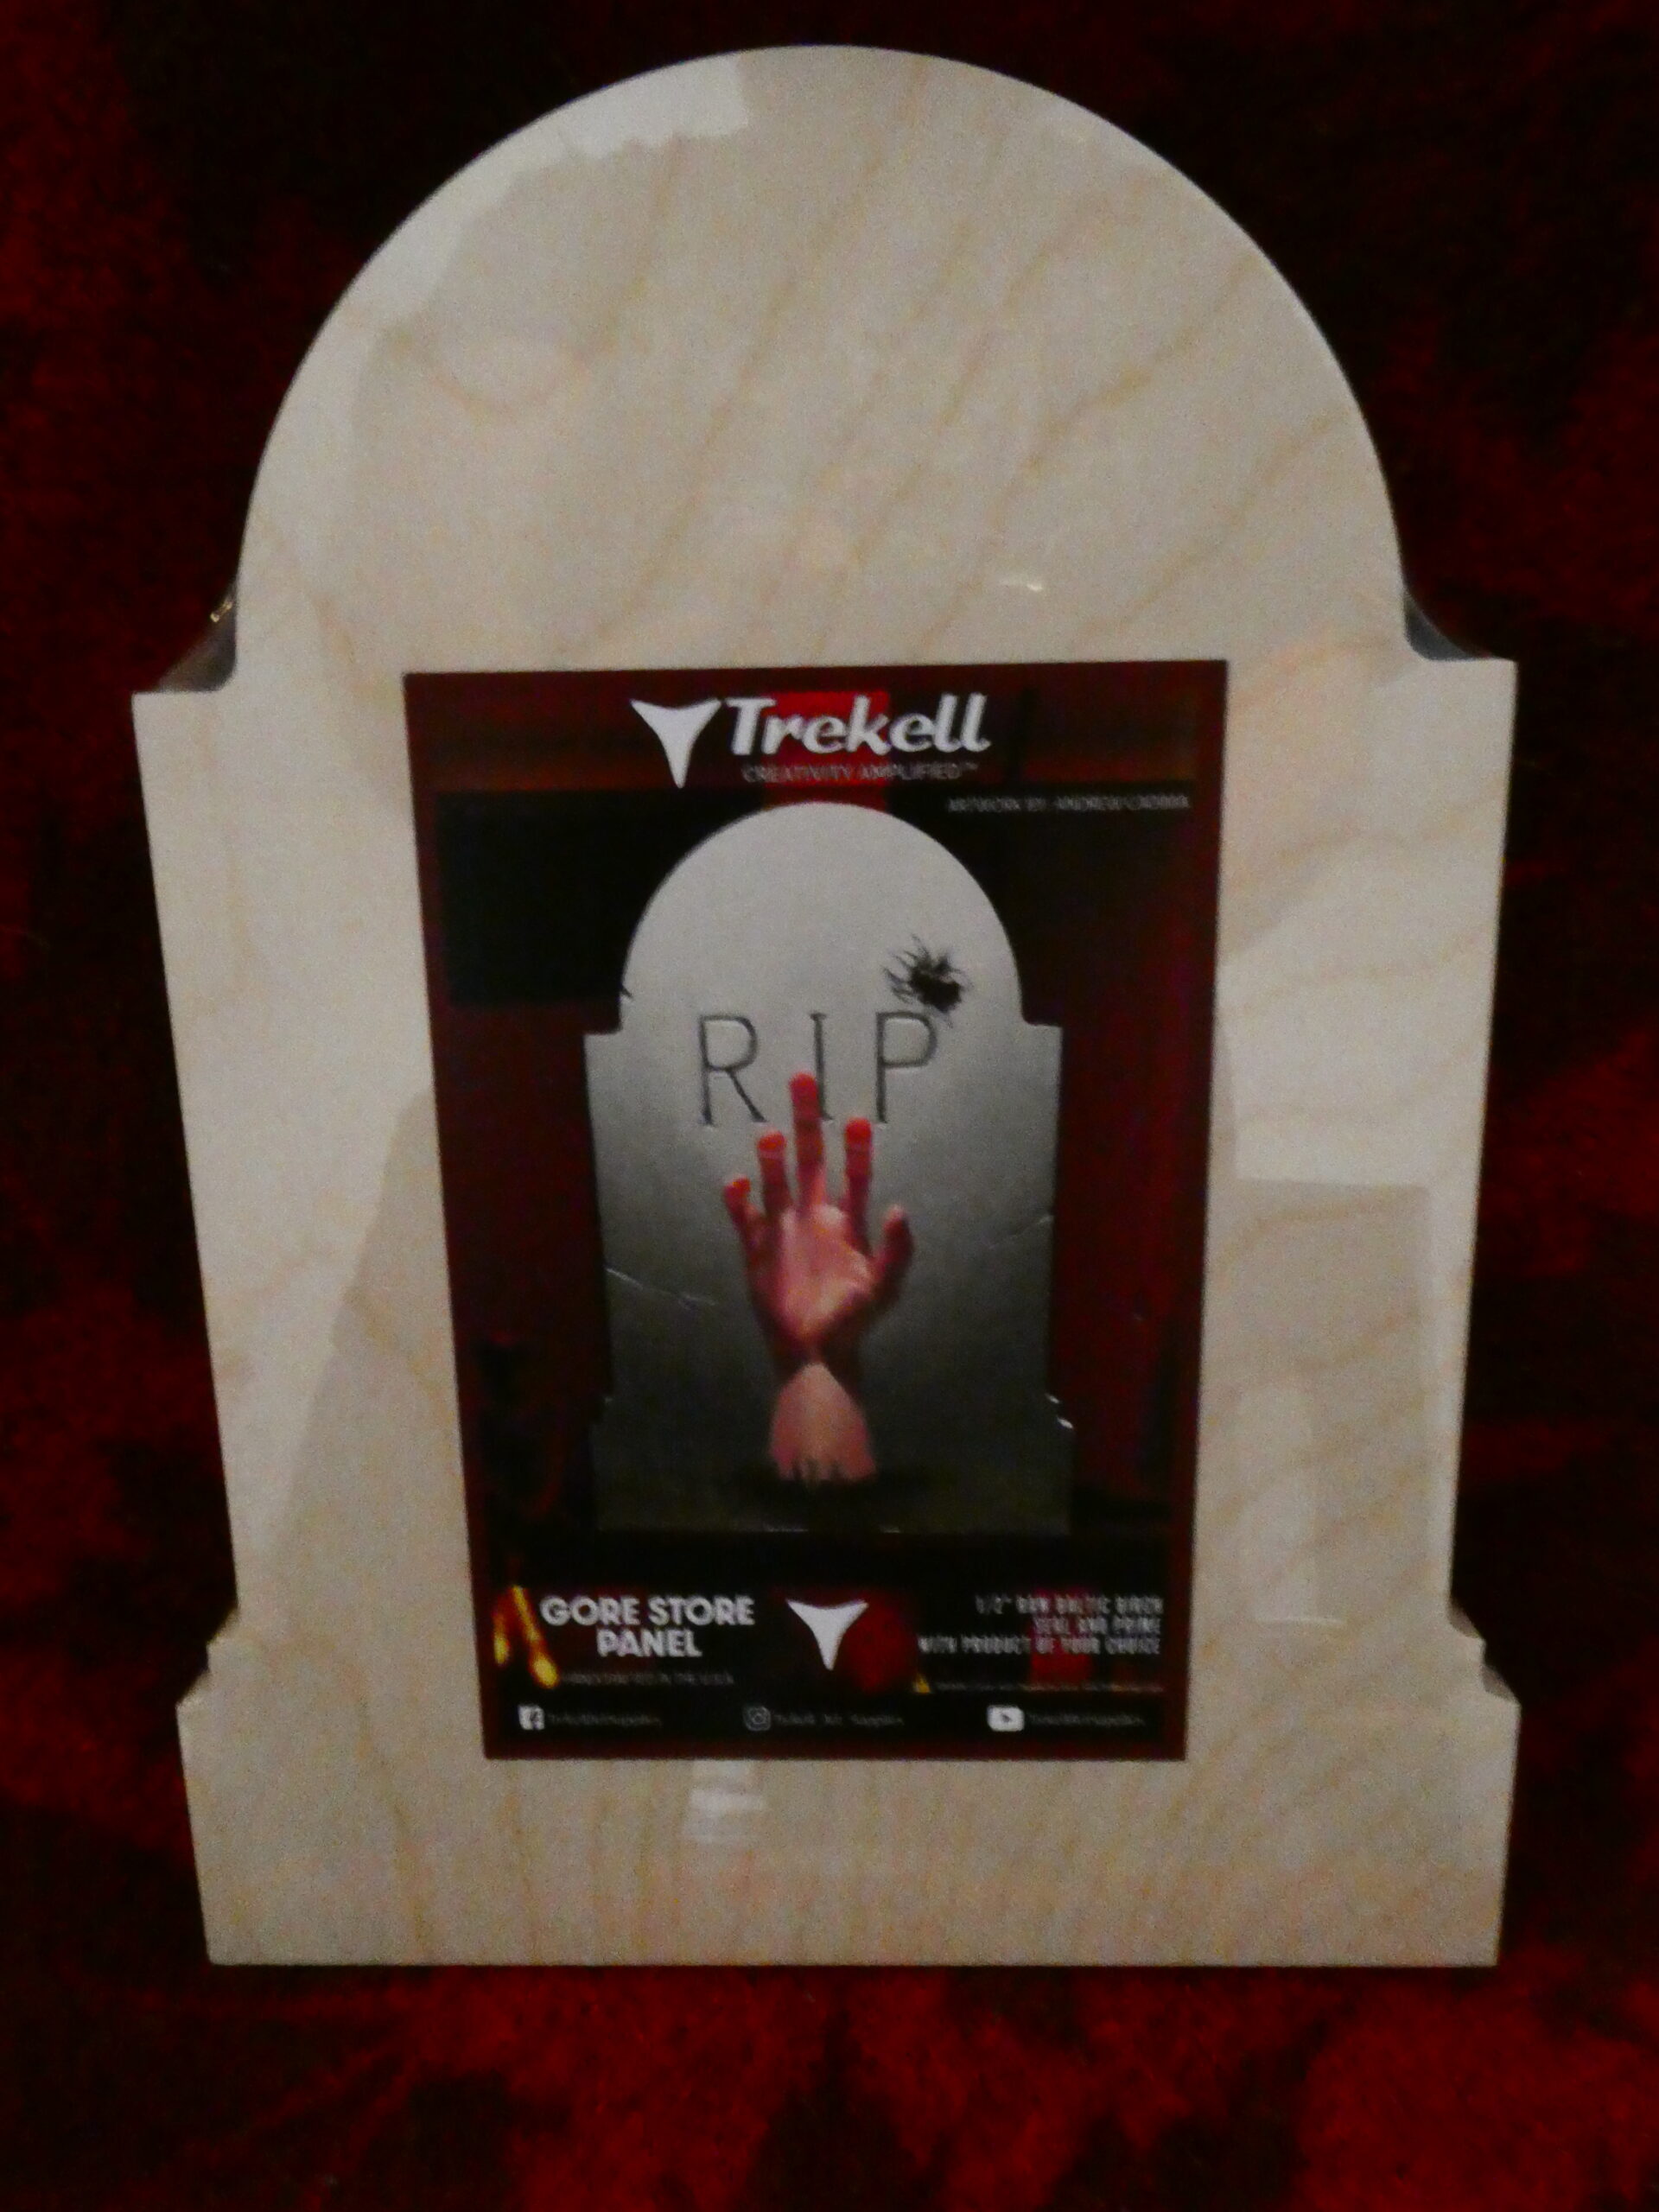
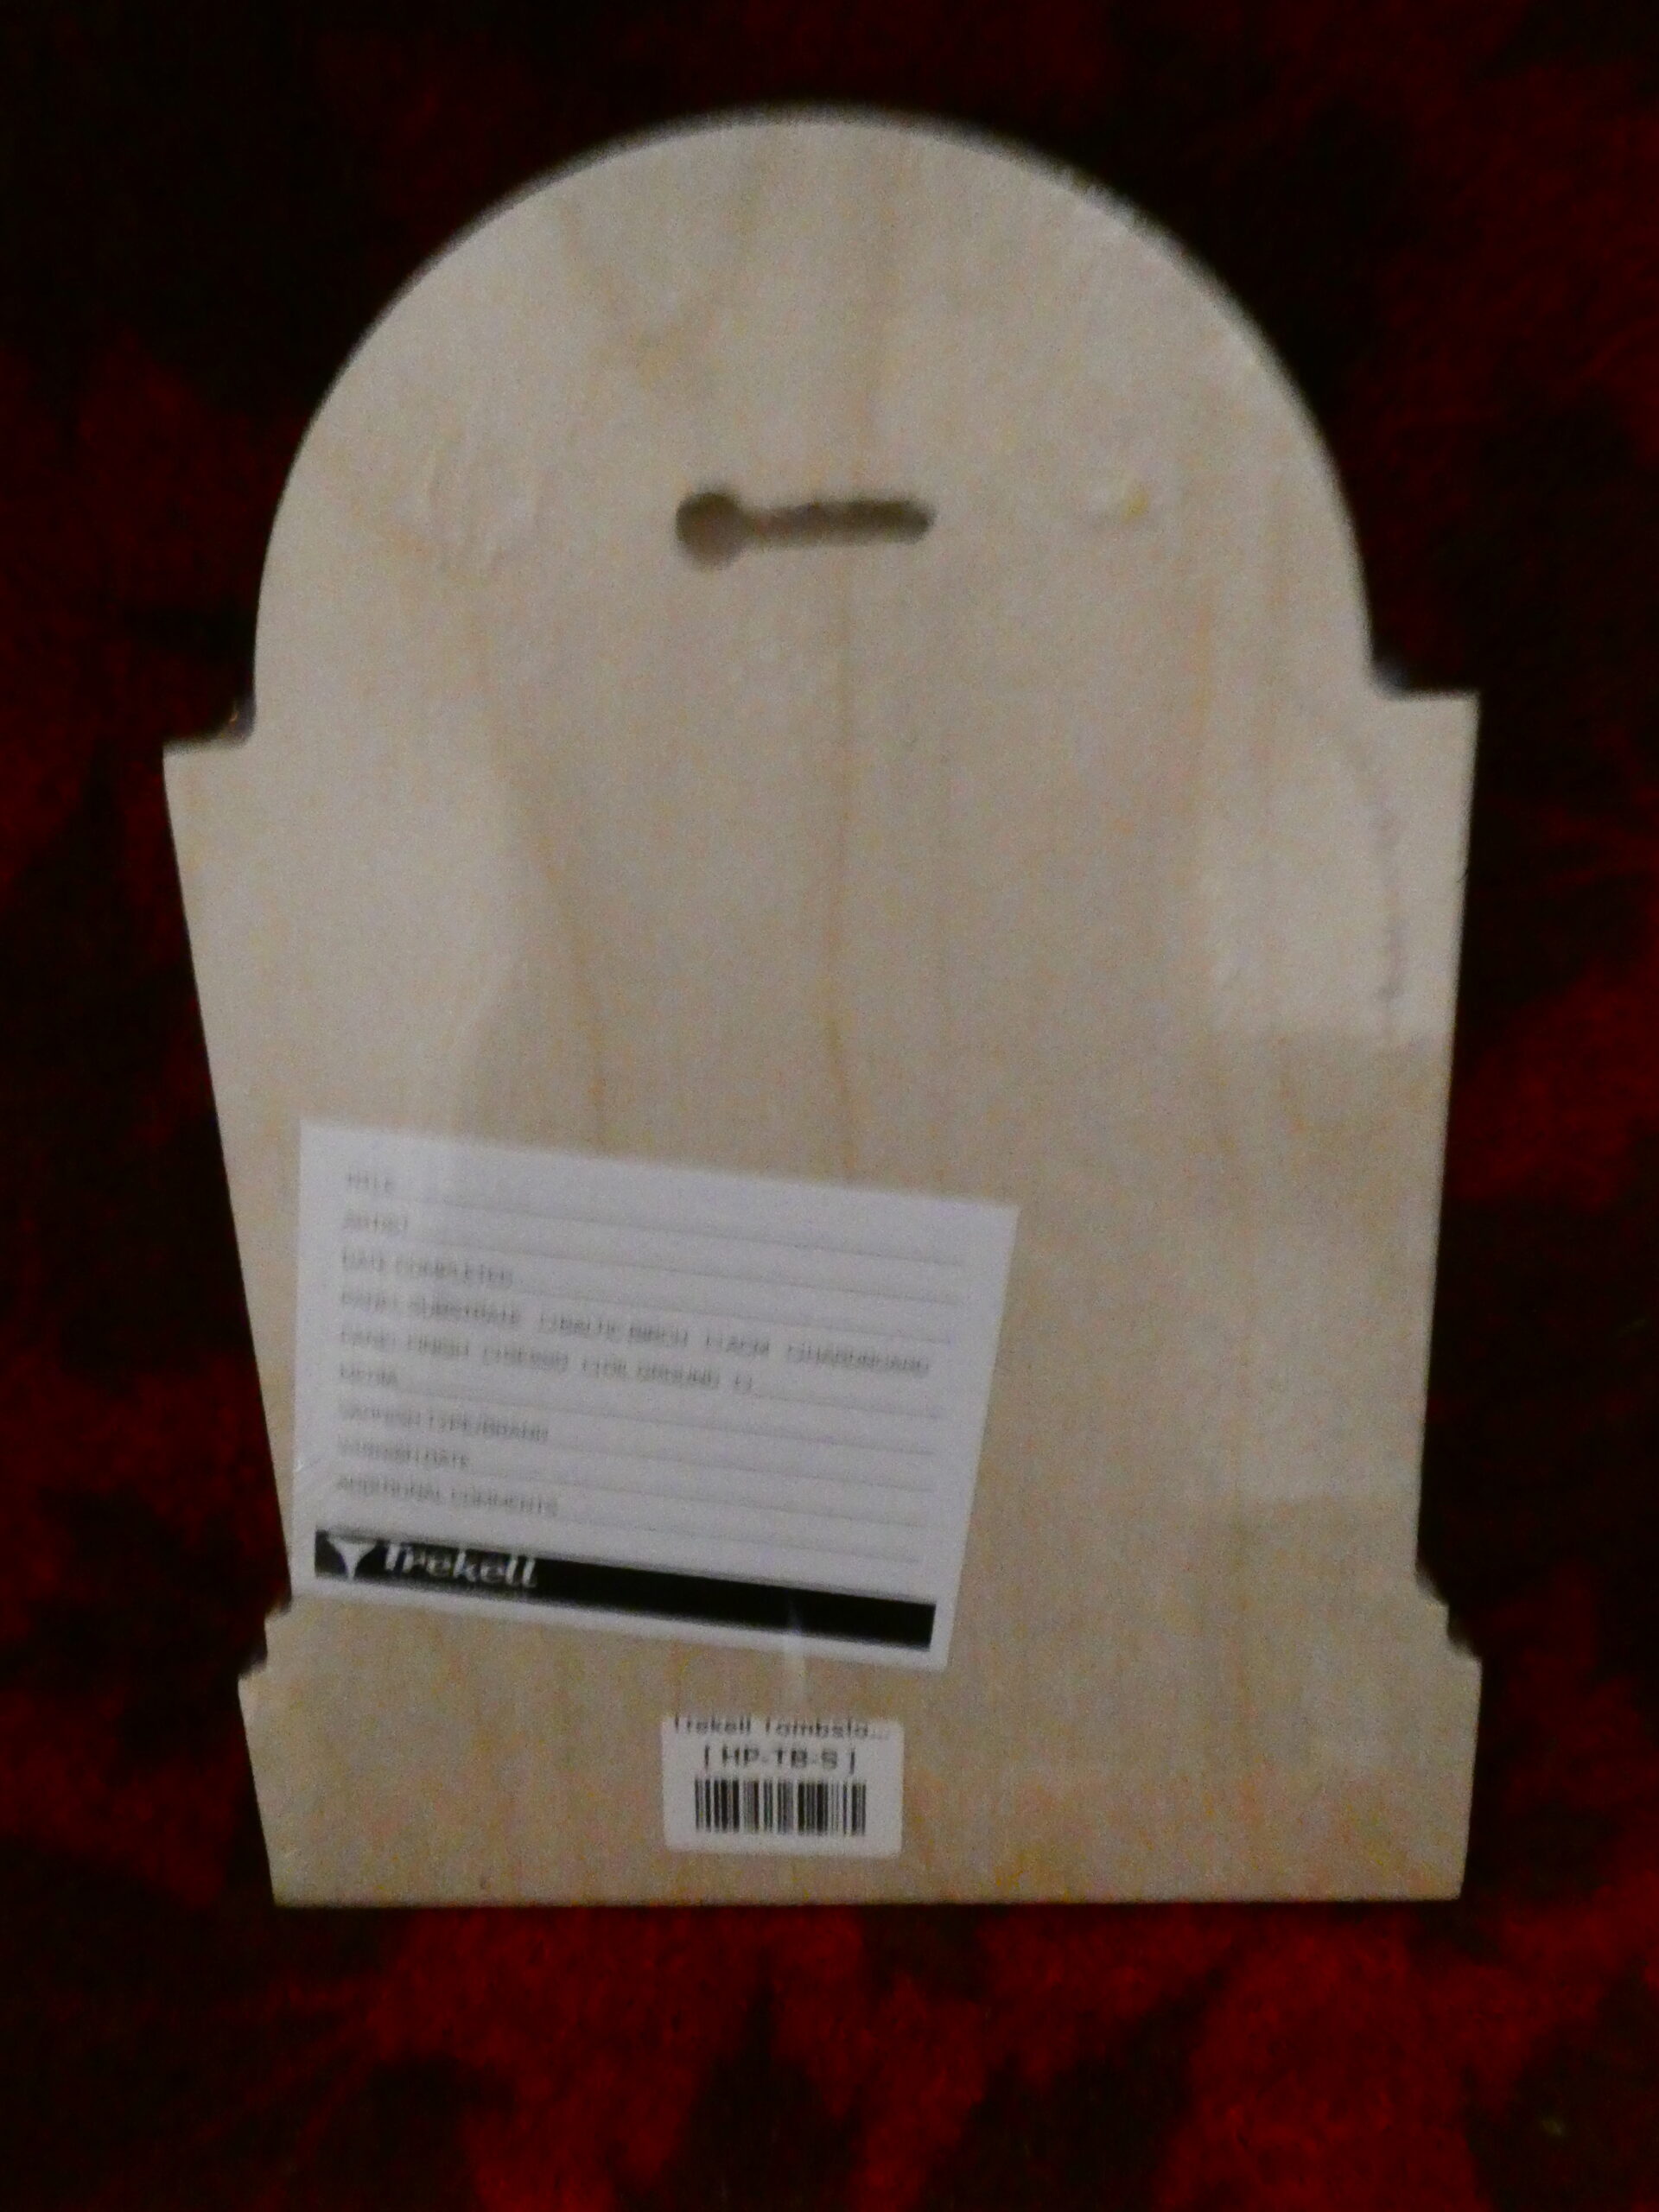
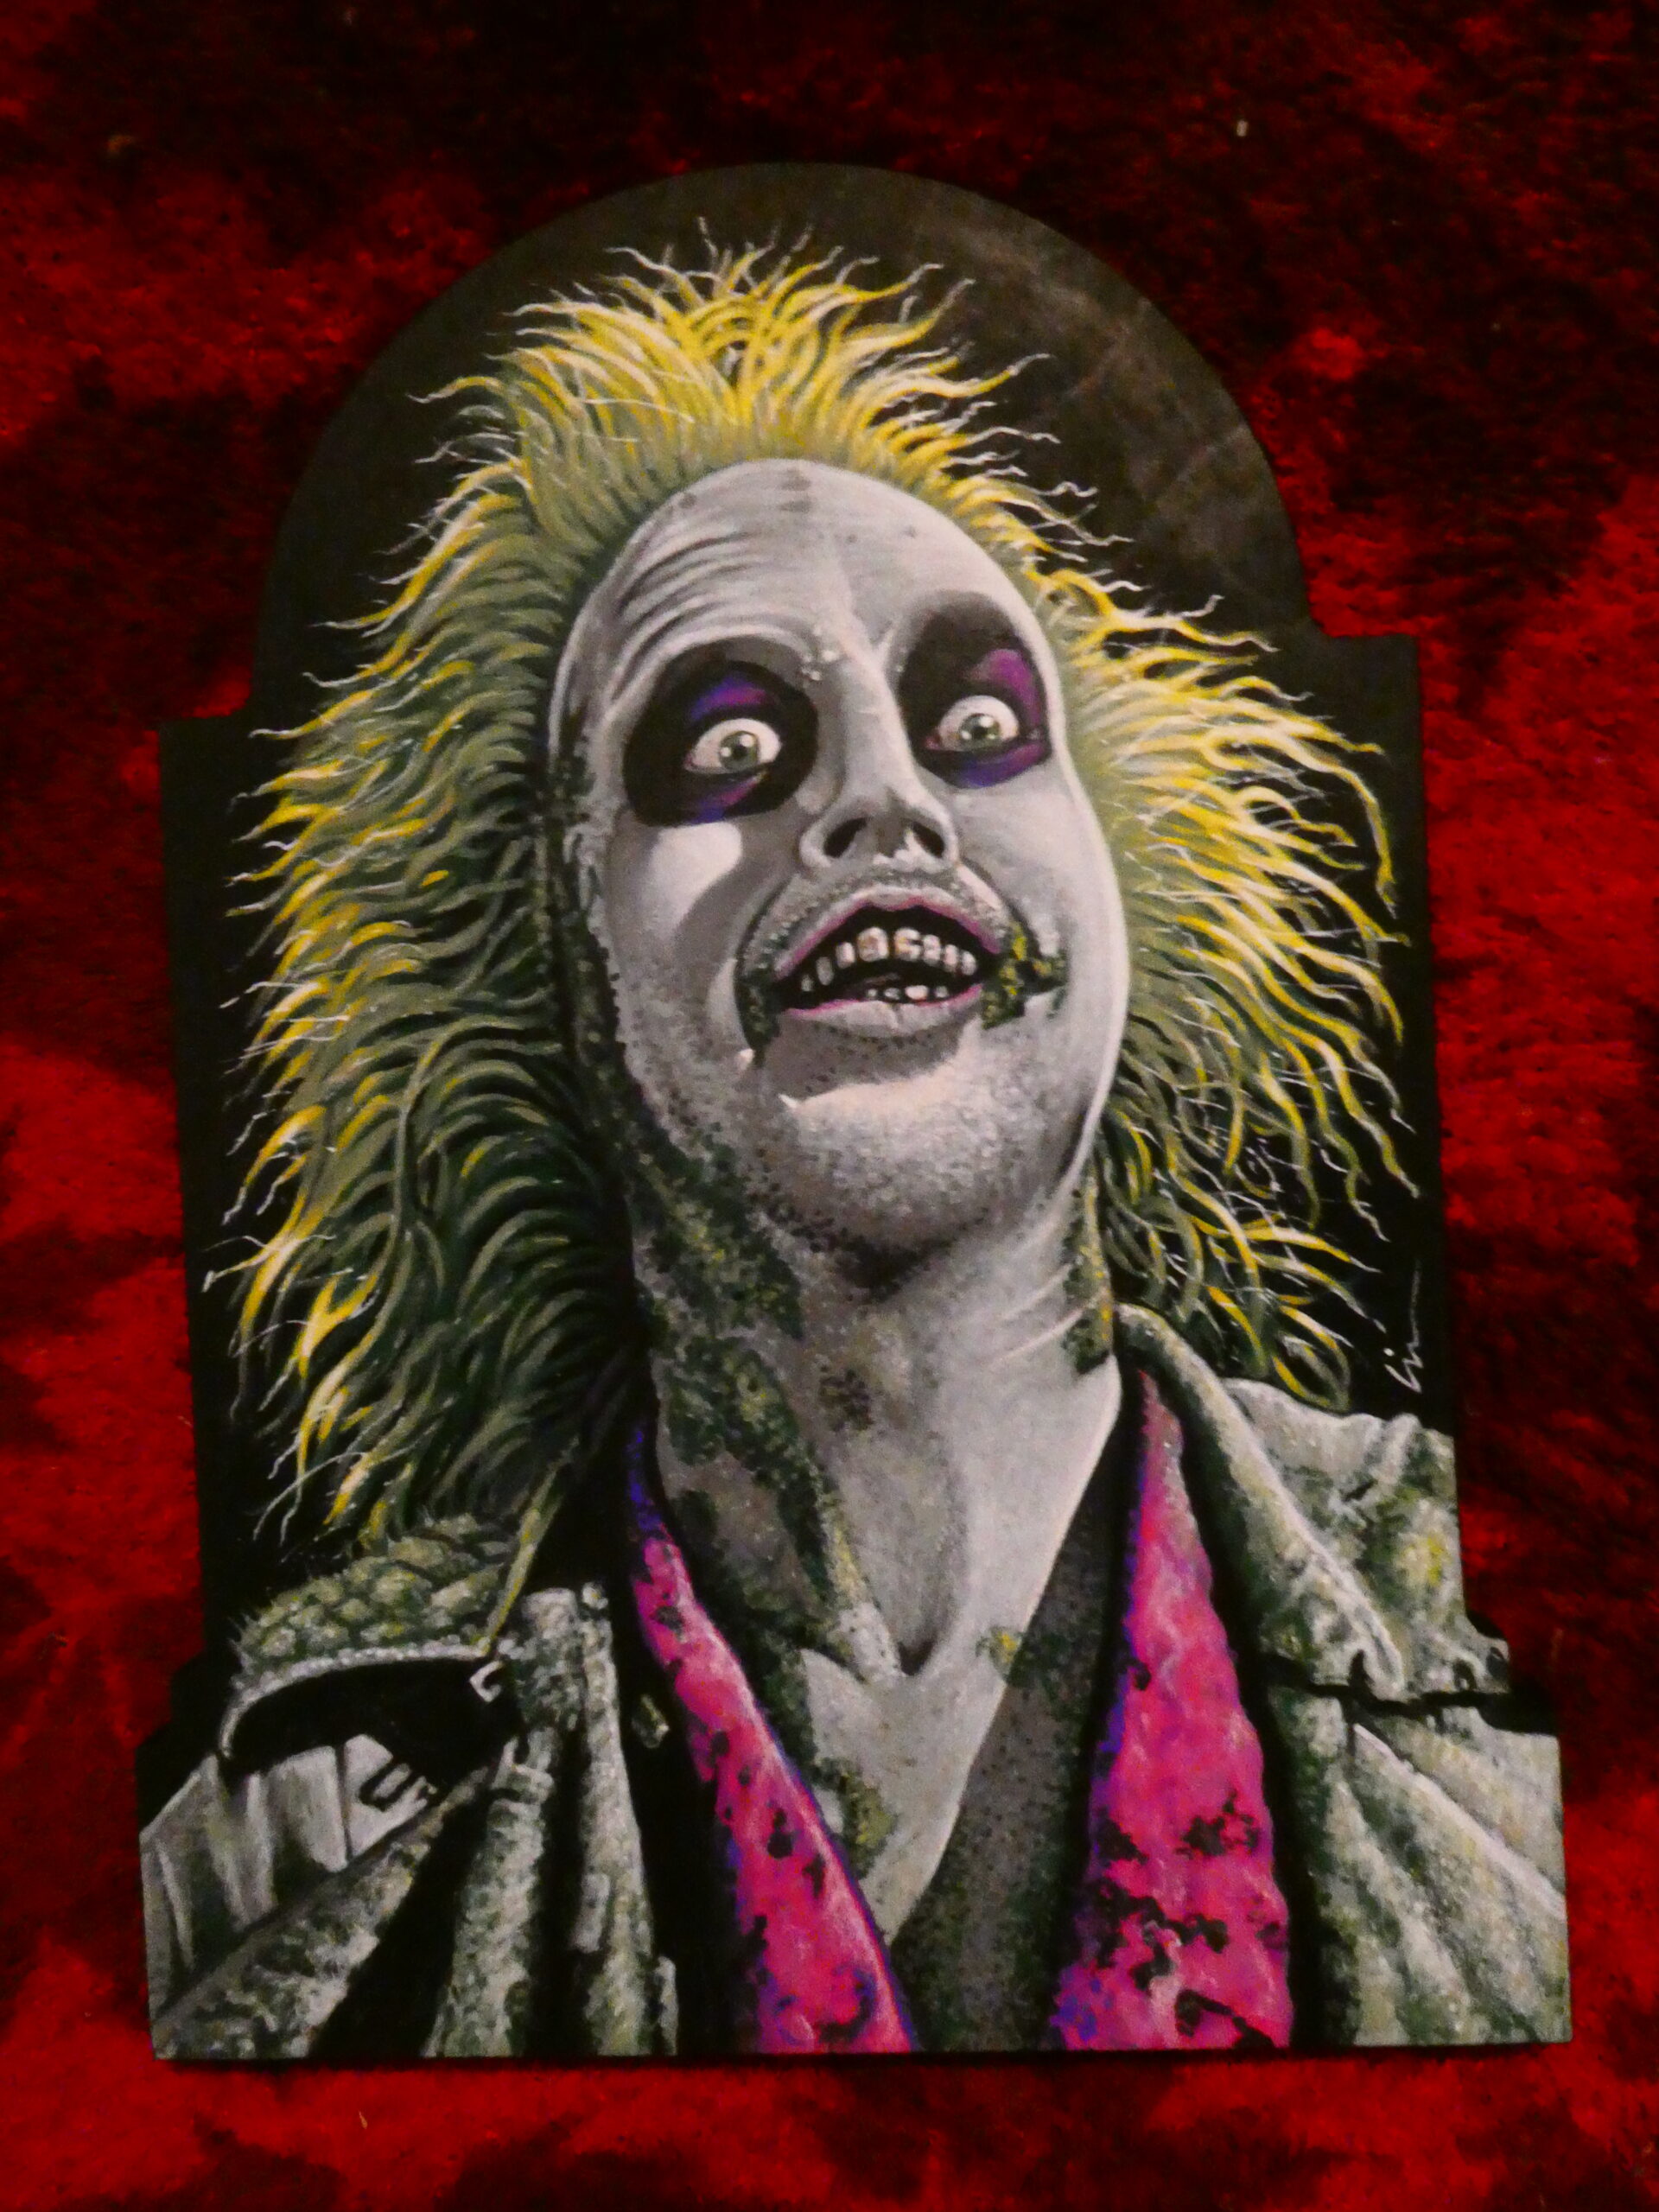
I had a 6.5″x10″ tombstone panel along with the coffin shapes, and my wife Nicki suggested I paint Beetlejuice on it. Great idea!
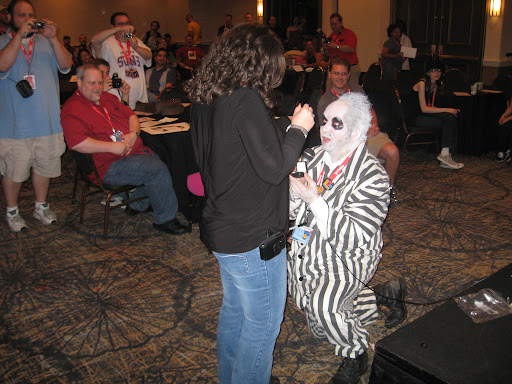
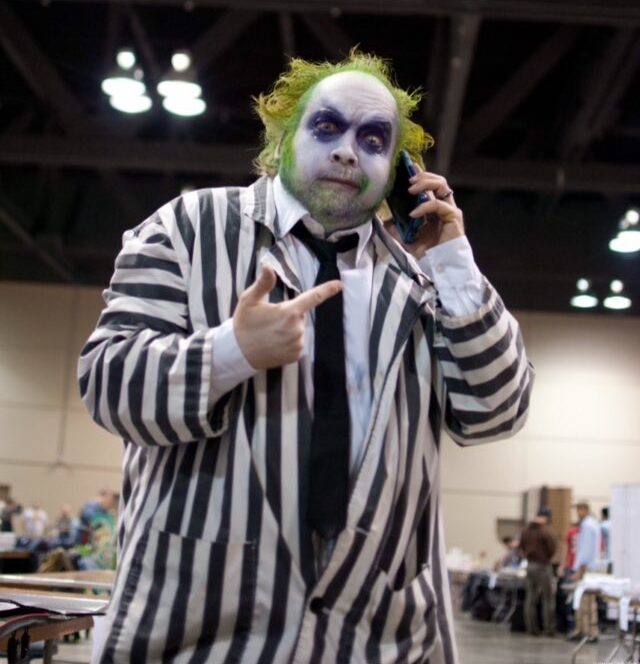
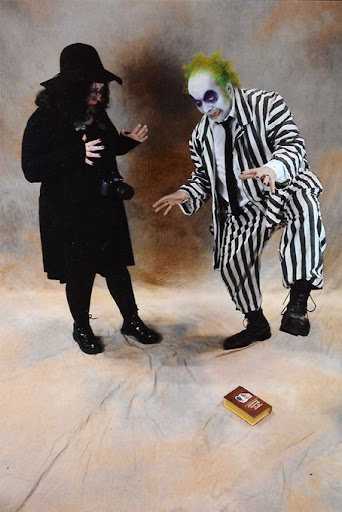
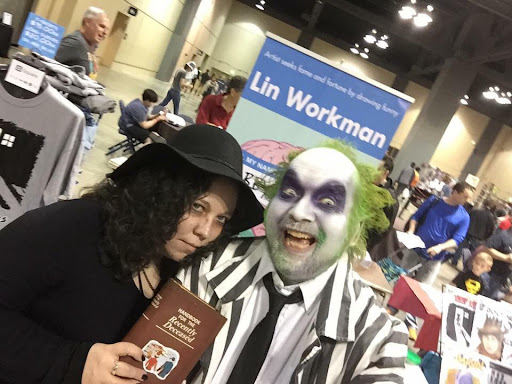
About 15 years ago while dressed as Beetlejuice for the Phoenix Comic Con art auction I proposed to her…
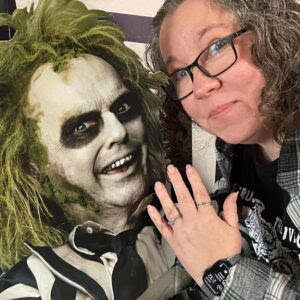
…and she said, “Yes!“ Well, actually she didn’t say anything- just jumped back a few feet. When I asked her if it was a “yes” she shook her head affirmatively, which totally counts.
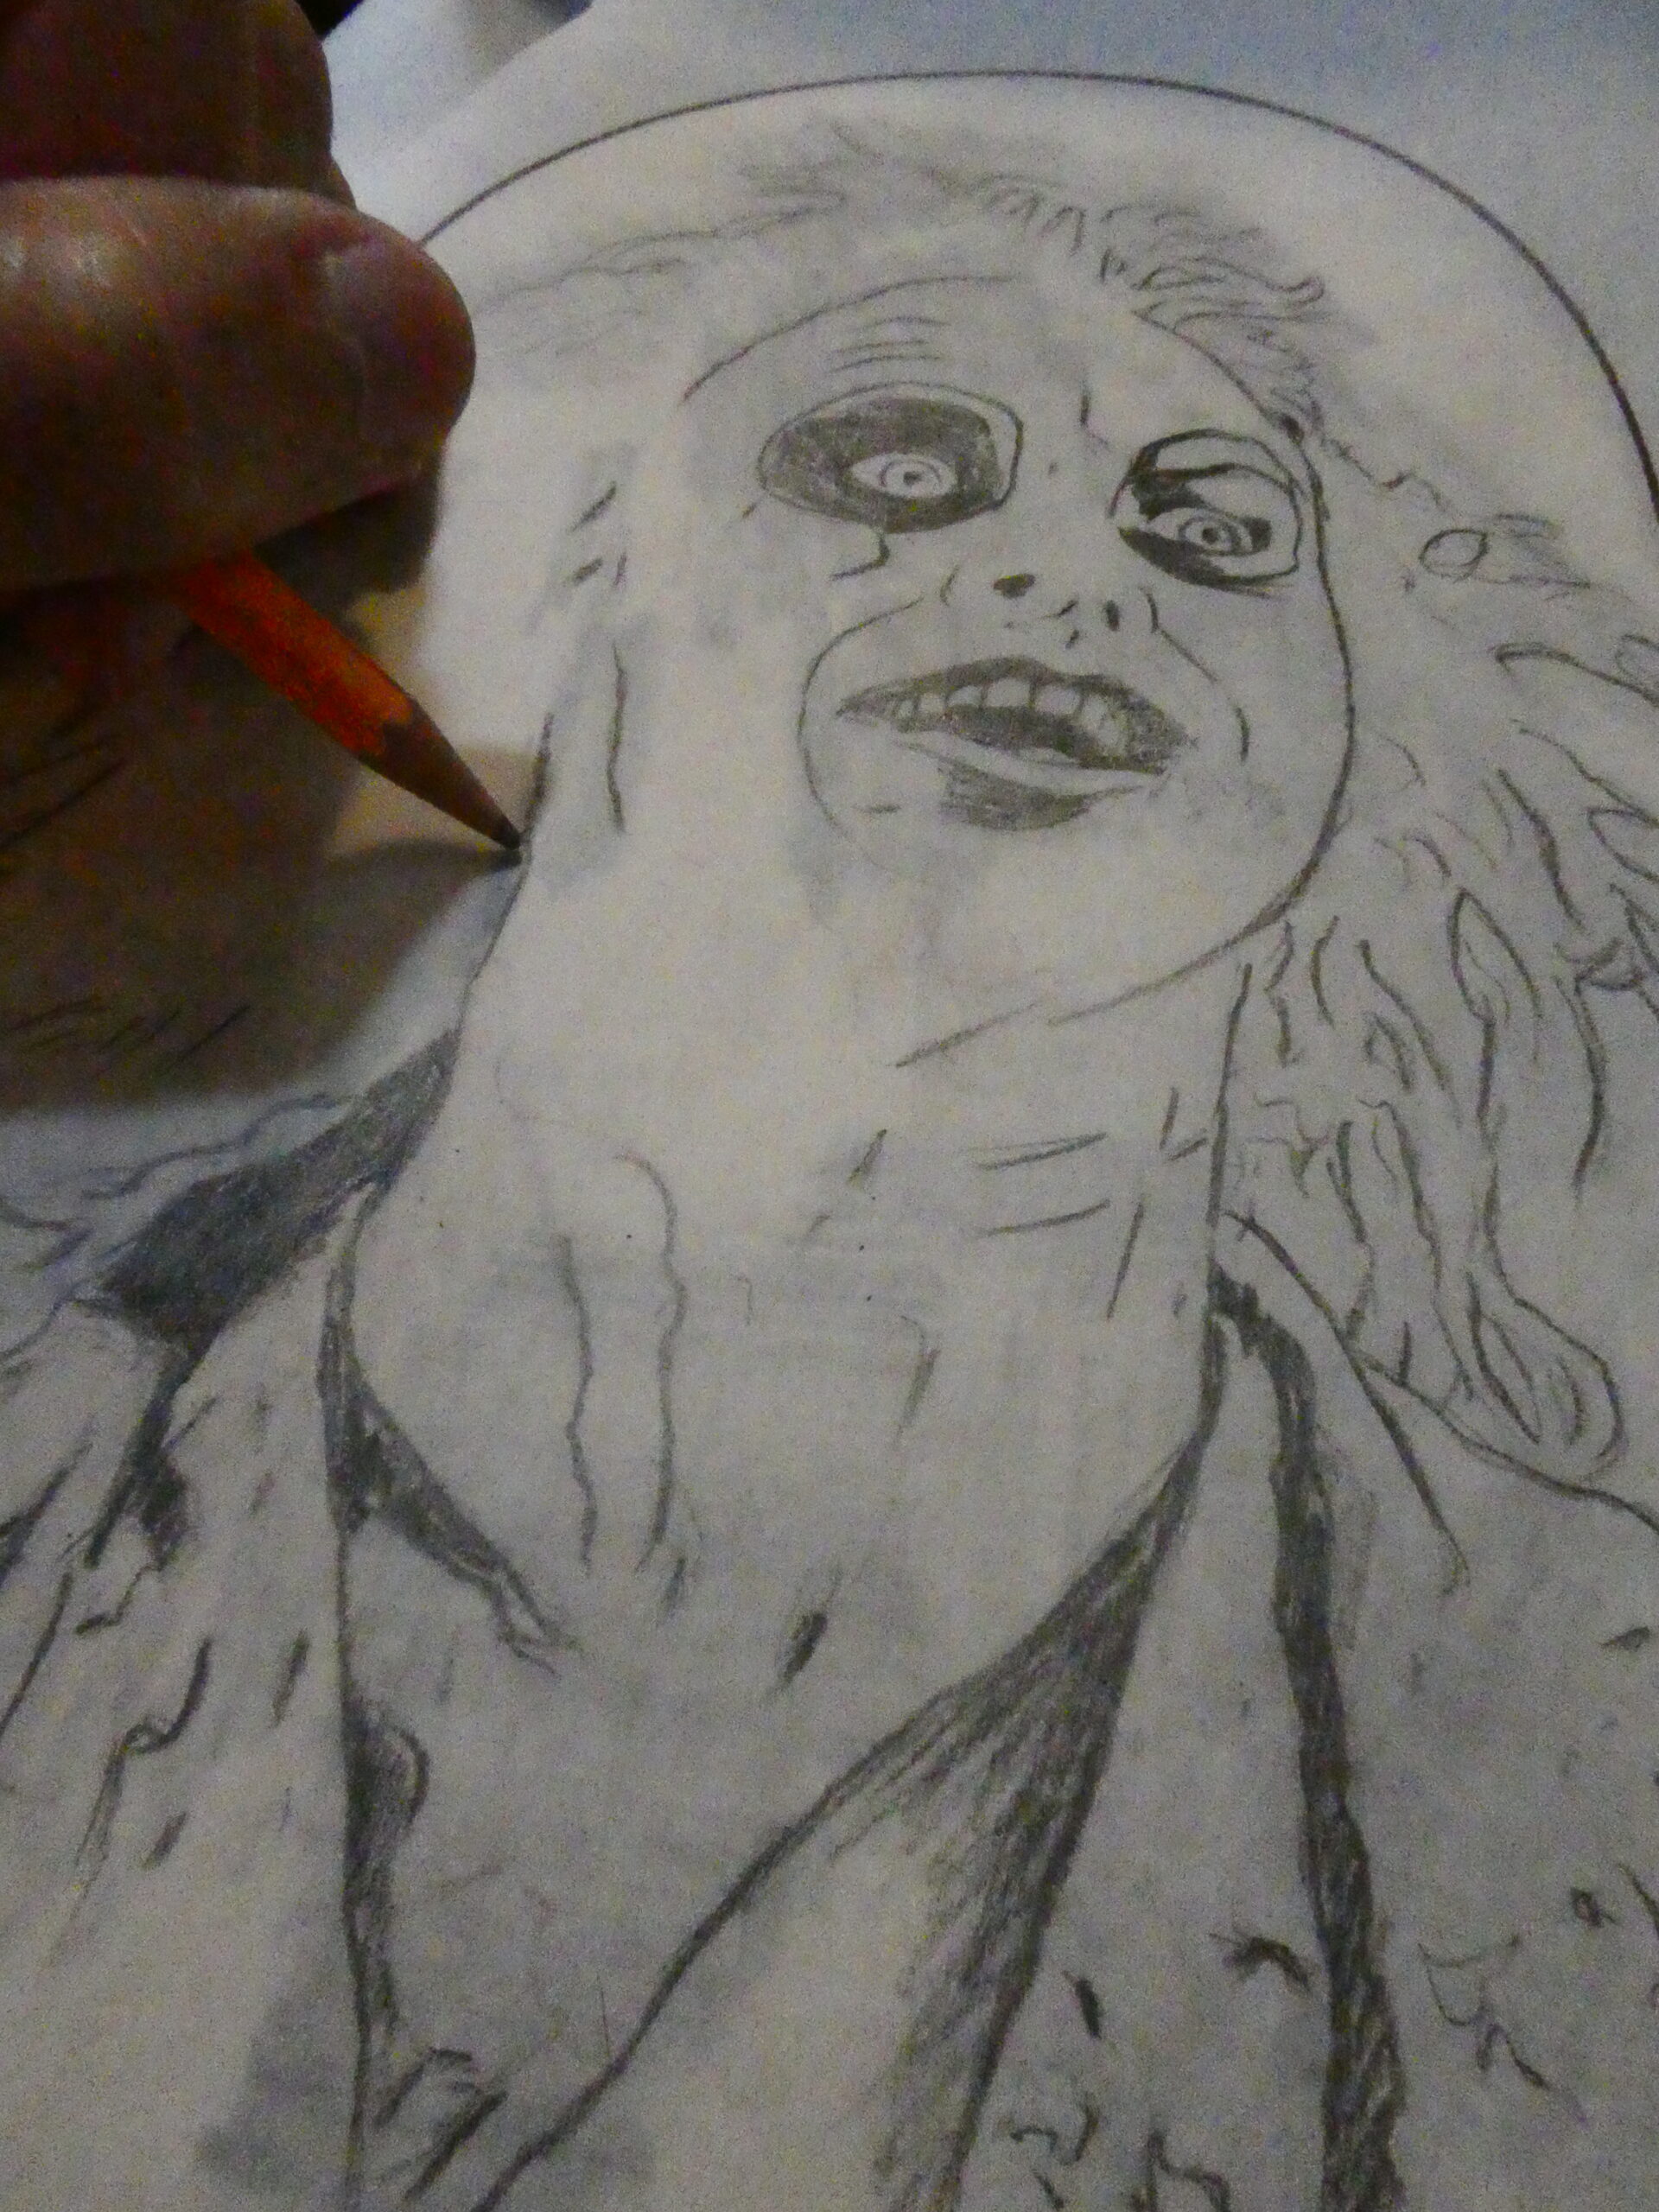
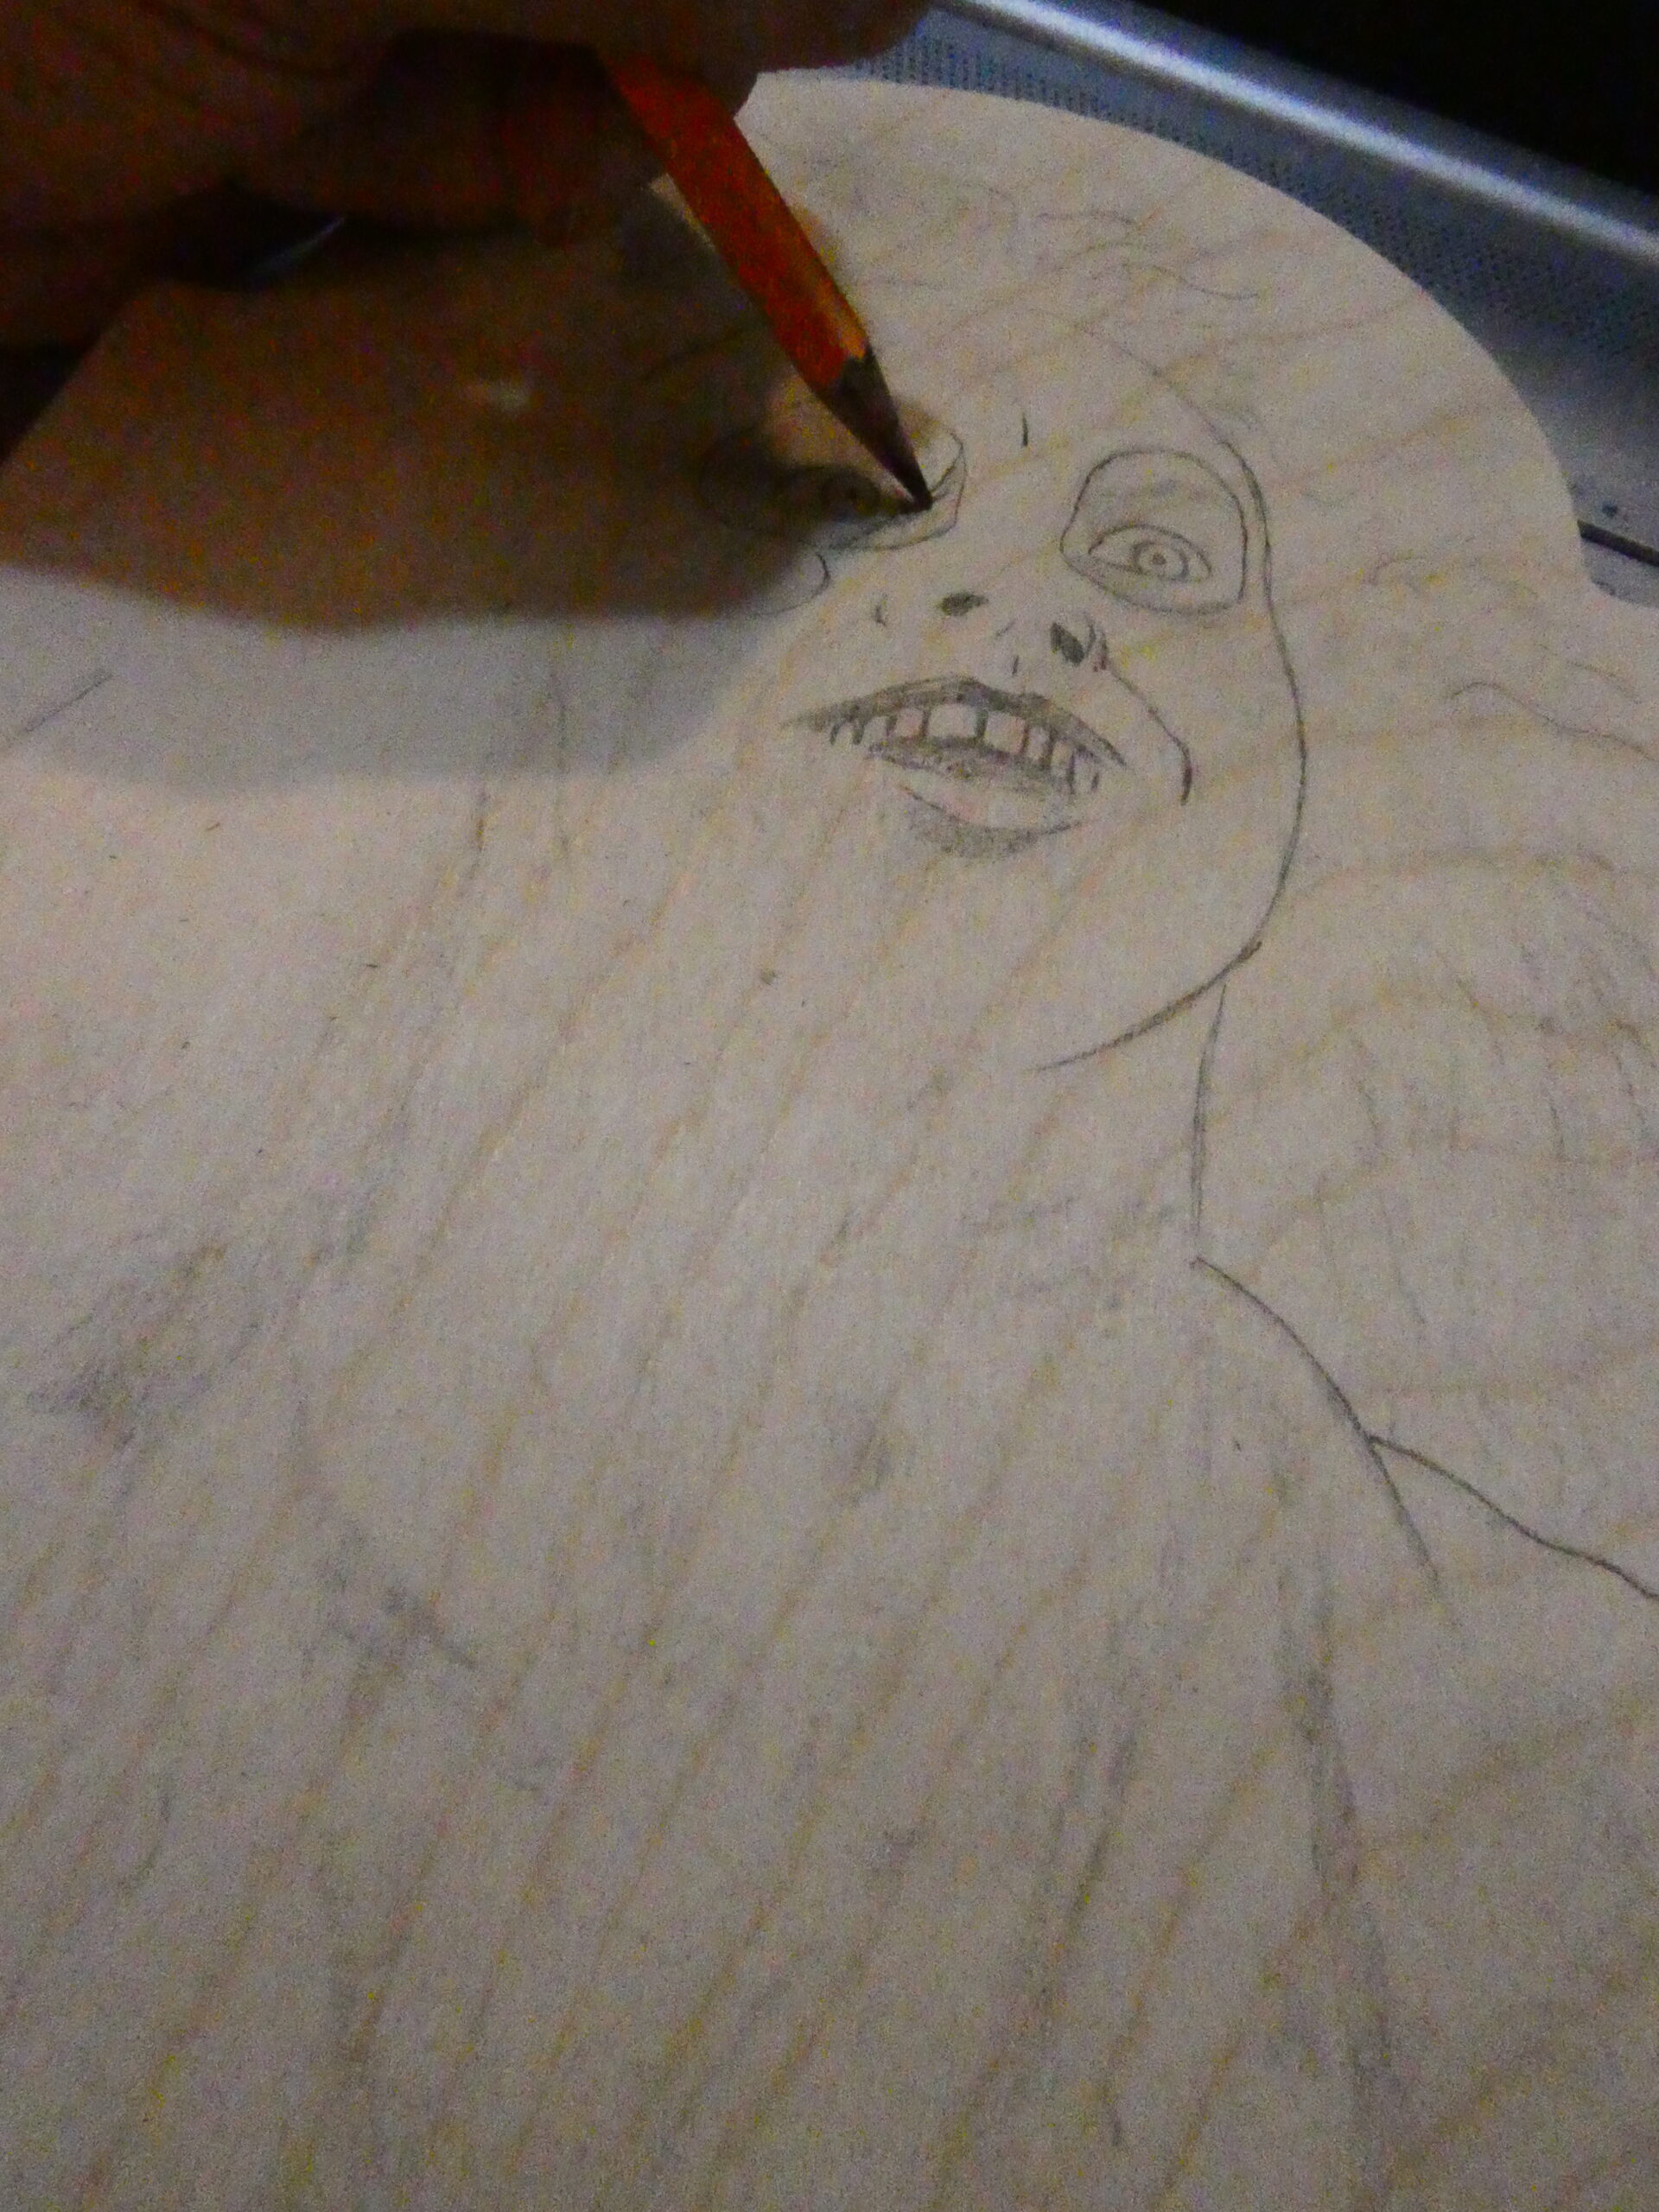
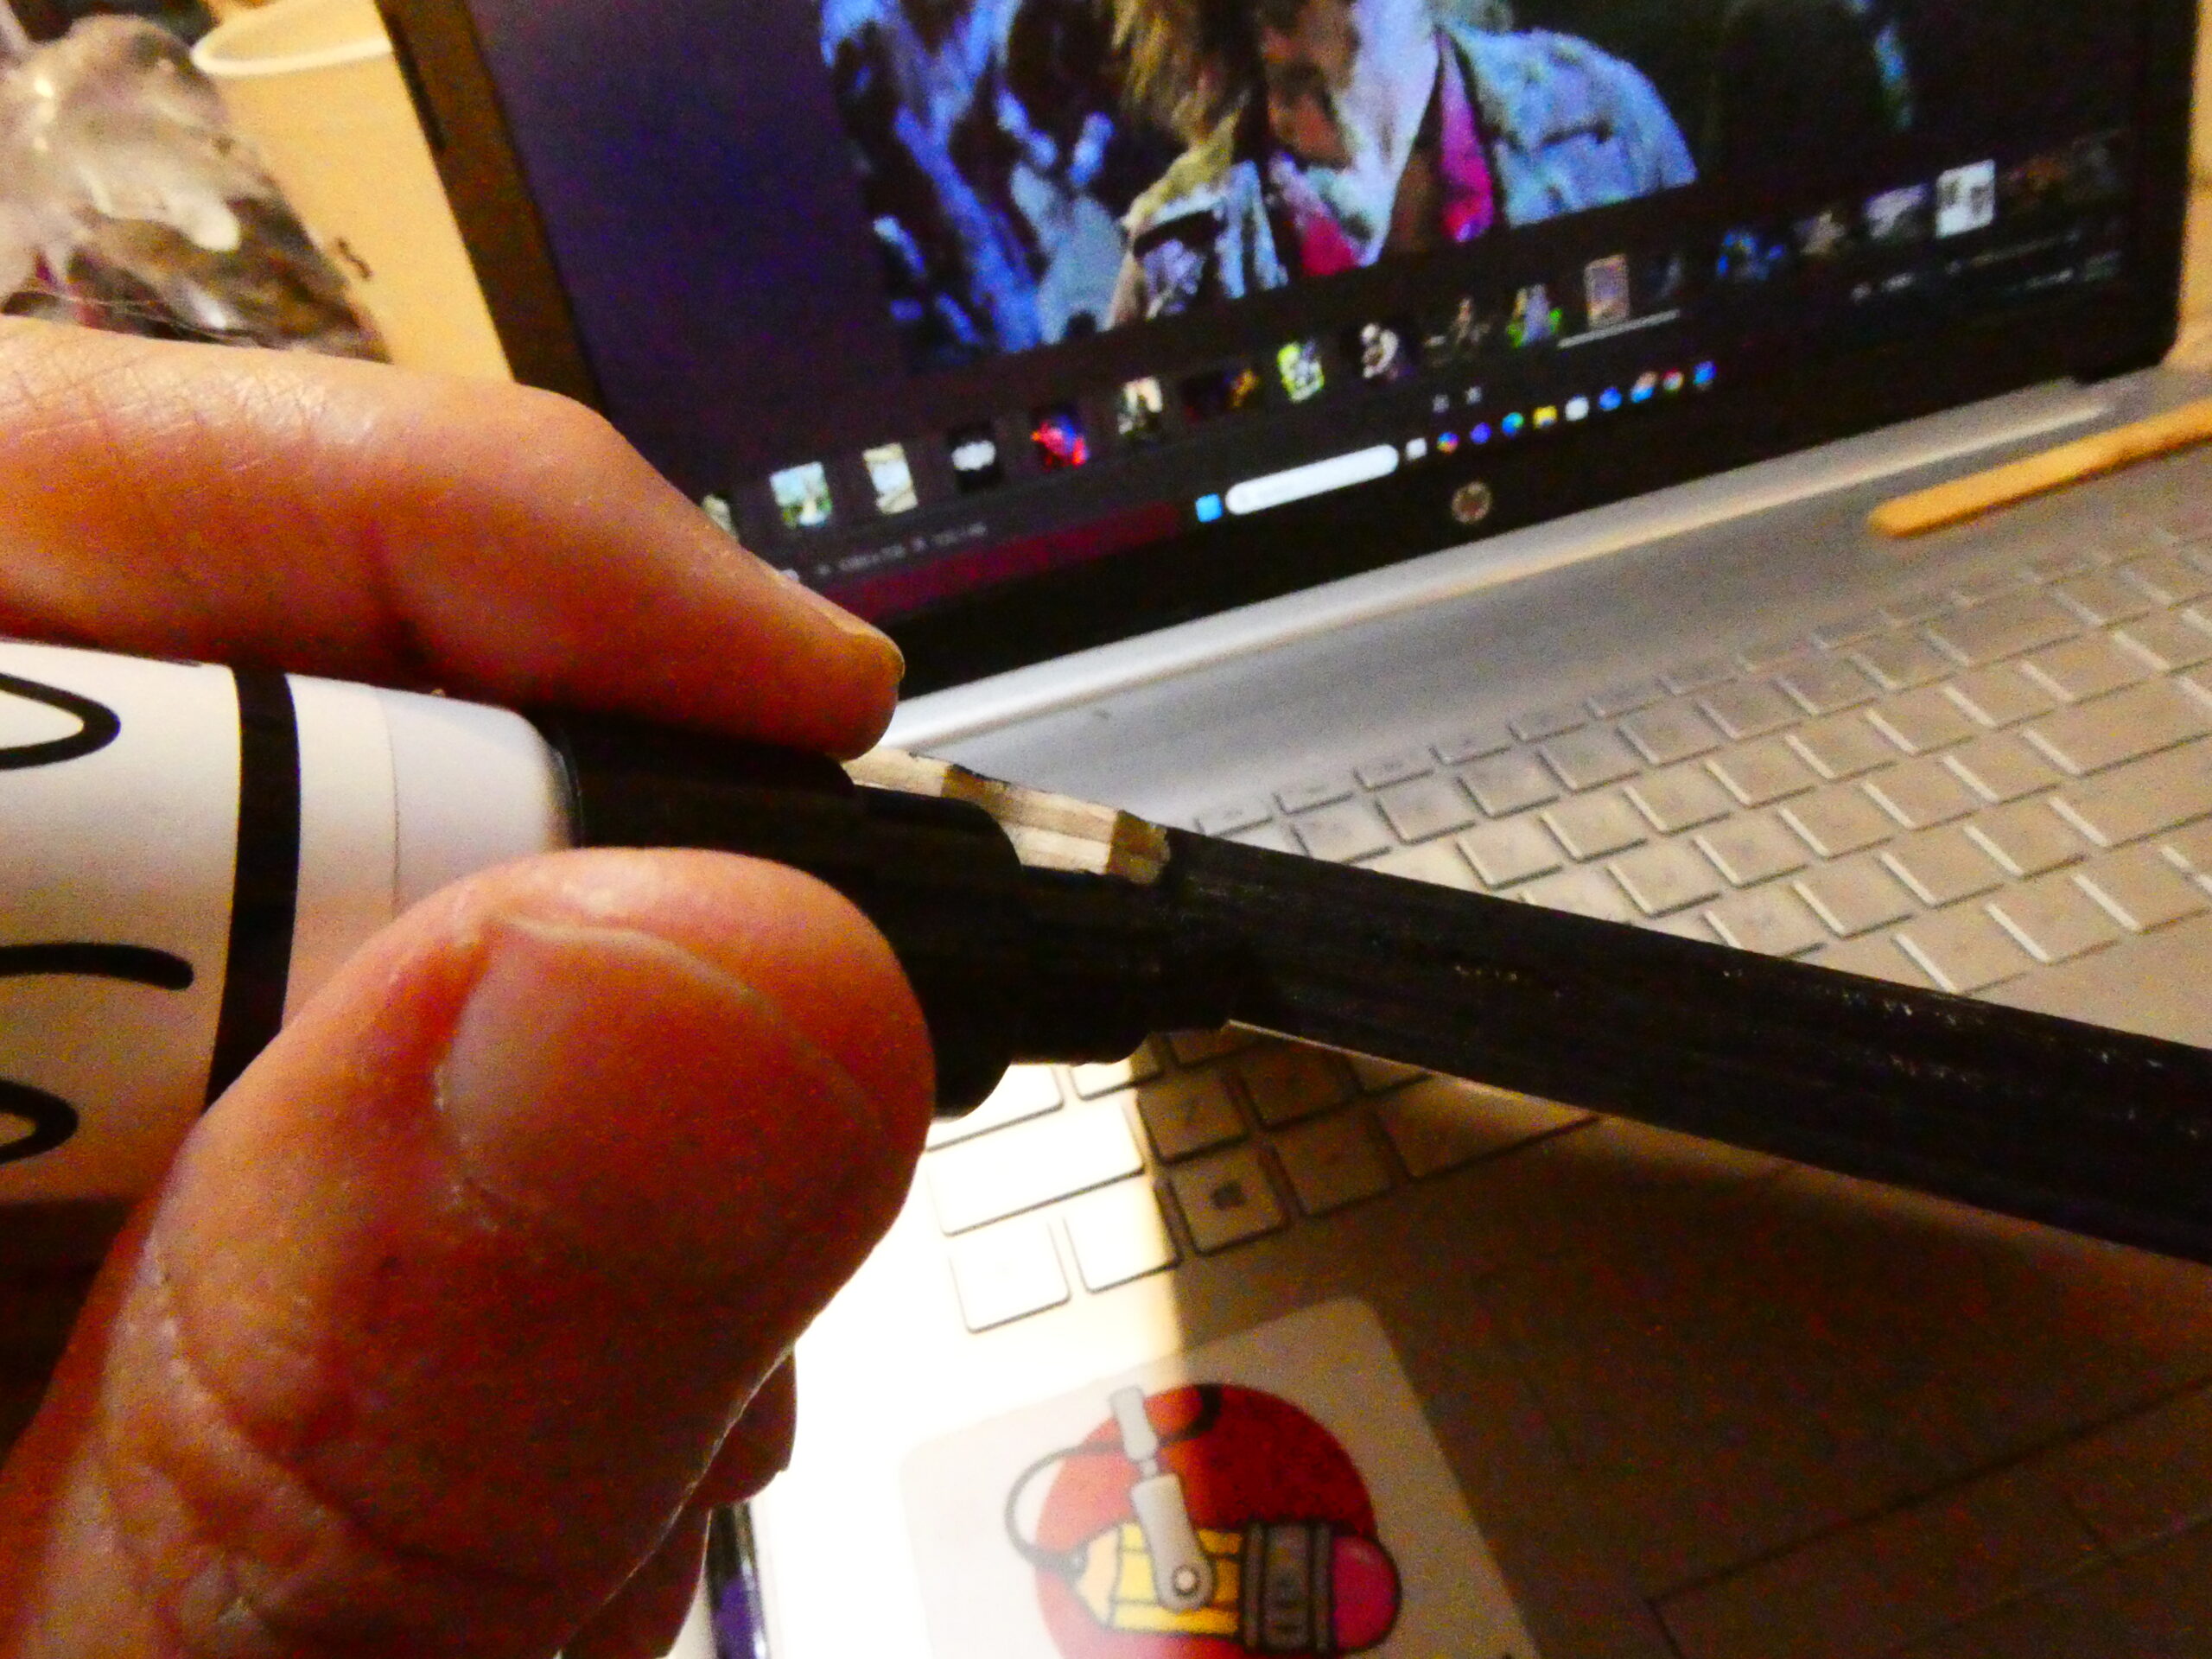
For this painting I traced the shape of the panel onto a piece of tracing paper. I then taped the sheet to my laptop screen, sized it to the shape, and traced the bust onto the paper with a yellow #2 pencil. I scribbled a bit of pencil on the back of the paper, then taped it to the tombstone panel and transferred the drawing to the art board by drawing over the tracing.
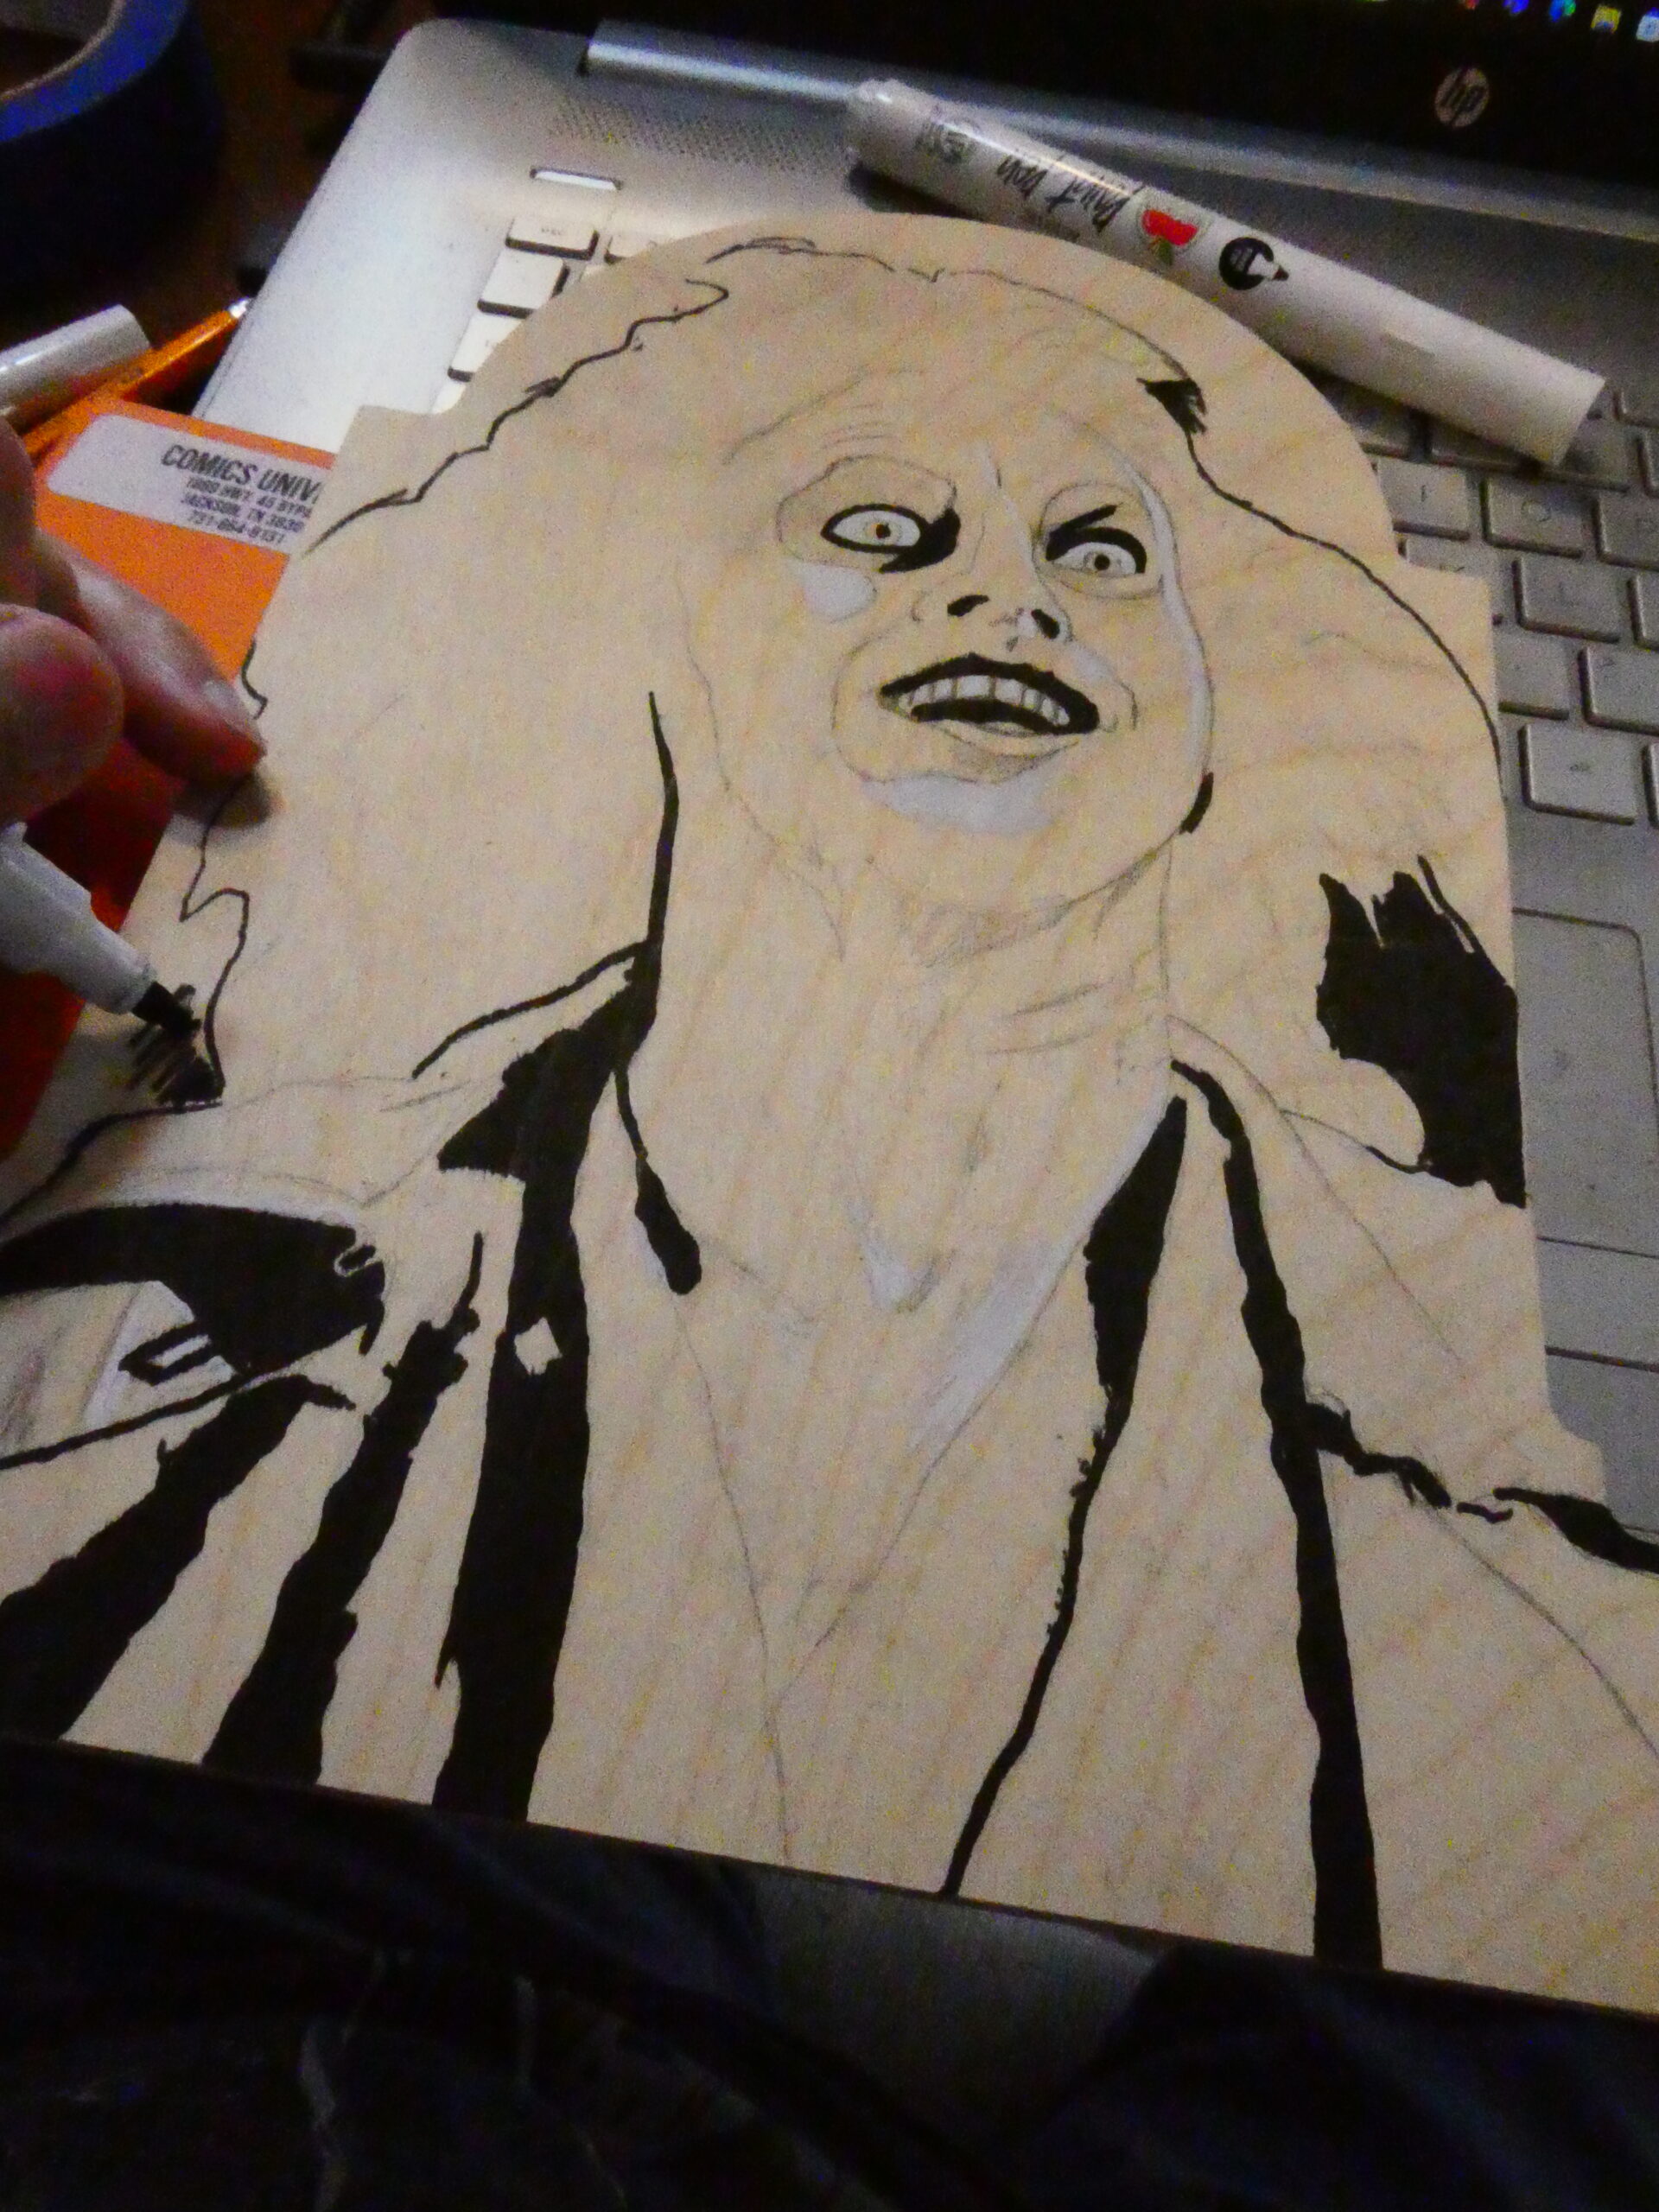
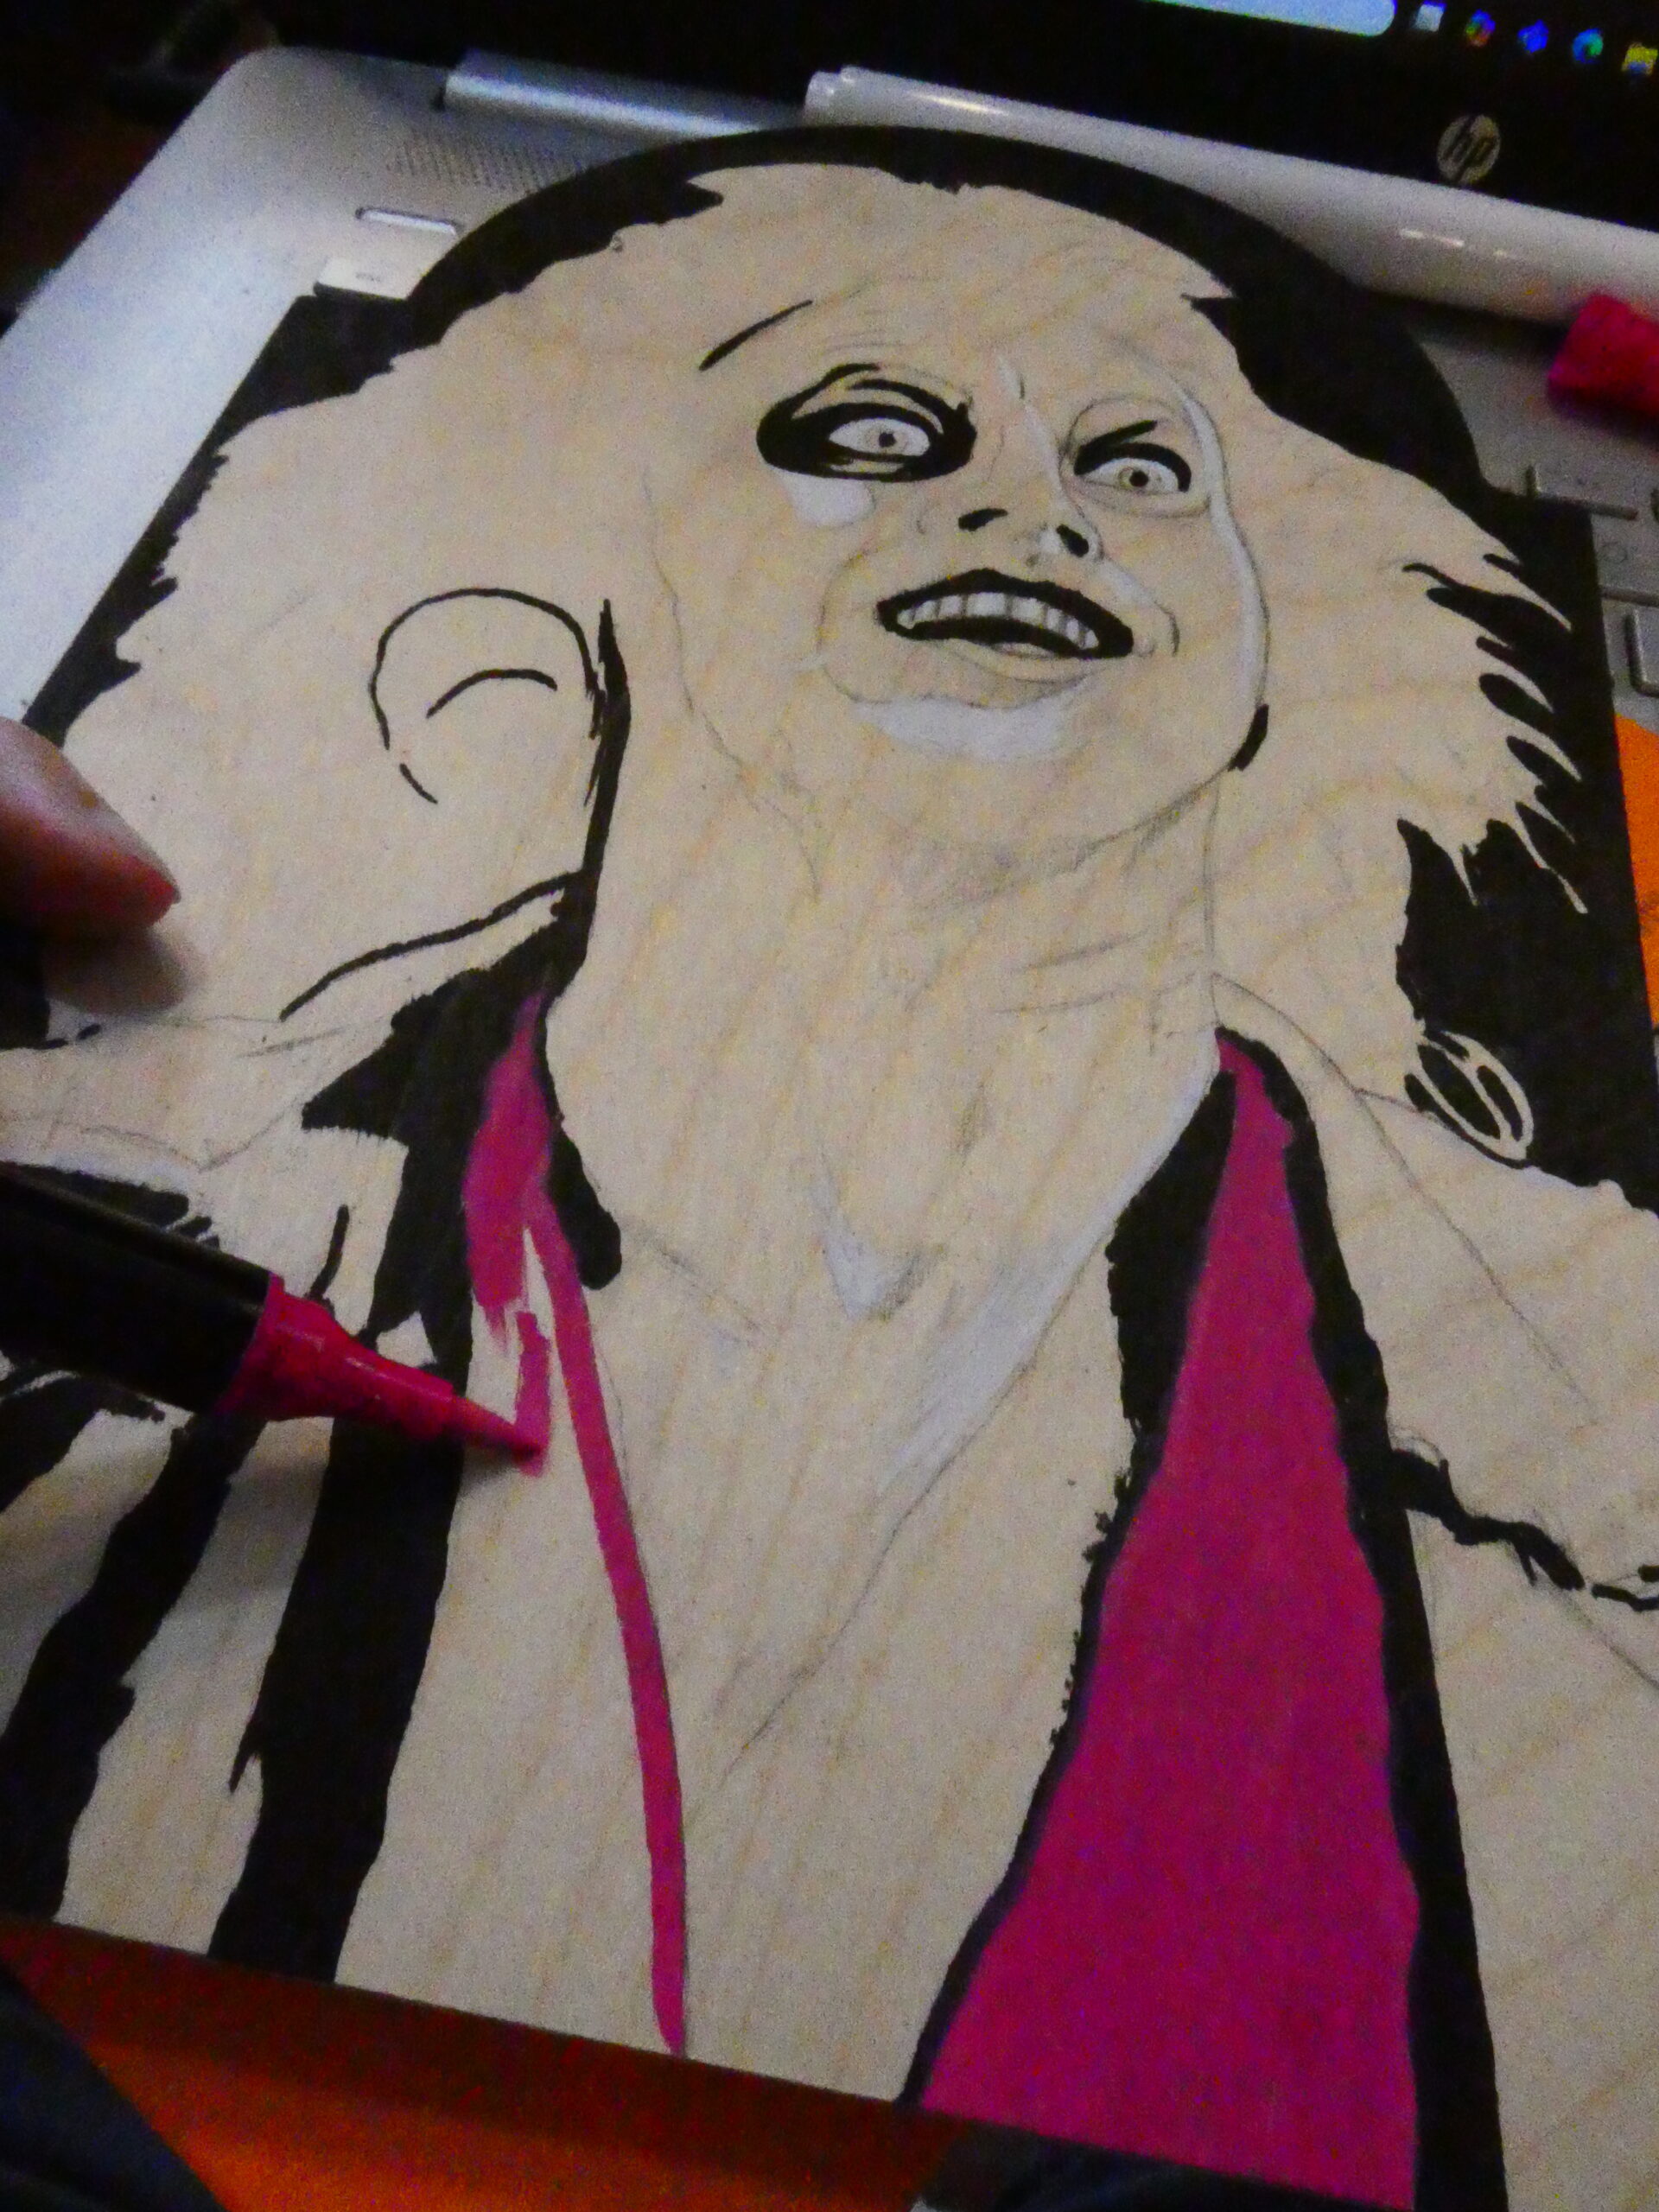
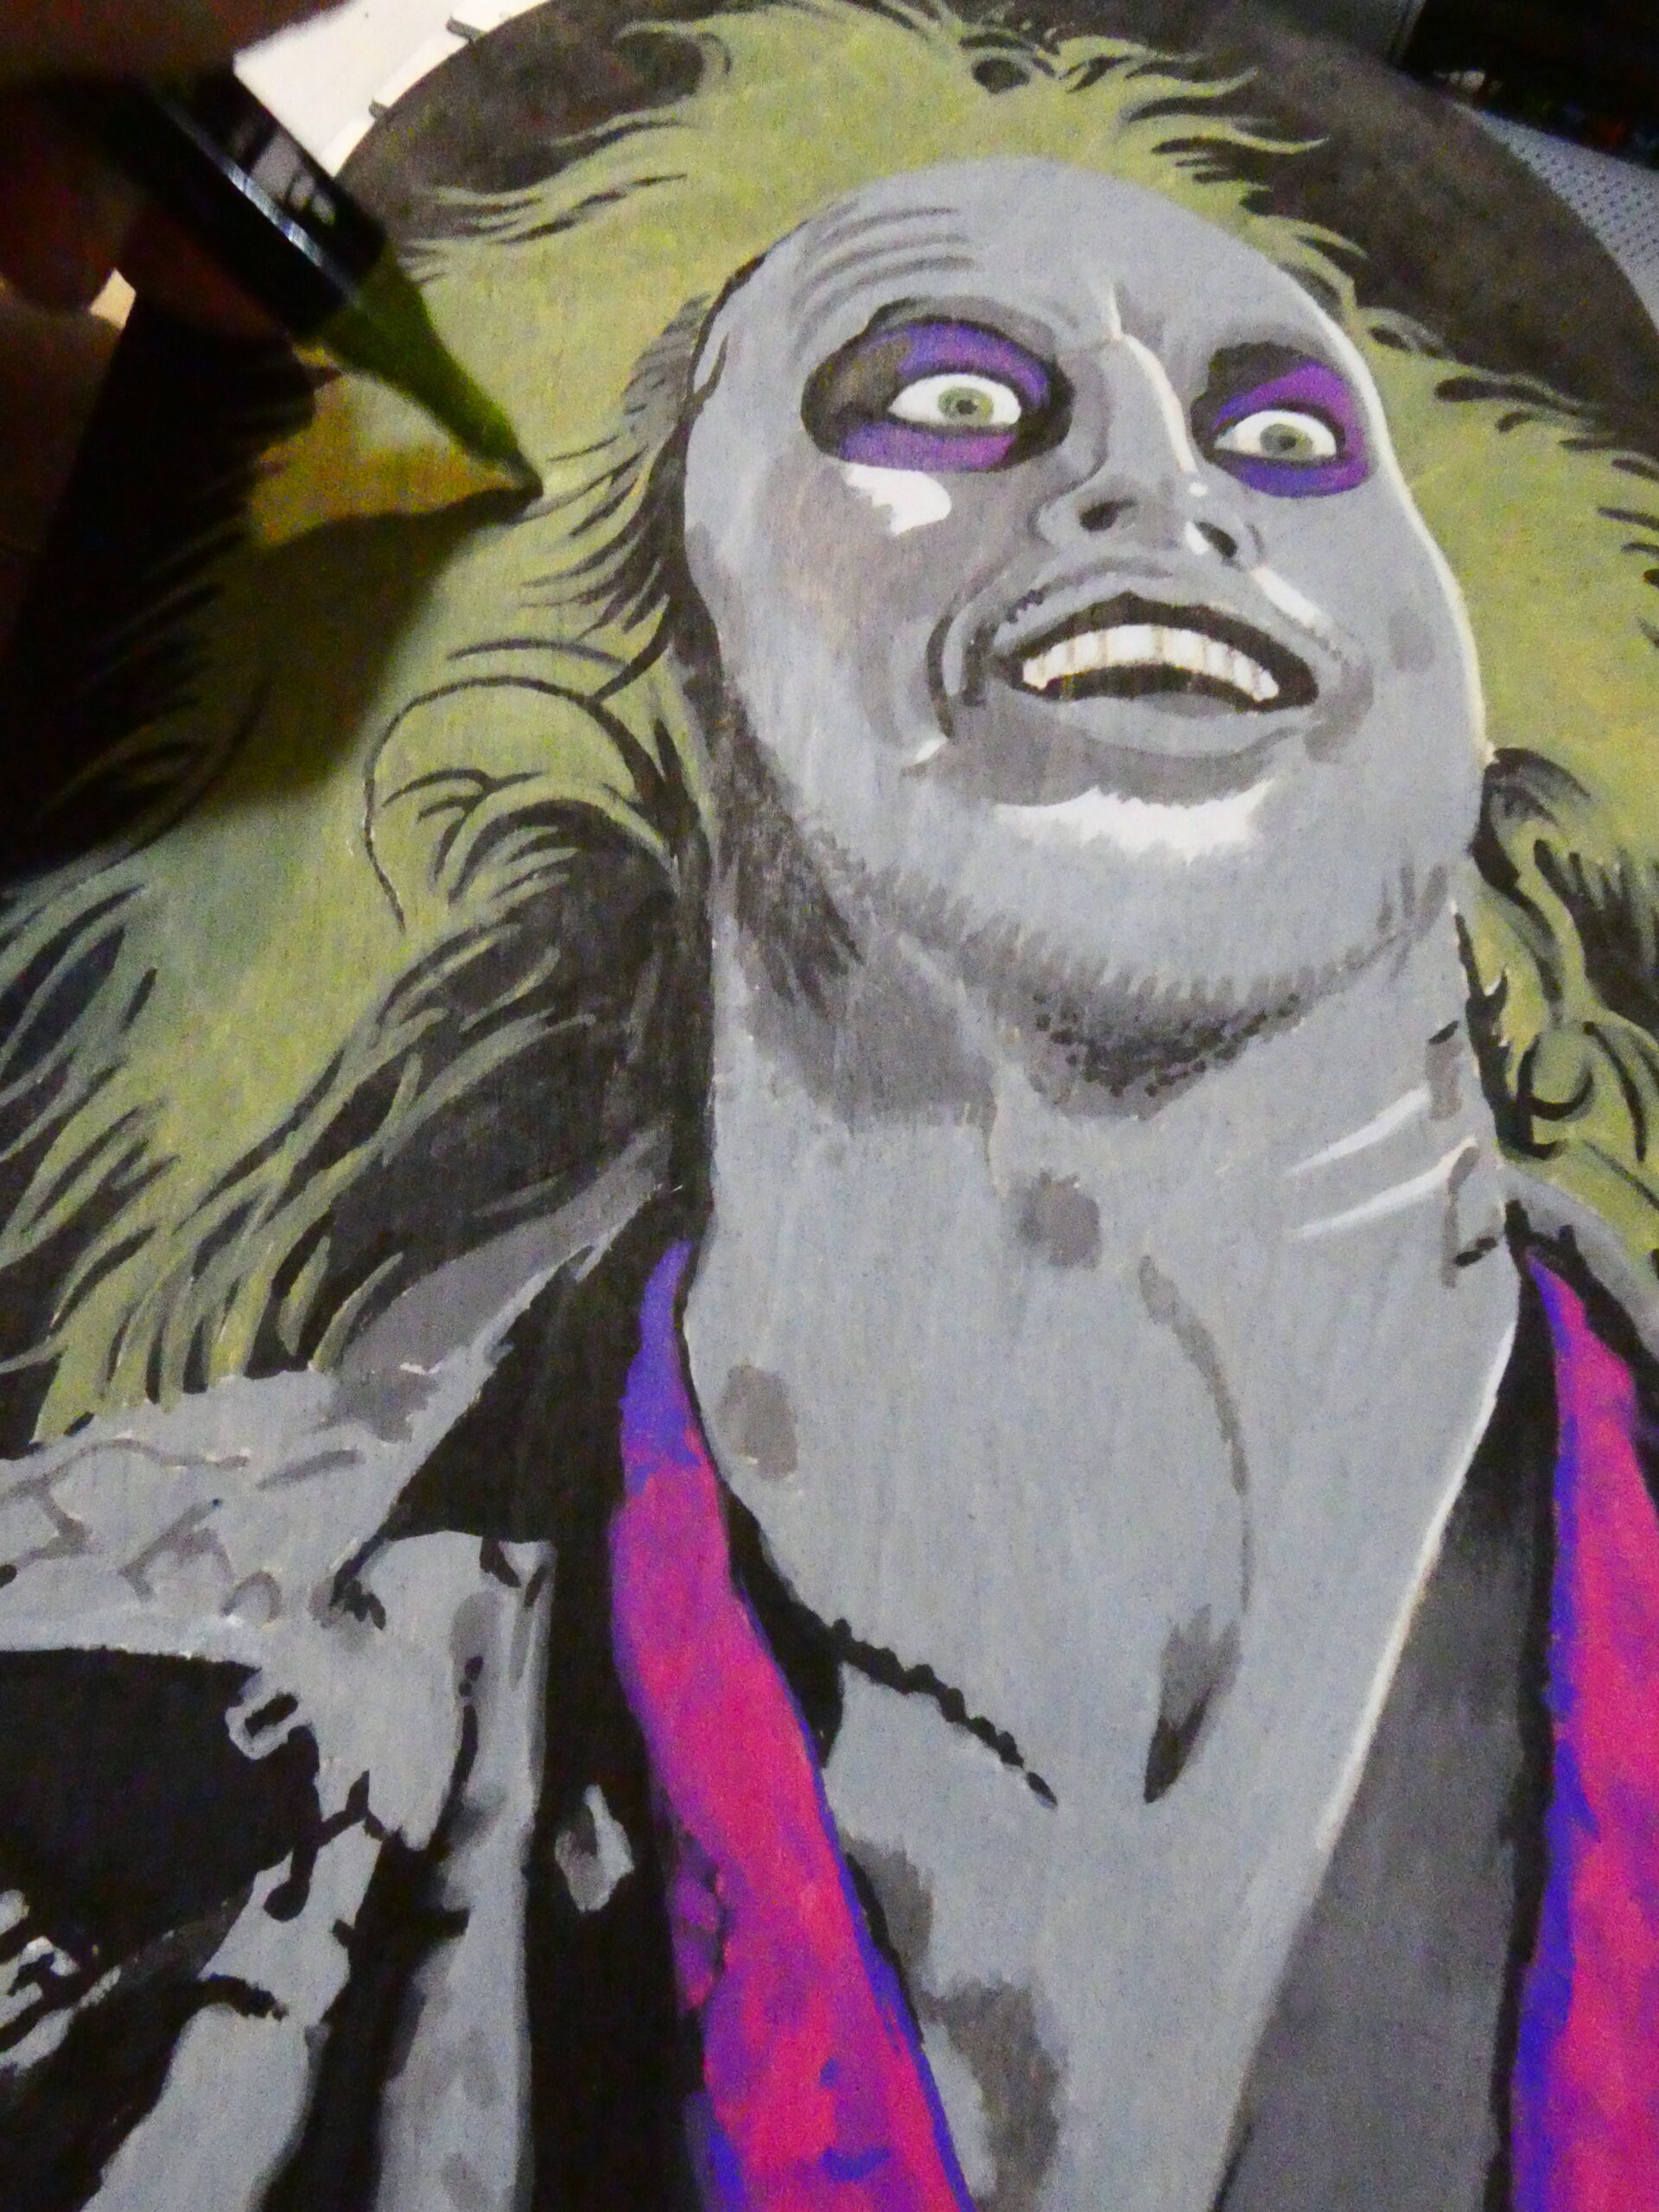
I then broke out a black acrylic paint marker and started blocking in the solid back areas. Next was filling in the magenta shirt.
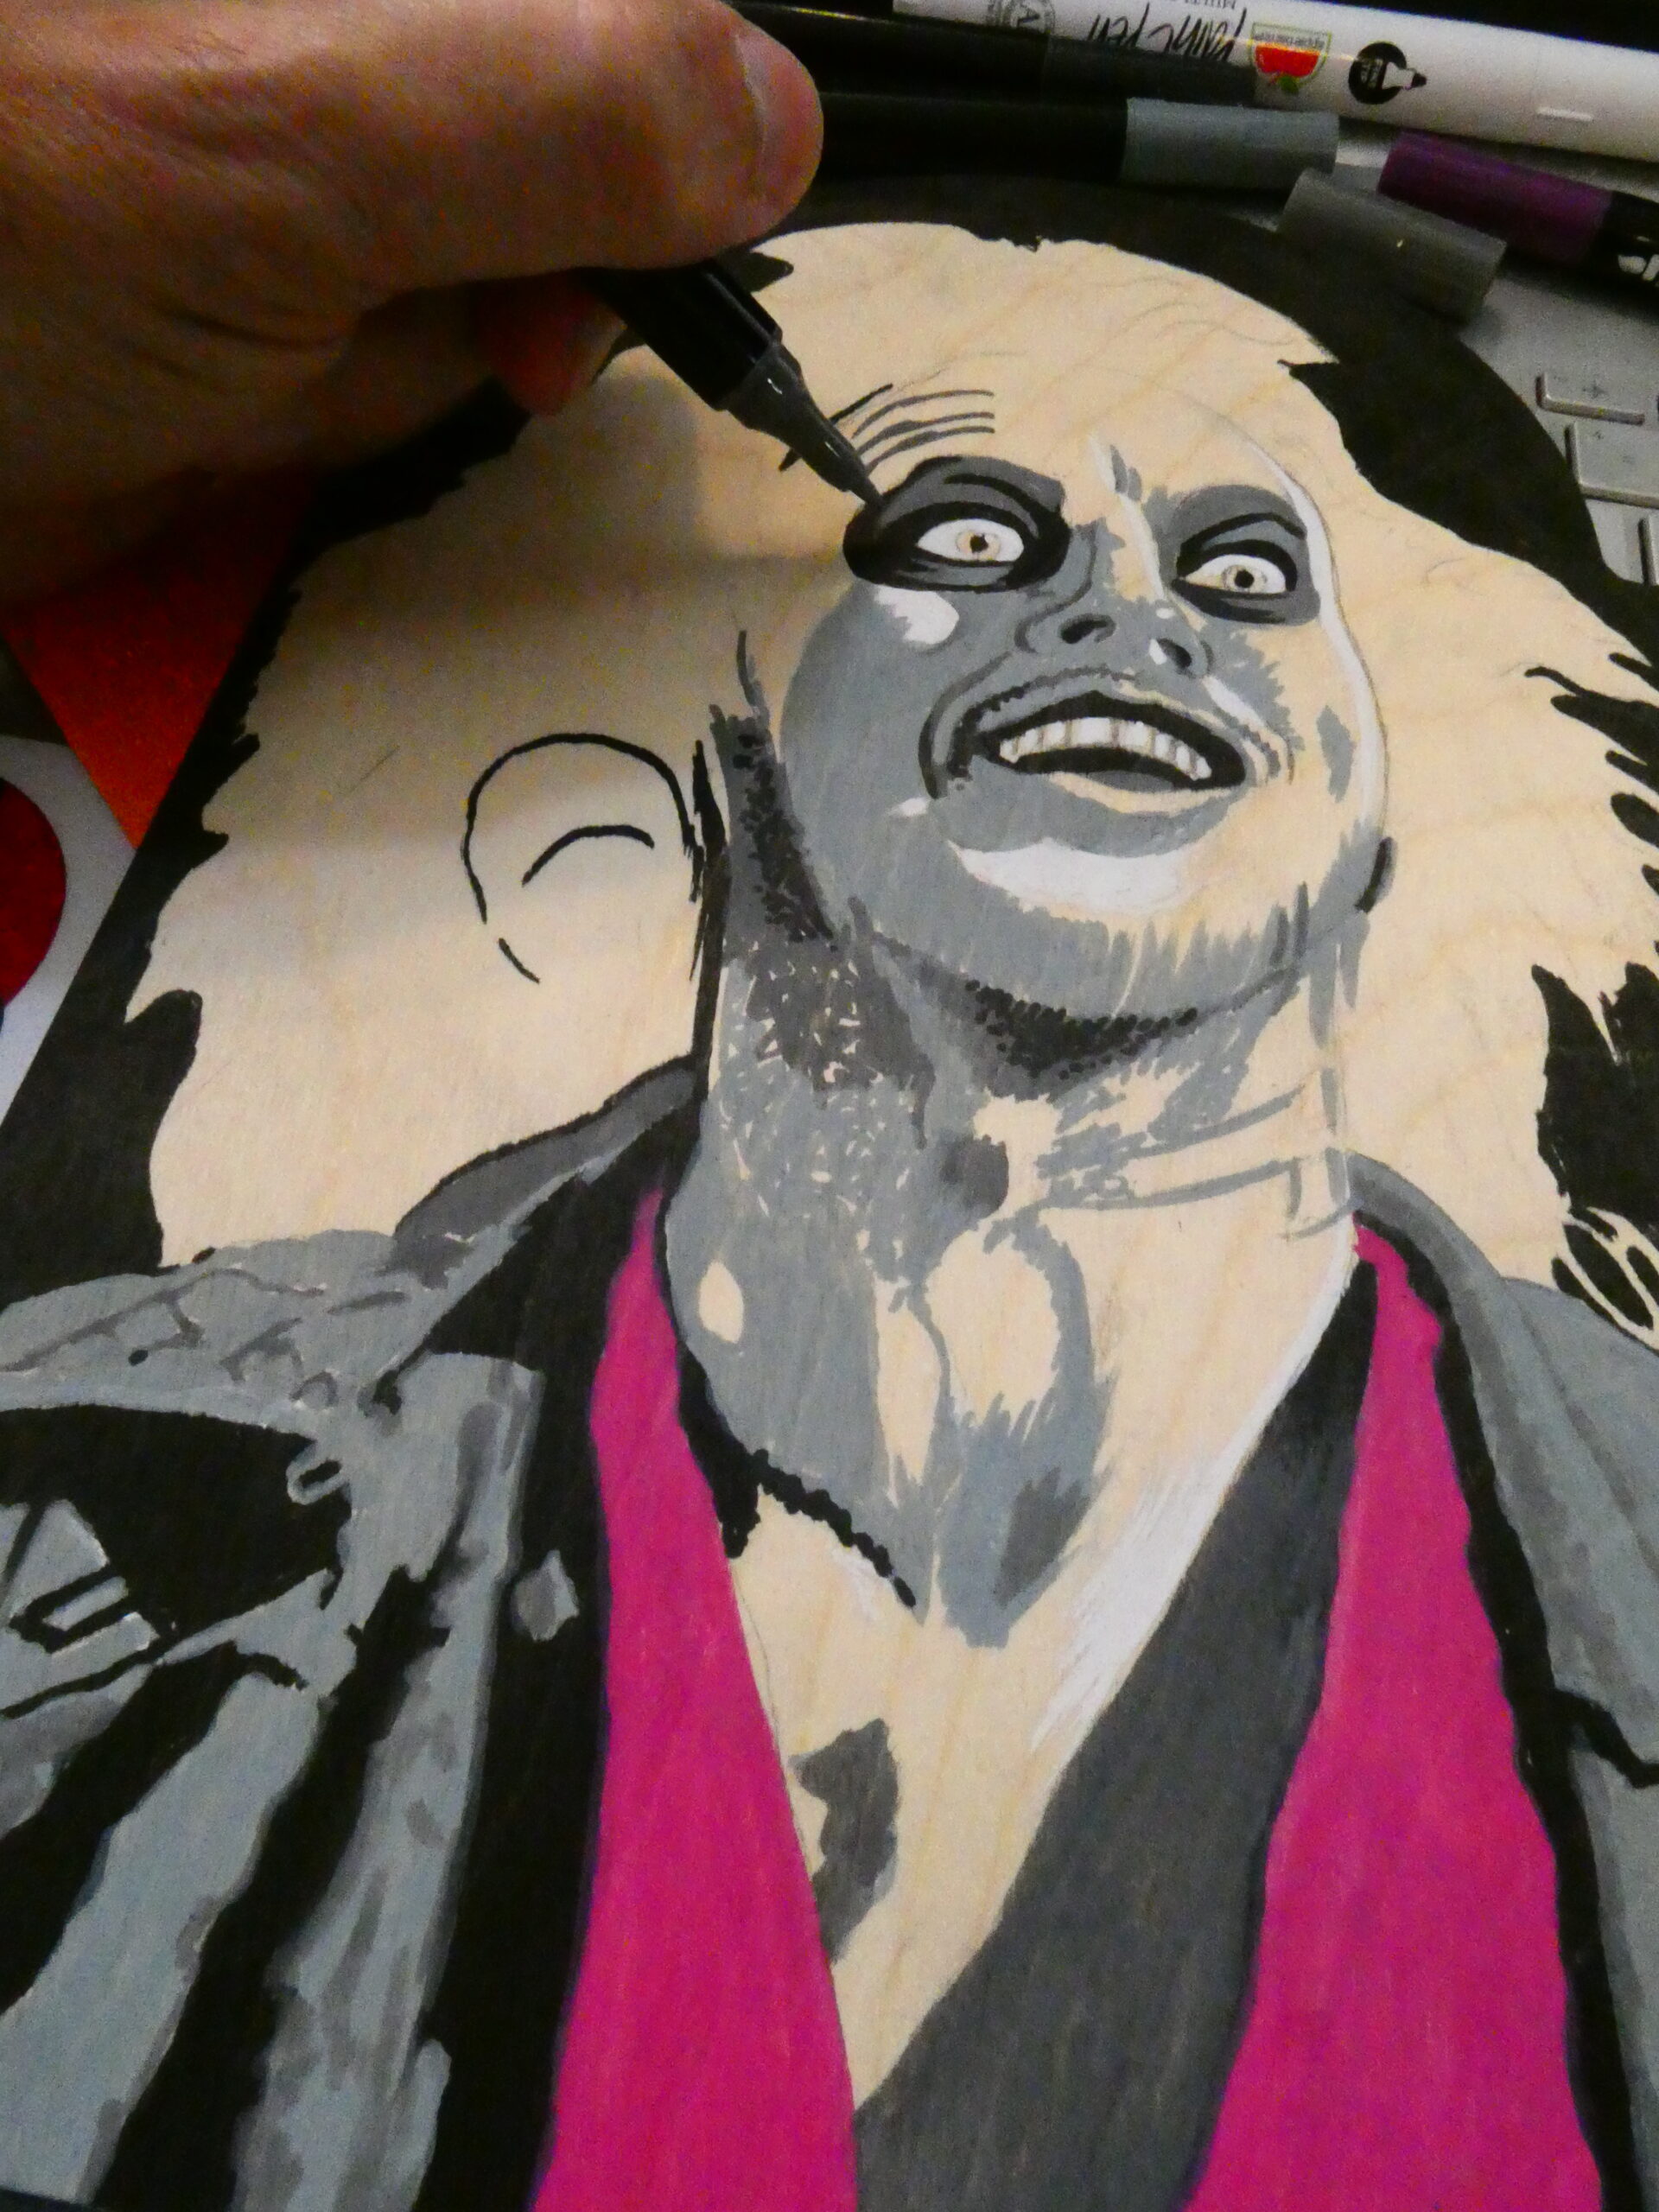
Next up was hitting a few highlights in white and blocking out the grey areas. Had to be careful not to rub off or smear the pencil lines.

After shading the shirt some and adding the purple pattern, I started filling in his greenish hairdo.
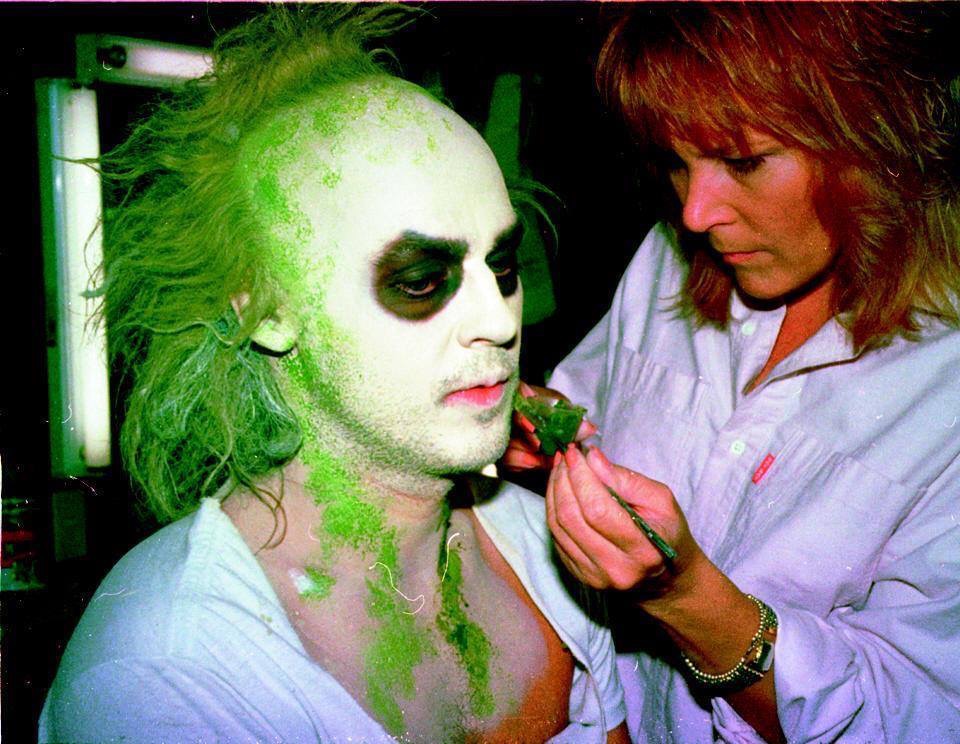
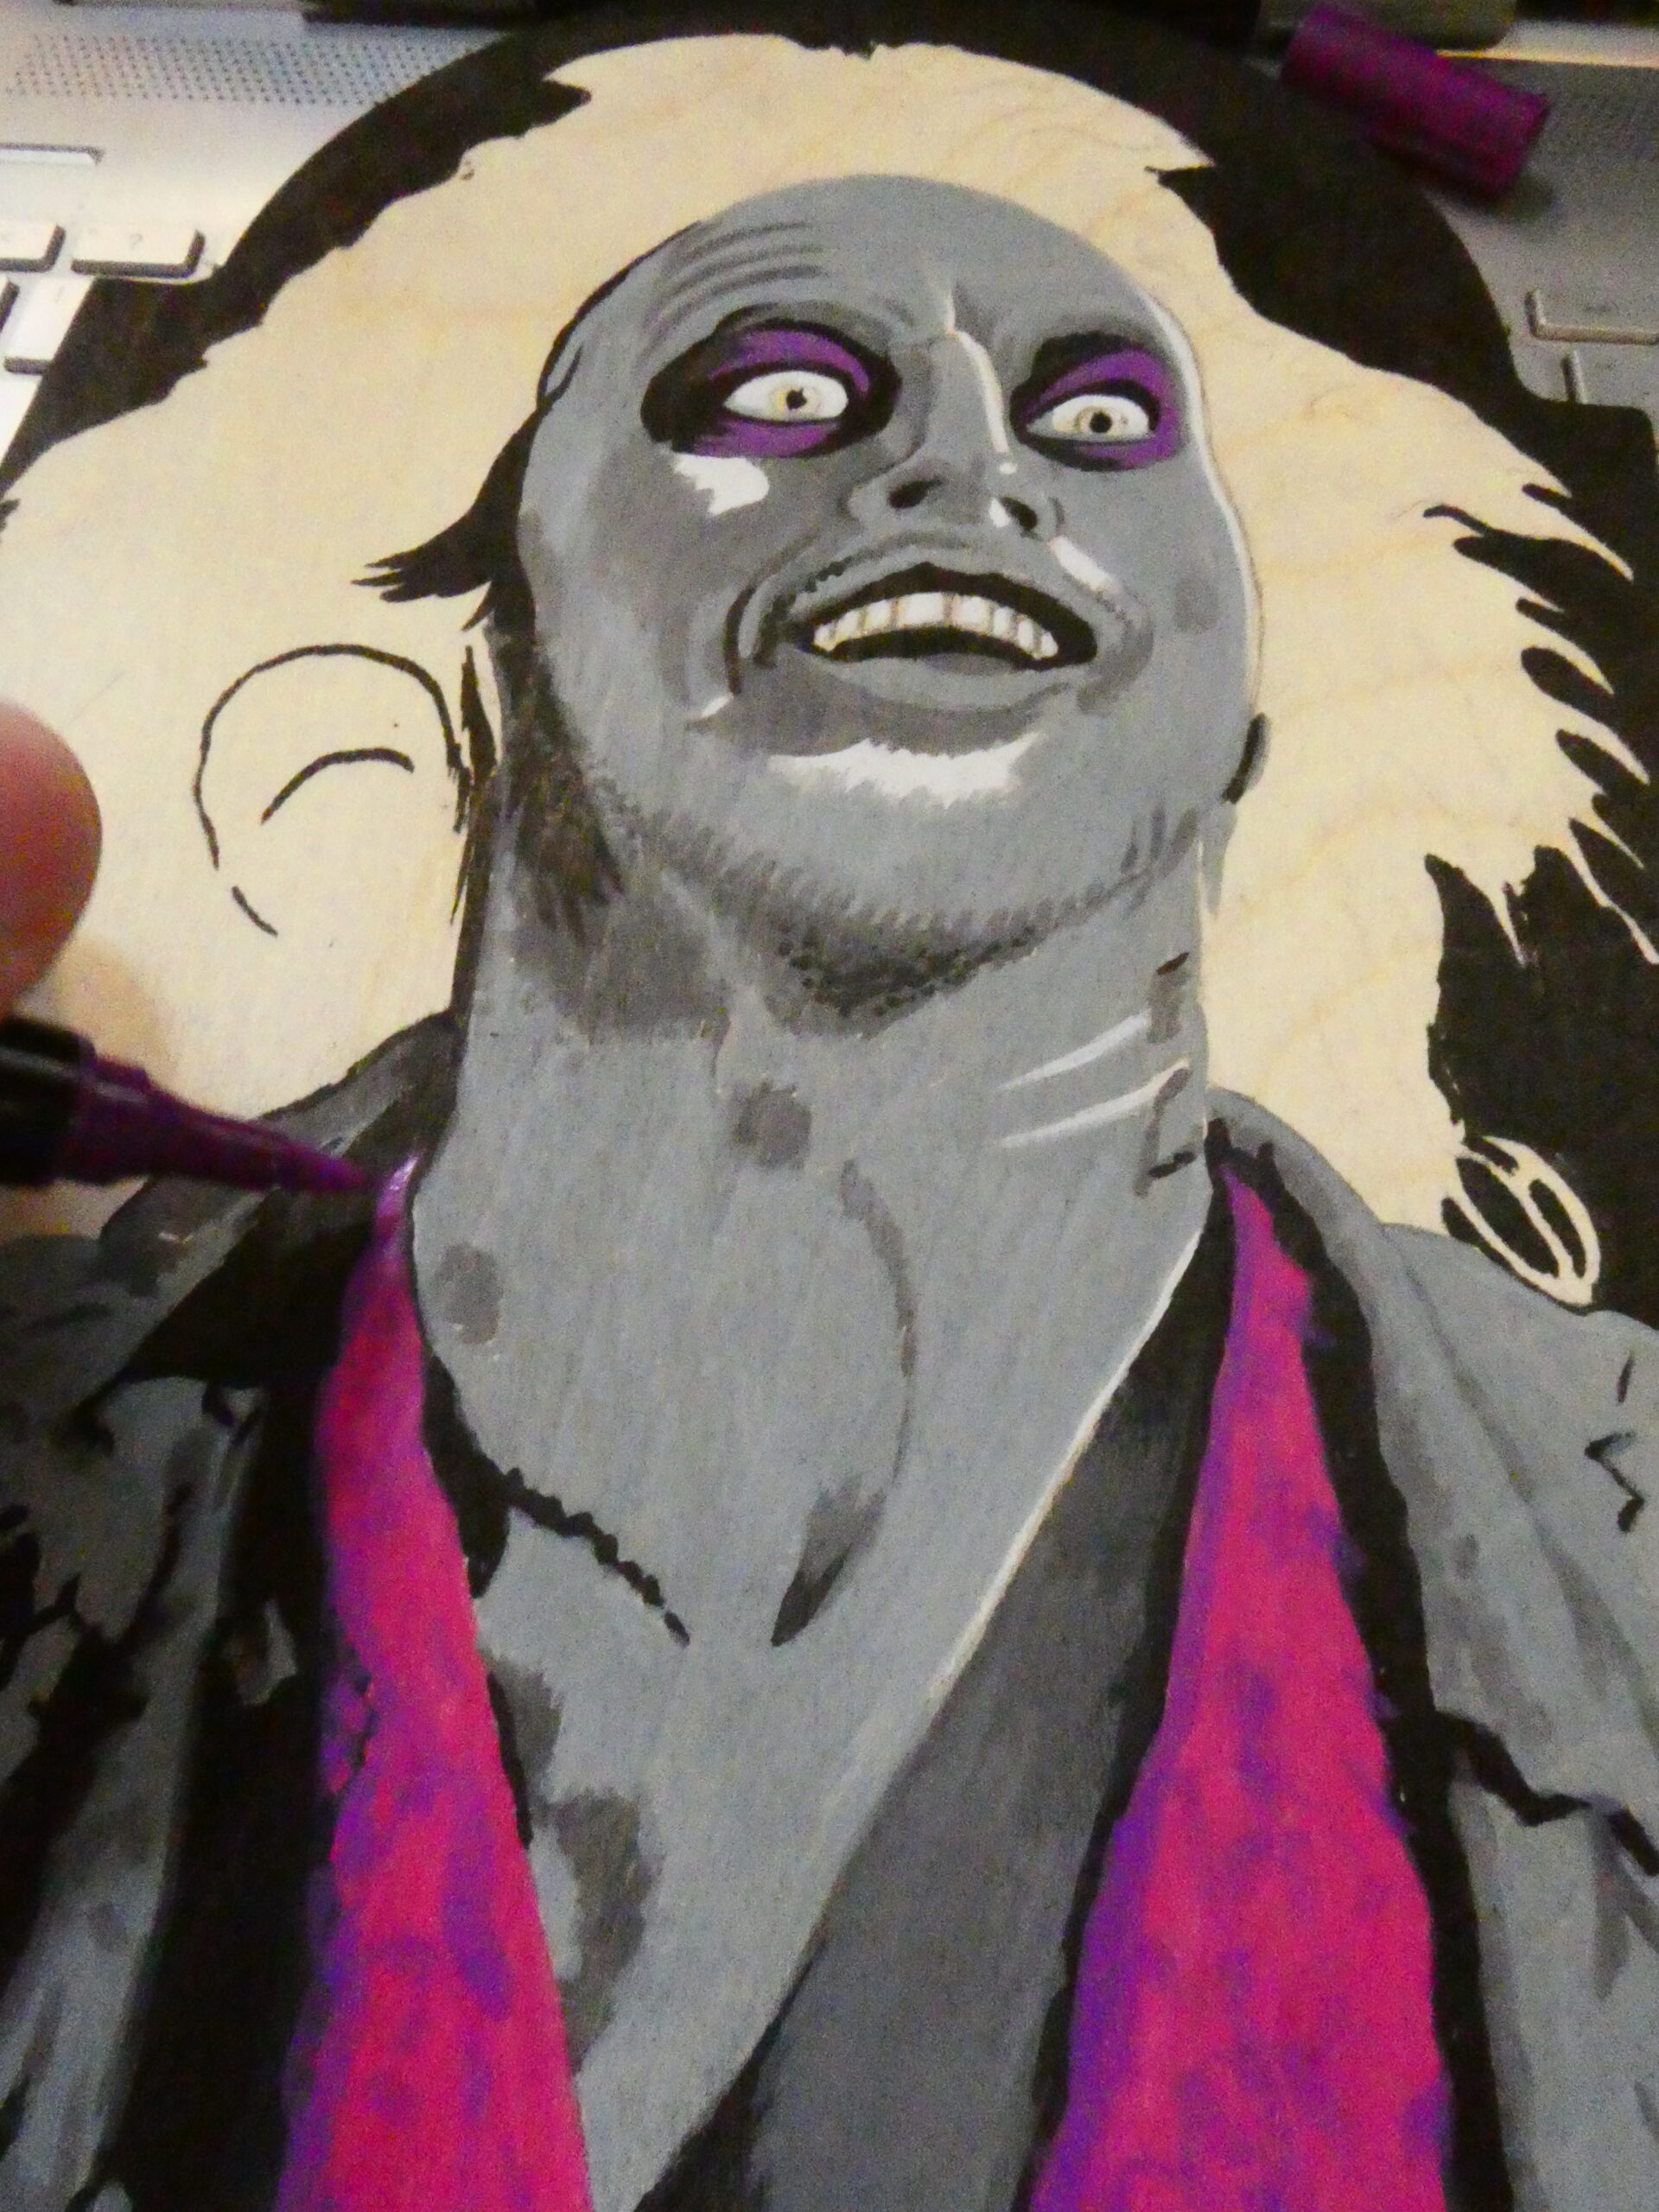
Oh, I’ve almost always just used just black for my Beetlejuice cosplay- it’s just easier to airbrush the one color. But what many may not notice is that the Beetlejuice movie makeup has some purple and grey in the “eye black”. I wanted to show that, and will add it to my own make-up the next time I dress up as him.

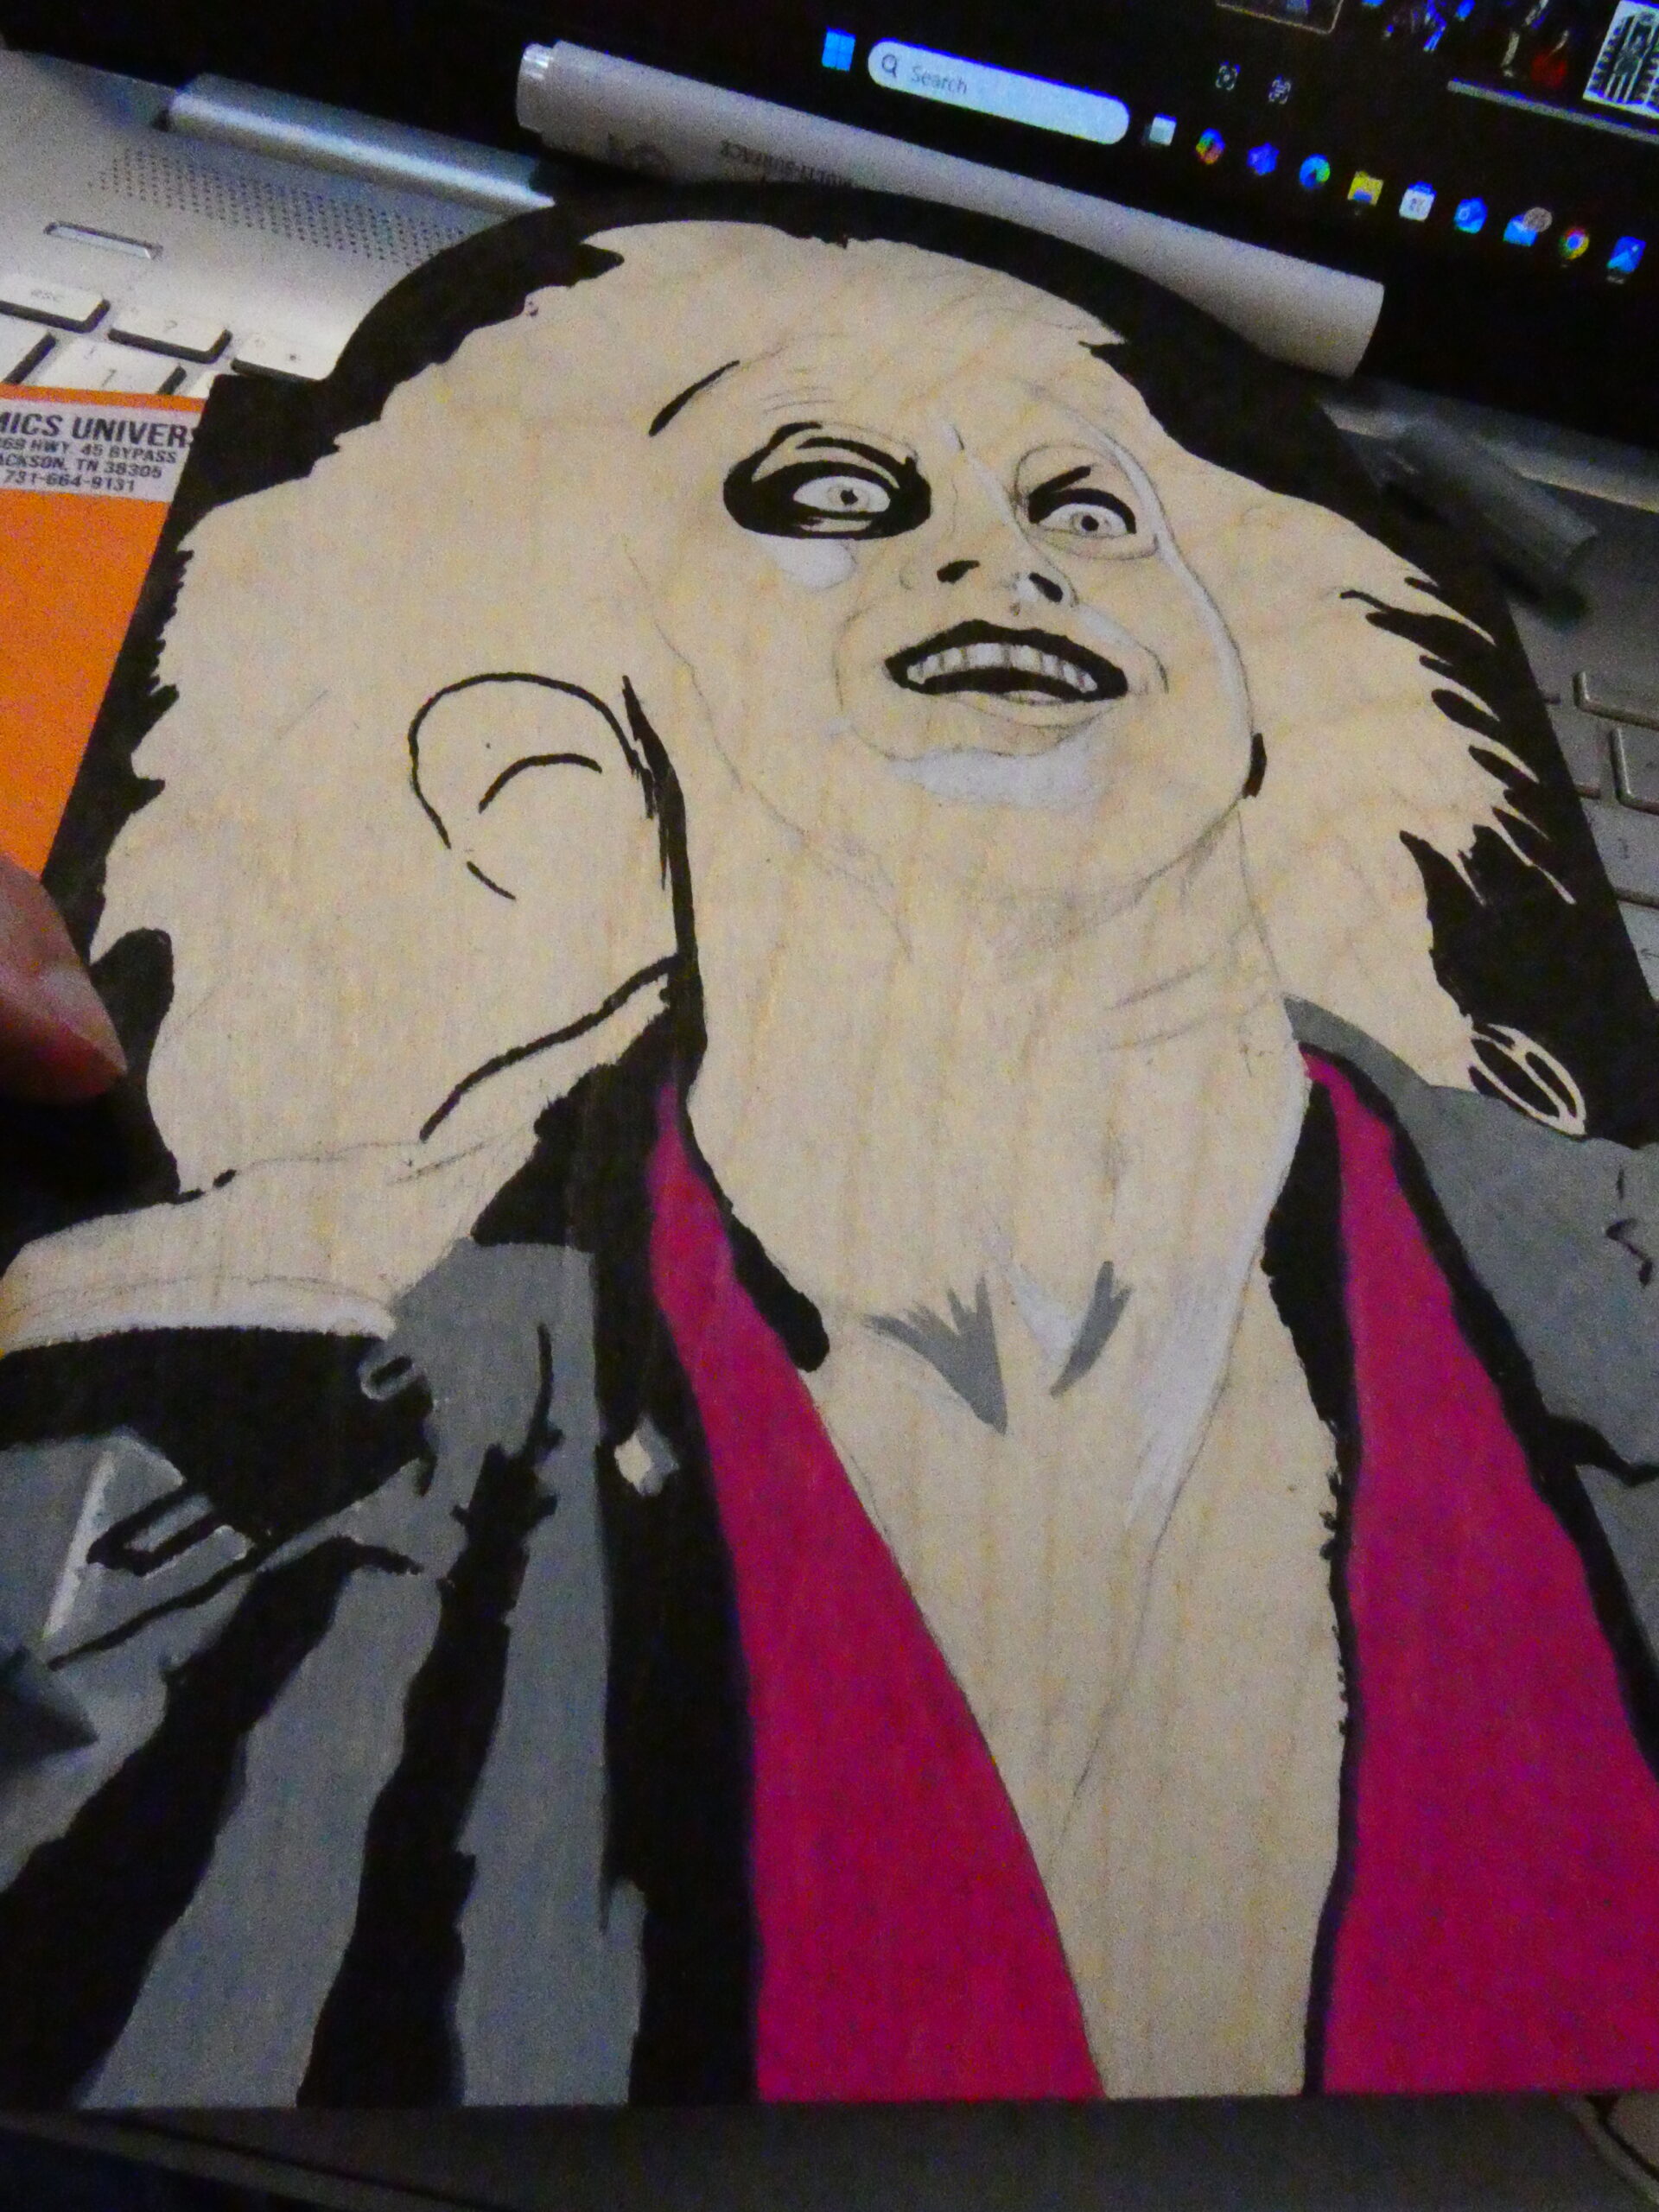
I used a couple shades of green and dark grey IVSUN acrylic paint markers to do the hair and mossy areas of his face and jacket. I would do the darker shade of green and then highlight the moss and hair with the lighter green.
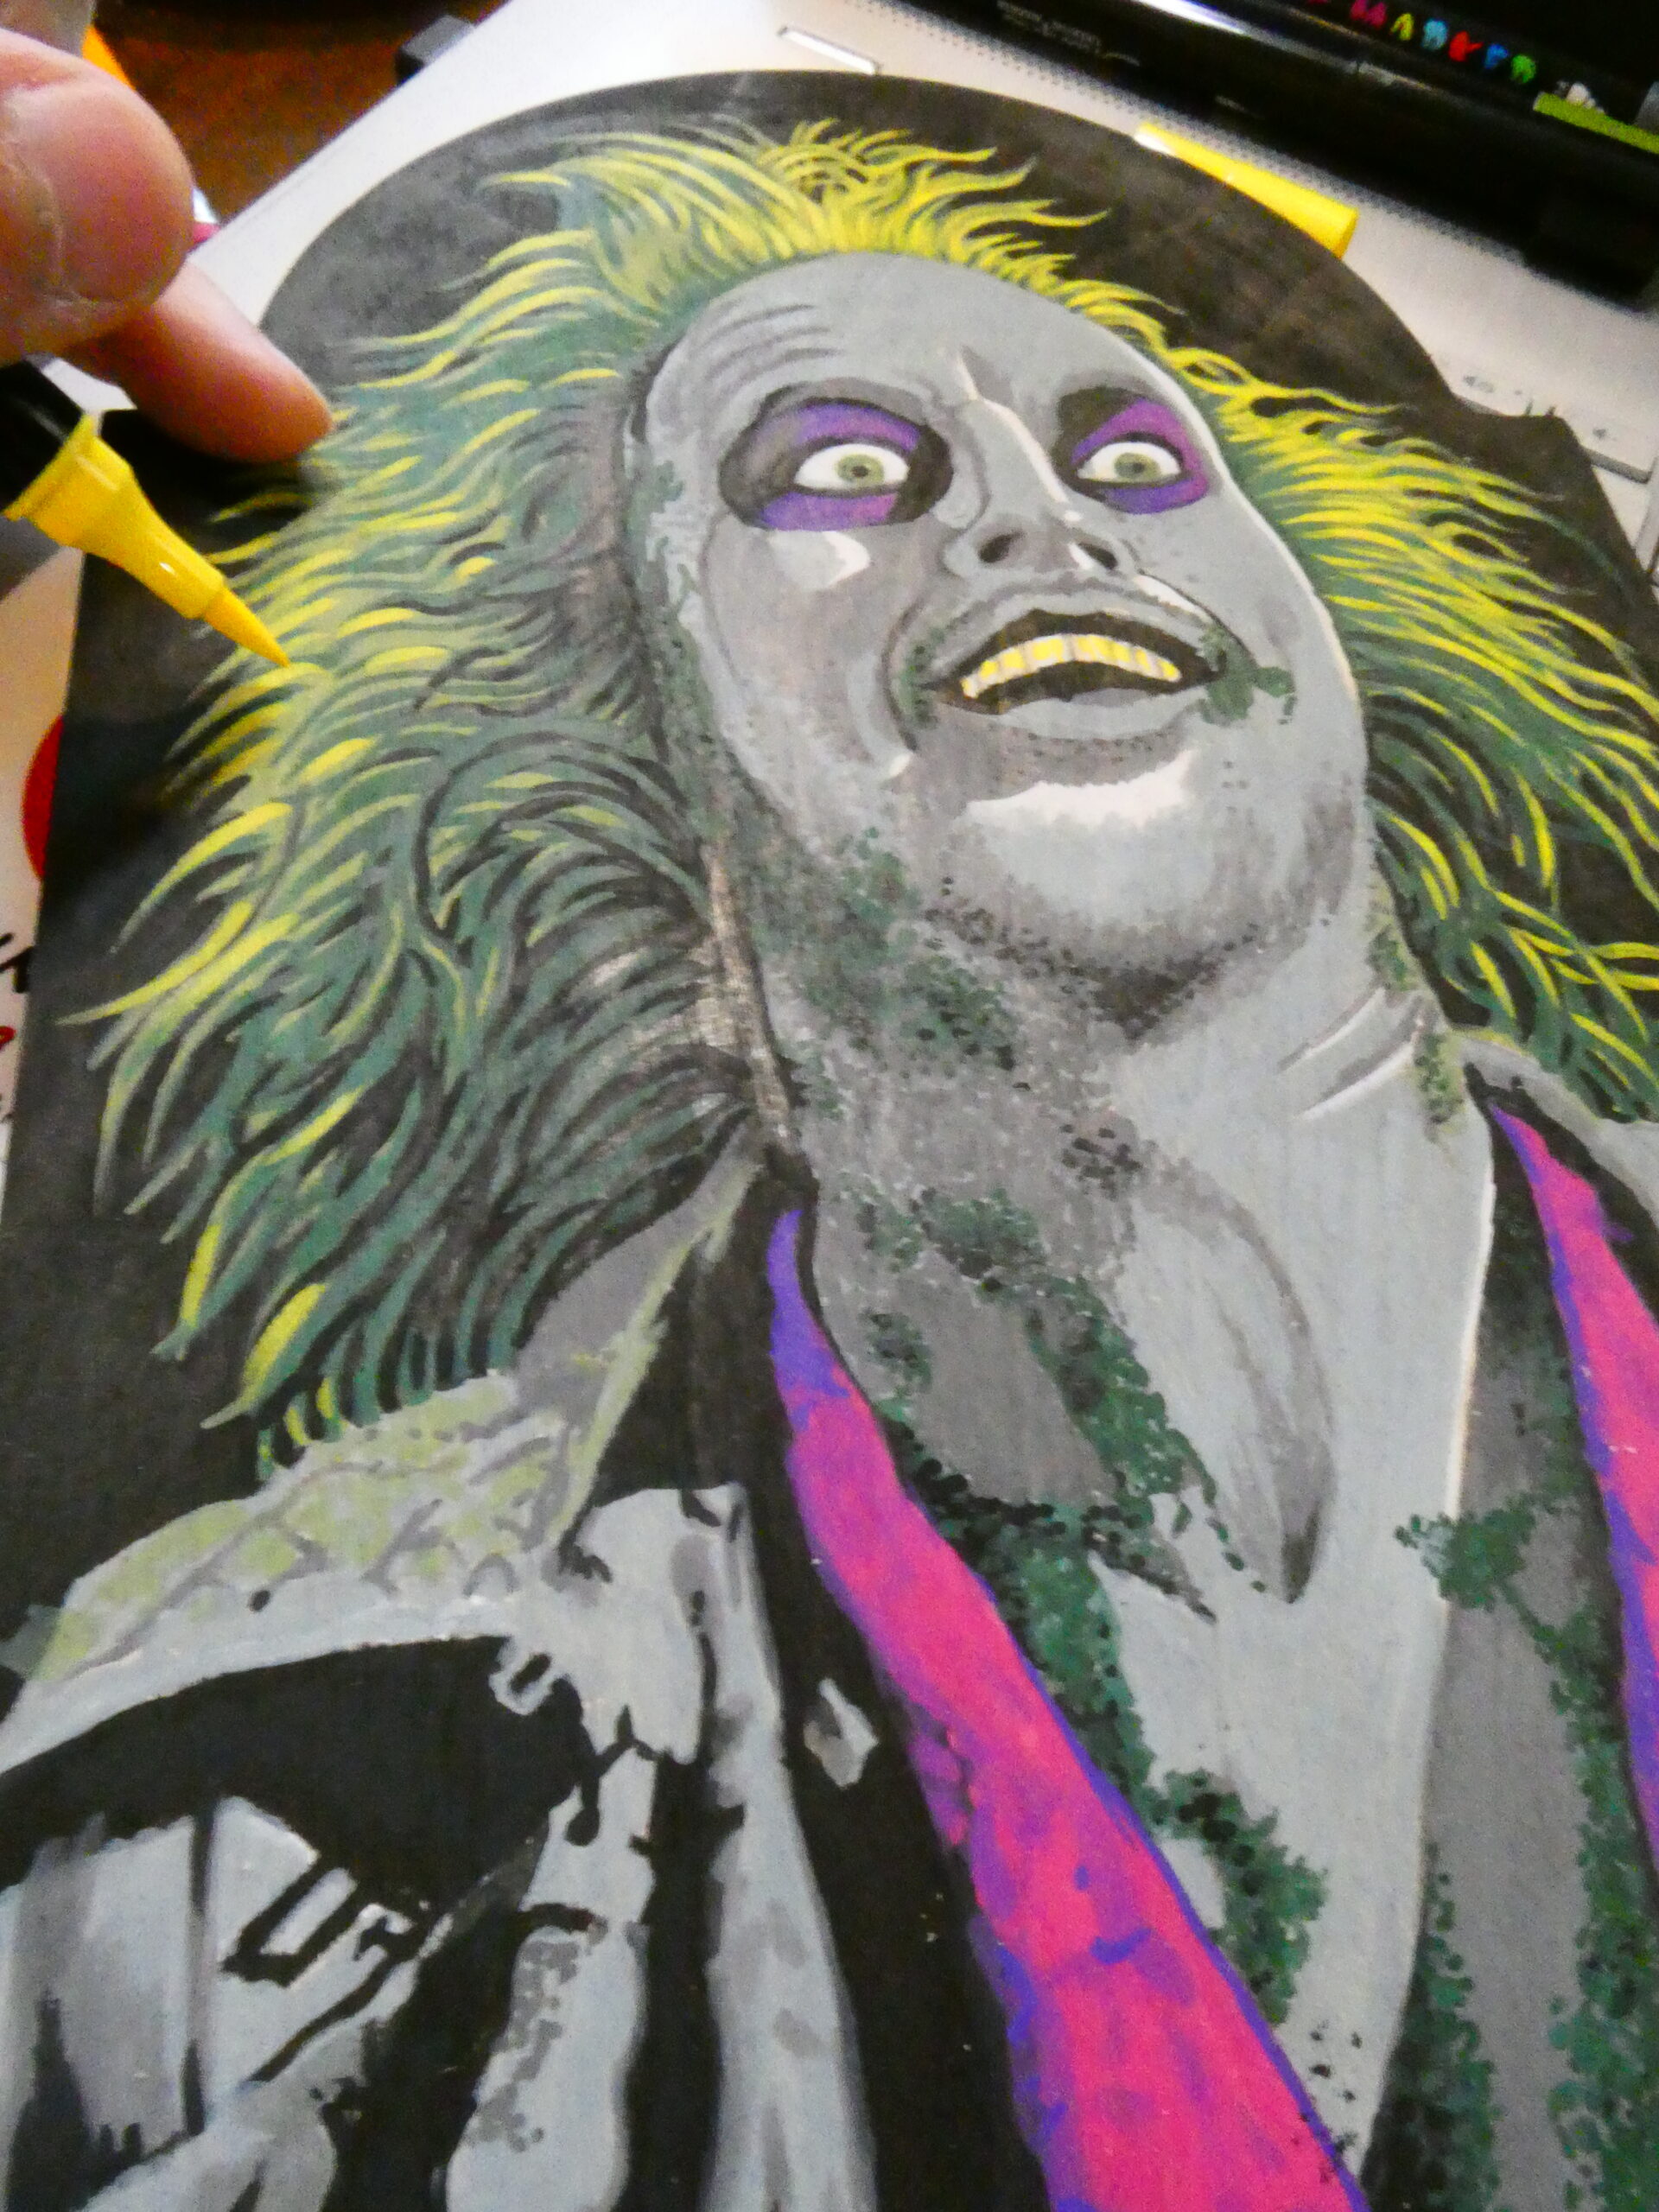

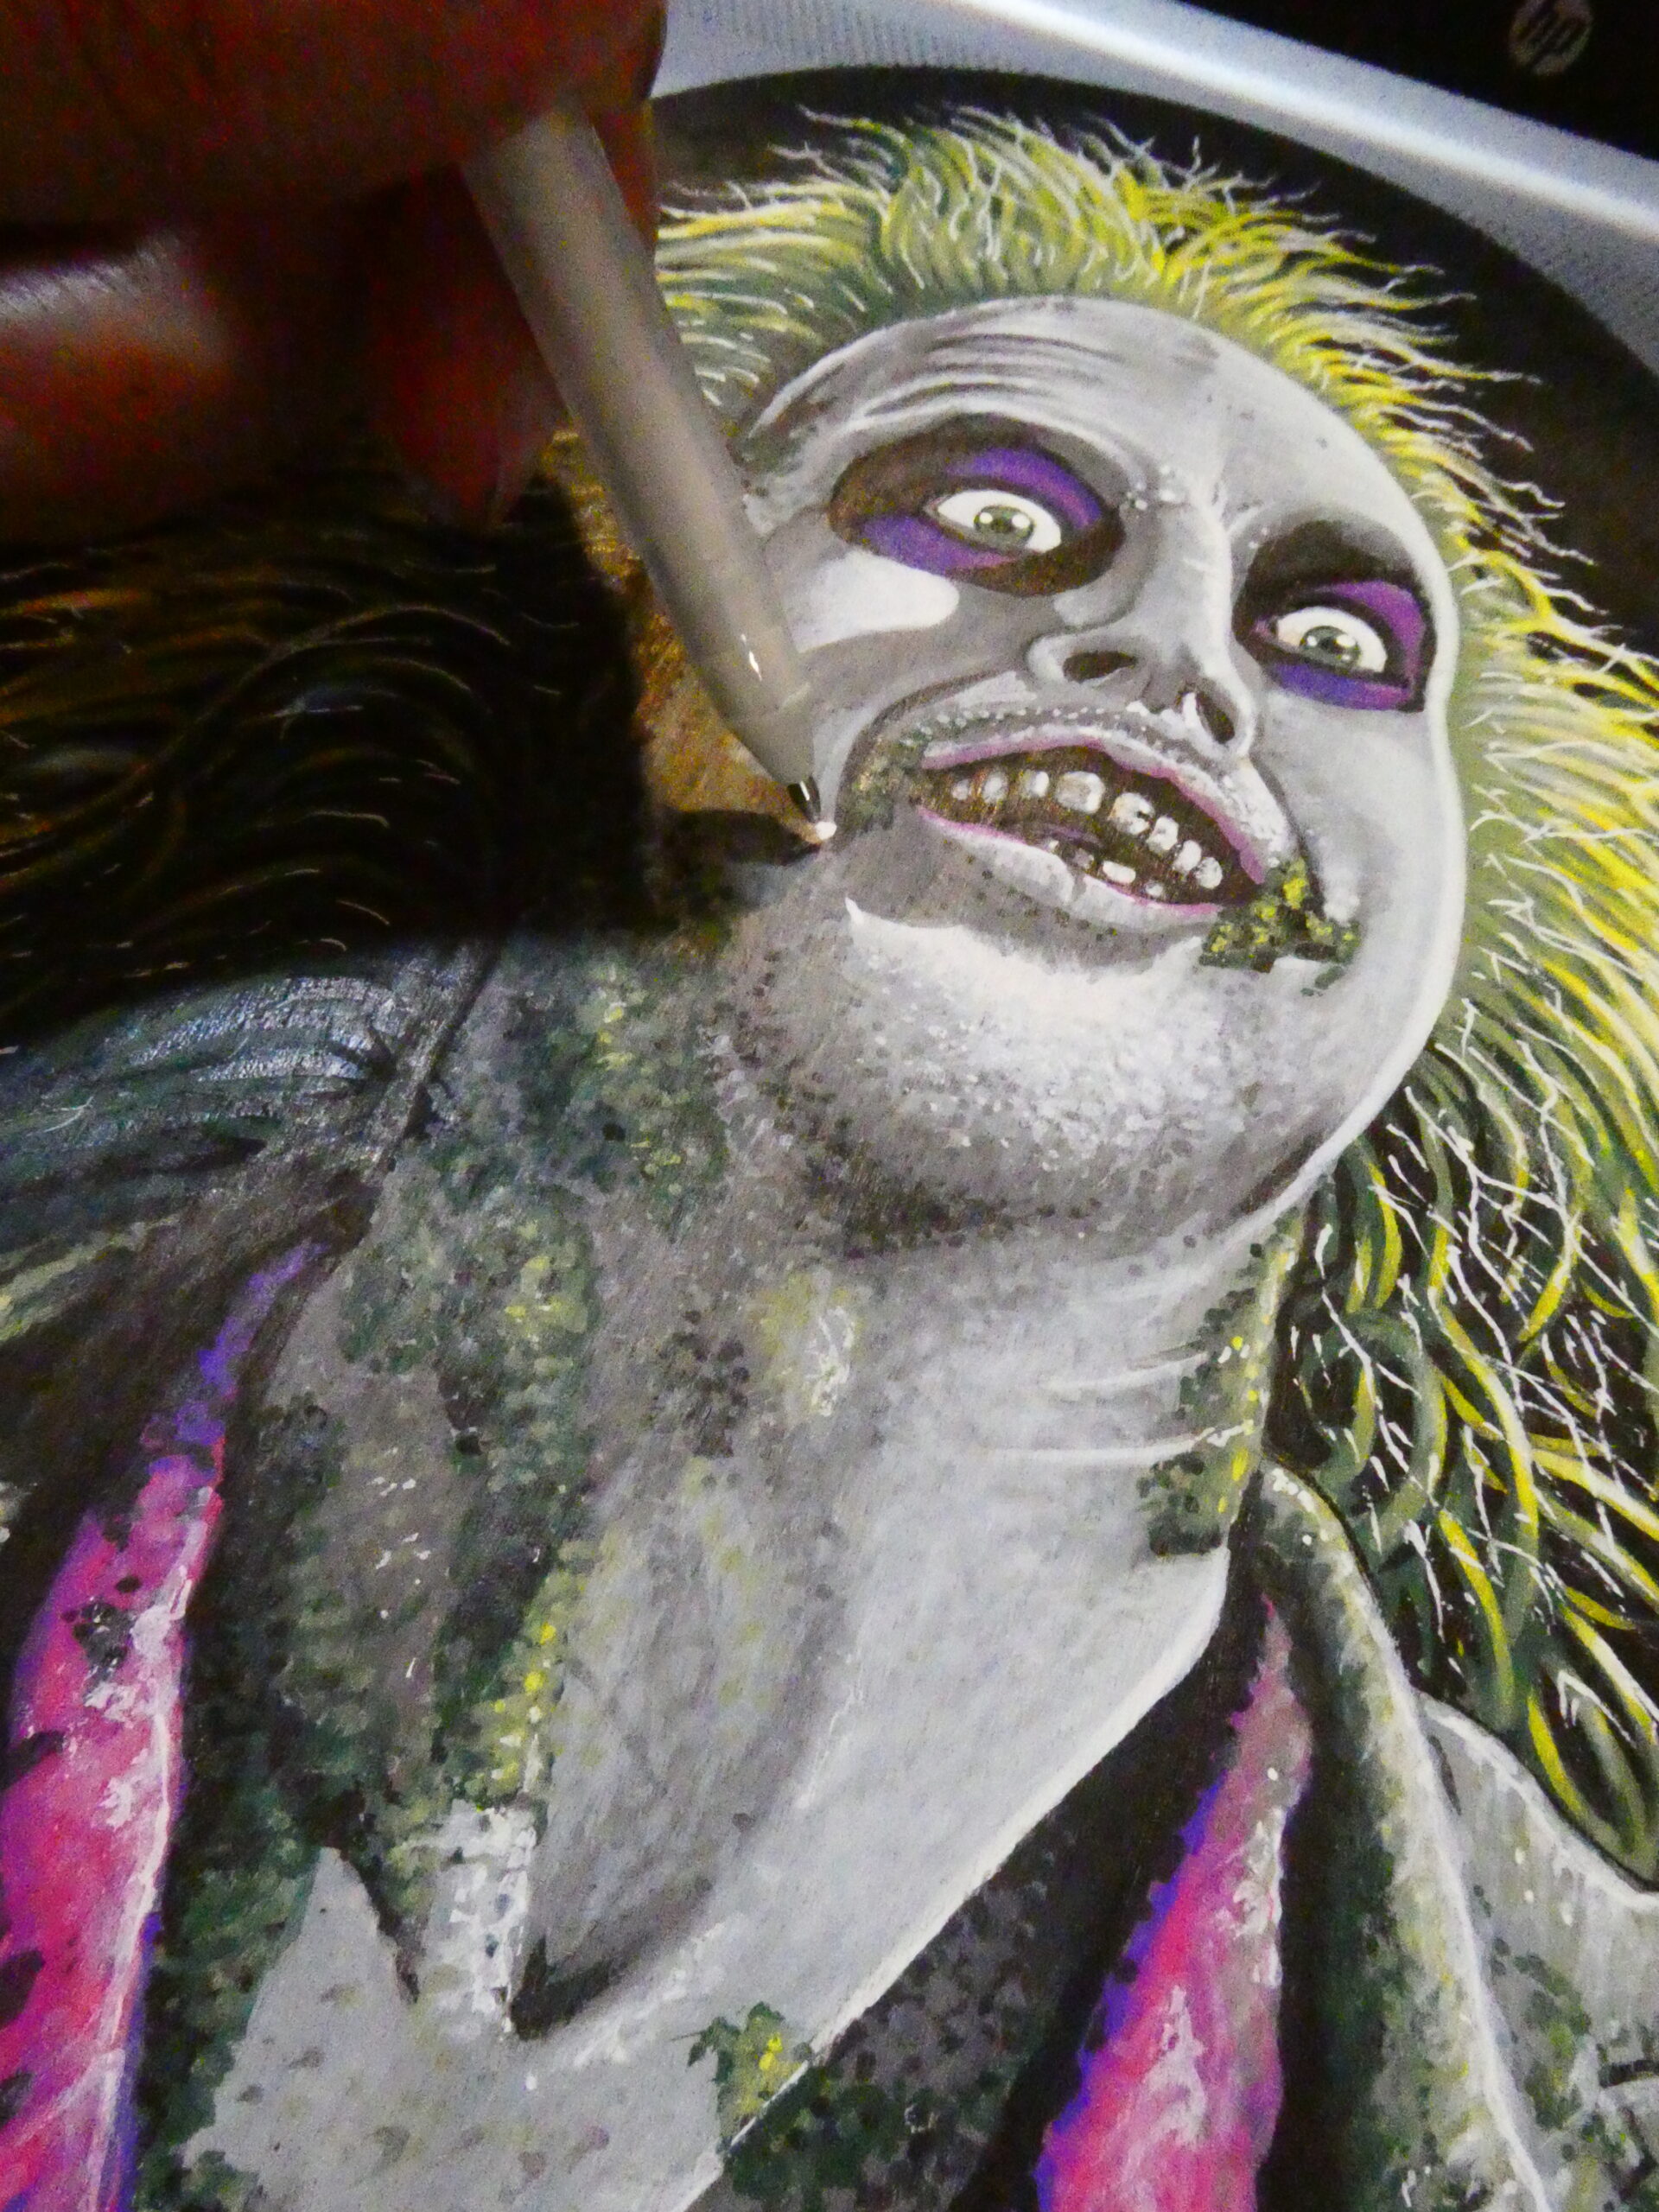
I came back with some yellow to highlight the hair, and some pink to the lips, tongue, and corners of the eyes. I then blended some of the hair with the lighter green I’d used earlier. I also added some tan and grey to the teeth.

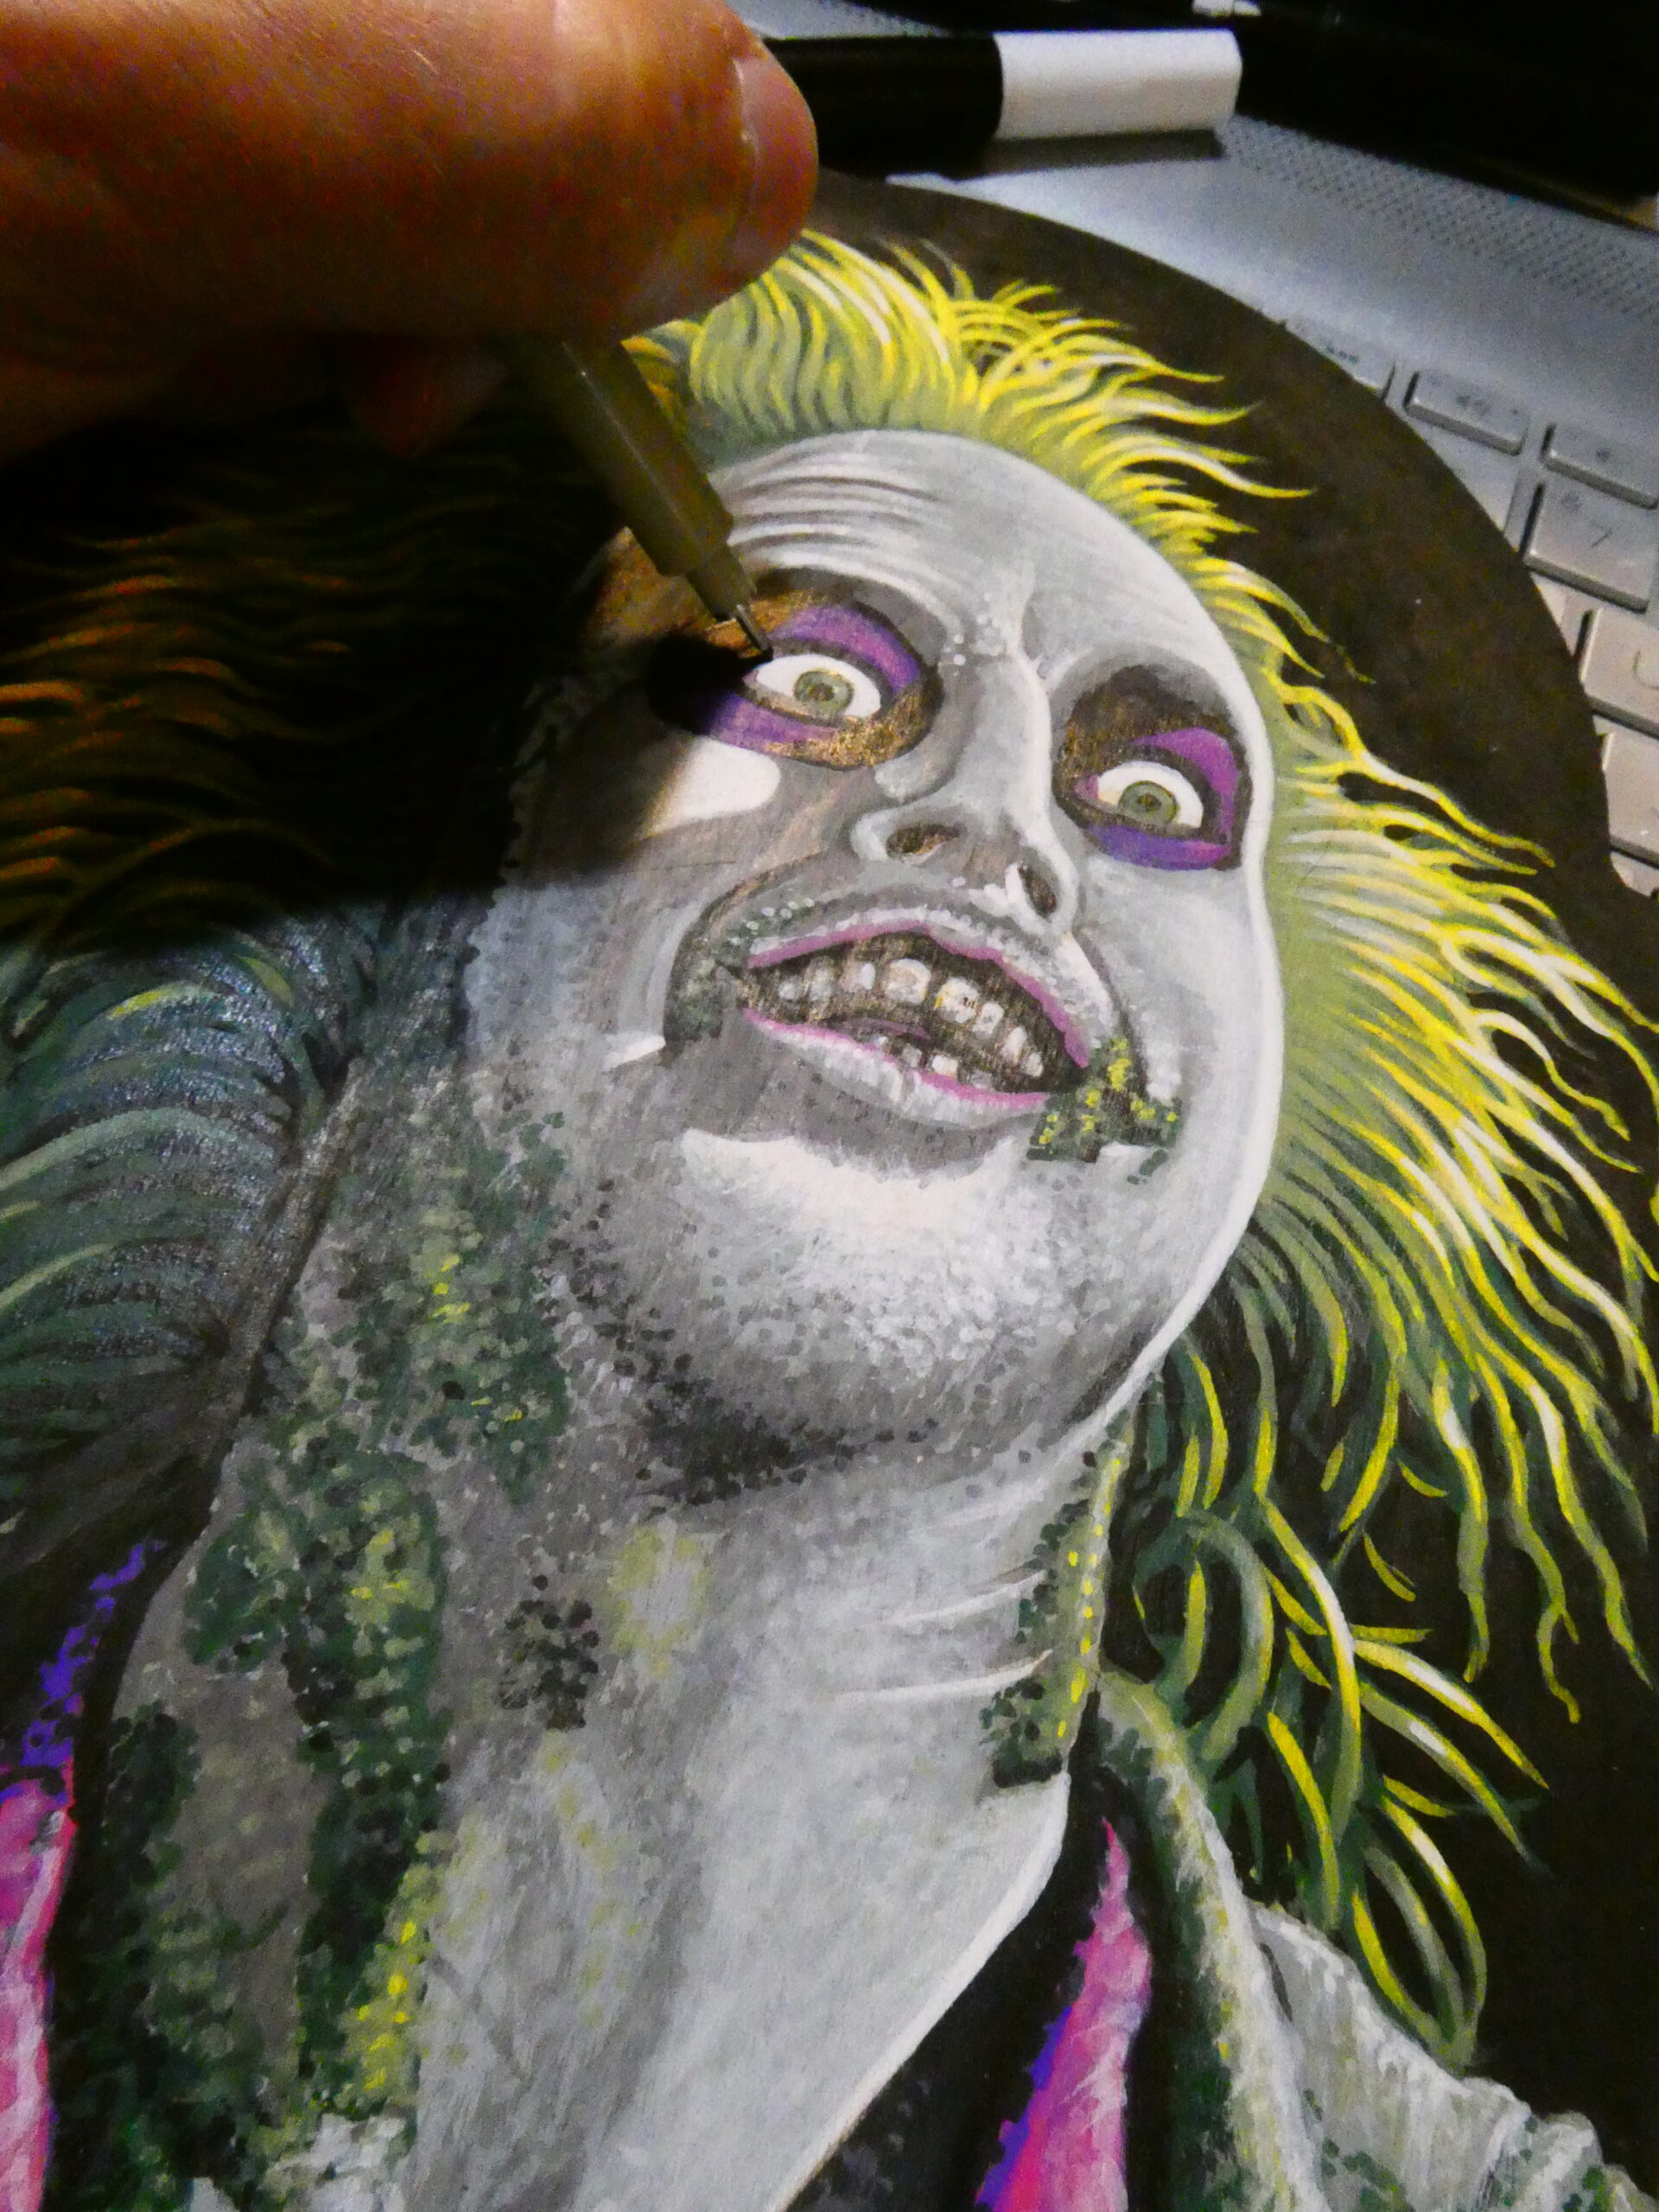
I used my white IVSUN marker to blend the highlight areas. The brush tip end seems to be a bit less opaque than the fine point so I bounced back and forth between the two points for blending and pointillism. If I needed to tone down the highlights I would lightly tap them with my fingertips. I used a black Pigma Micron pen (03) for my detail work around the eyes and teeth.
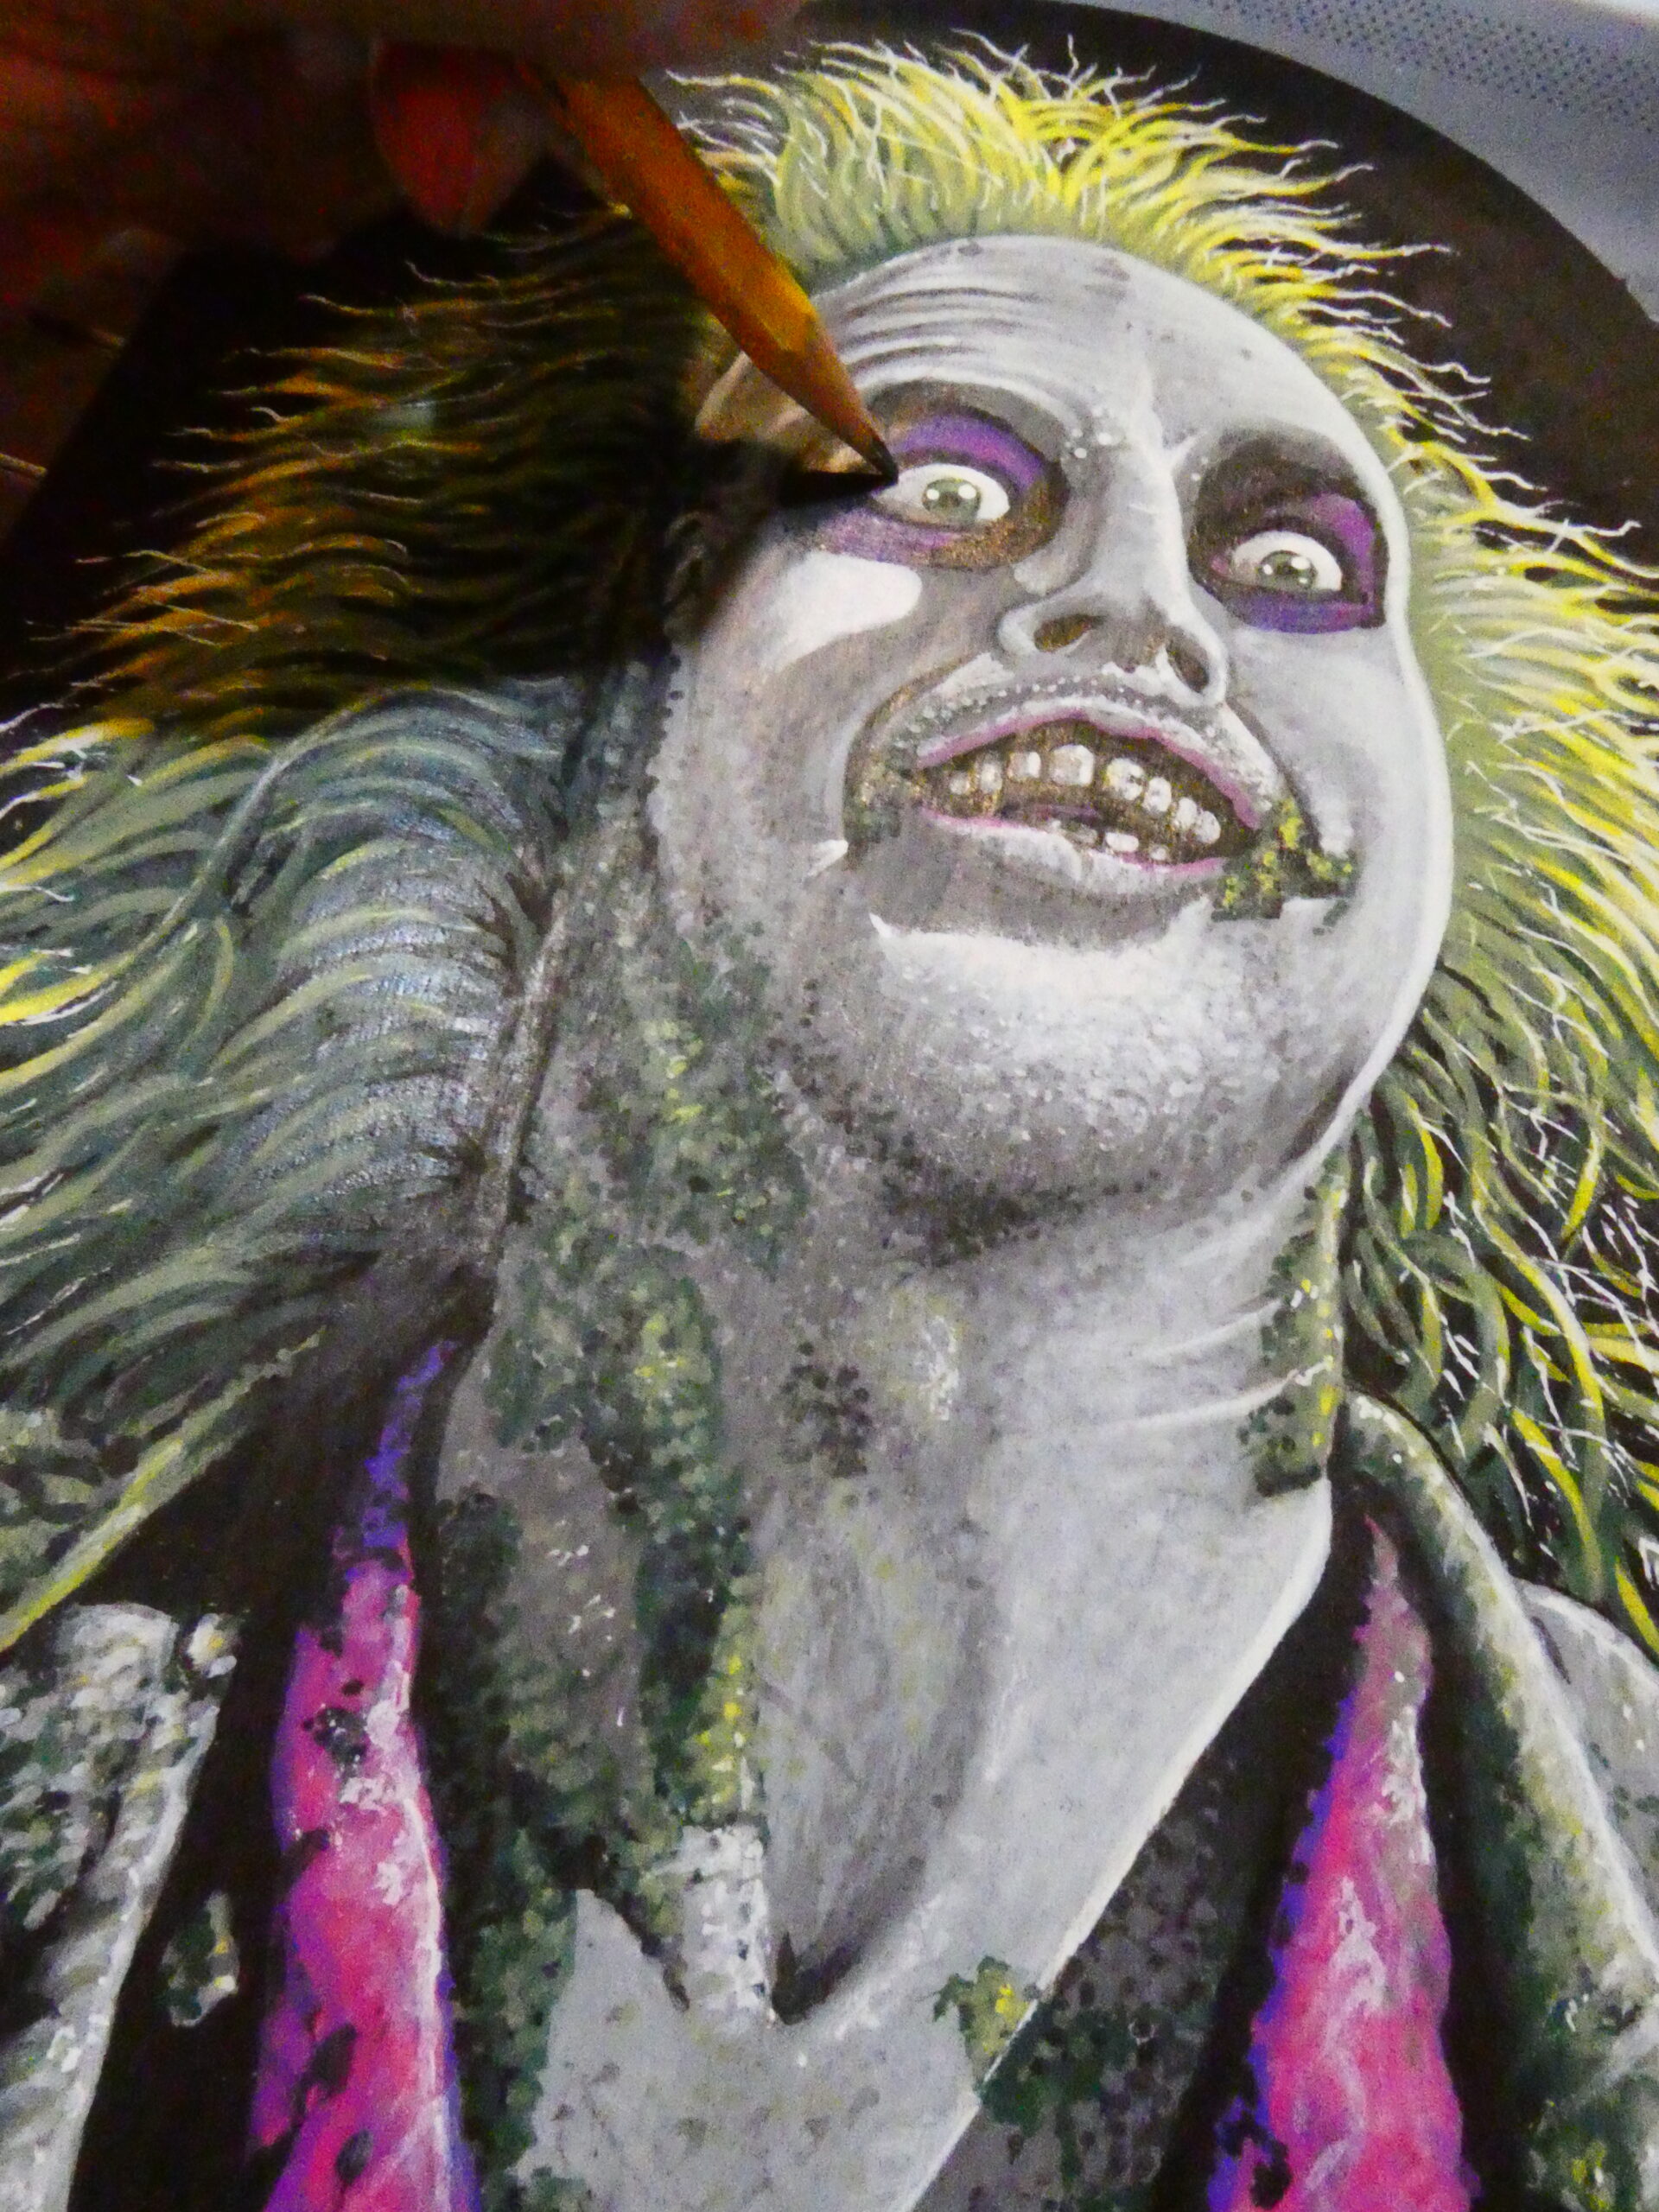
For my final highlights I used a white Gelly Roll pen and a white Prismacolor pencil. The gel pen to have stronger and finer highlights, and the colored pencil to help blend the white and grey areas. I used the #2 pencil for some shading on the eyes and blending of other areas.
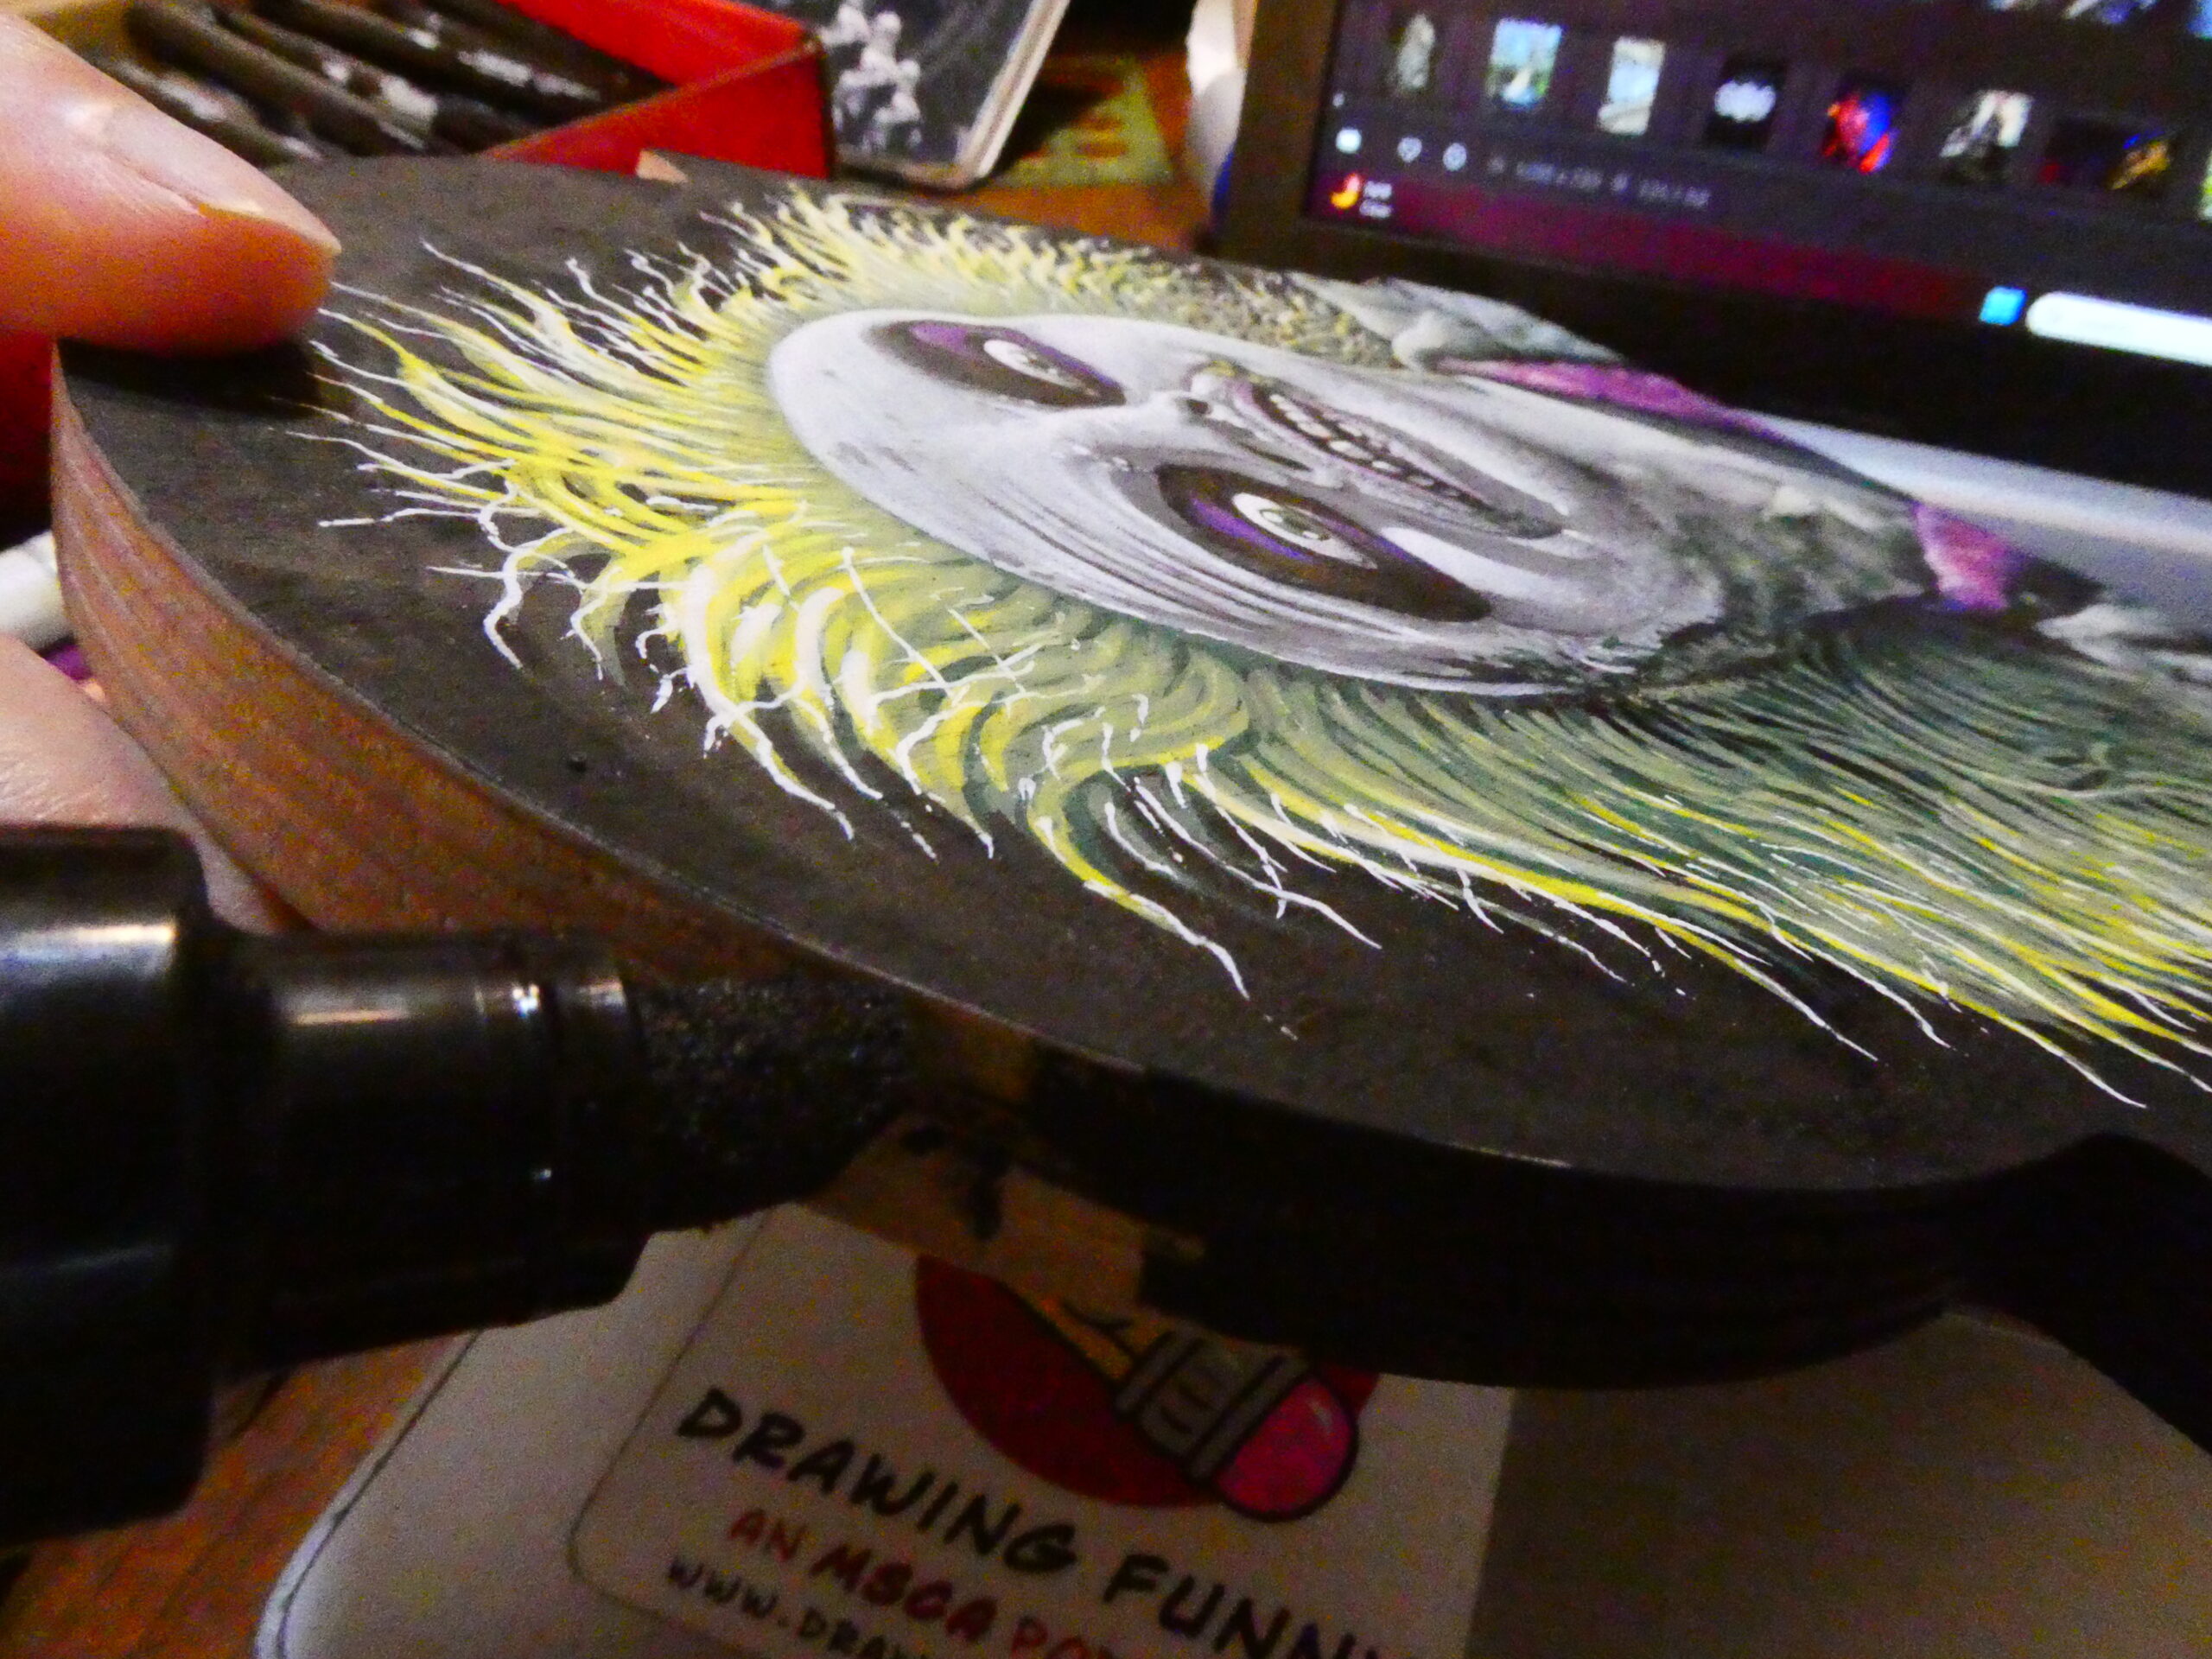
I used my wide black oil based Sharpie paint marker to color the sides of the wood panel. I went over it all twice to fill it in good. I didn’t use any primer on these panels, but have seen recently they recommend a few different ones. Will try picking up the Golden Acrylic Gesso and/or Golden Matte Medium – Clear Gesso. I was able to pick up a bottle of Golden GAC 100 – Professional Sealant, at Casey’s Art Box in Germantown at our last MSCA Sat-Art-Day and will do some testing on future ones to see what I like.
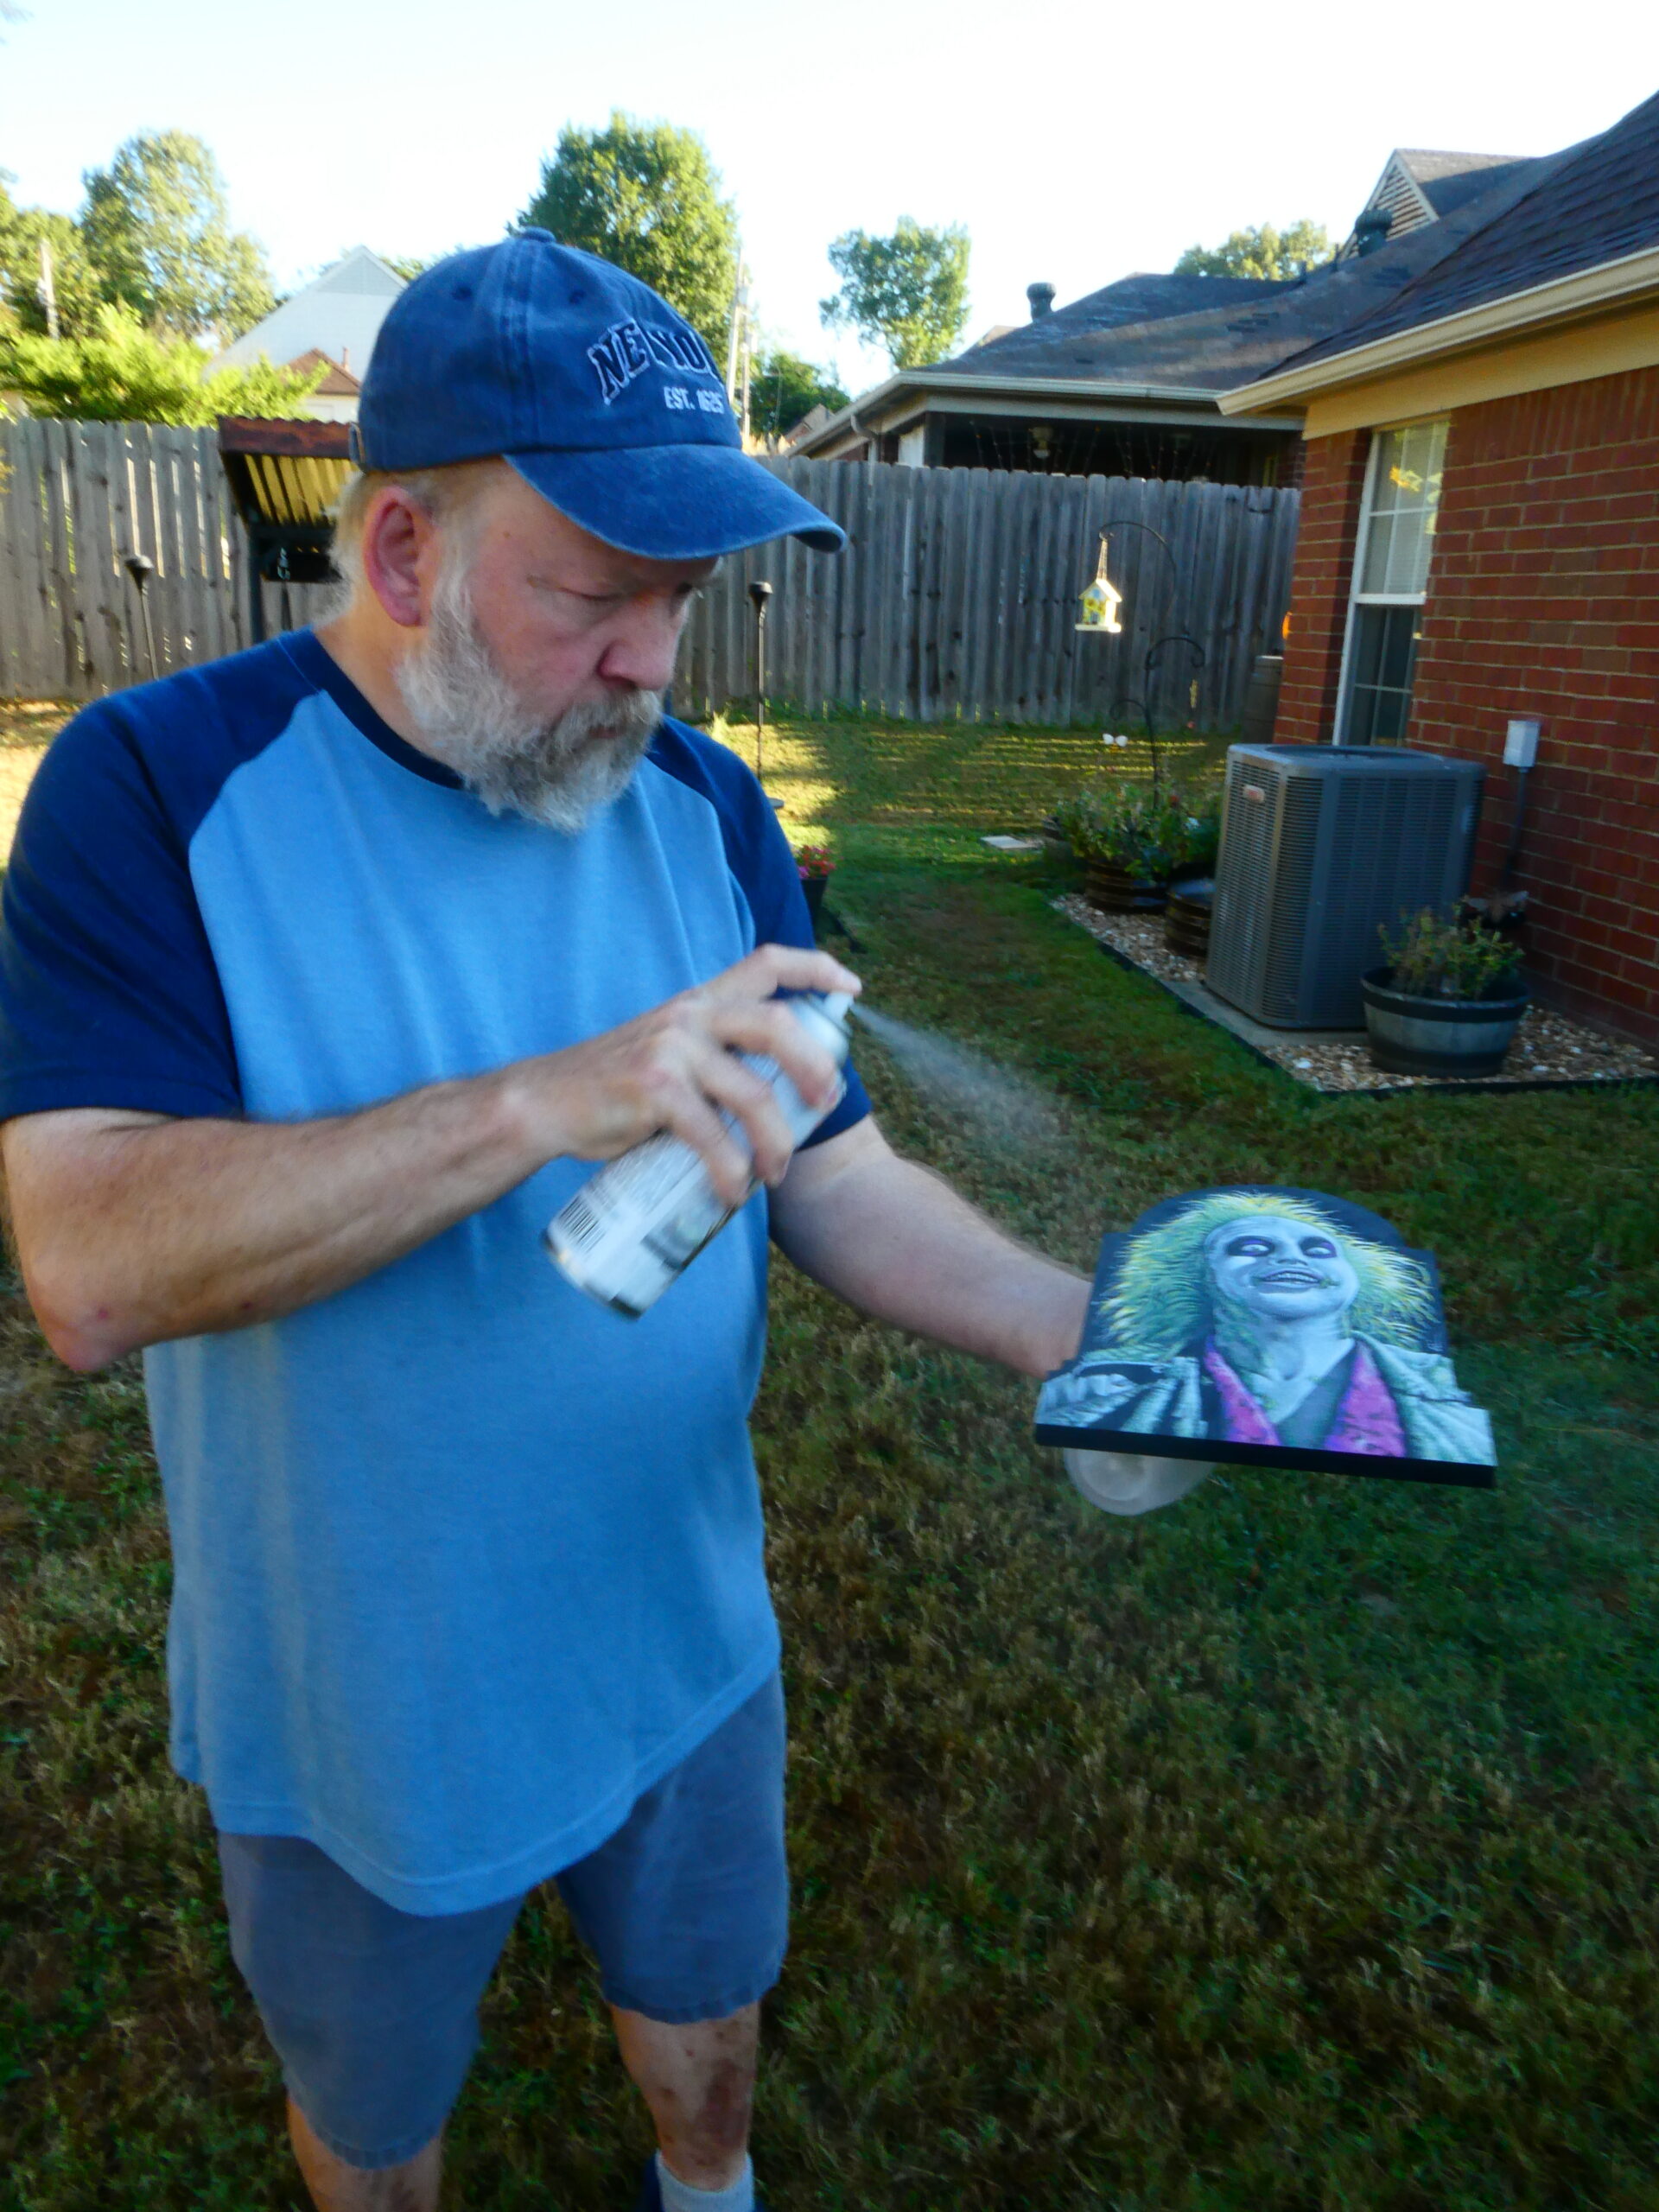
I did take the finished panel outside and sprayed it with some Krylon Workable Spray Fixative. I use this to protect my finished marker illustrations, sketchcovers, and sketchcards. It’s best to do several light overlapping coats than a heavy one, and spray from about a foot or so away. It’s also best to spray it outside like I did or in a well ventilated area. The stuff can be a bit strong, even when outdoors and will need a few minutes to dry before handling or working on top of again. Be sure to read the instructions on the can.

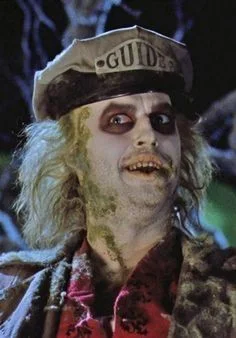
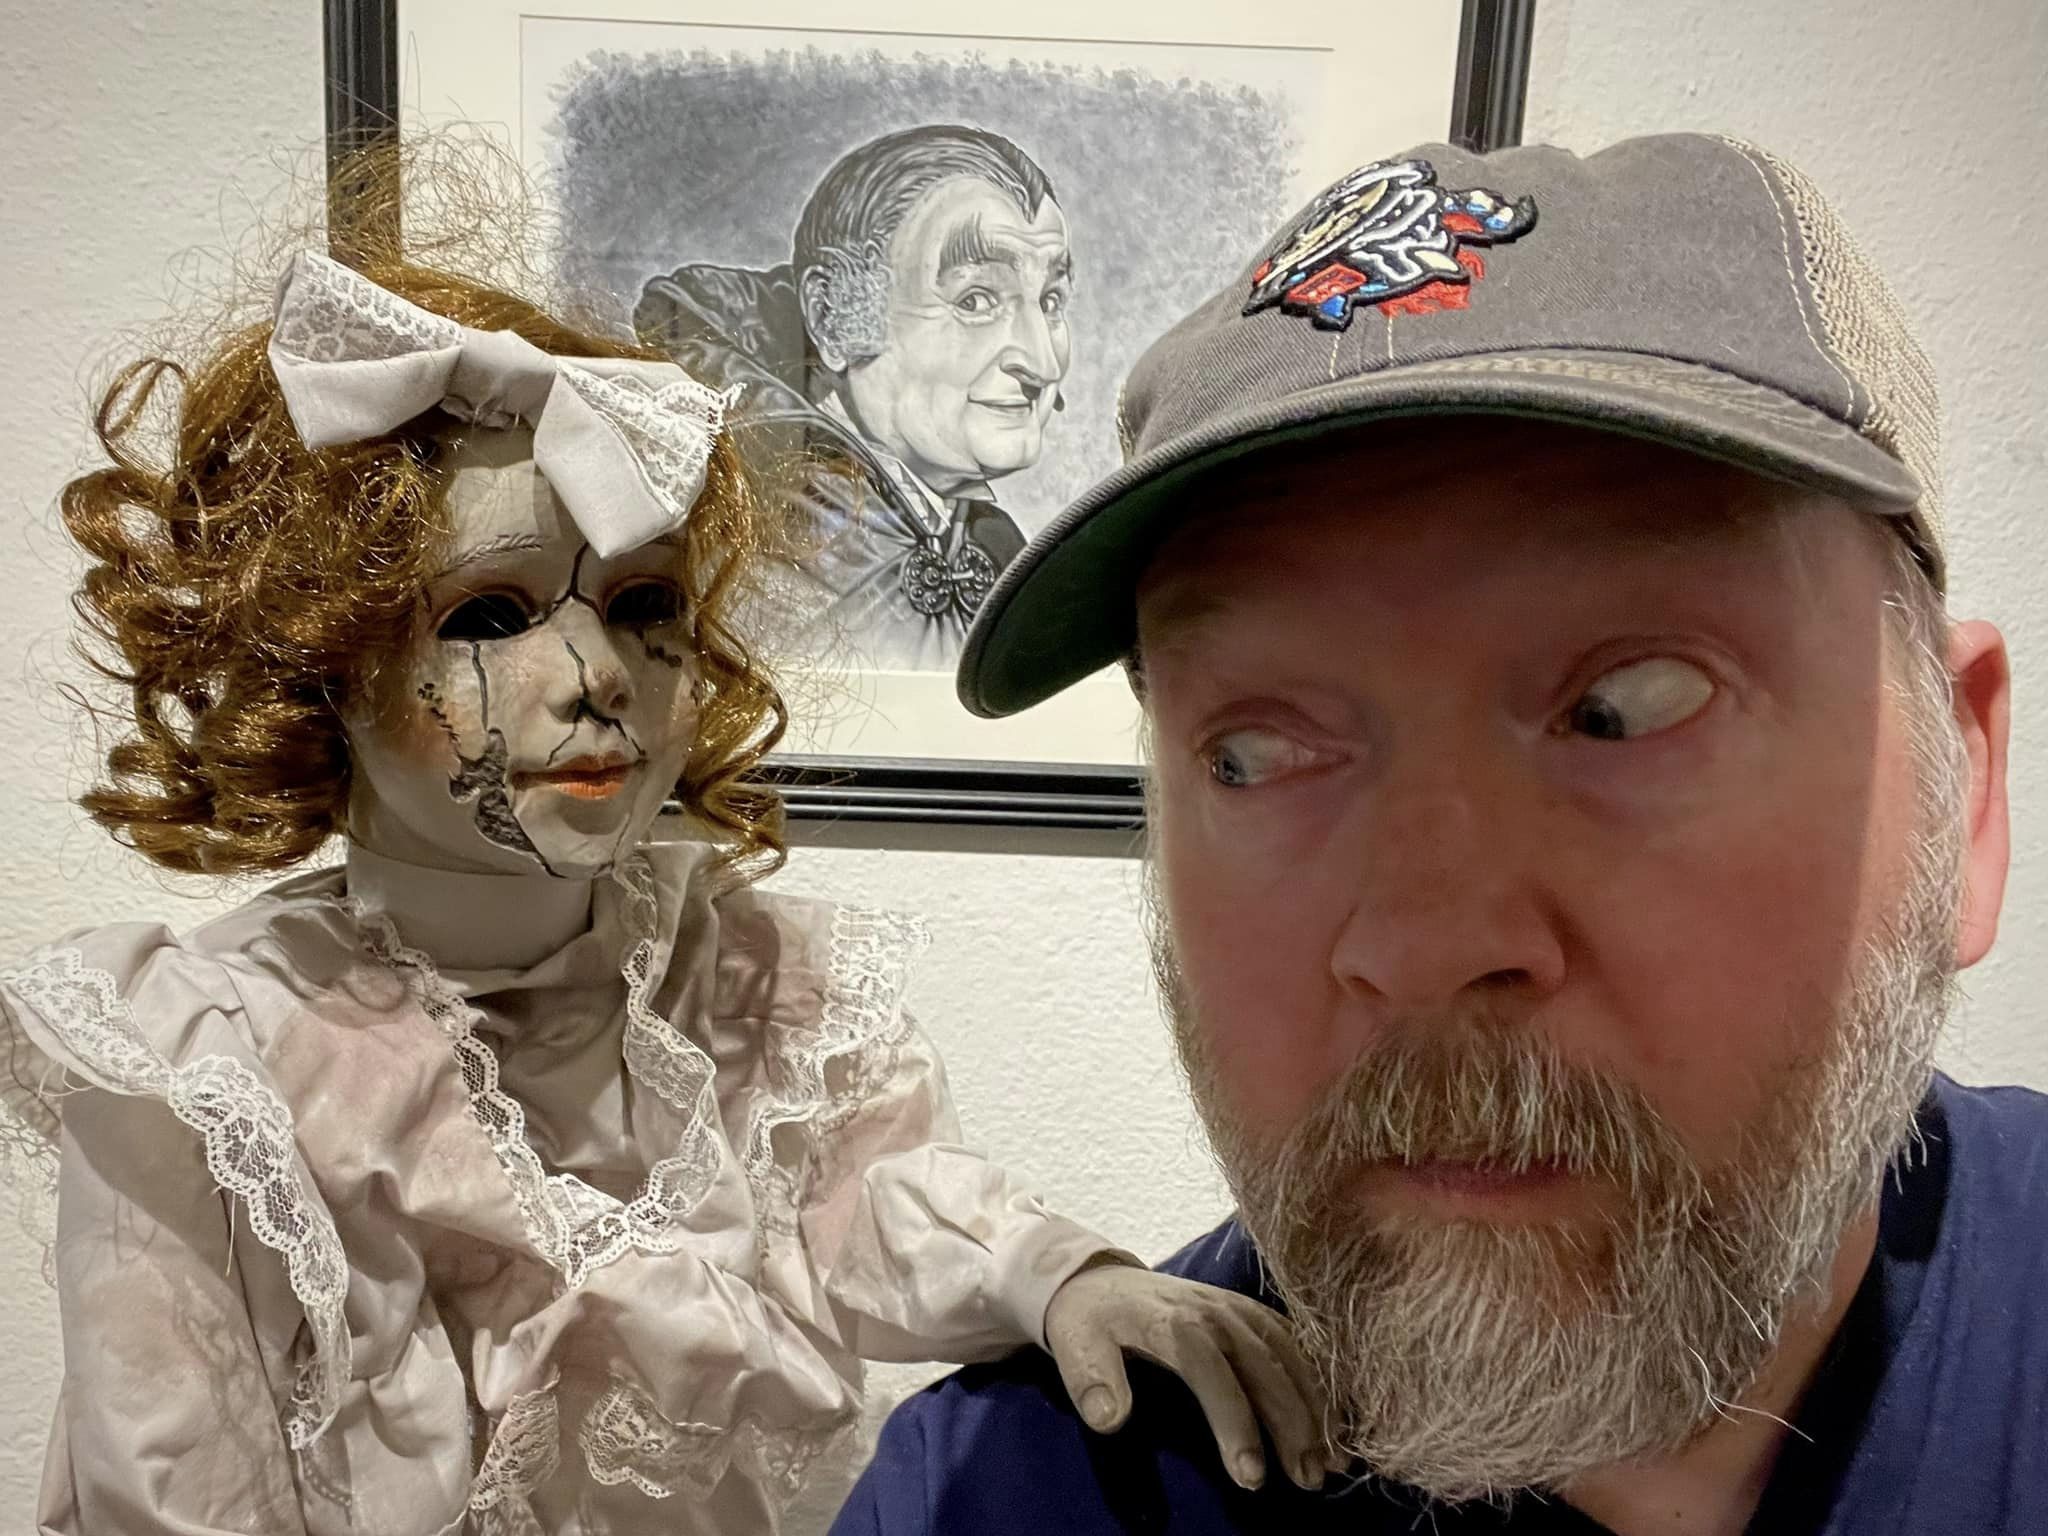
I’m a HUGE Beetlejuice fan, and have been collecting for years.
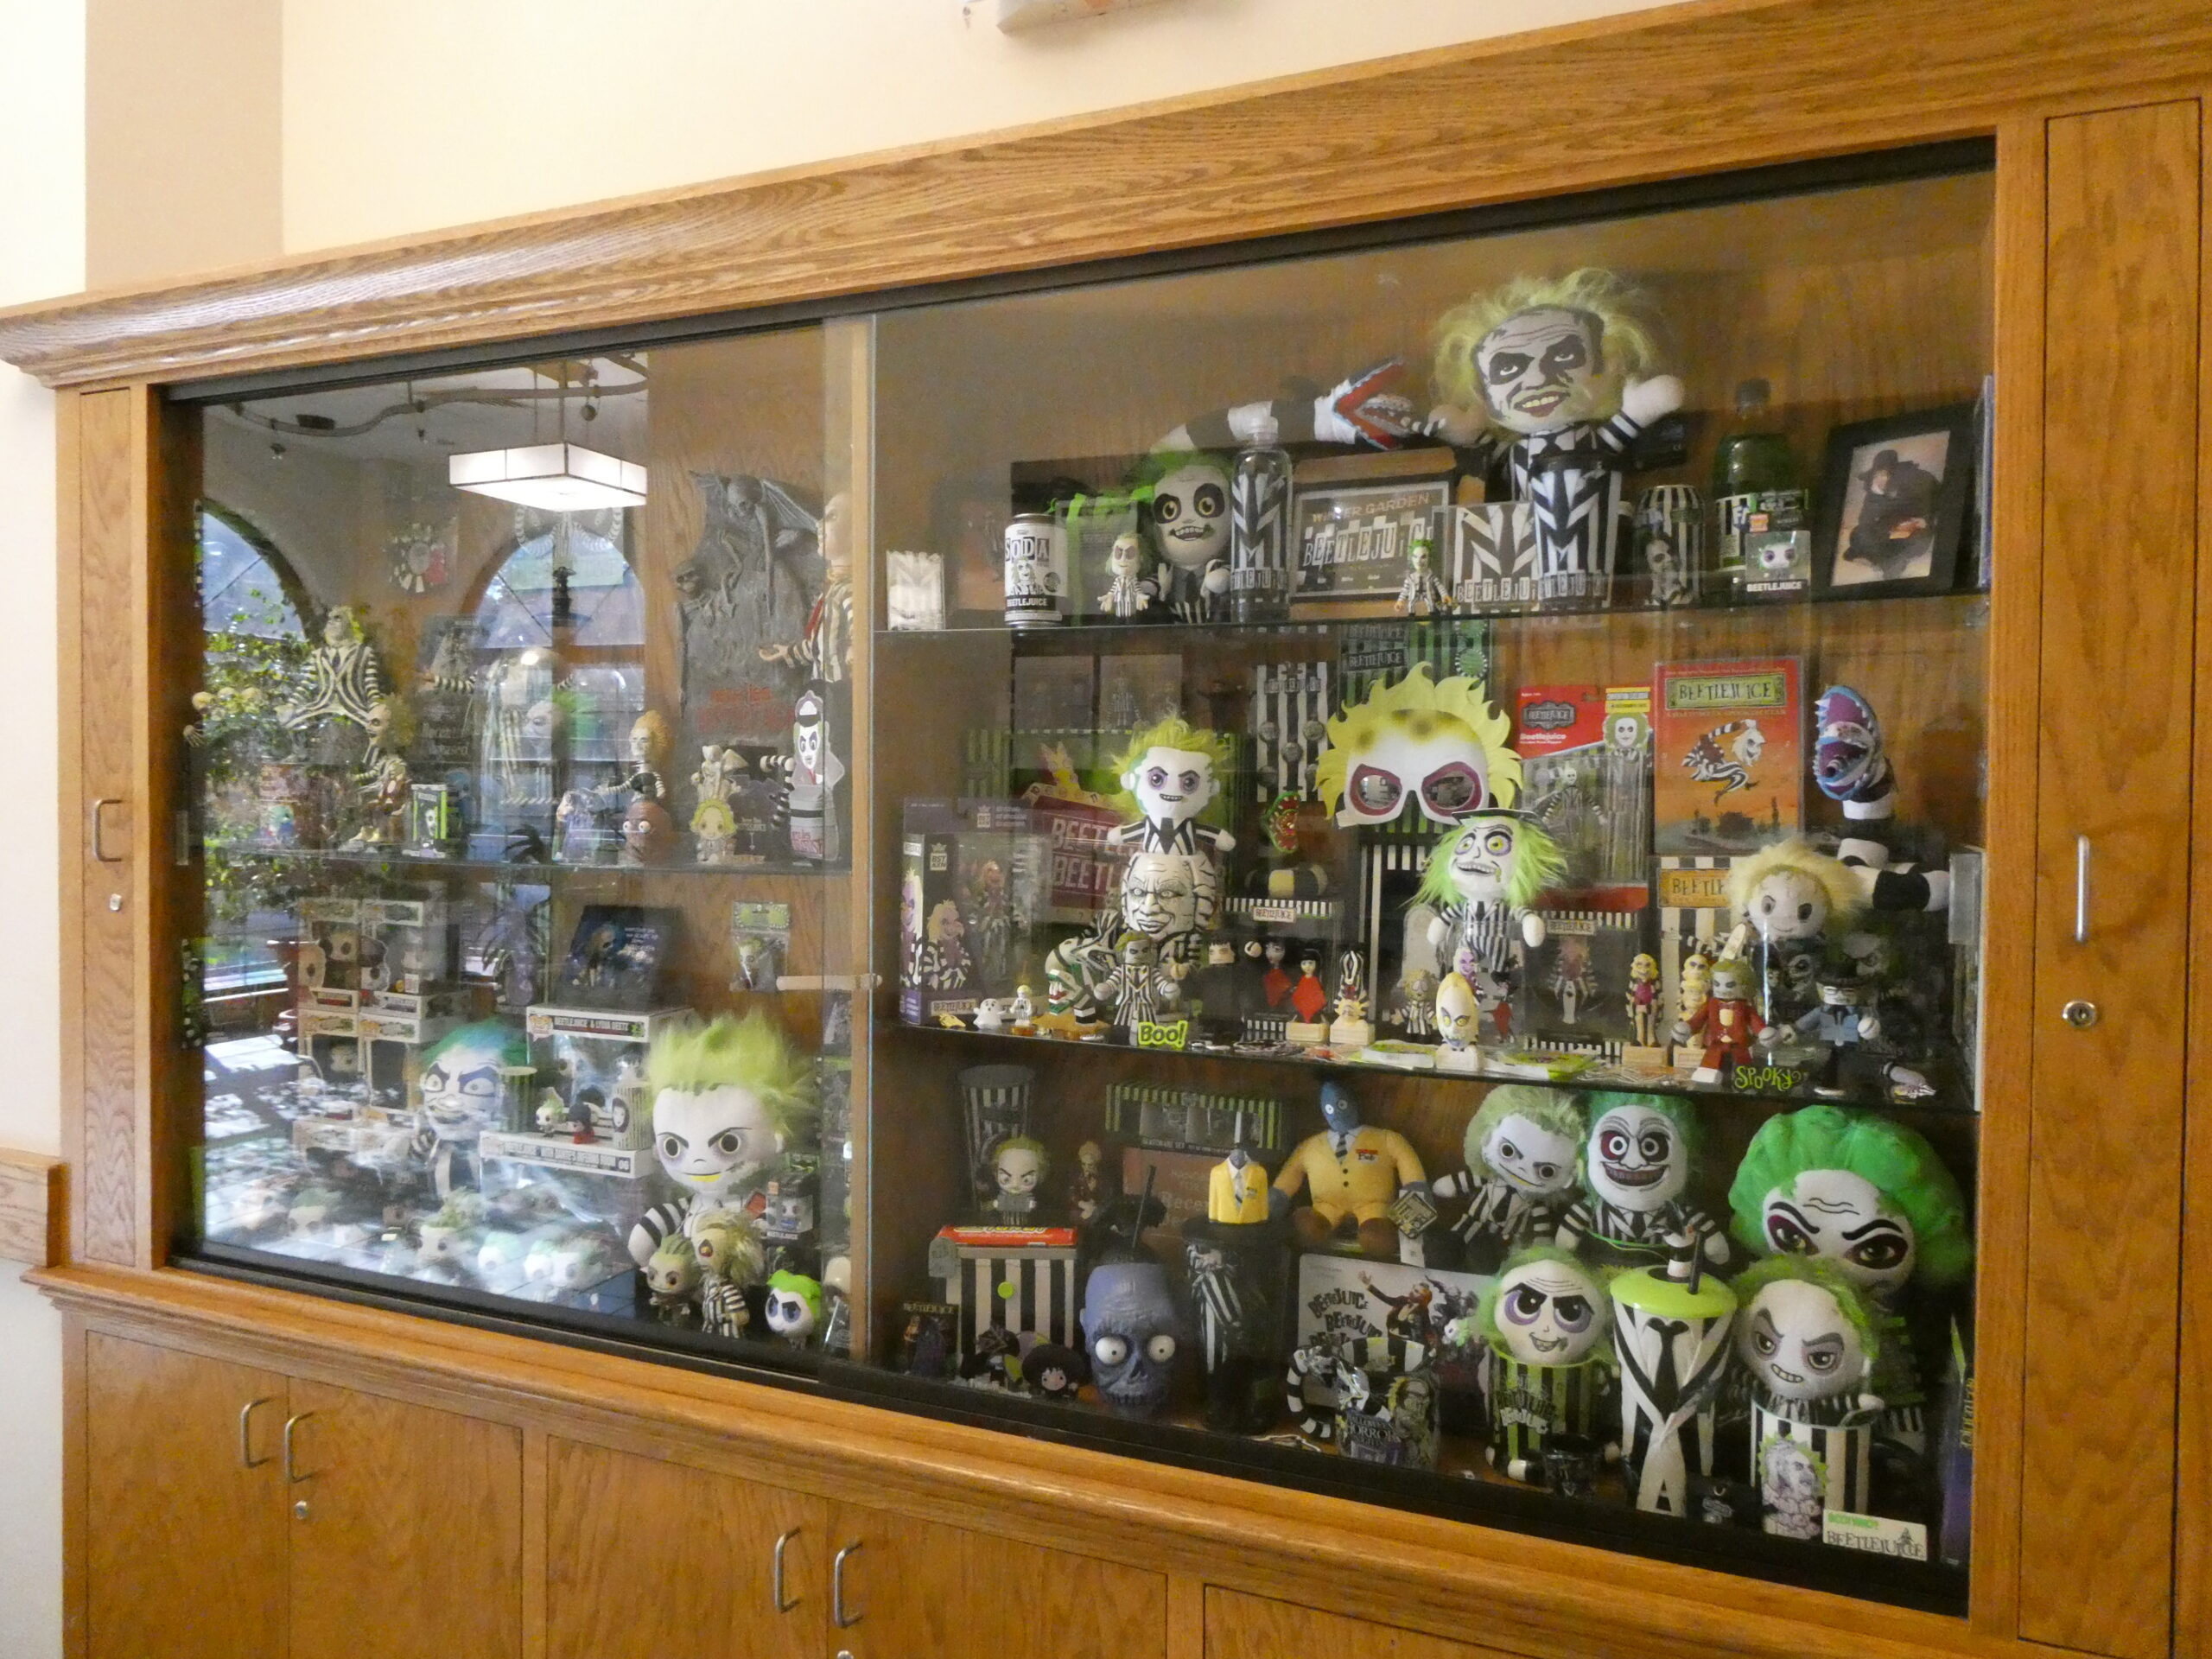
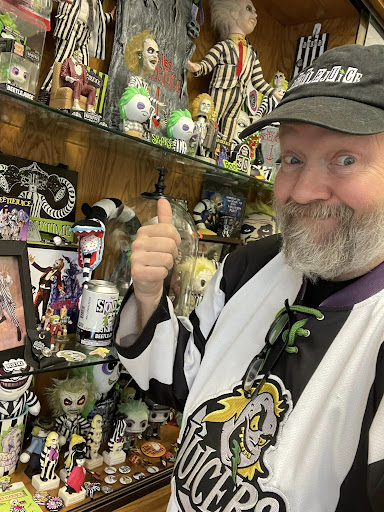
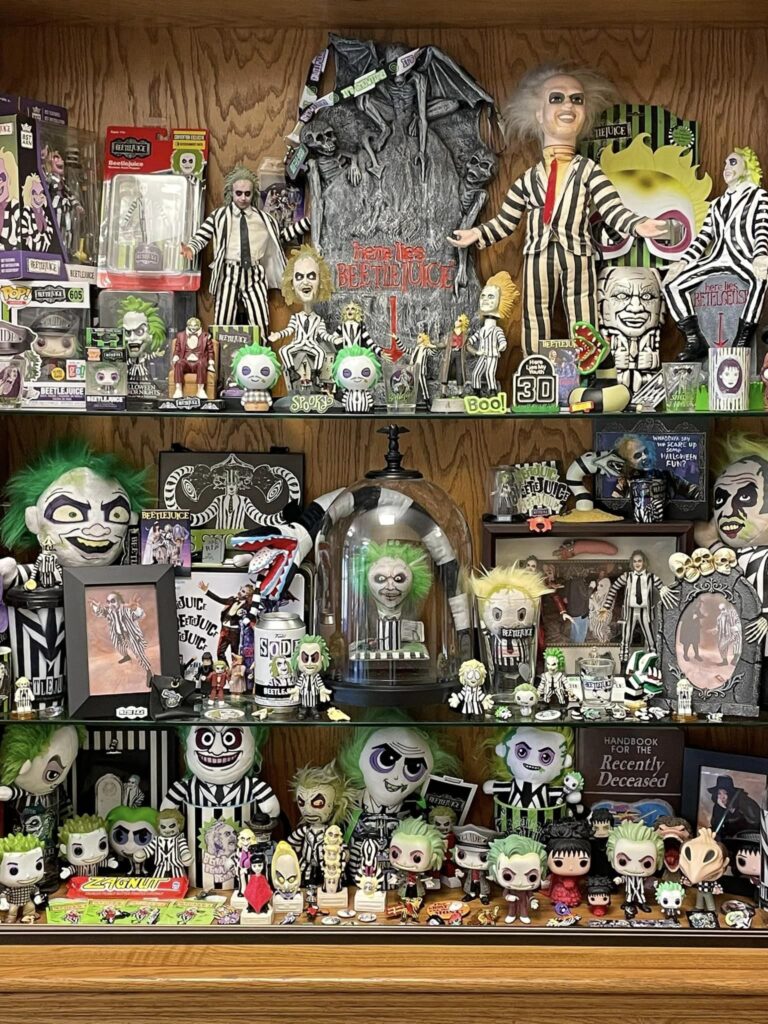
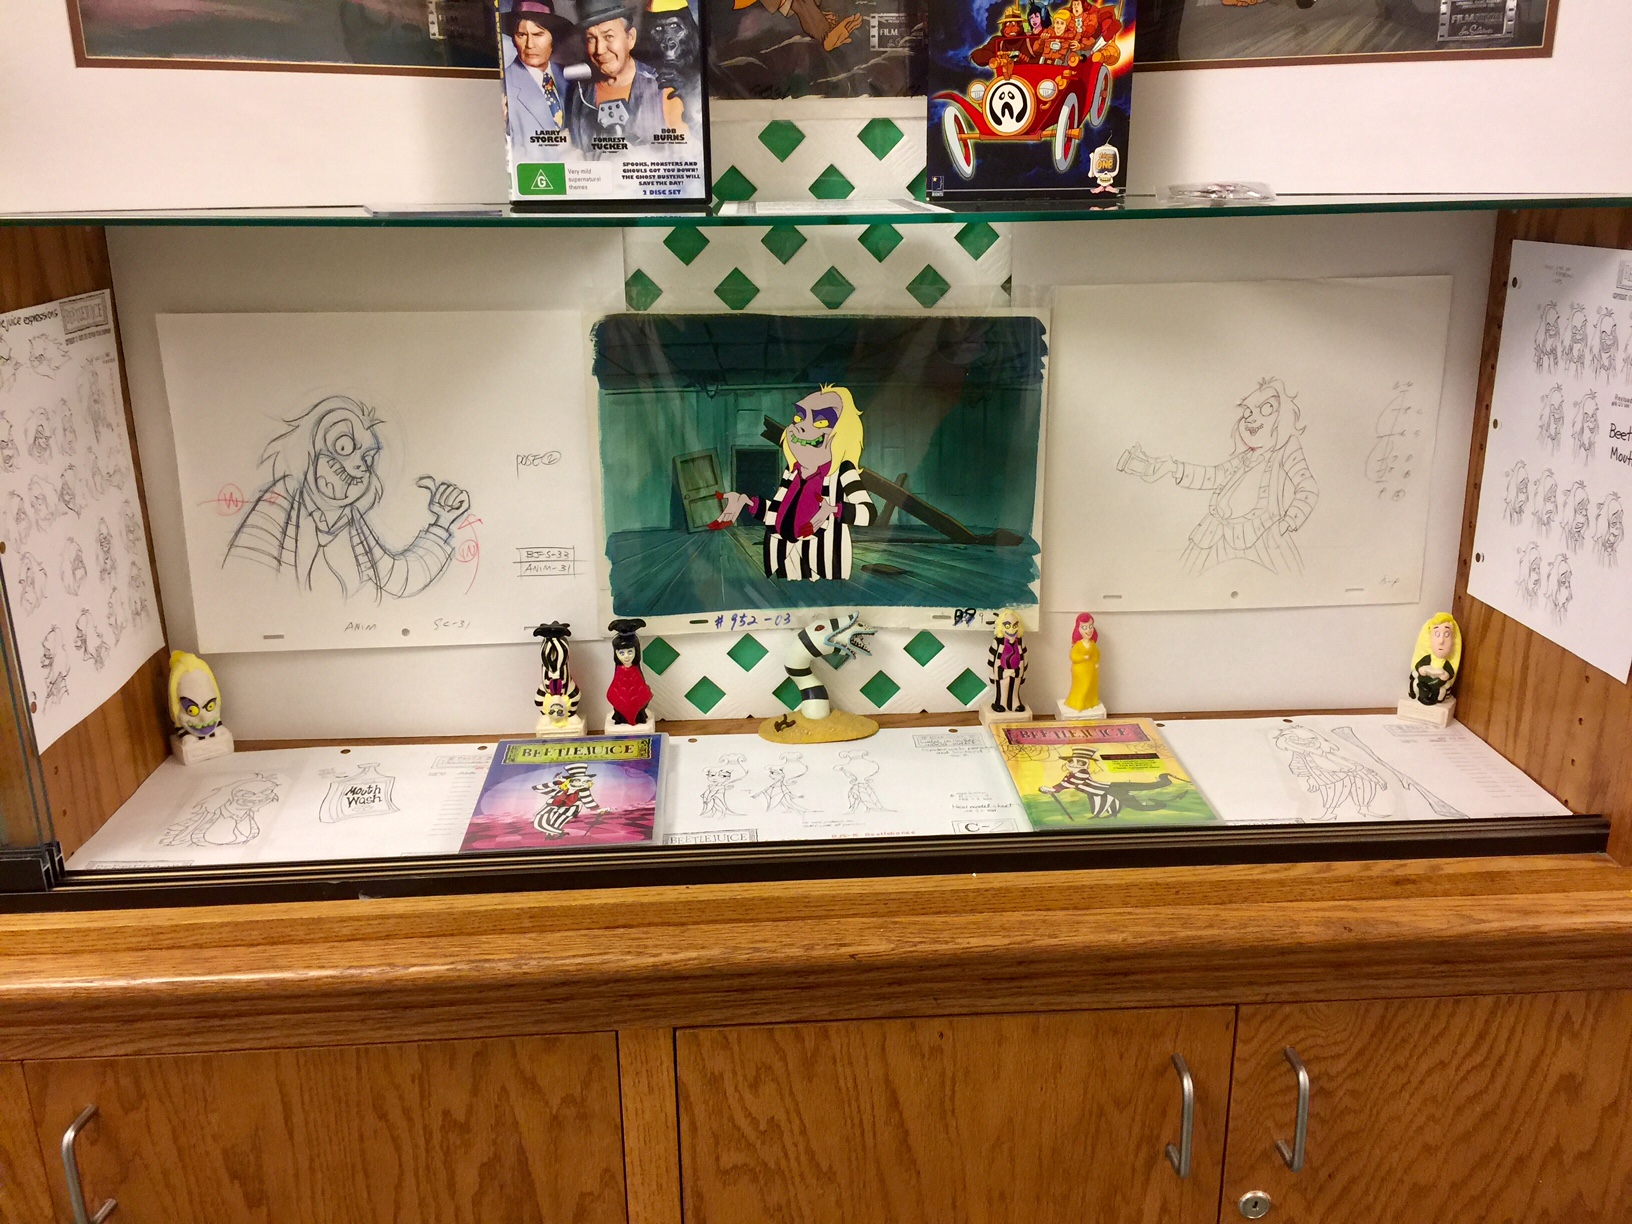
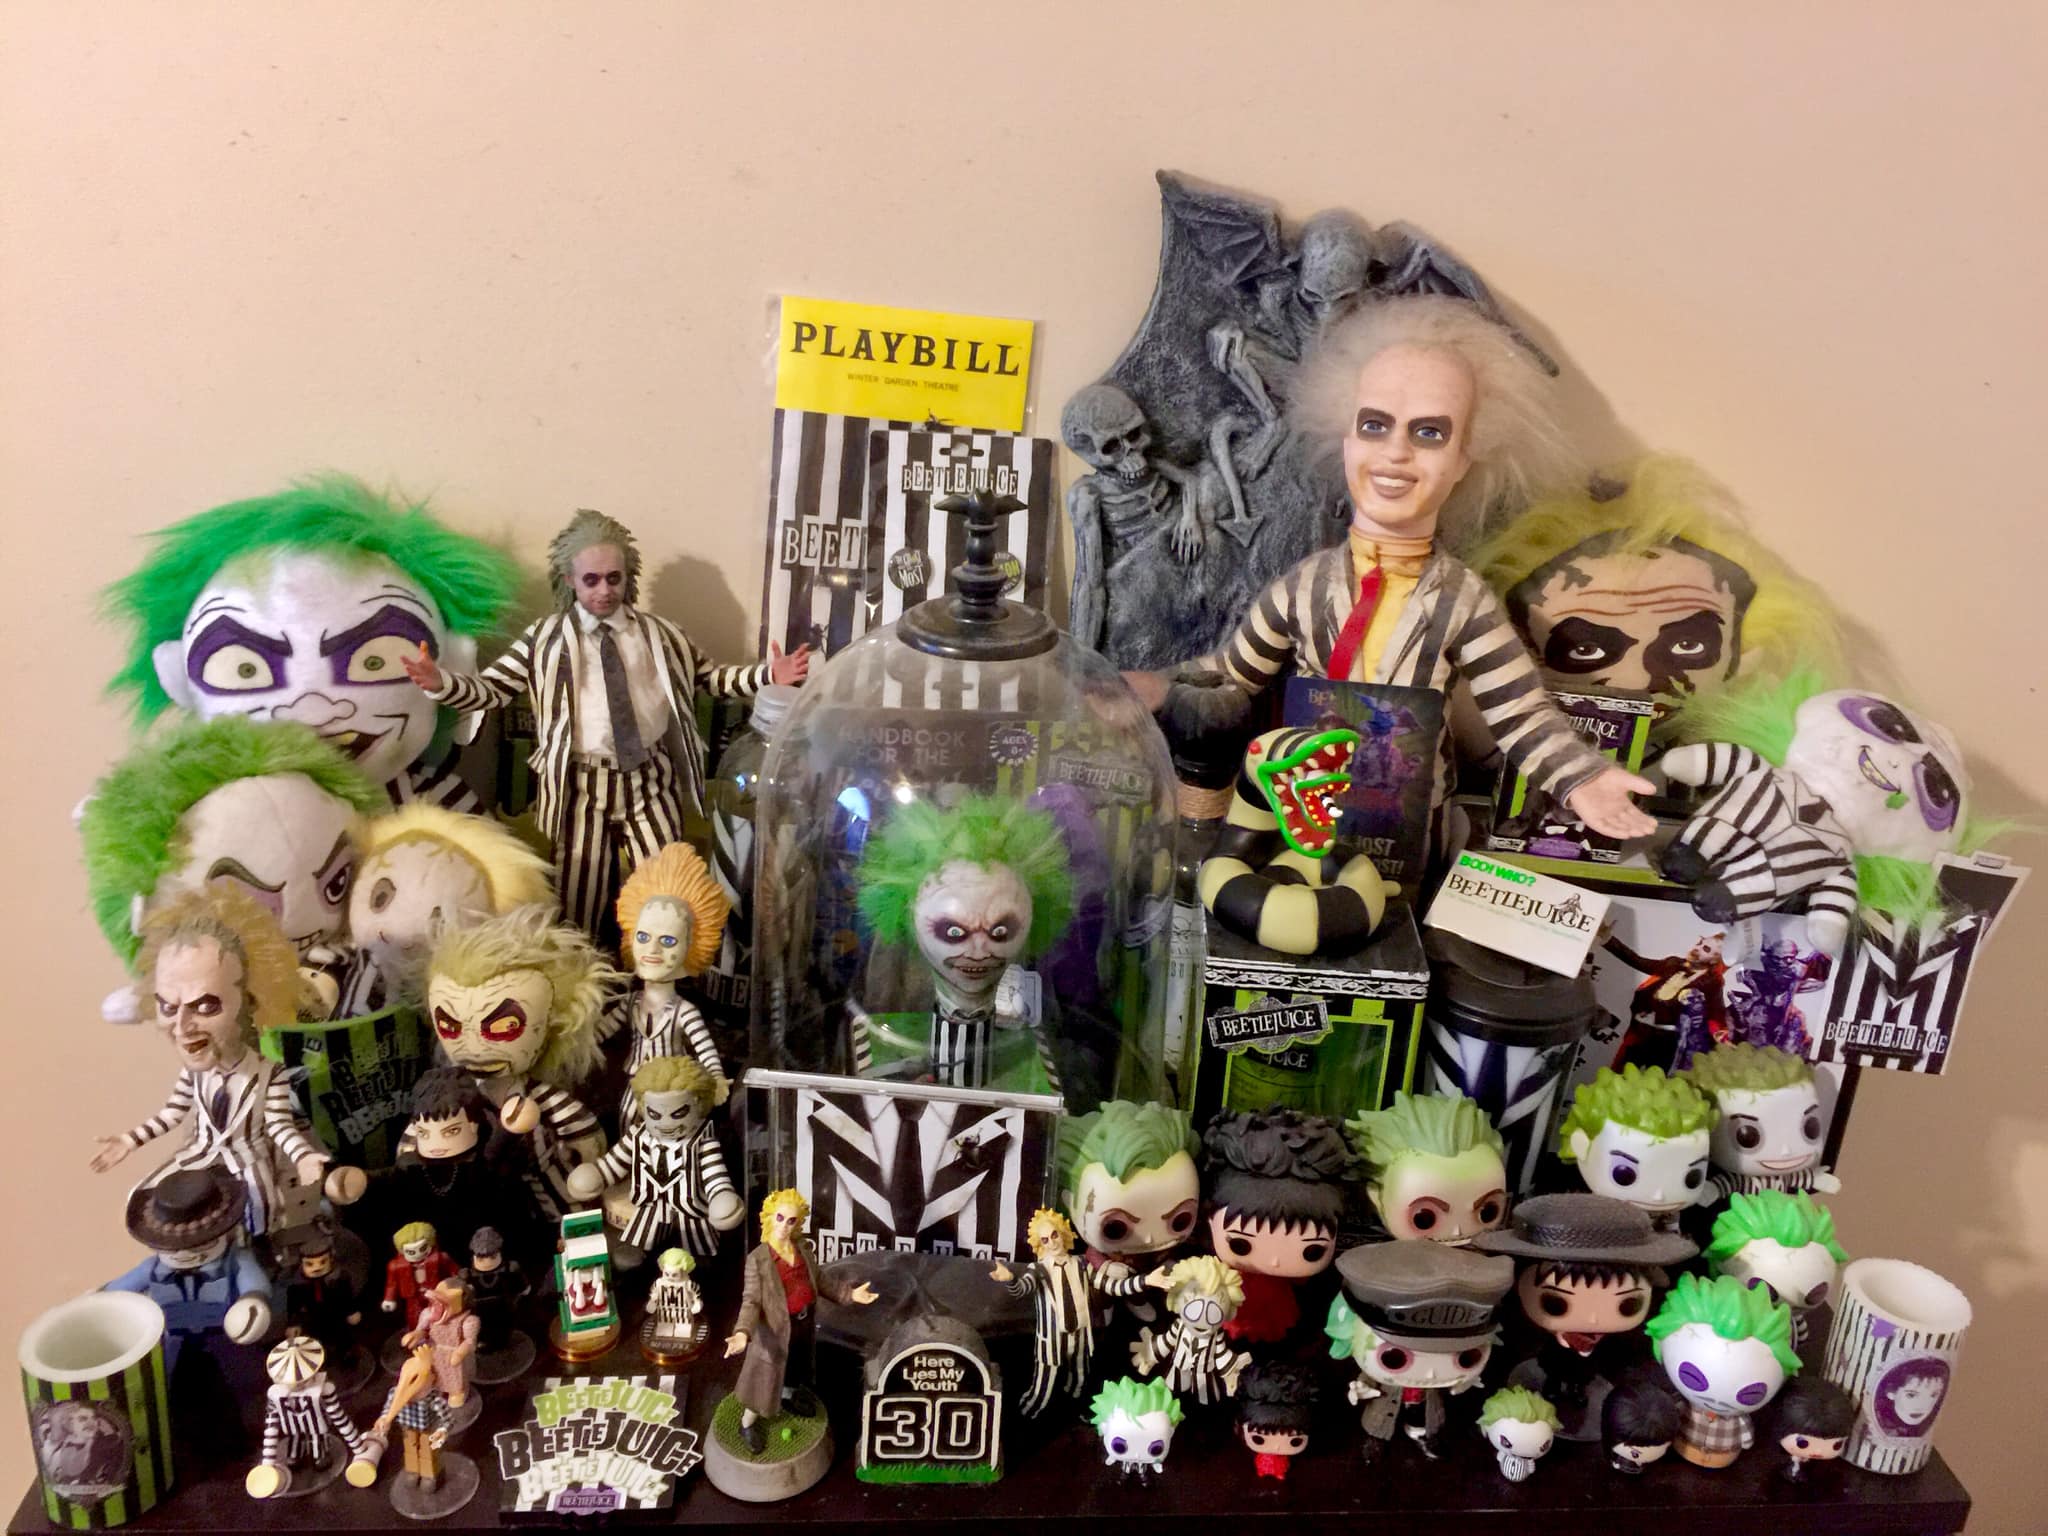
My first Beetlejuice item was the talking/spinning head doll (top right) and I’ve ben able to display a lot of my collection at the Hernando Library a few times now. (The bottom pic is the part I can actually fit/display at home.)
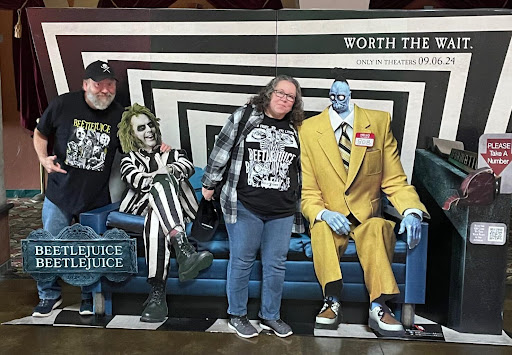
You can listen to mine and Nicki’s review of “Beetlejuice Beetlejuice” on Episode 67 of the “Drawing Funny” podcast.
Don’t forget I’ll be set up again this year at the Memphis Comic Expo/DonnieCon on September 13th & 14th, and at the MSCA table for the Memphis Comic & Fantasy Con on November 1st– aka “The Day of the Dead!”
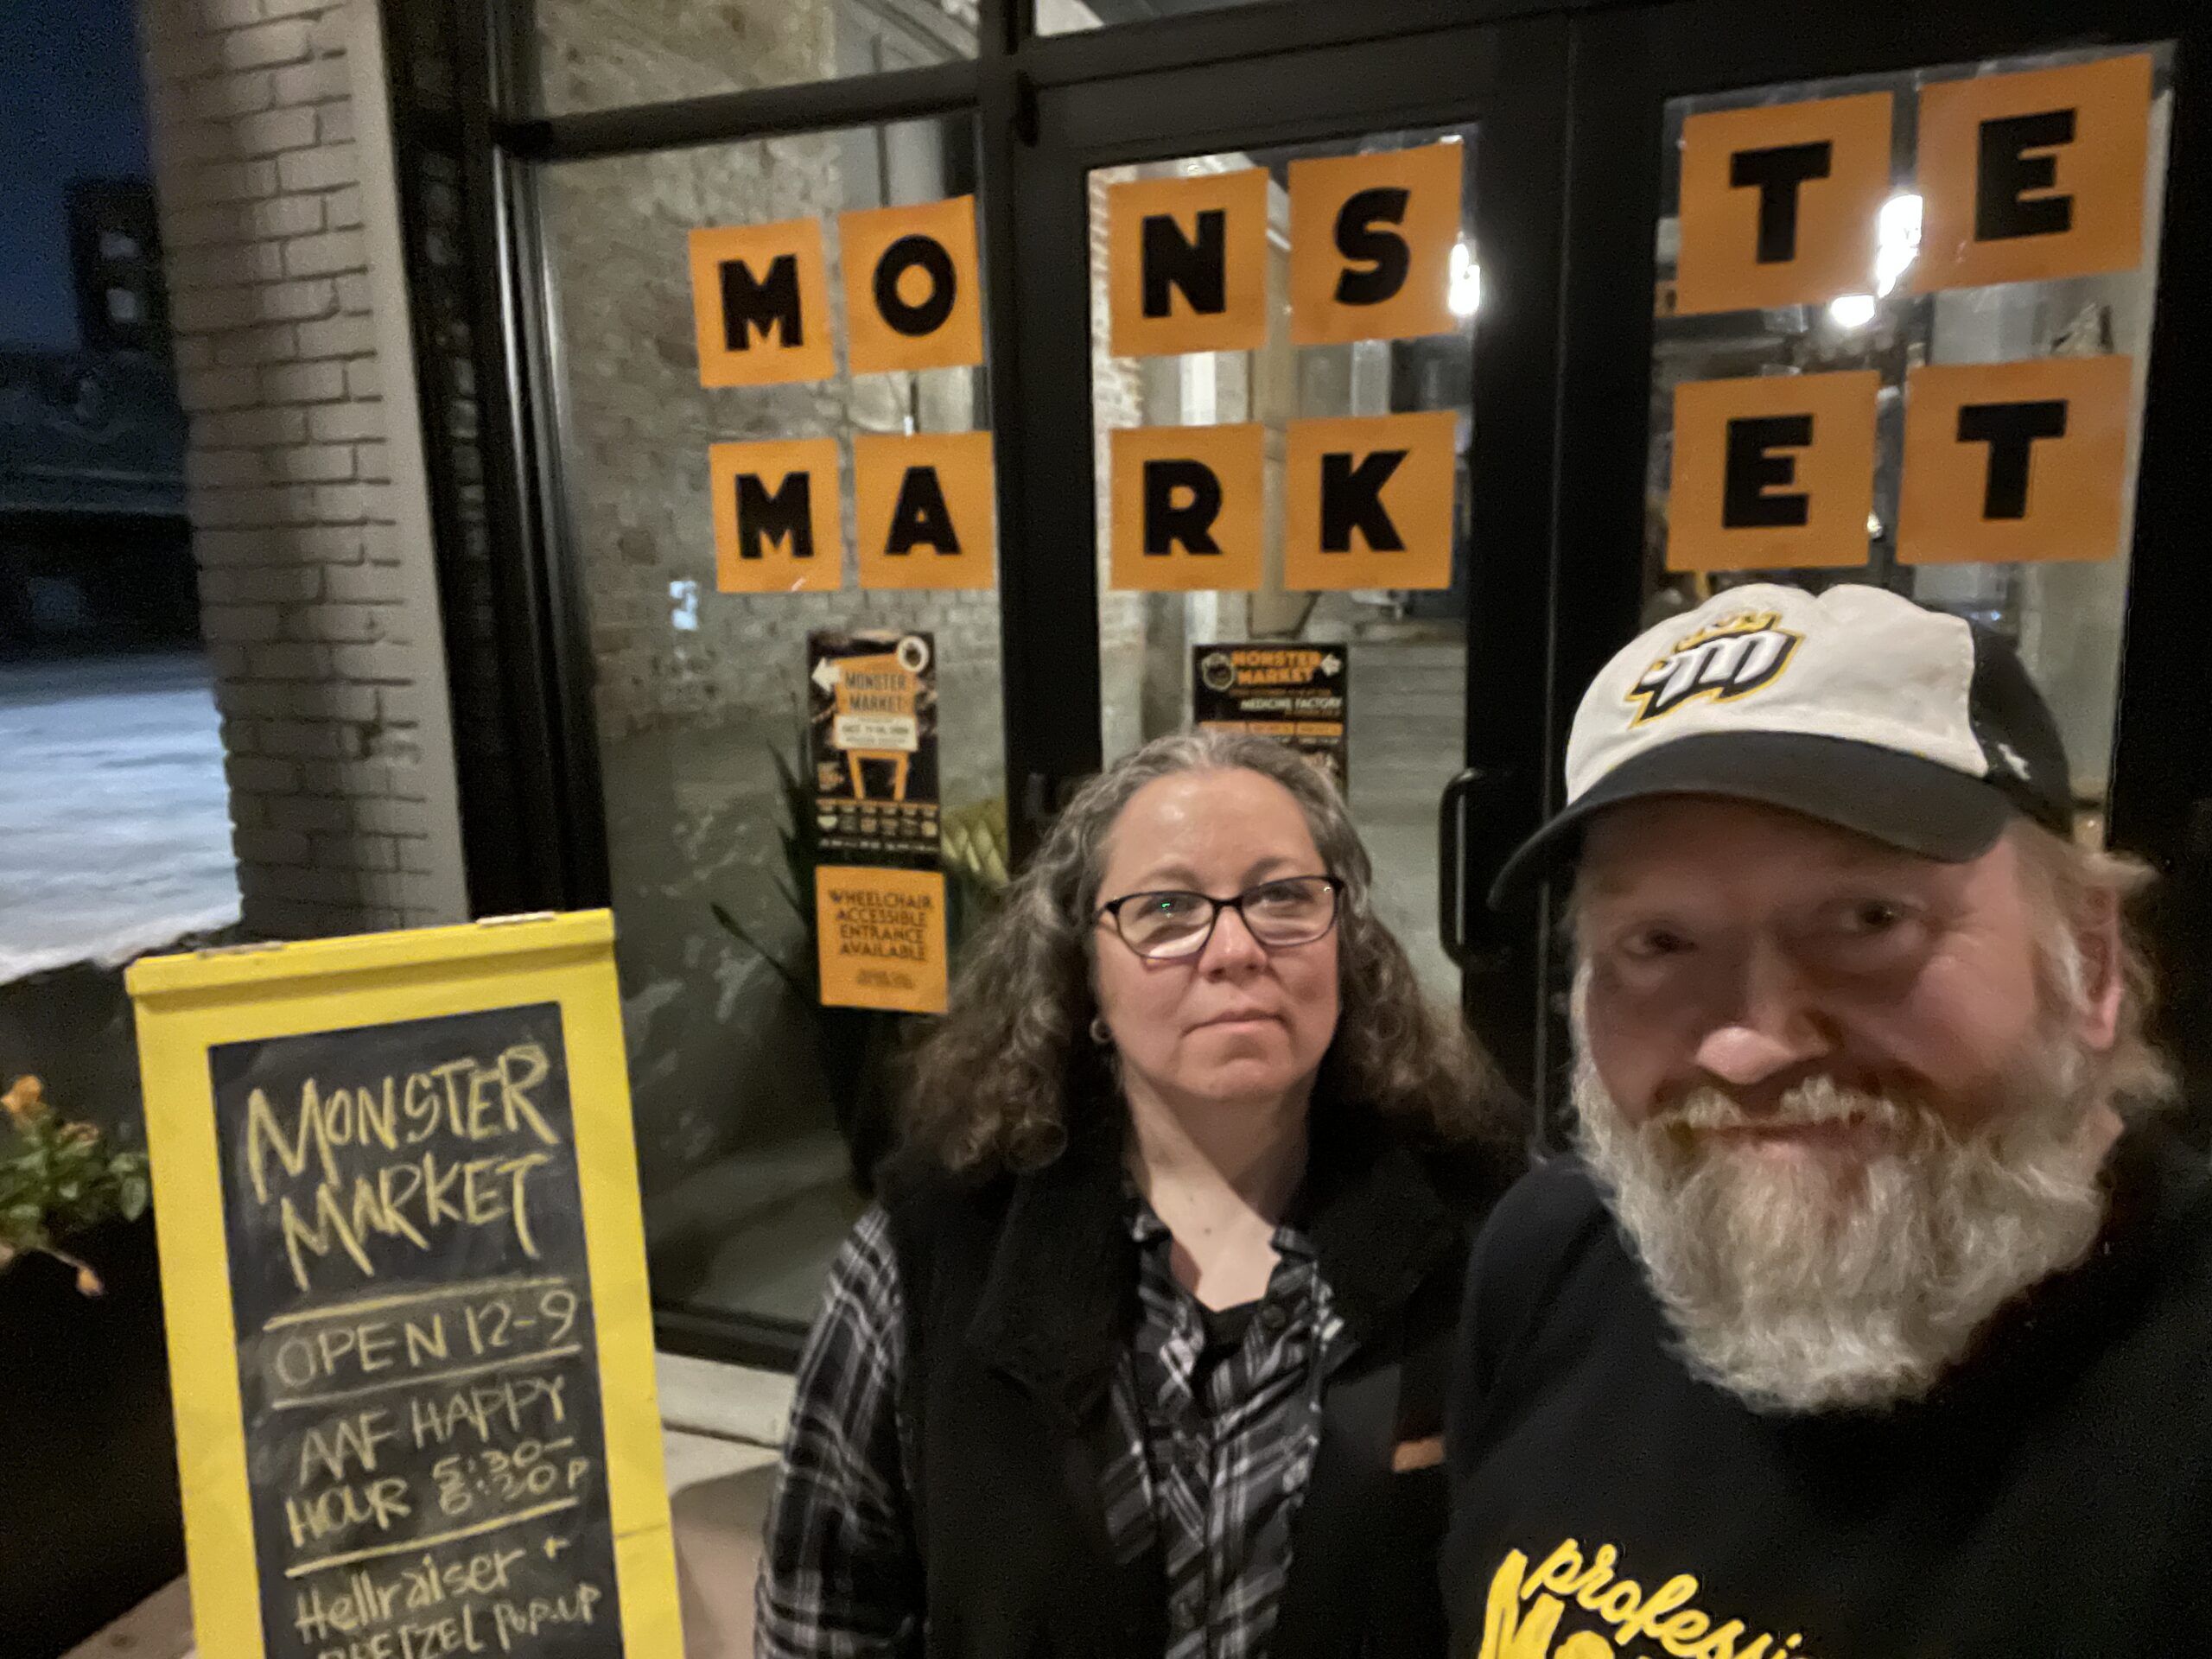
And of course I’ll have plenty of my monsterpieces (like these one of a kind and exclusive wood panel paintings) at the Monster Market Halloween pop-up shop in October. Loads of great sci-fi and monster merch to be had there. You can see pics from last year’s Monster Market HERE.

Monster Market 2025
October 10-16, 2025
The Medicine Factory
85 Virginia Ave W
Memphis, Tennessee (downtown)
Opening Night Party
Friday, October 10, 2025
5:00PM-10:00PM
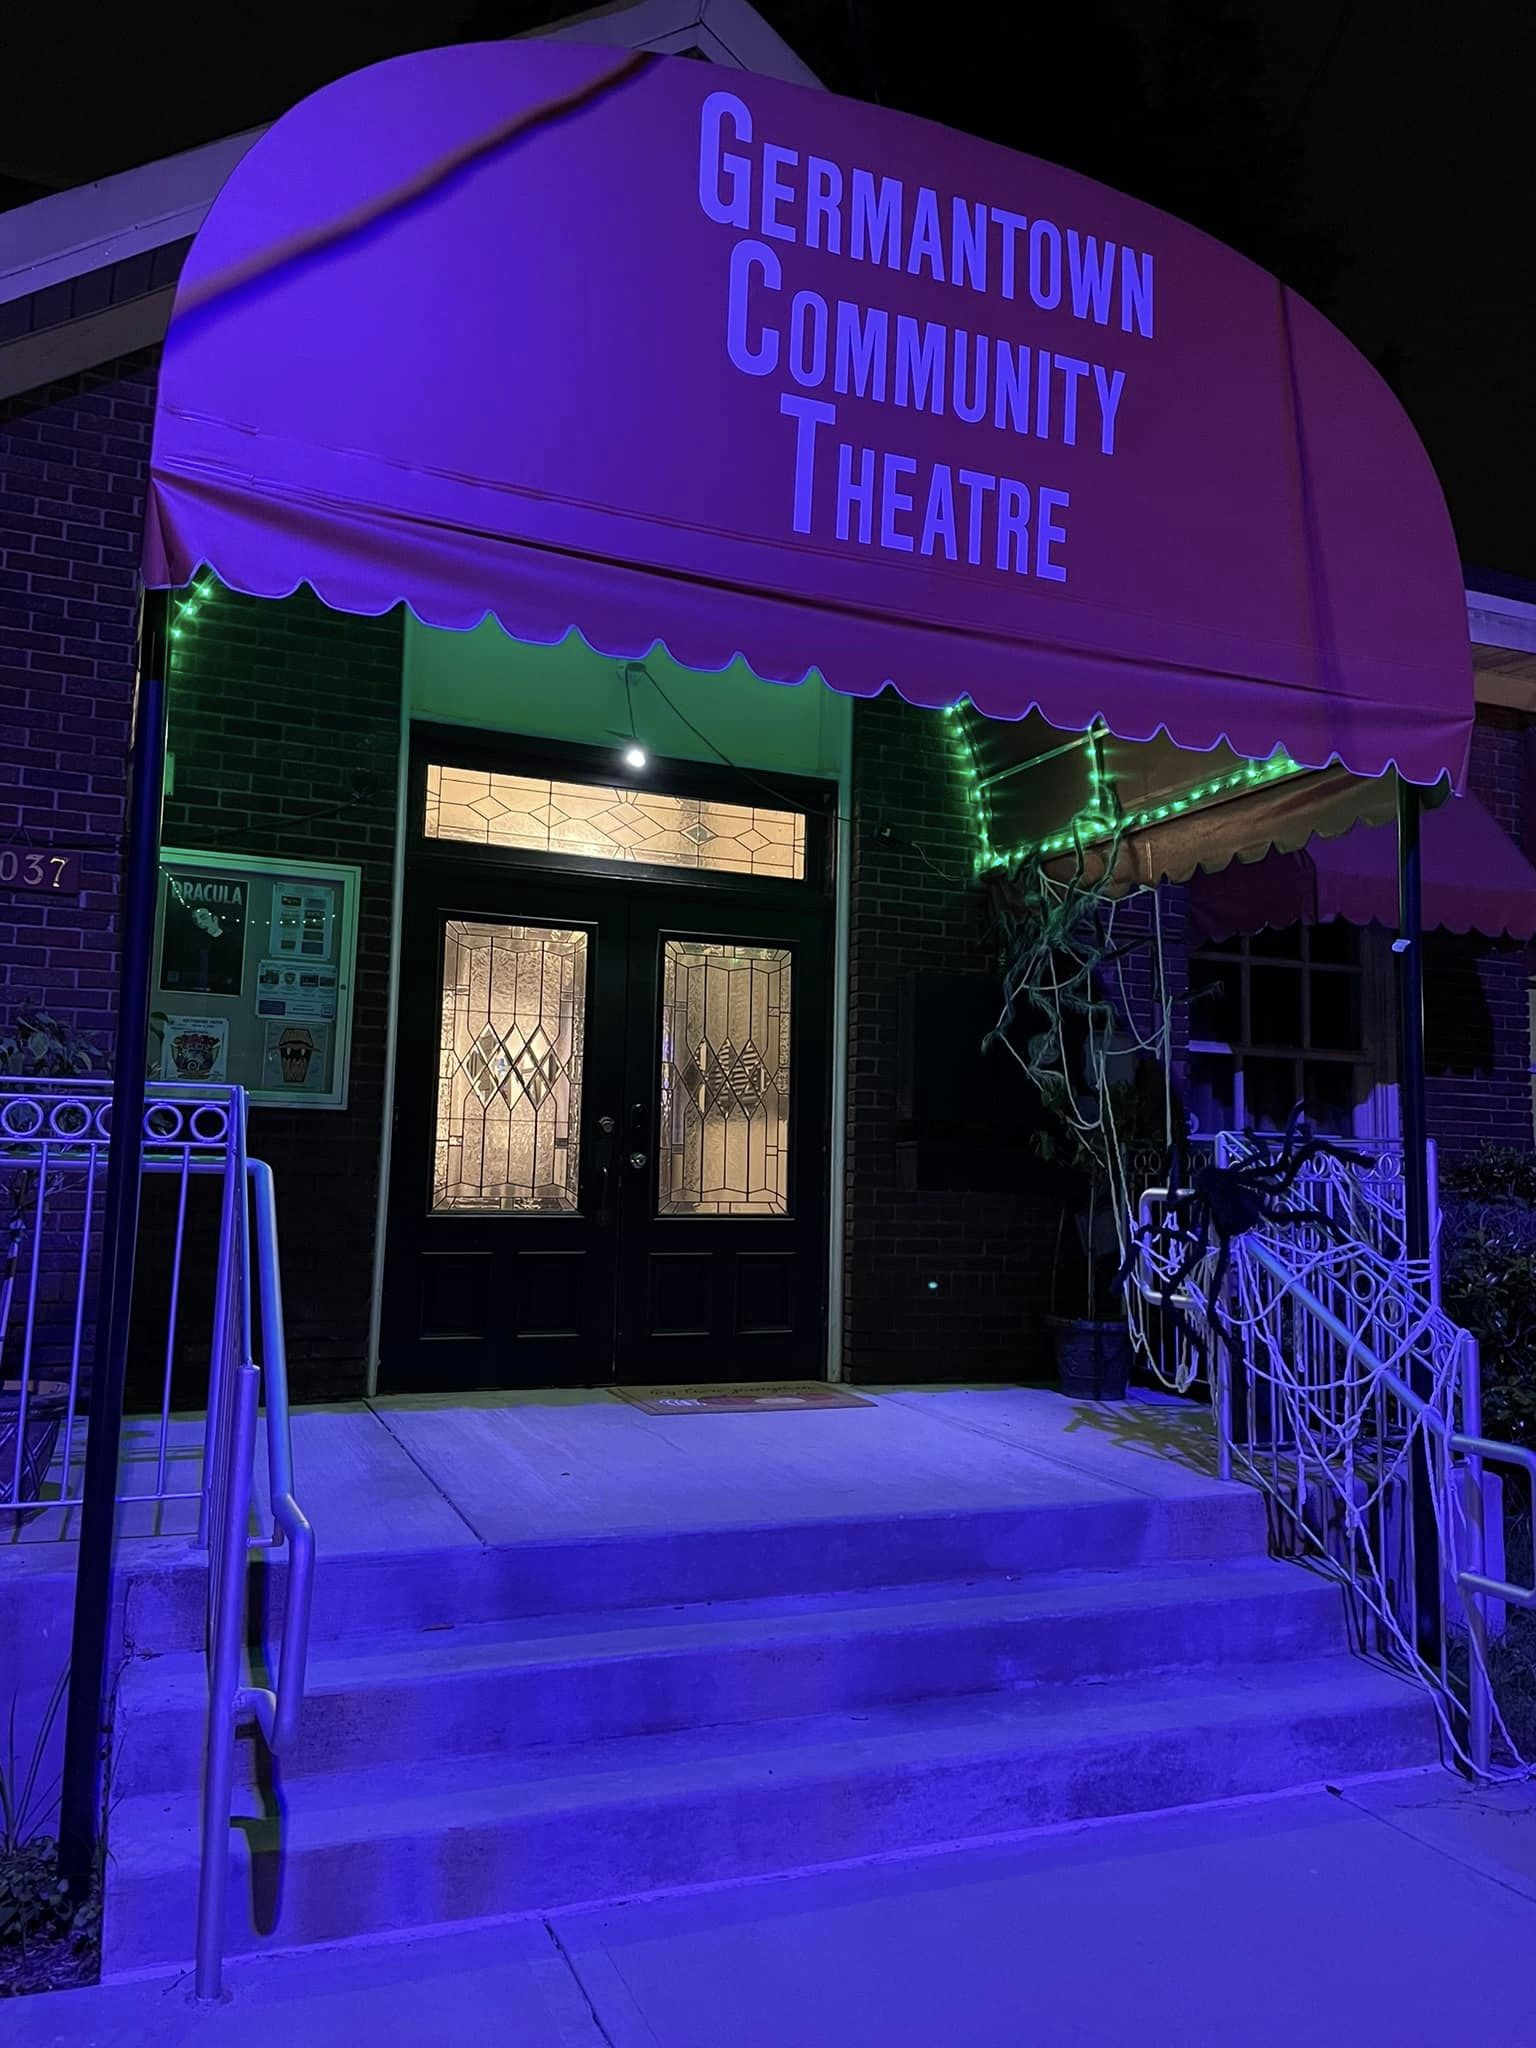
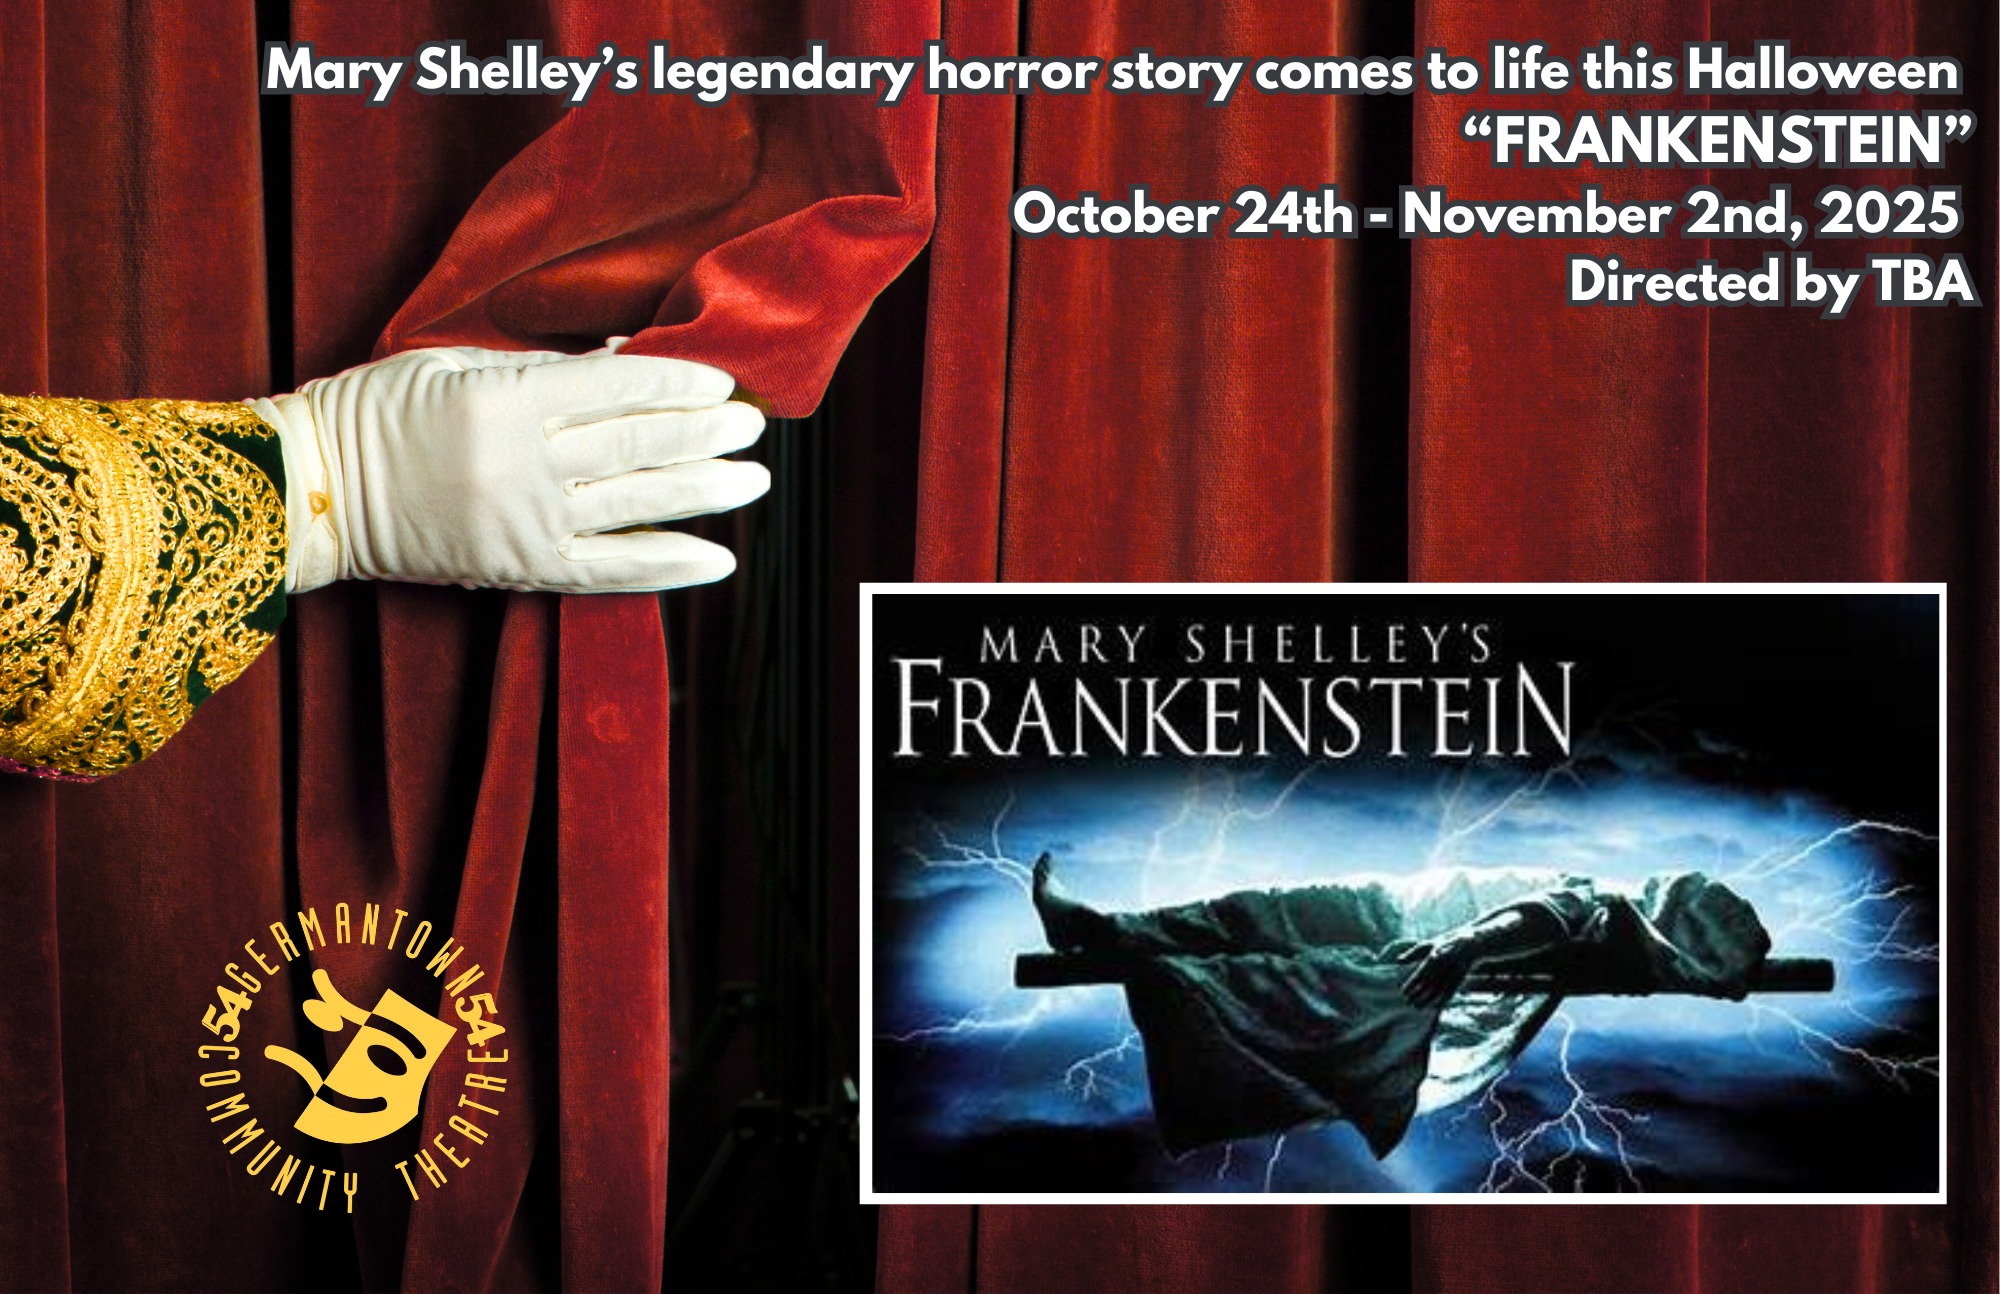
Oh, a Halloween heads-up, towards the end of October on the week before Halloween and through the I’ll be part of another horror themed art show with the MSCA out at Germantown Community Theatre. It will runs alongside the GCT’s presentation of Mary Shelley’s Frankenstein, performances from October 24th-November 2nd.
Hope to scare ya there..!
Lin