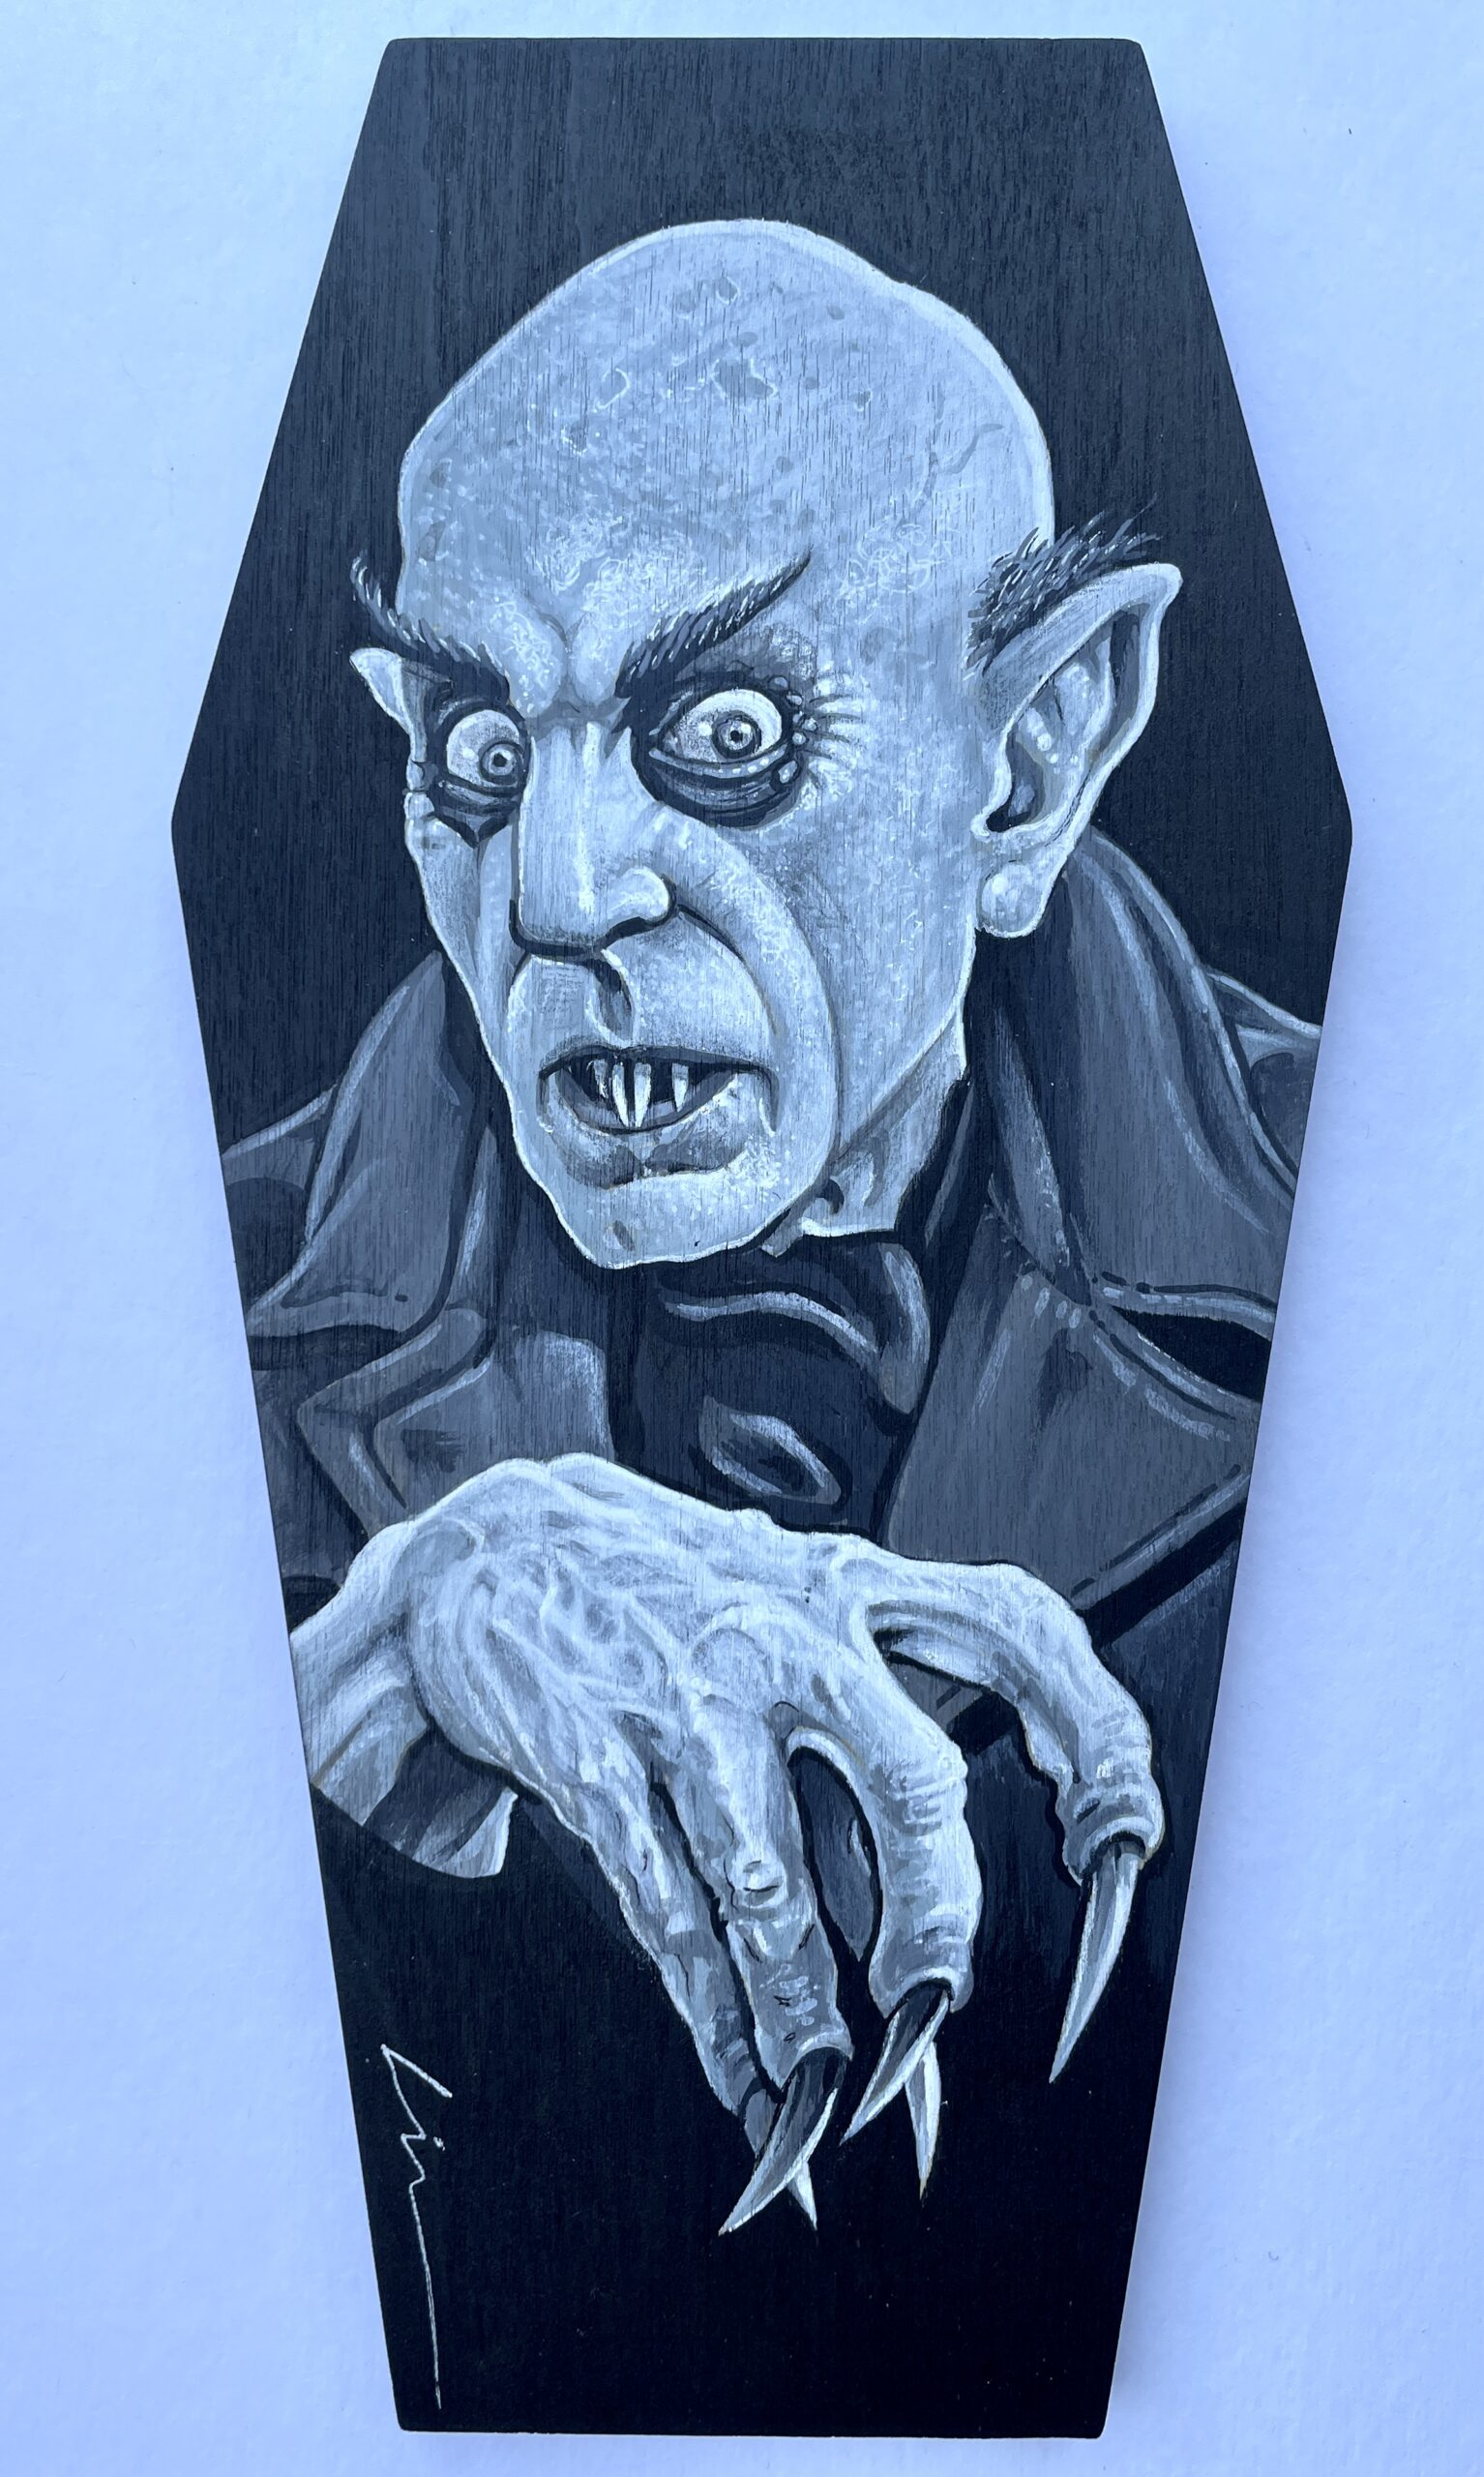
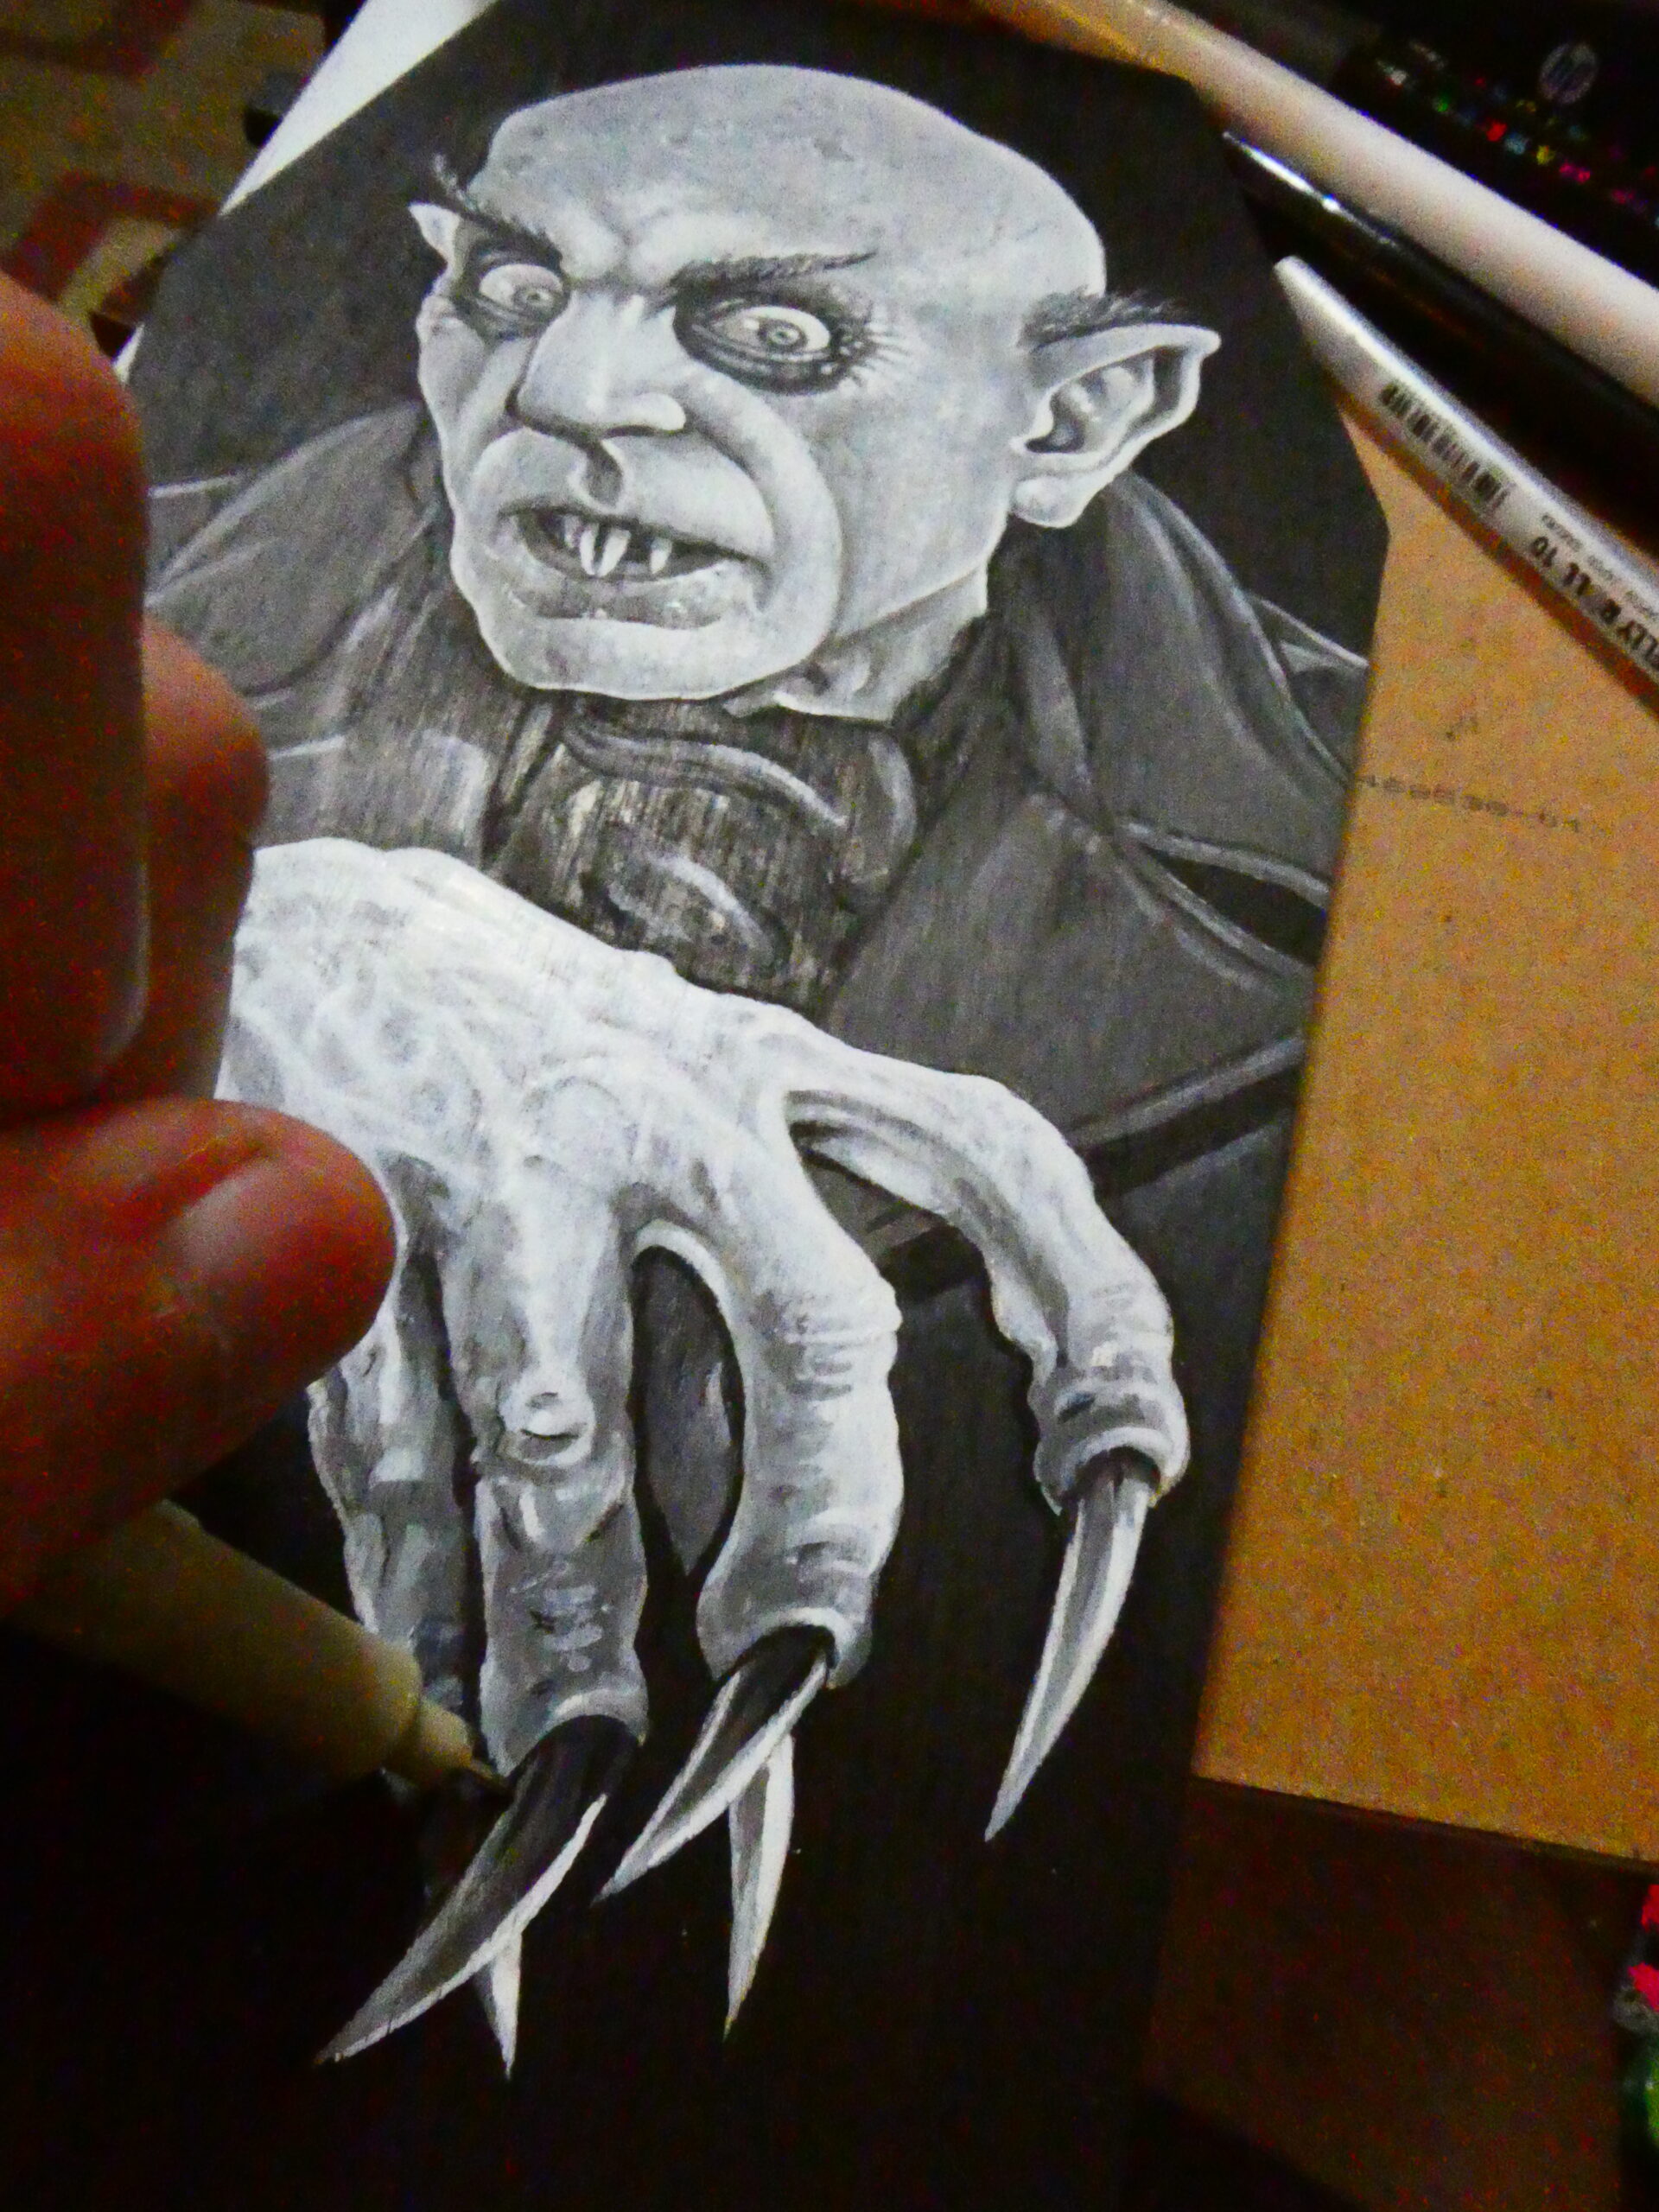
I finished another exclusive monsterpiece for this year’s Monster Market. This one is a Nosferatu portrait drawn on a wooden panel. I’ve painted on larger Masonite pieces for displays at my t-shirt shop and 3D pieces for haunted houses, but this was my first piece I’ve attempted to paint on a wood panel and with acrylic paint markers..!

I’ve seen one of my fellow Mid-South Cartoonists Association members, Katie Jones, paint on them at the MSCA monthly dinner gatherings and hang some at a few of our group art shows. I’ve been meaning to try one and experiment and I finally did. I can honestly say it was a lot of fun AND a pain in the butt at the same time!
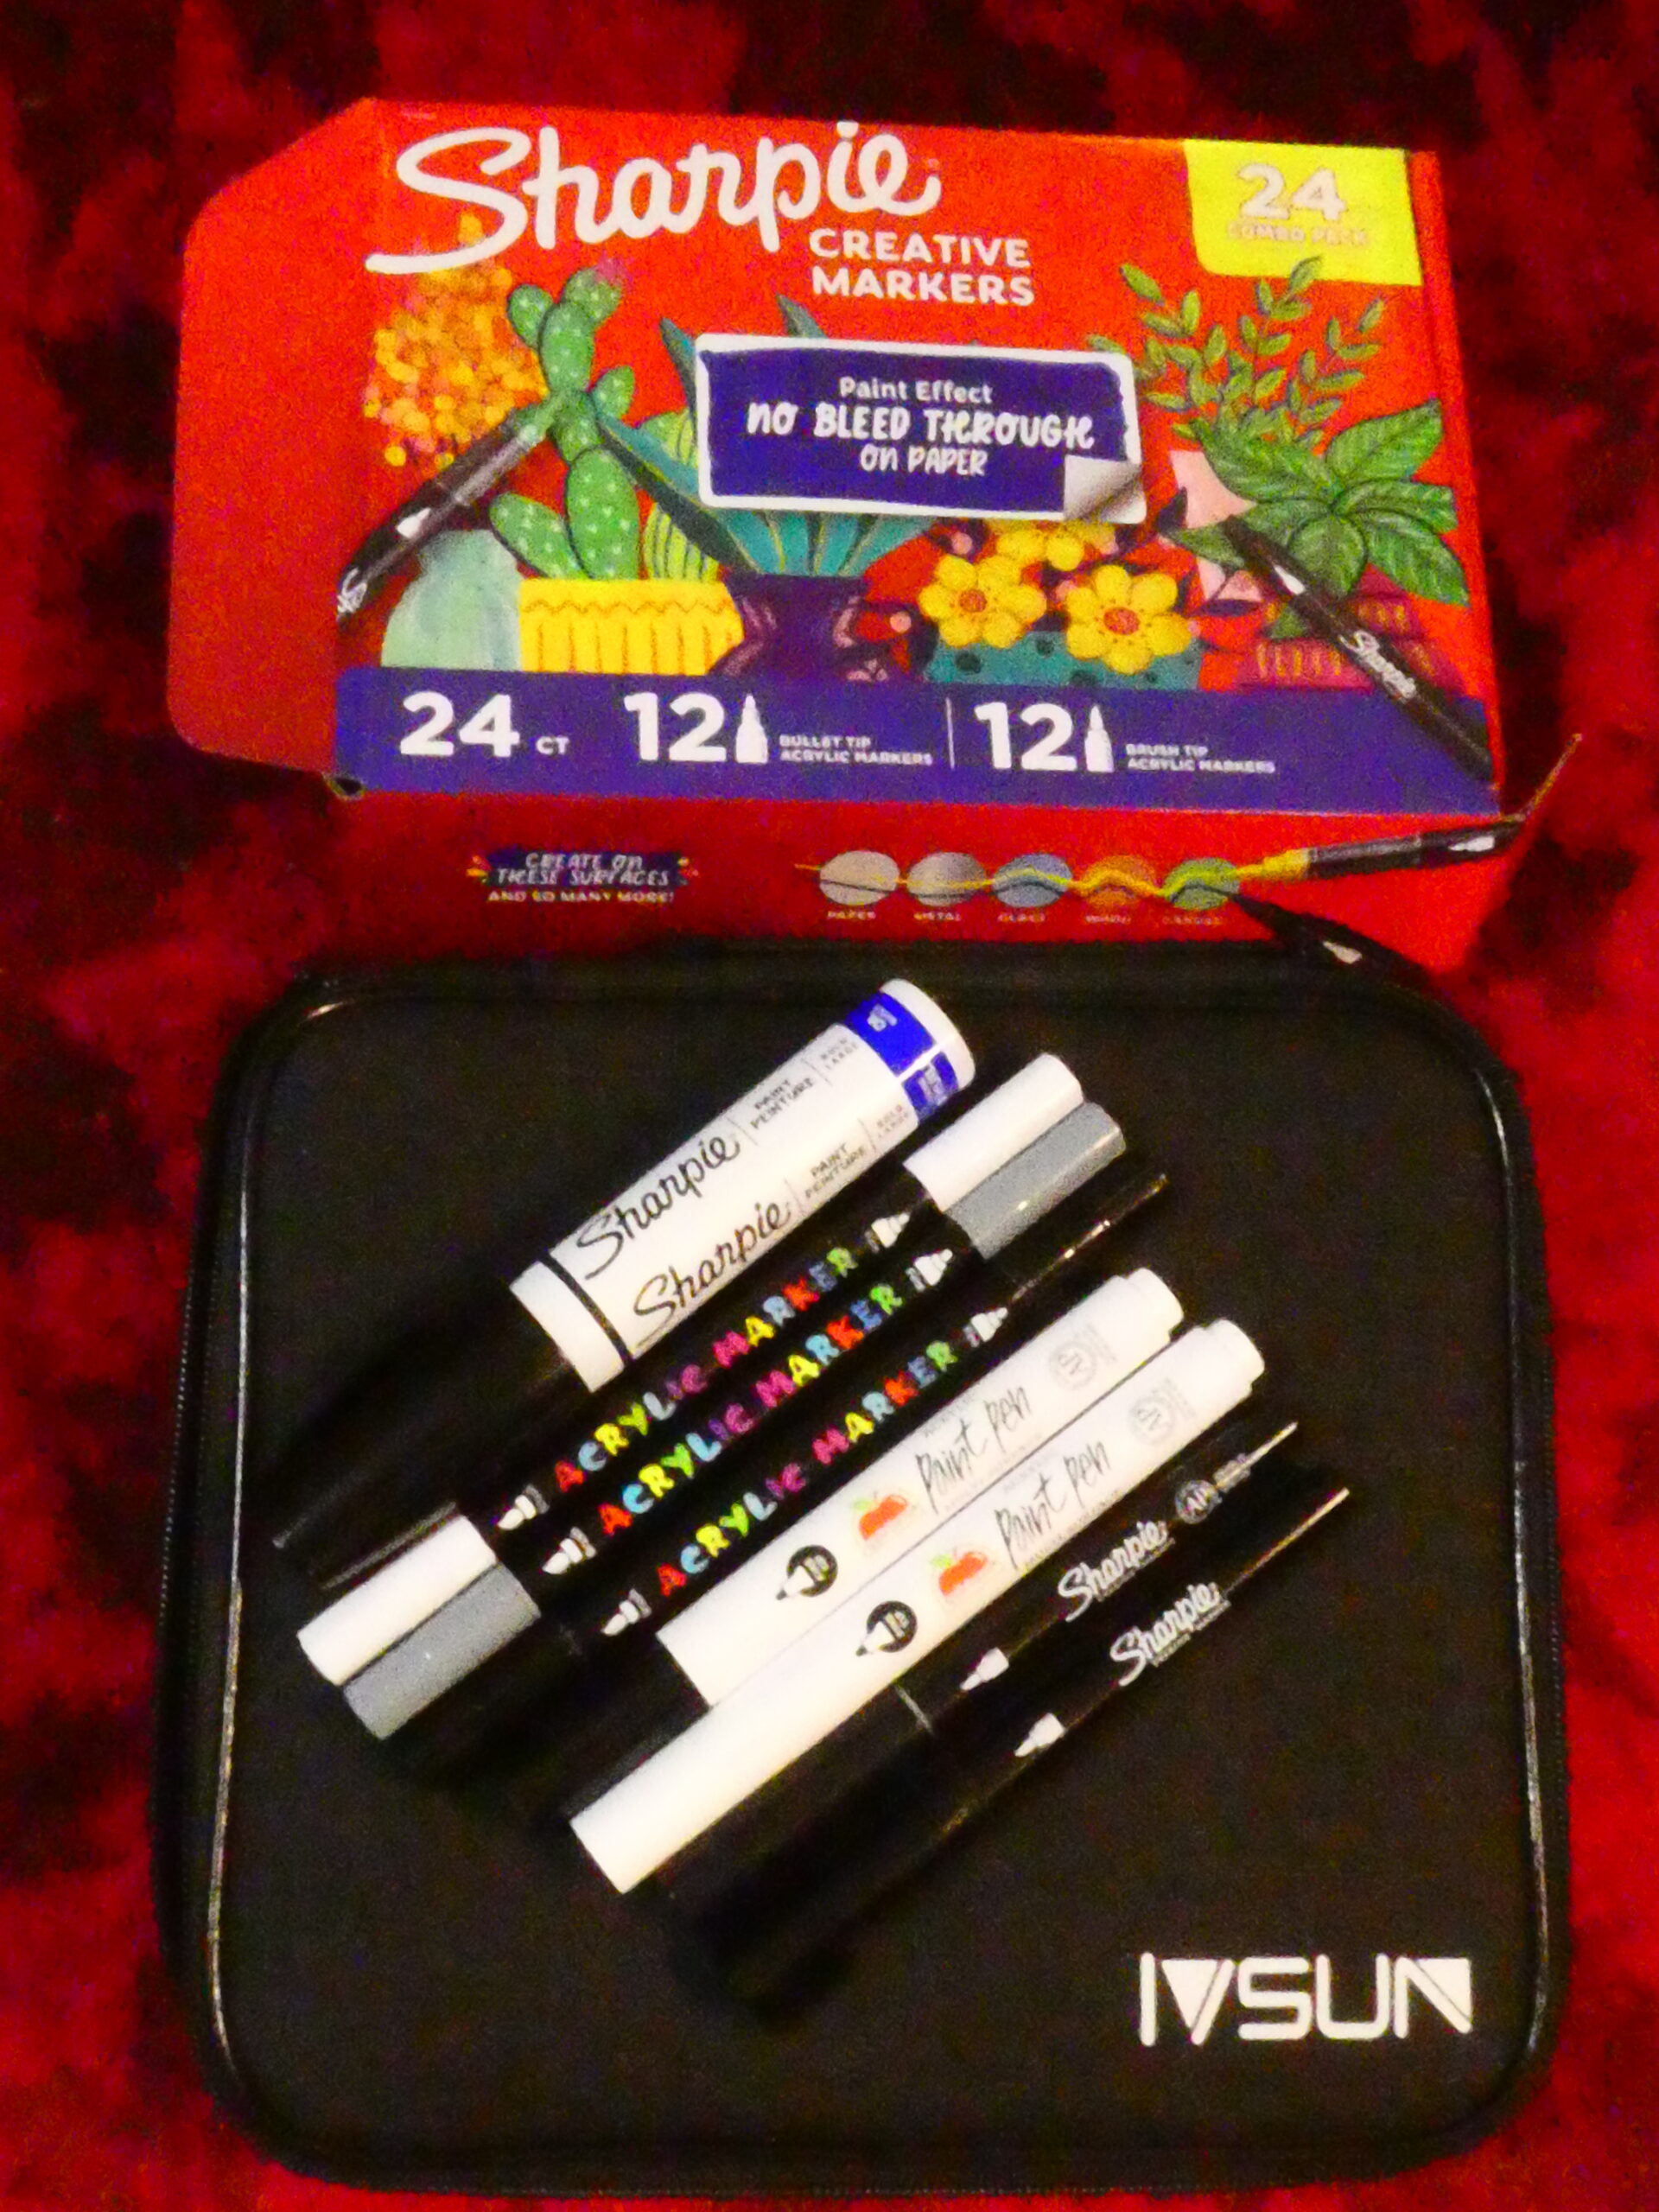
It definitely took some getting used to. The wood has a slight “tooth” to it due to the fine wood grain, and I think it actually gives it a slight weathered/aged look. The acrylic paint pens are more opaque than what I’m used to with Copic markers. I used some acrylic Sharpie Creative Markers, Sharpie oil based paint marker, Apple Barrel acrylic pain pens, and IVSUN acrylic markers.
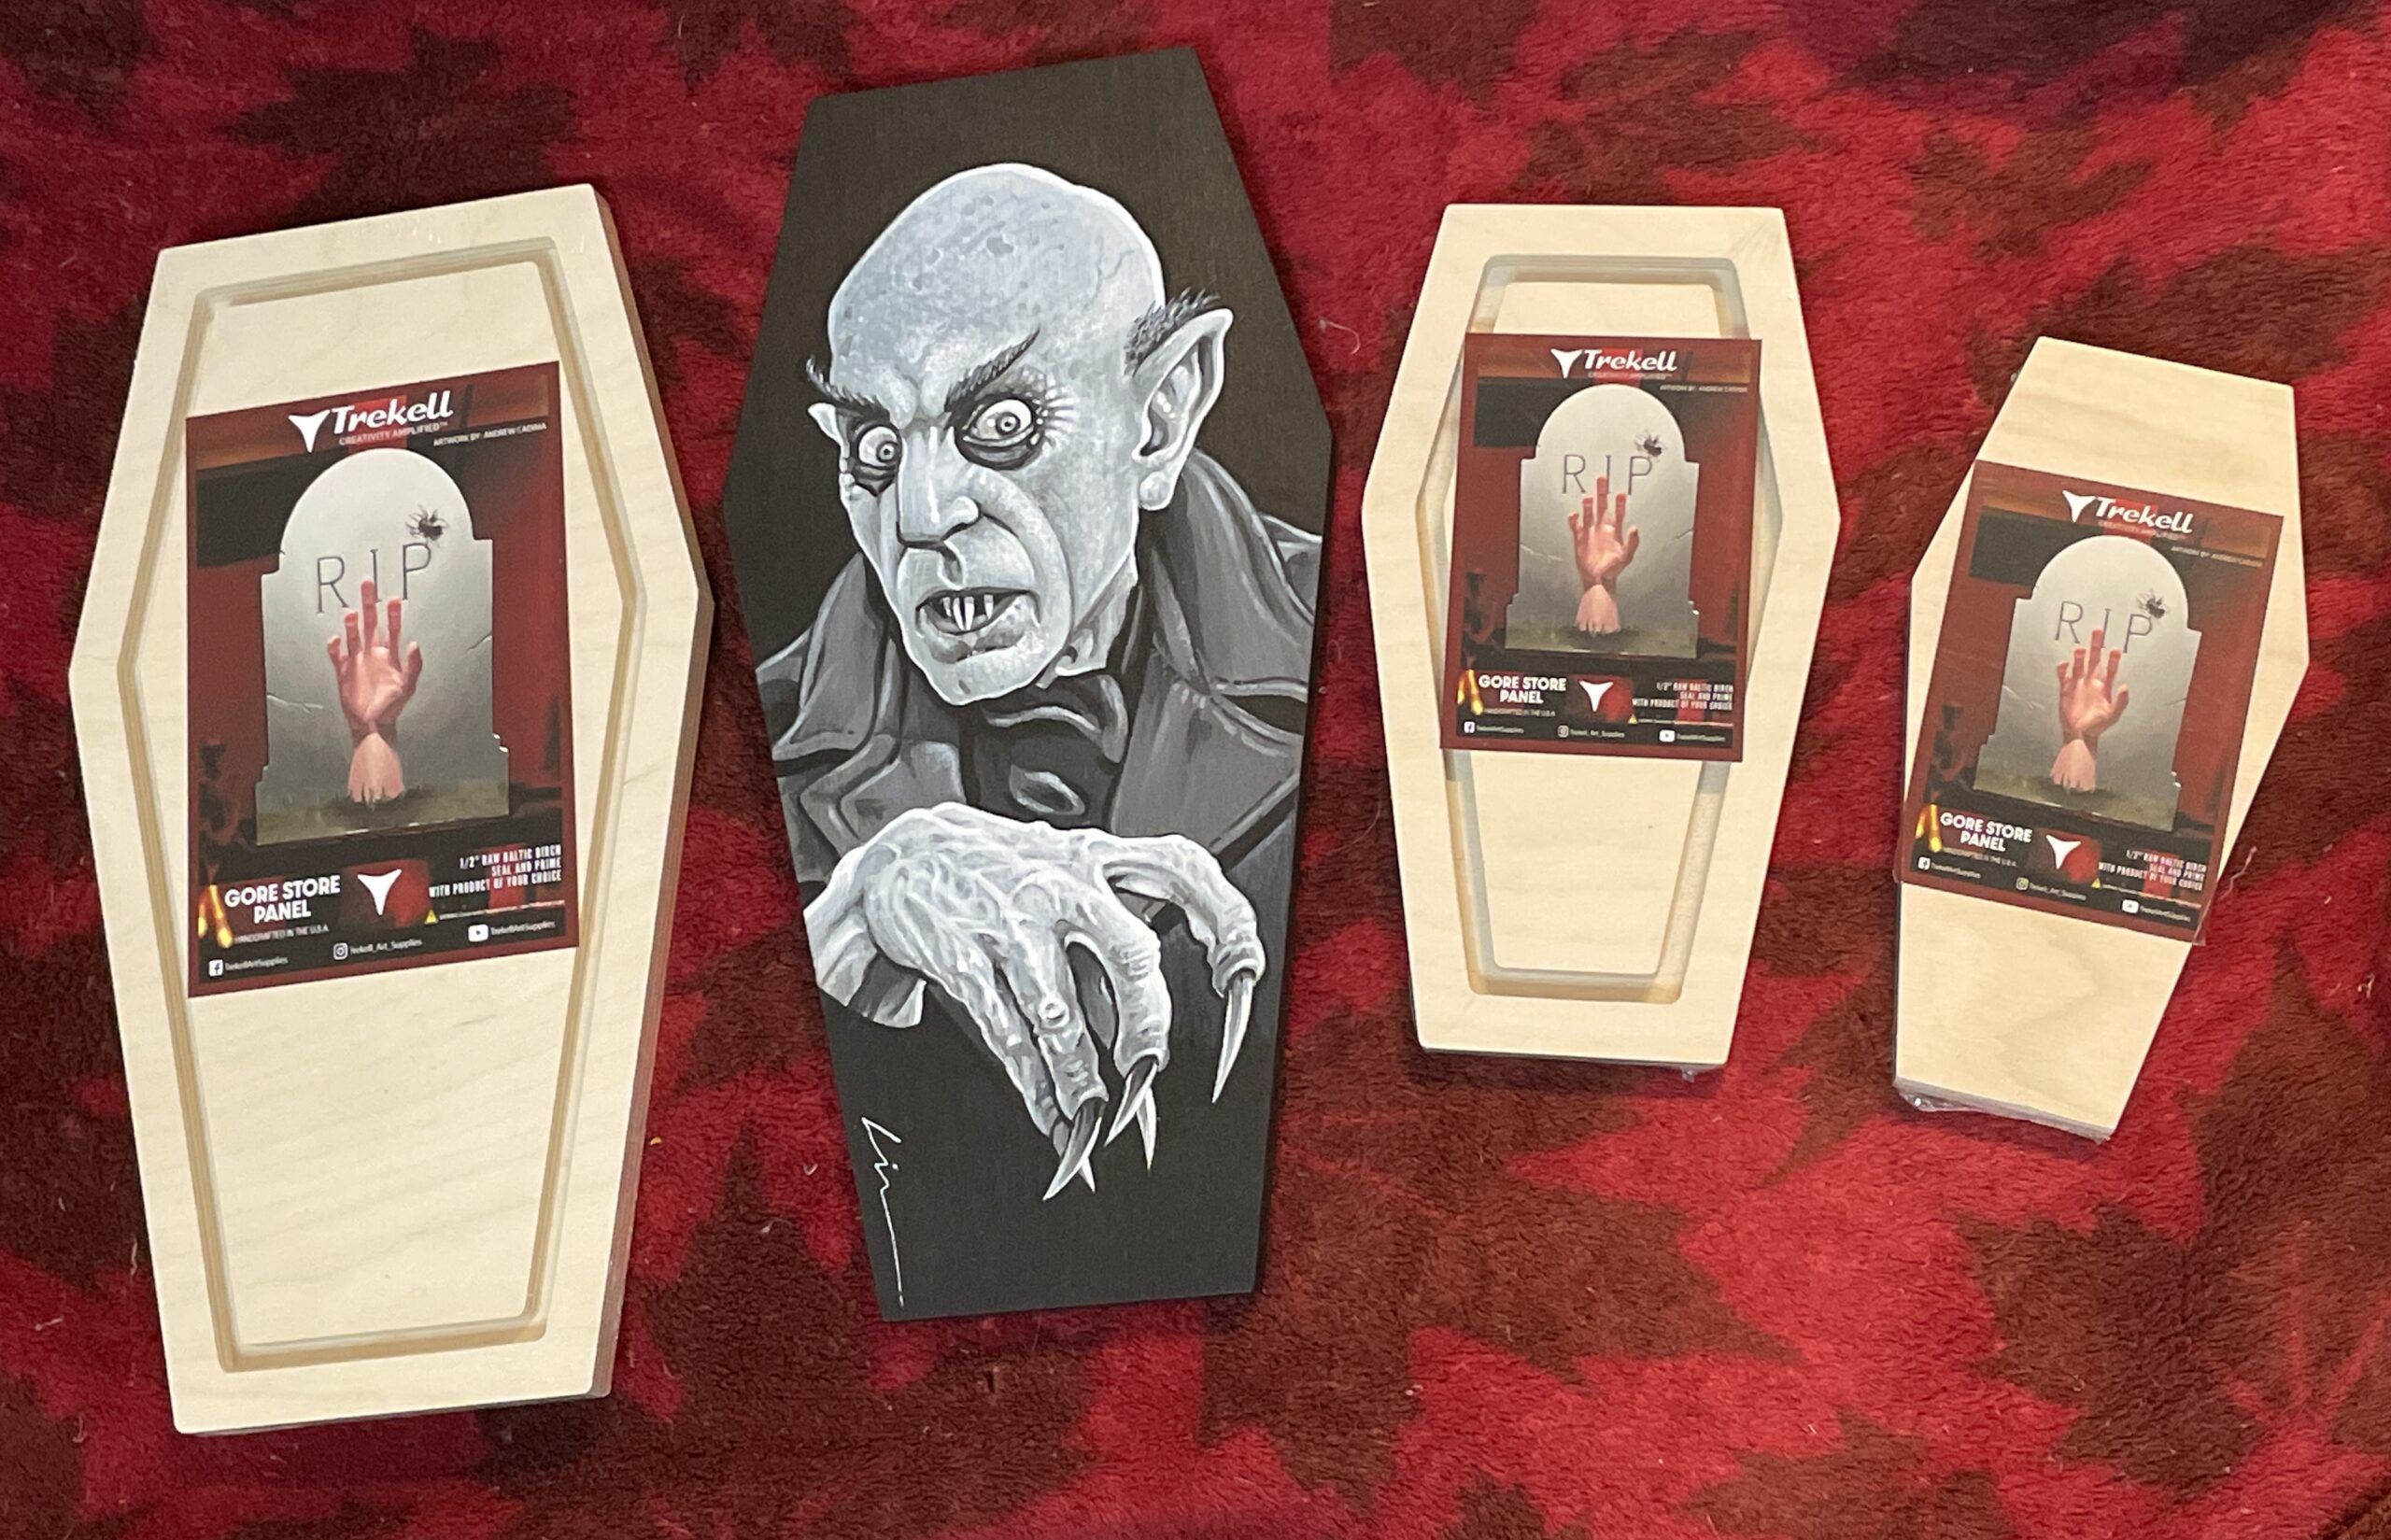
I found the wood panels online from Trekell. I loved the coffin panels so I bought a few different ones (this one is 6″x12″). They have a pre-drilled hole on the back for hanging. You can gesso and paint on them with other mediums such as oils and acrylics. Check out their Facebook page for some demos. I’d asked Katie if she primes her wood panels and she said she didn’t- just goes straight on them with the paint markers.
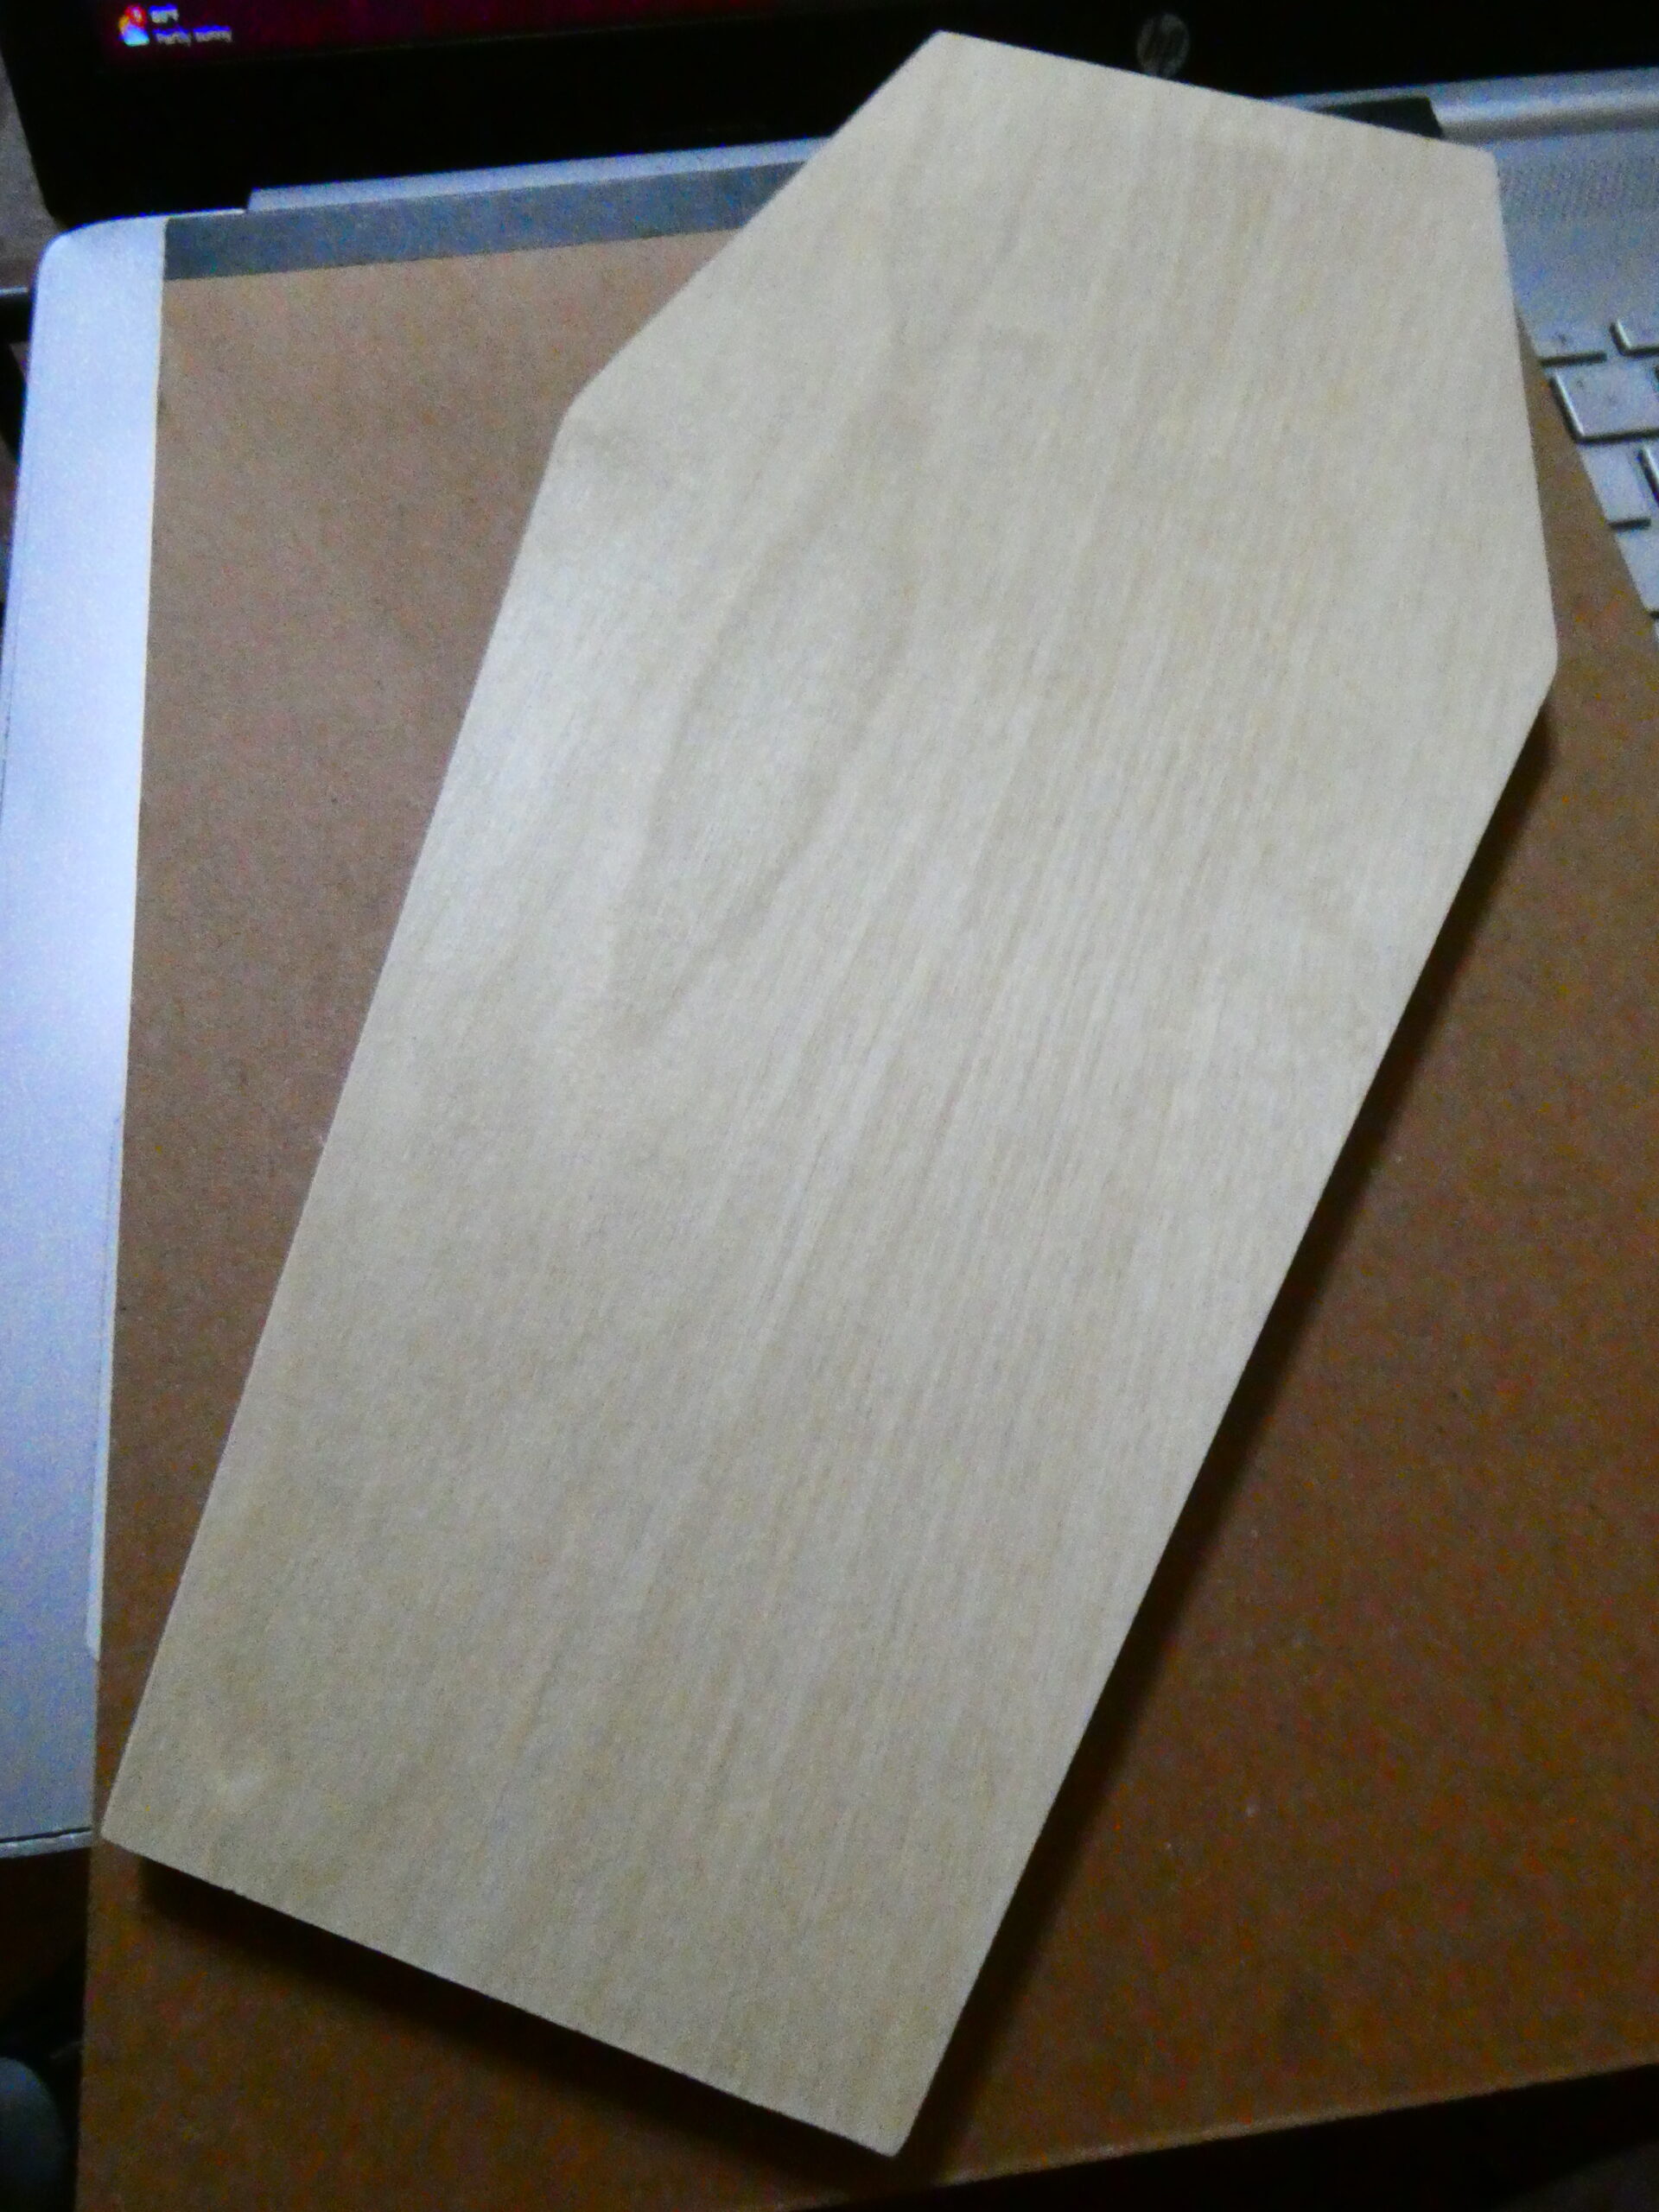
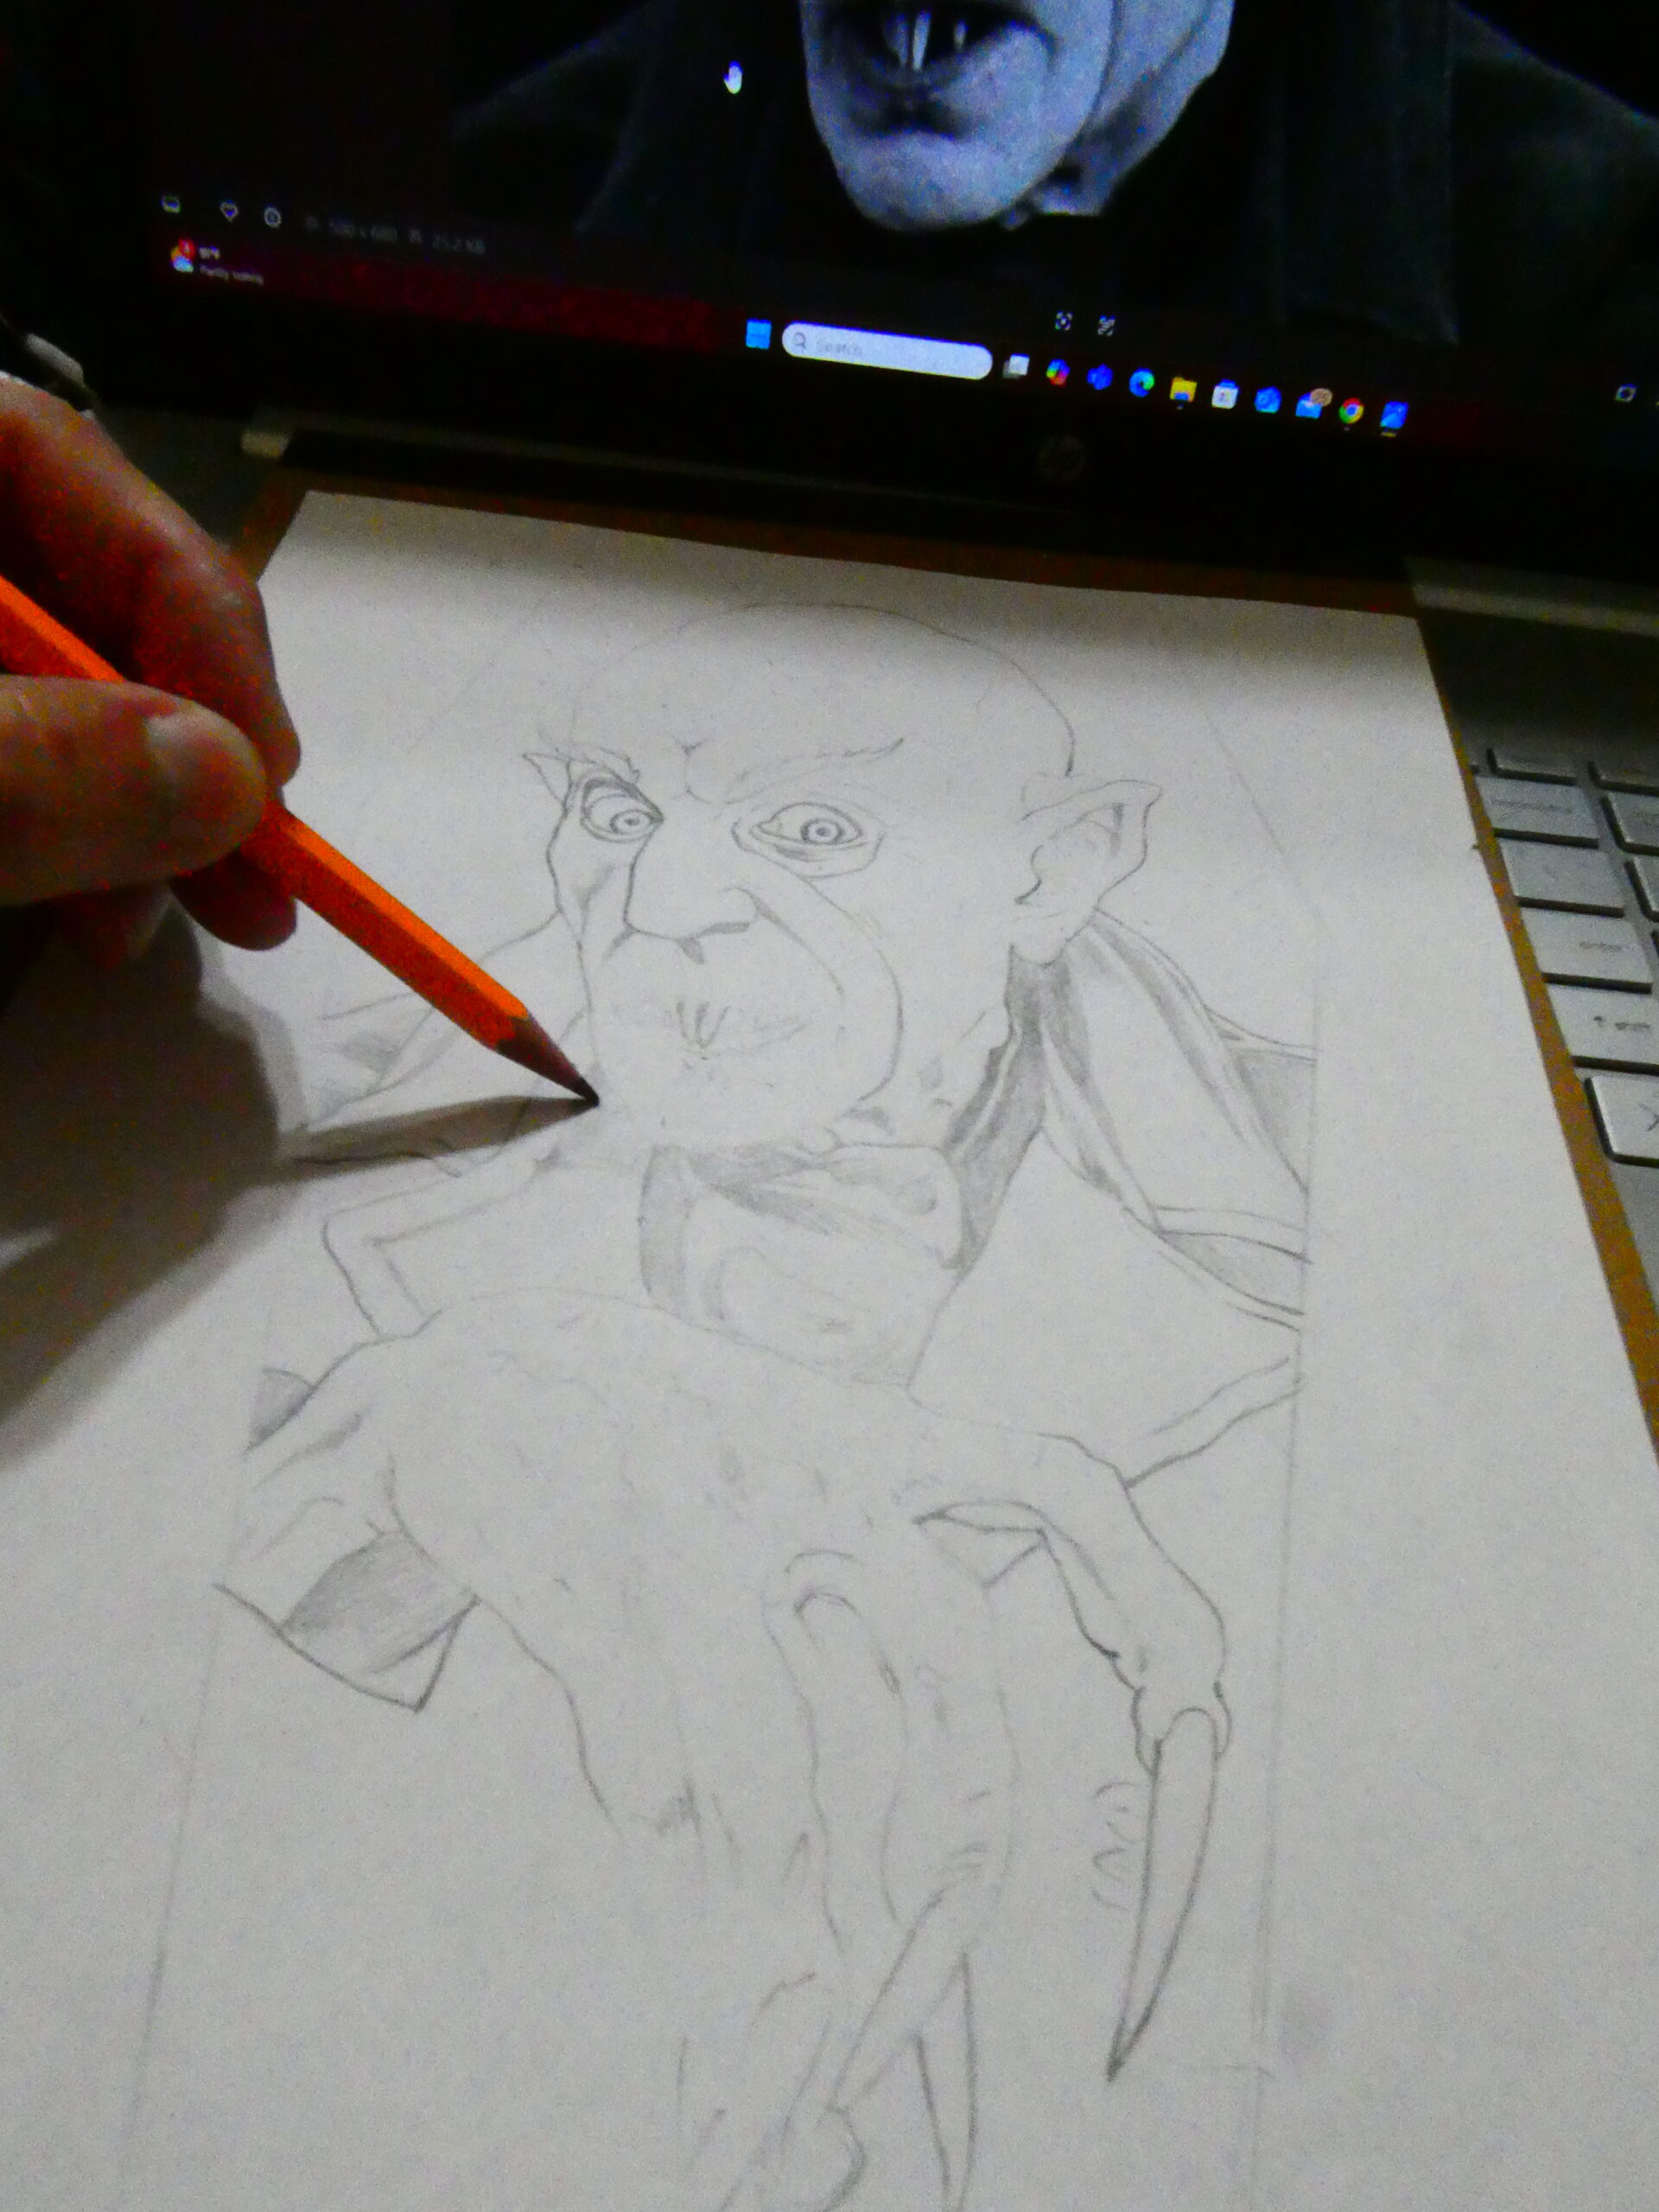
I lightly sanded the sides of the panel to knock down a few rough spots I felt. I then traced the shape of it onto a piece of copy paper to do the initial pencil drawing. Since I hadn’t drawn on one of these panels before I wanted to make sure to get the drawing down and sized to the shape without having to do a lot of erasing. Wasn’t sure how well that would work.
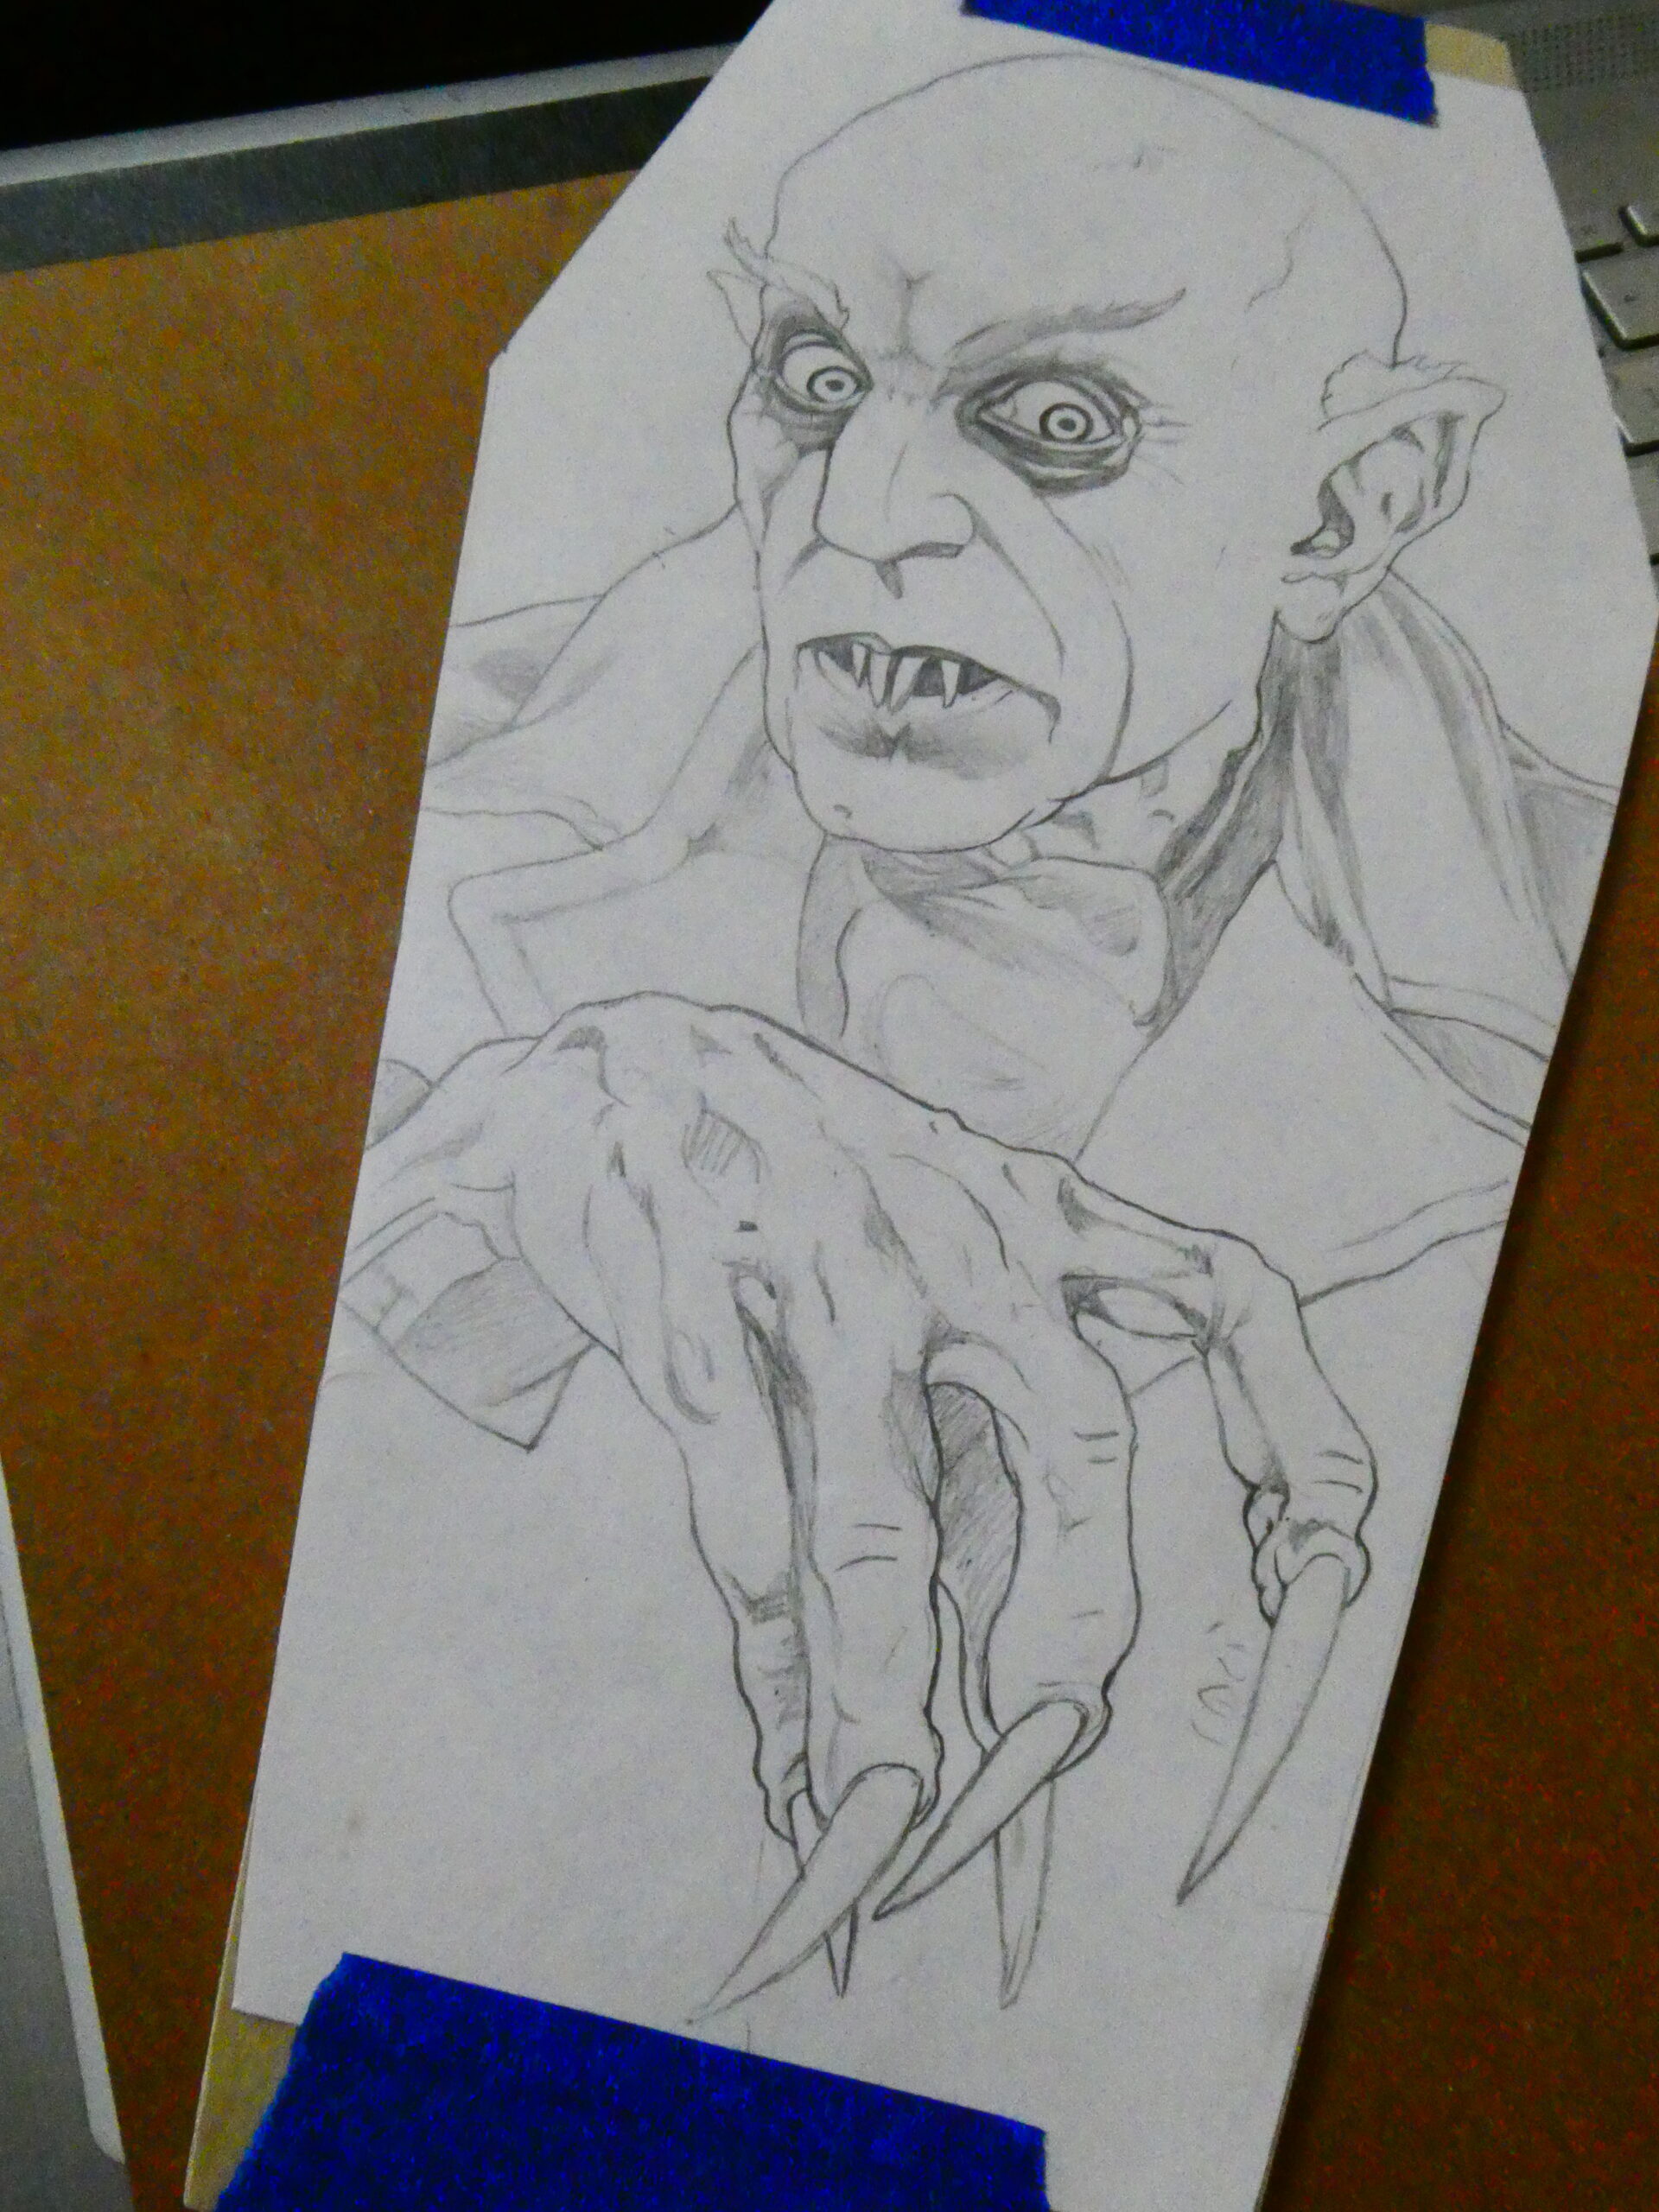
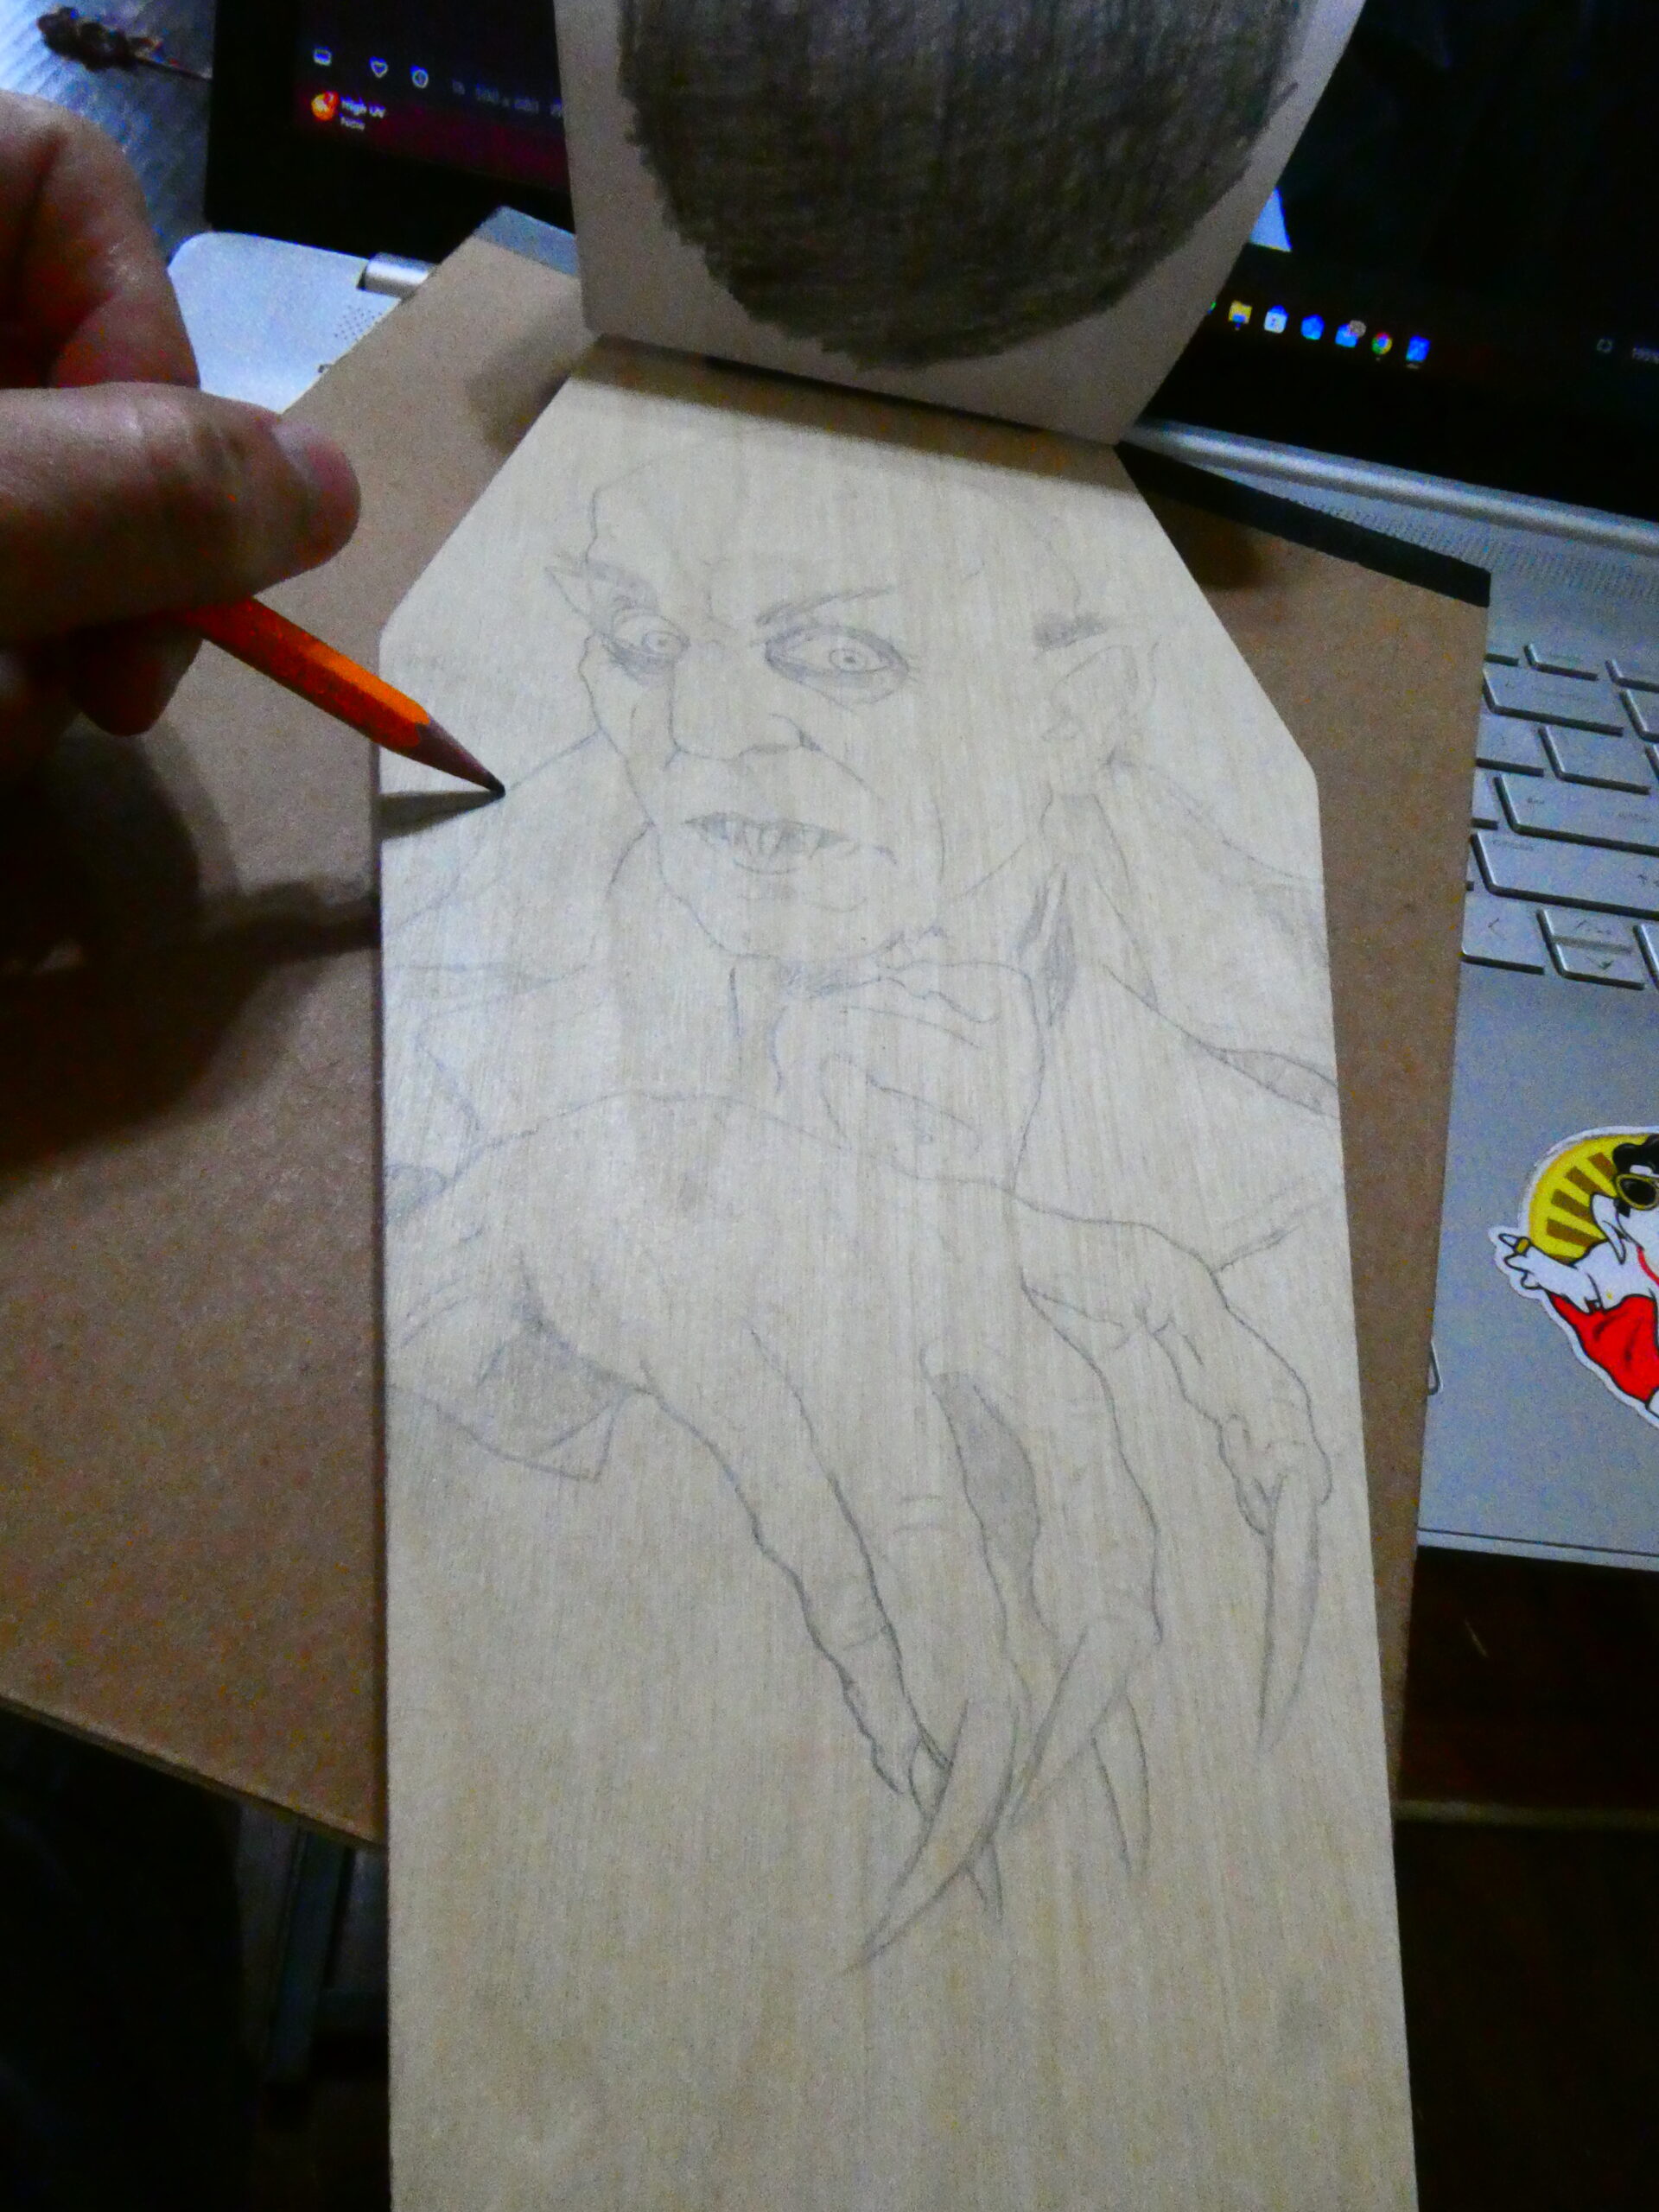
I rubbed a yellow#2 pencil on the back of the drawing paper, cut out the shape, taped it down to the wood with painters tape, and then drew over the drawing to transfer the image to the panel. I then tightened up the drawing a bit more.
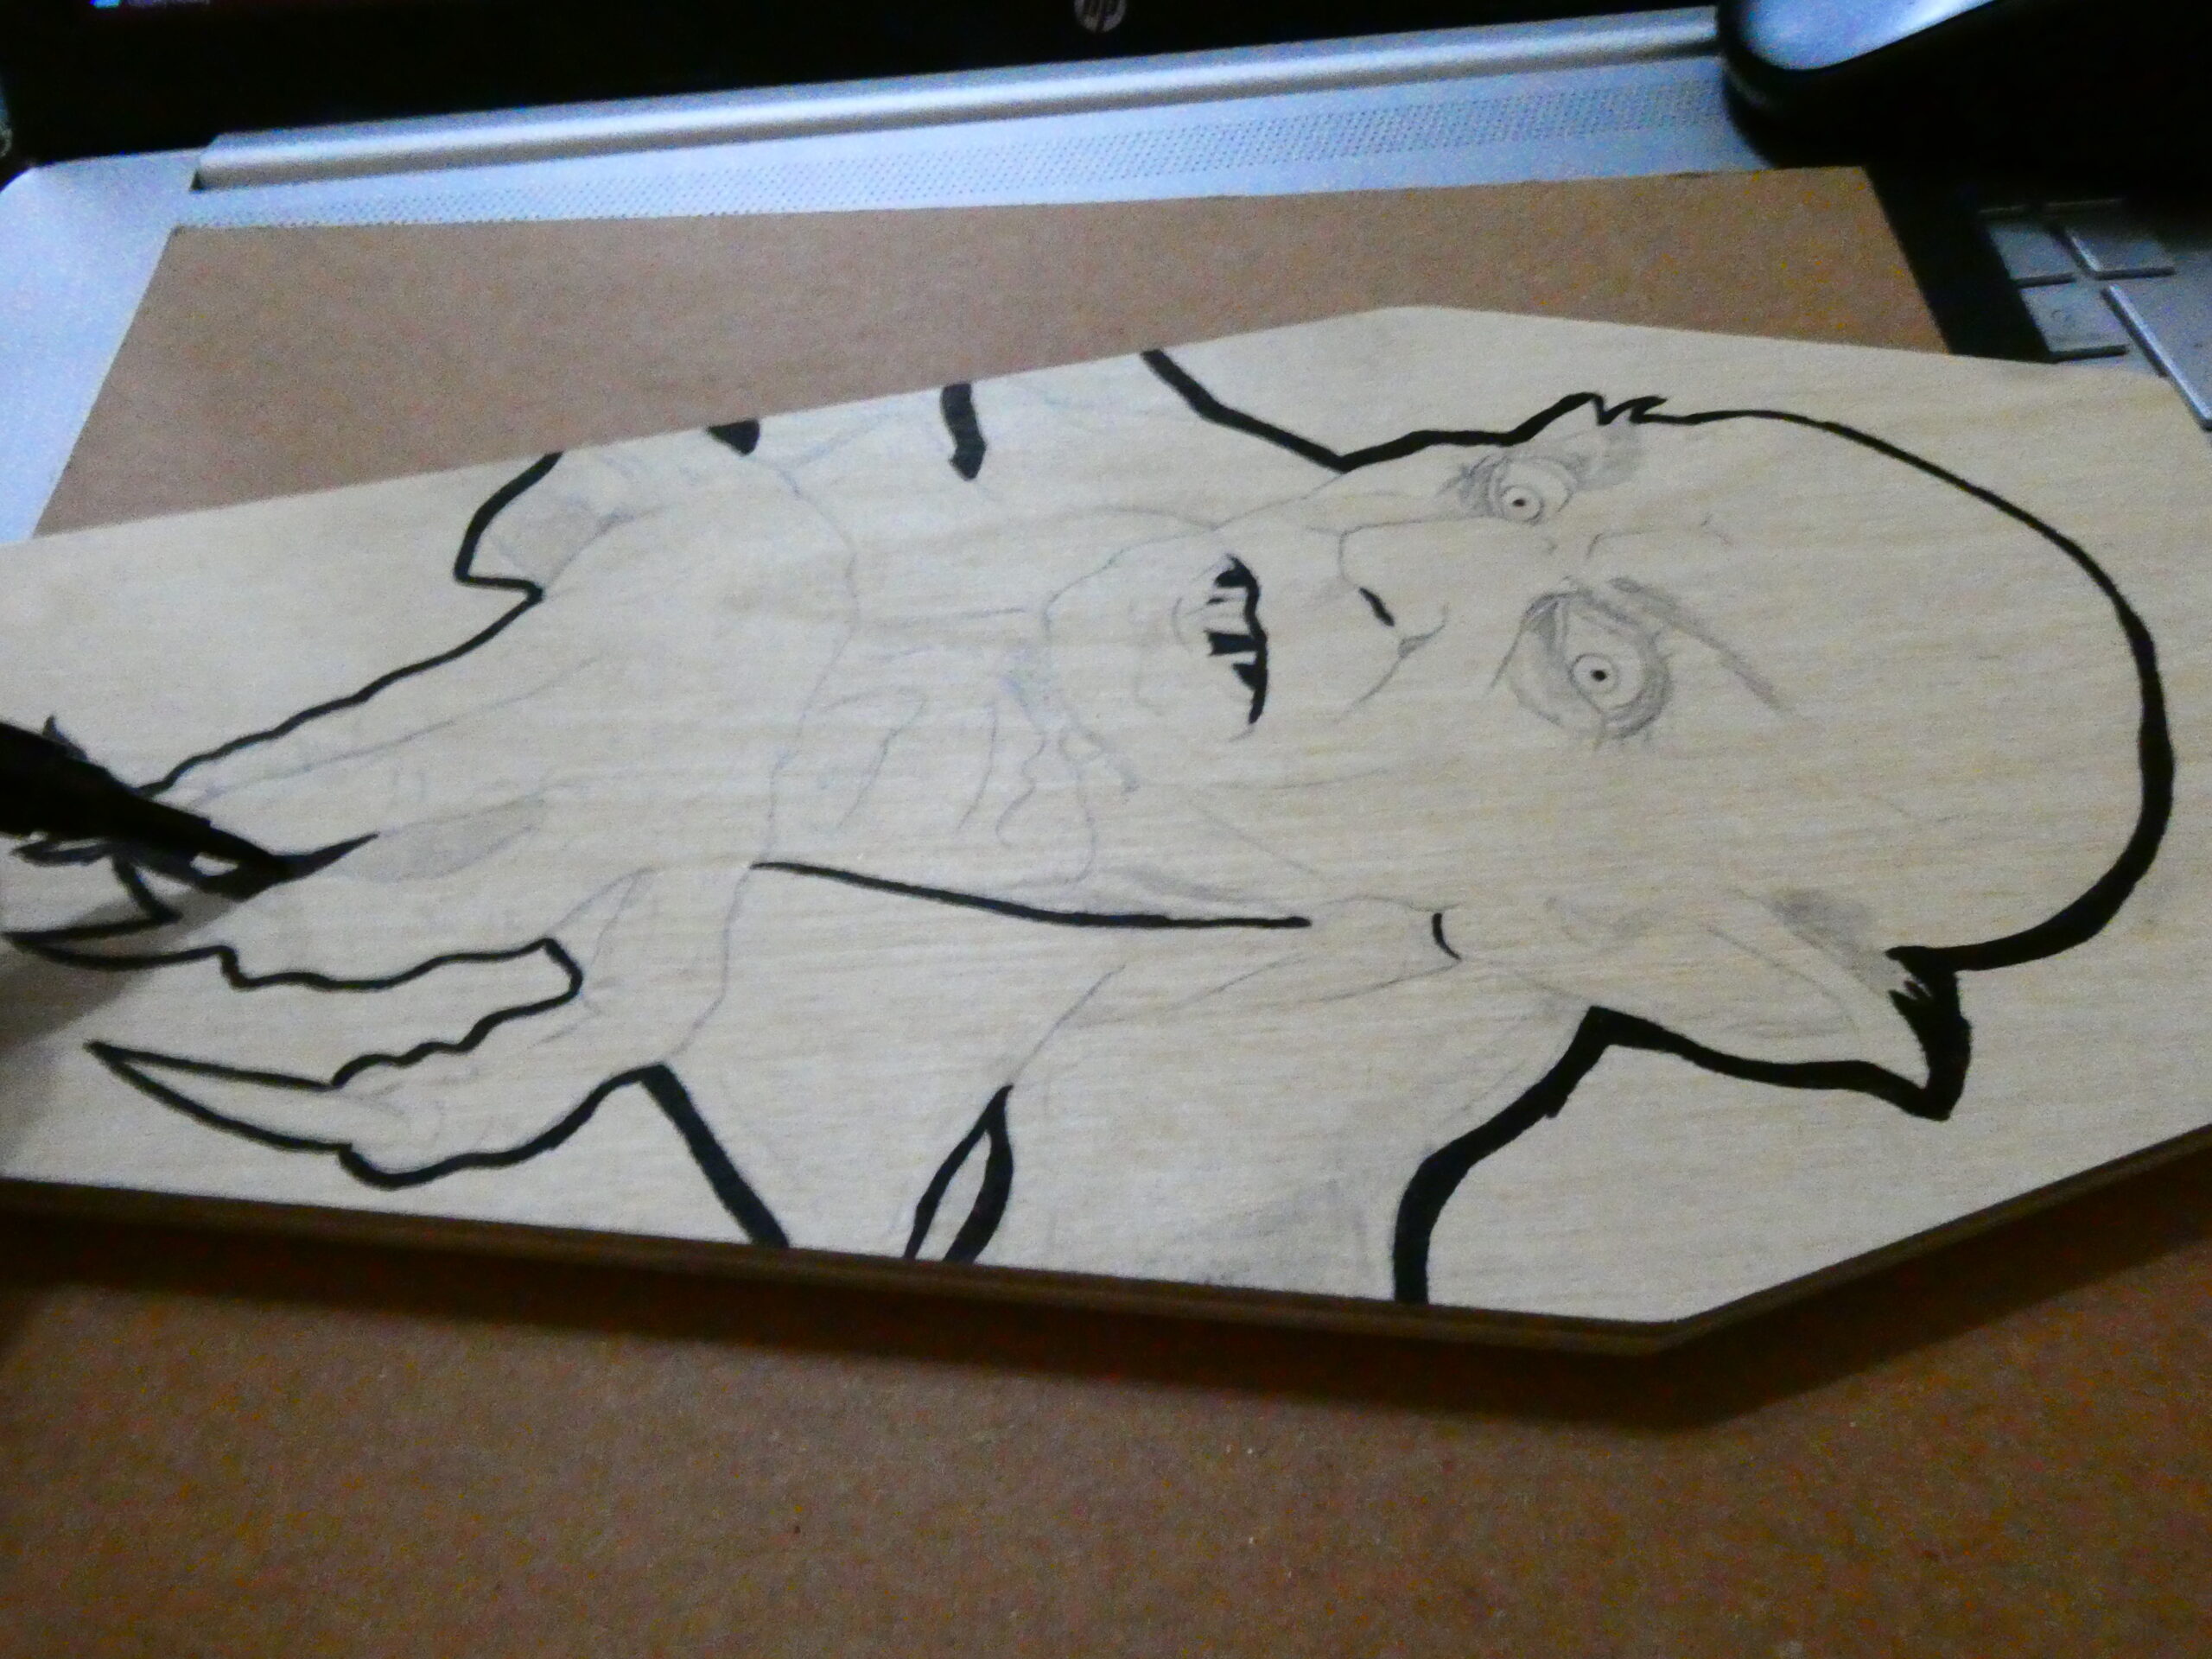
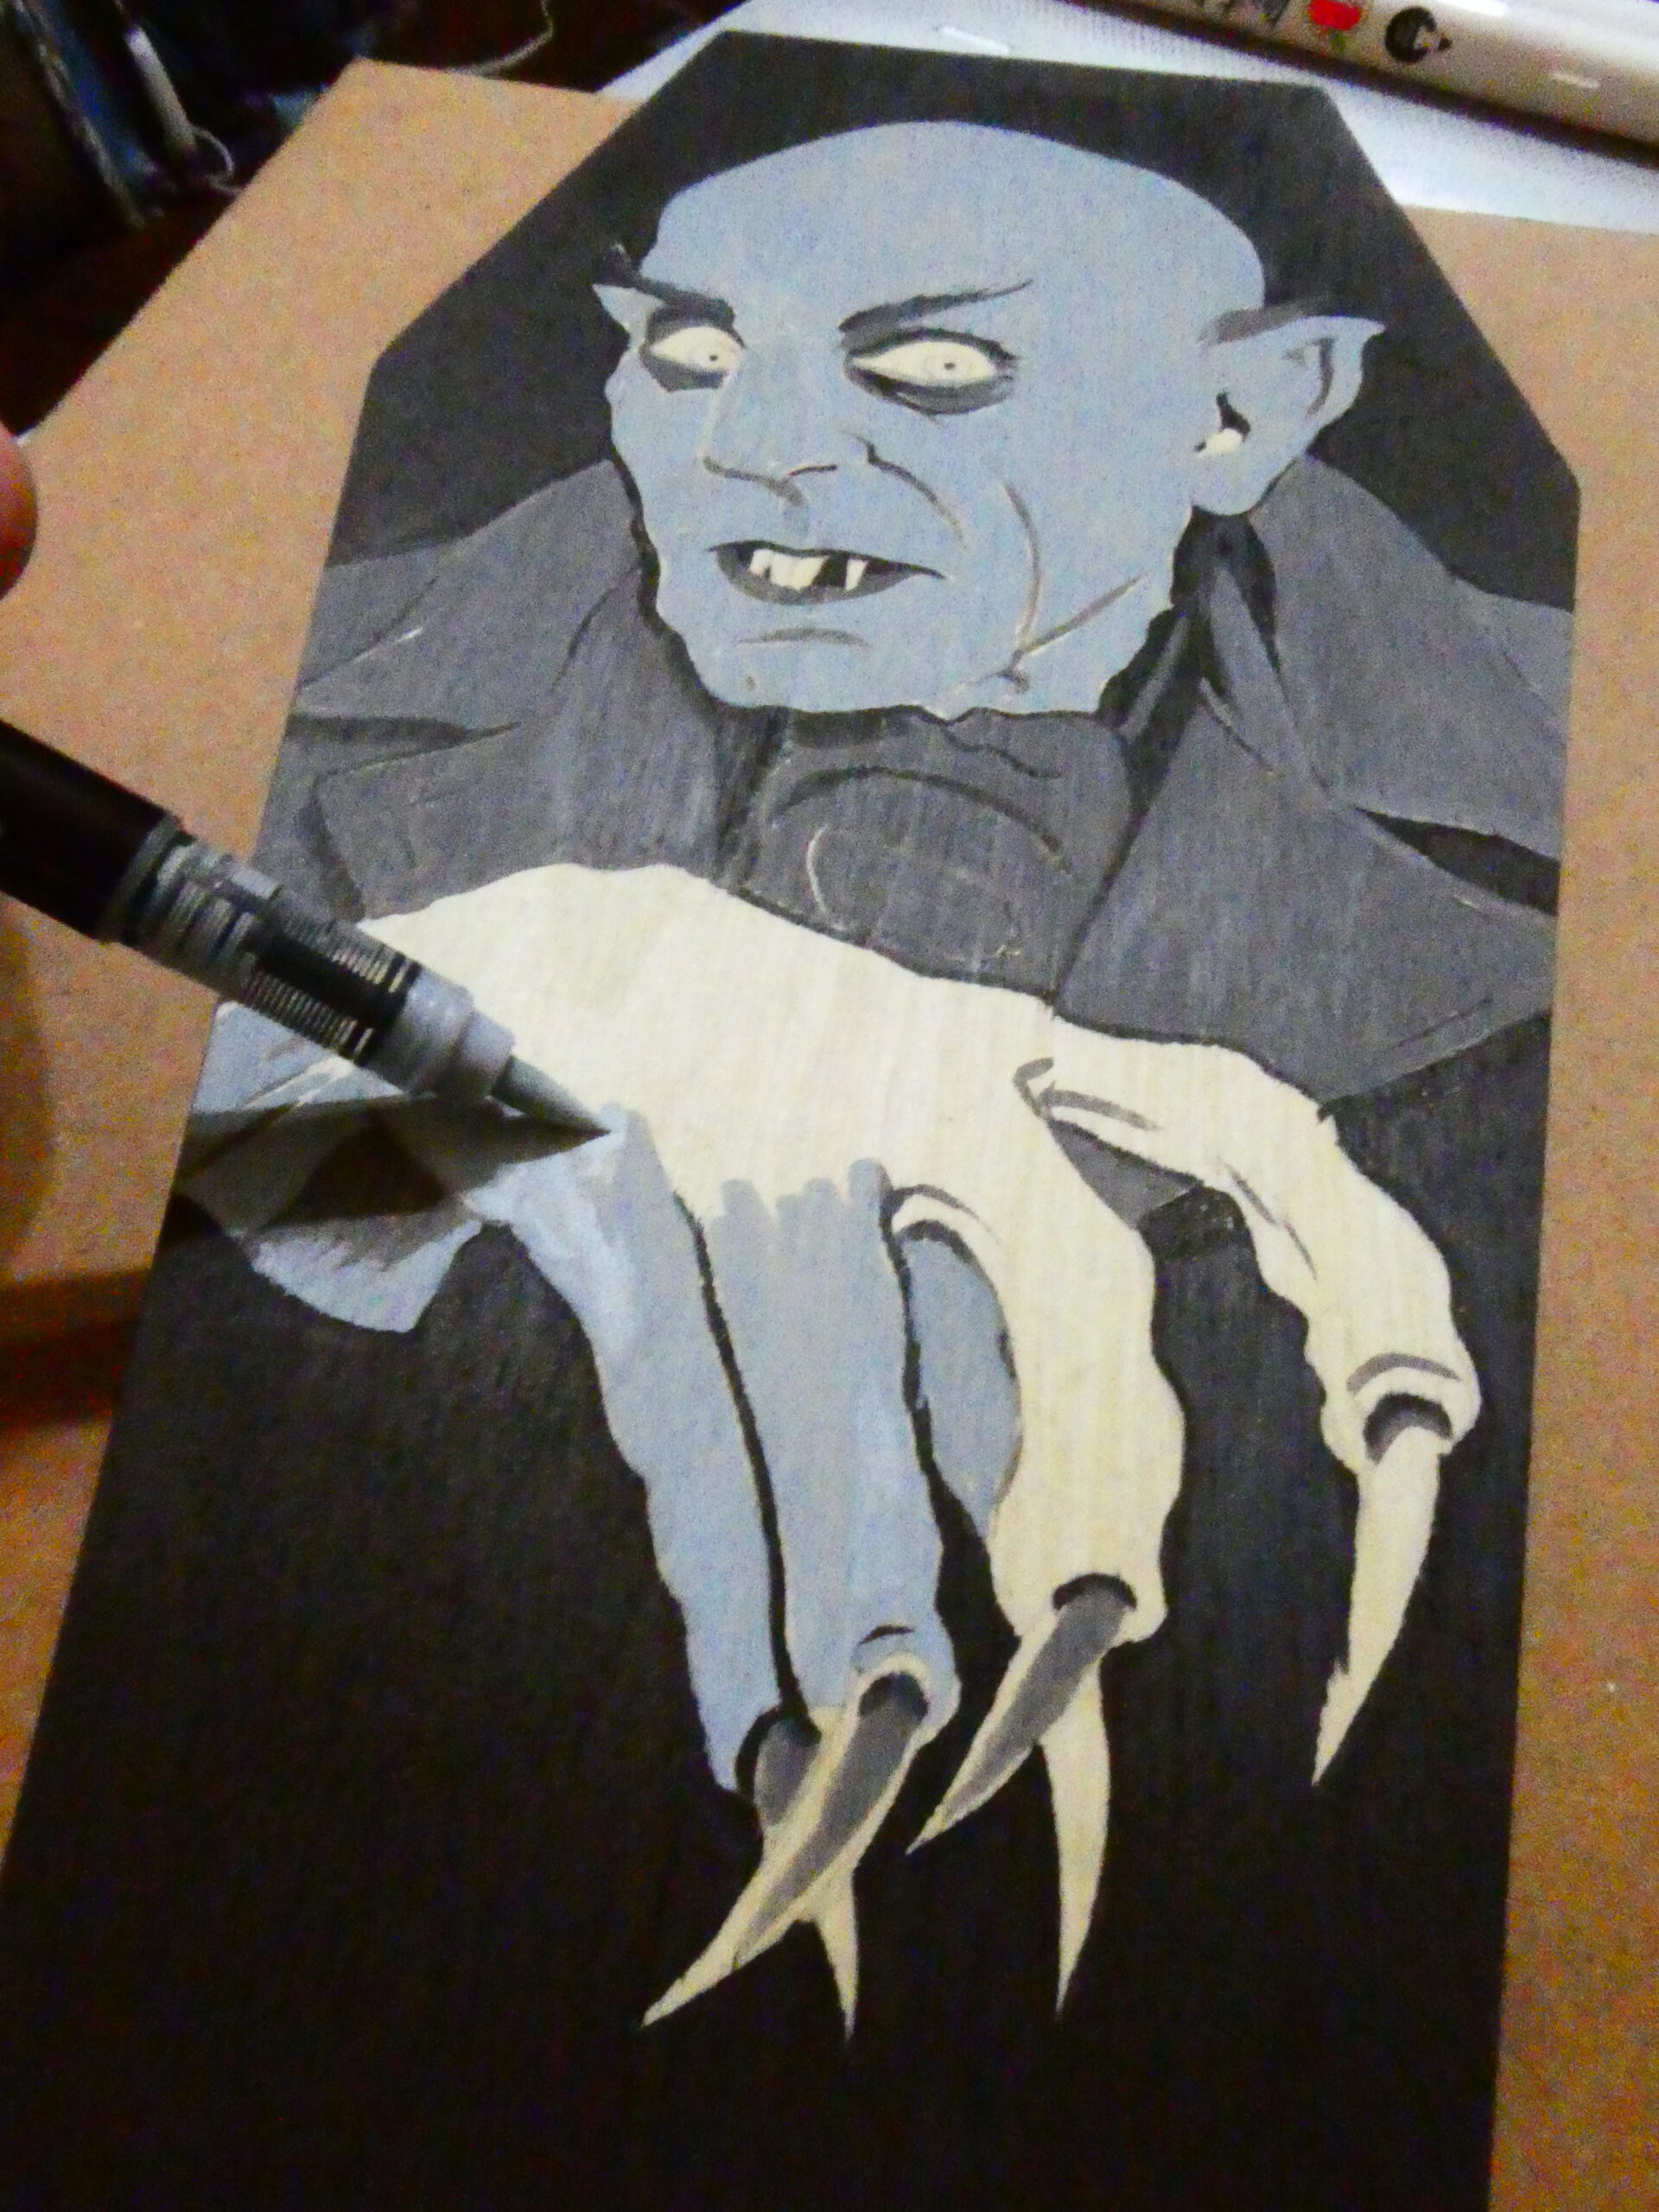
I didn’t go crazy with a lot of detail because I figured the markers would cover it up, so I took the brush tip end of a black paint marker (I think an Apple Barrel acrylic paint pen) and did an outline around the figure to designate where I was going to fill in solid black areas and where the mouth, eyebrows, and a few other shadow areas were.
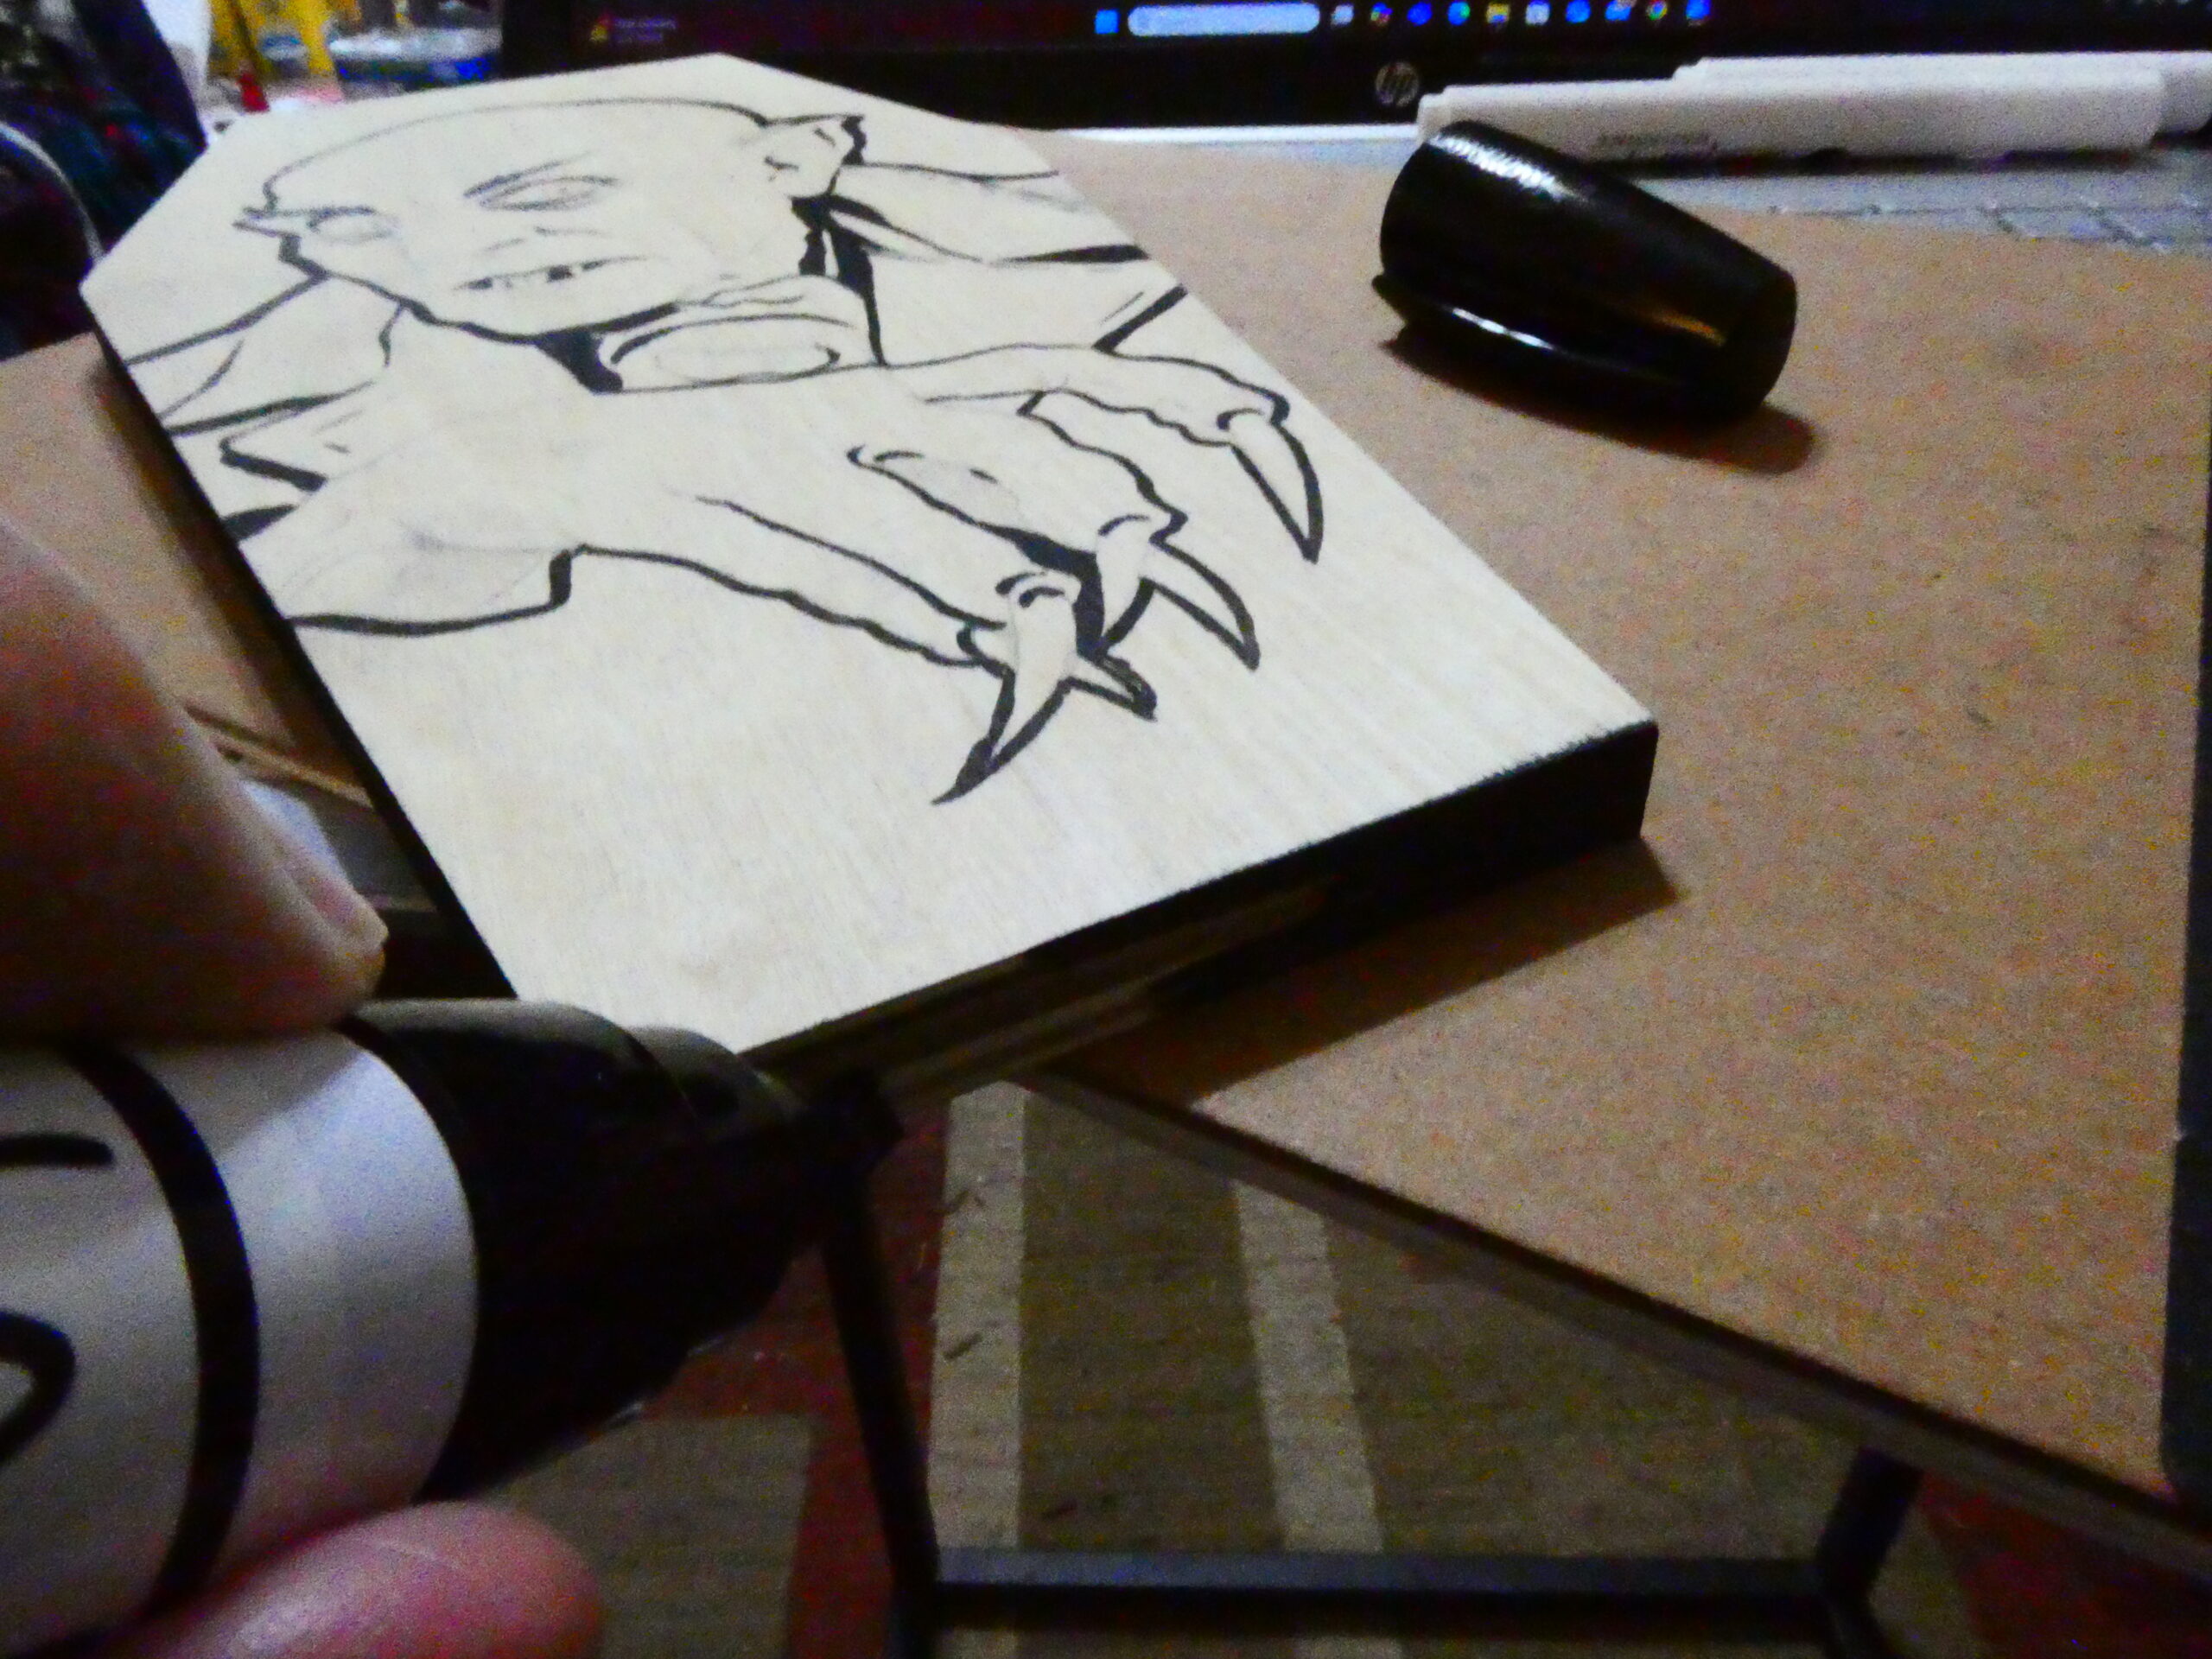
I then went ahead and painted the sides of the panel with the Sharpie oil based marker. It was a wide tipped marker which filled it in rather quickly. I wasn’t worried about messing up the tip like I would if I used a brush tip. Plus I figured it might be a bit more durable than the acrylic black ones.
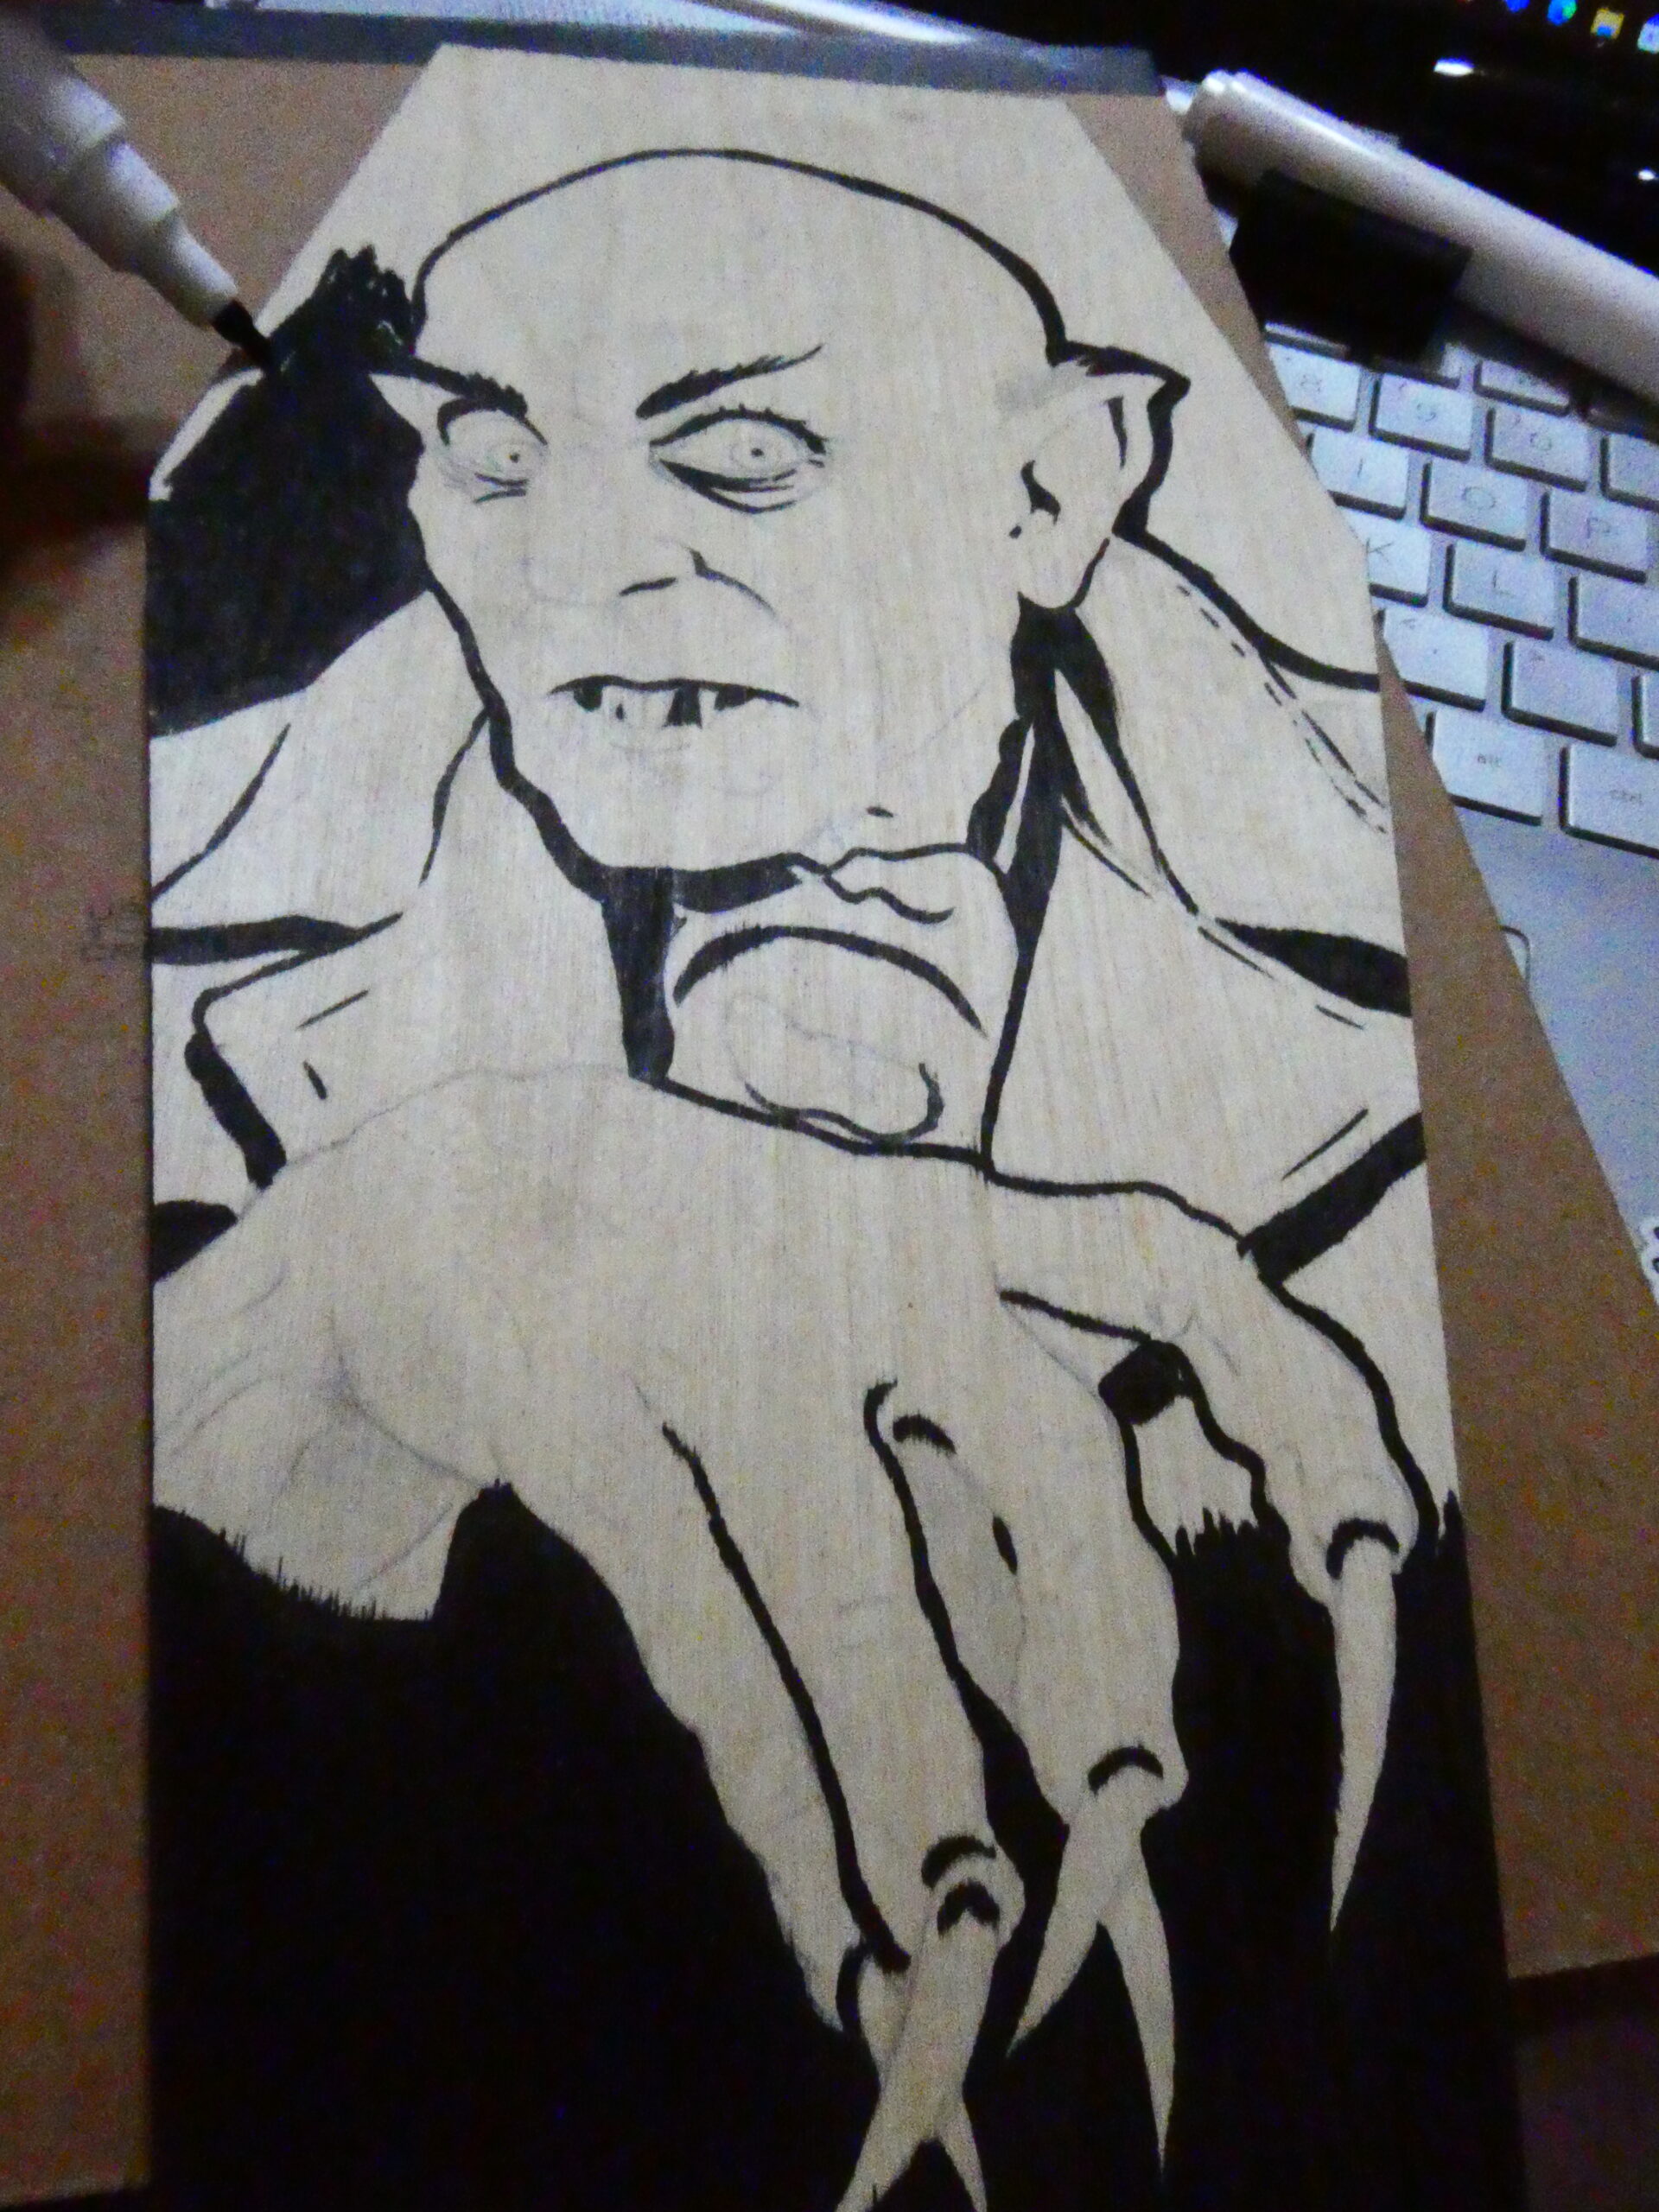
I let it dry for a bit, and then used one of the Apple Barrel acrylic paint pens to fill in the black background. I then used one of the dark grey IVSUN acrylic markers to fill in his jacket, and add in some shadow areas on his face and hands. The set I bought on Amazon has 60 markers in various colors including metallics, white, black, and different shades of grey.
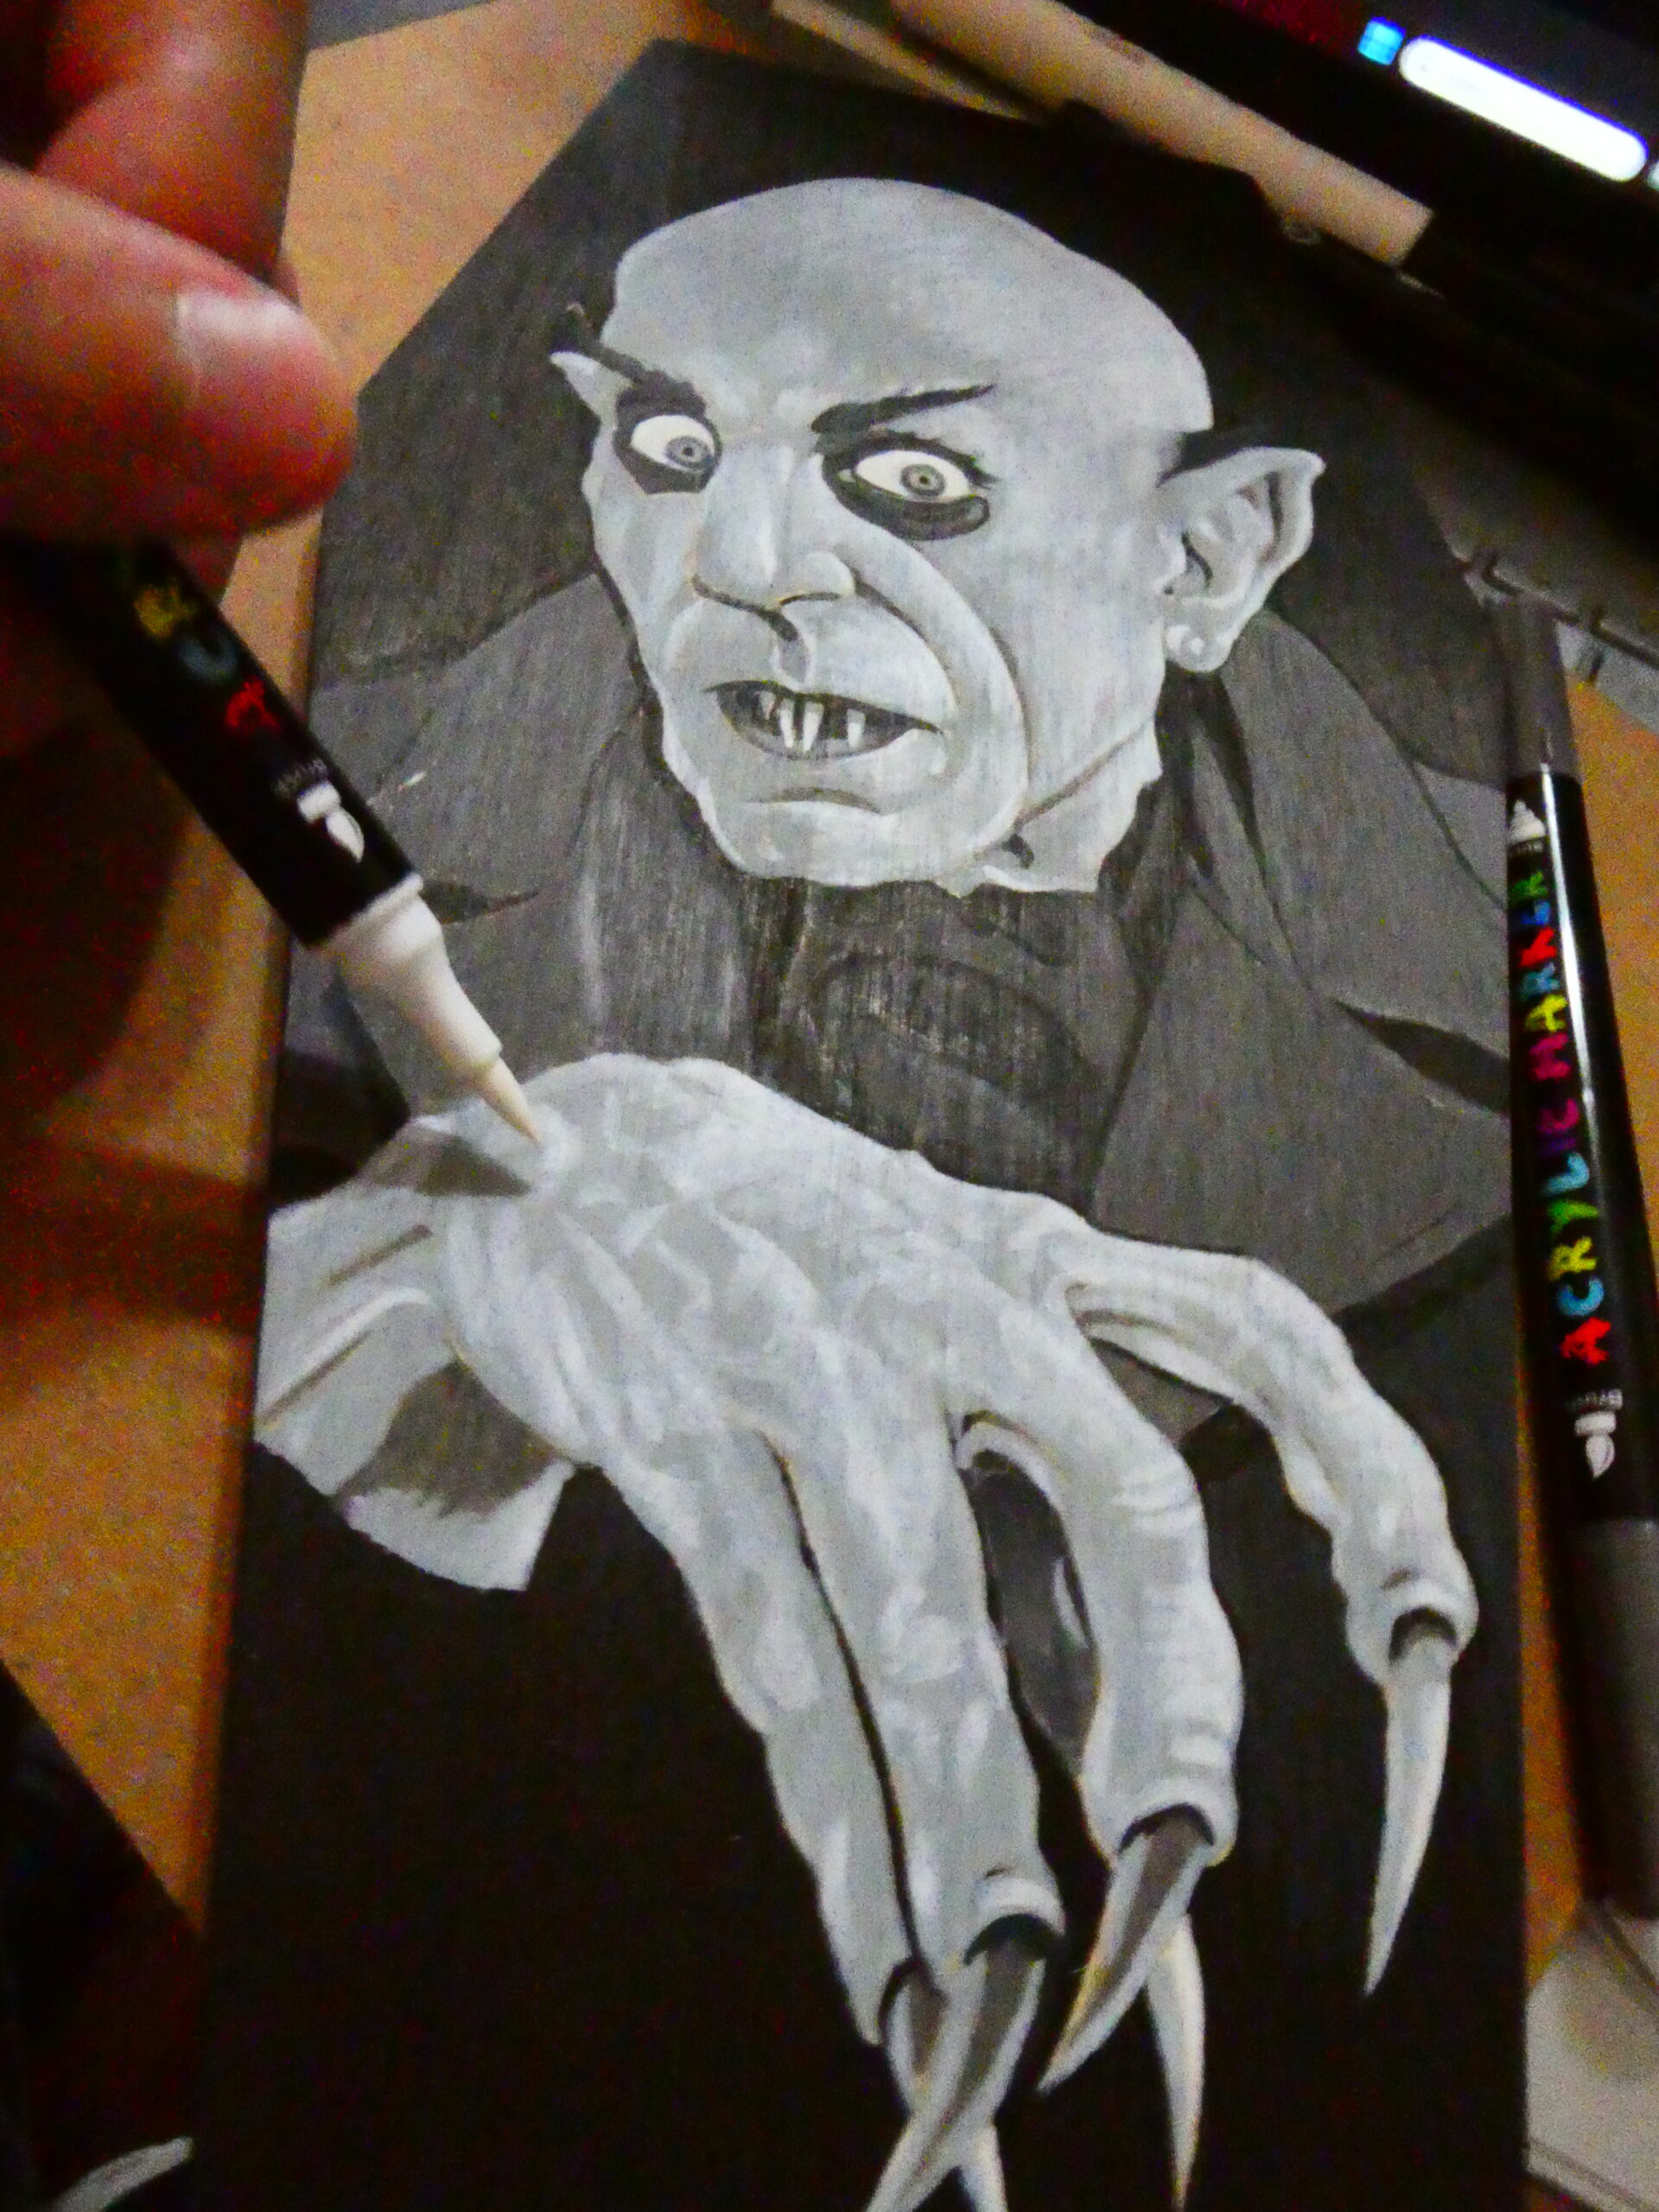
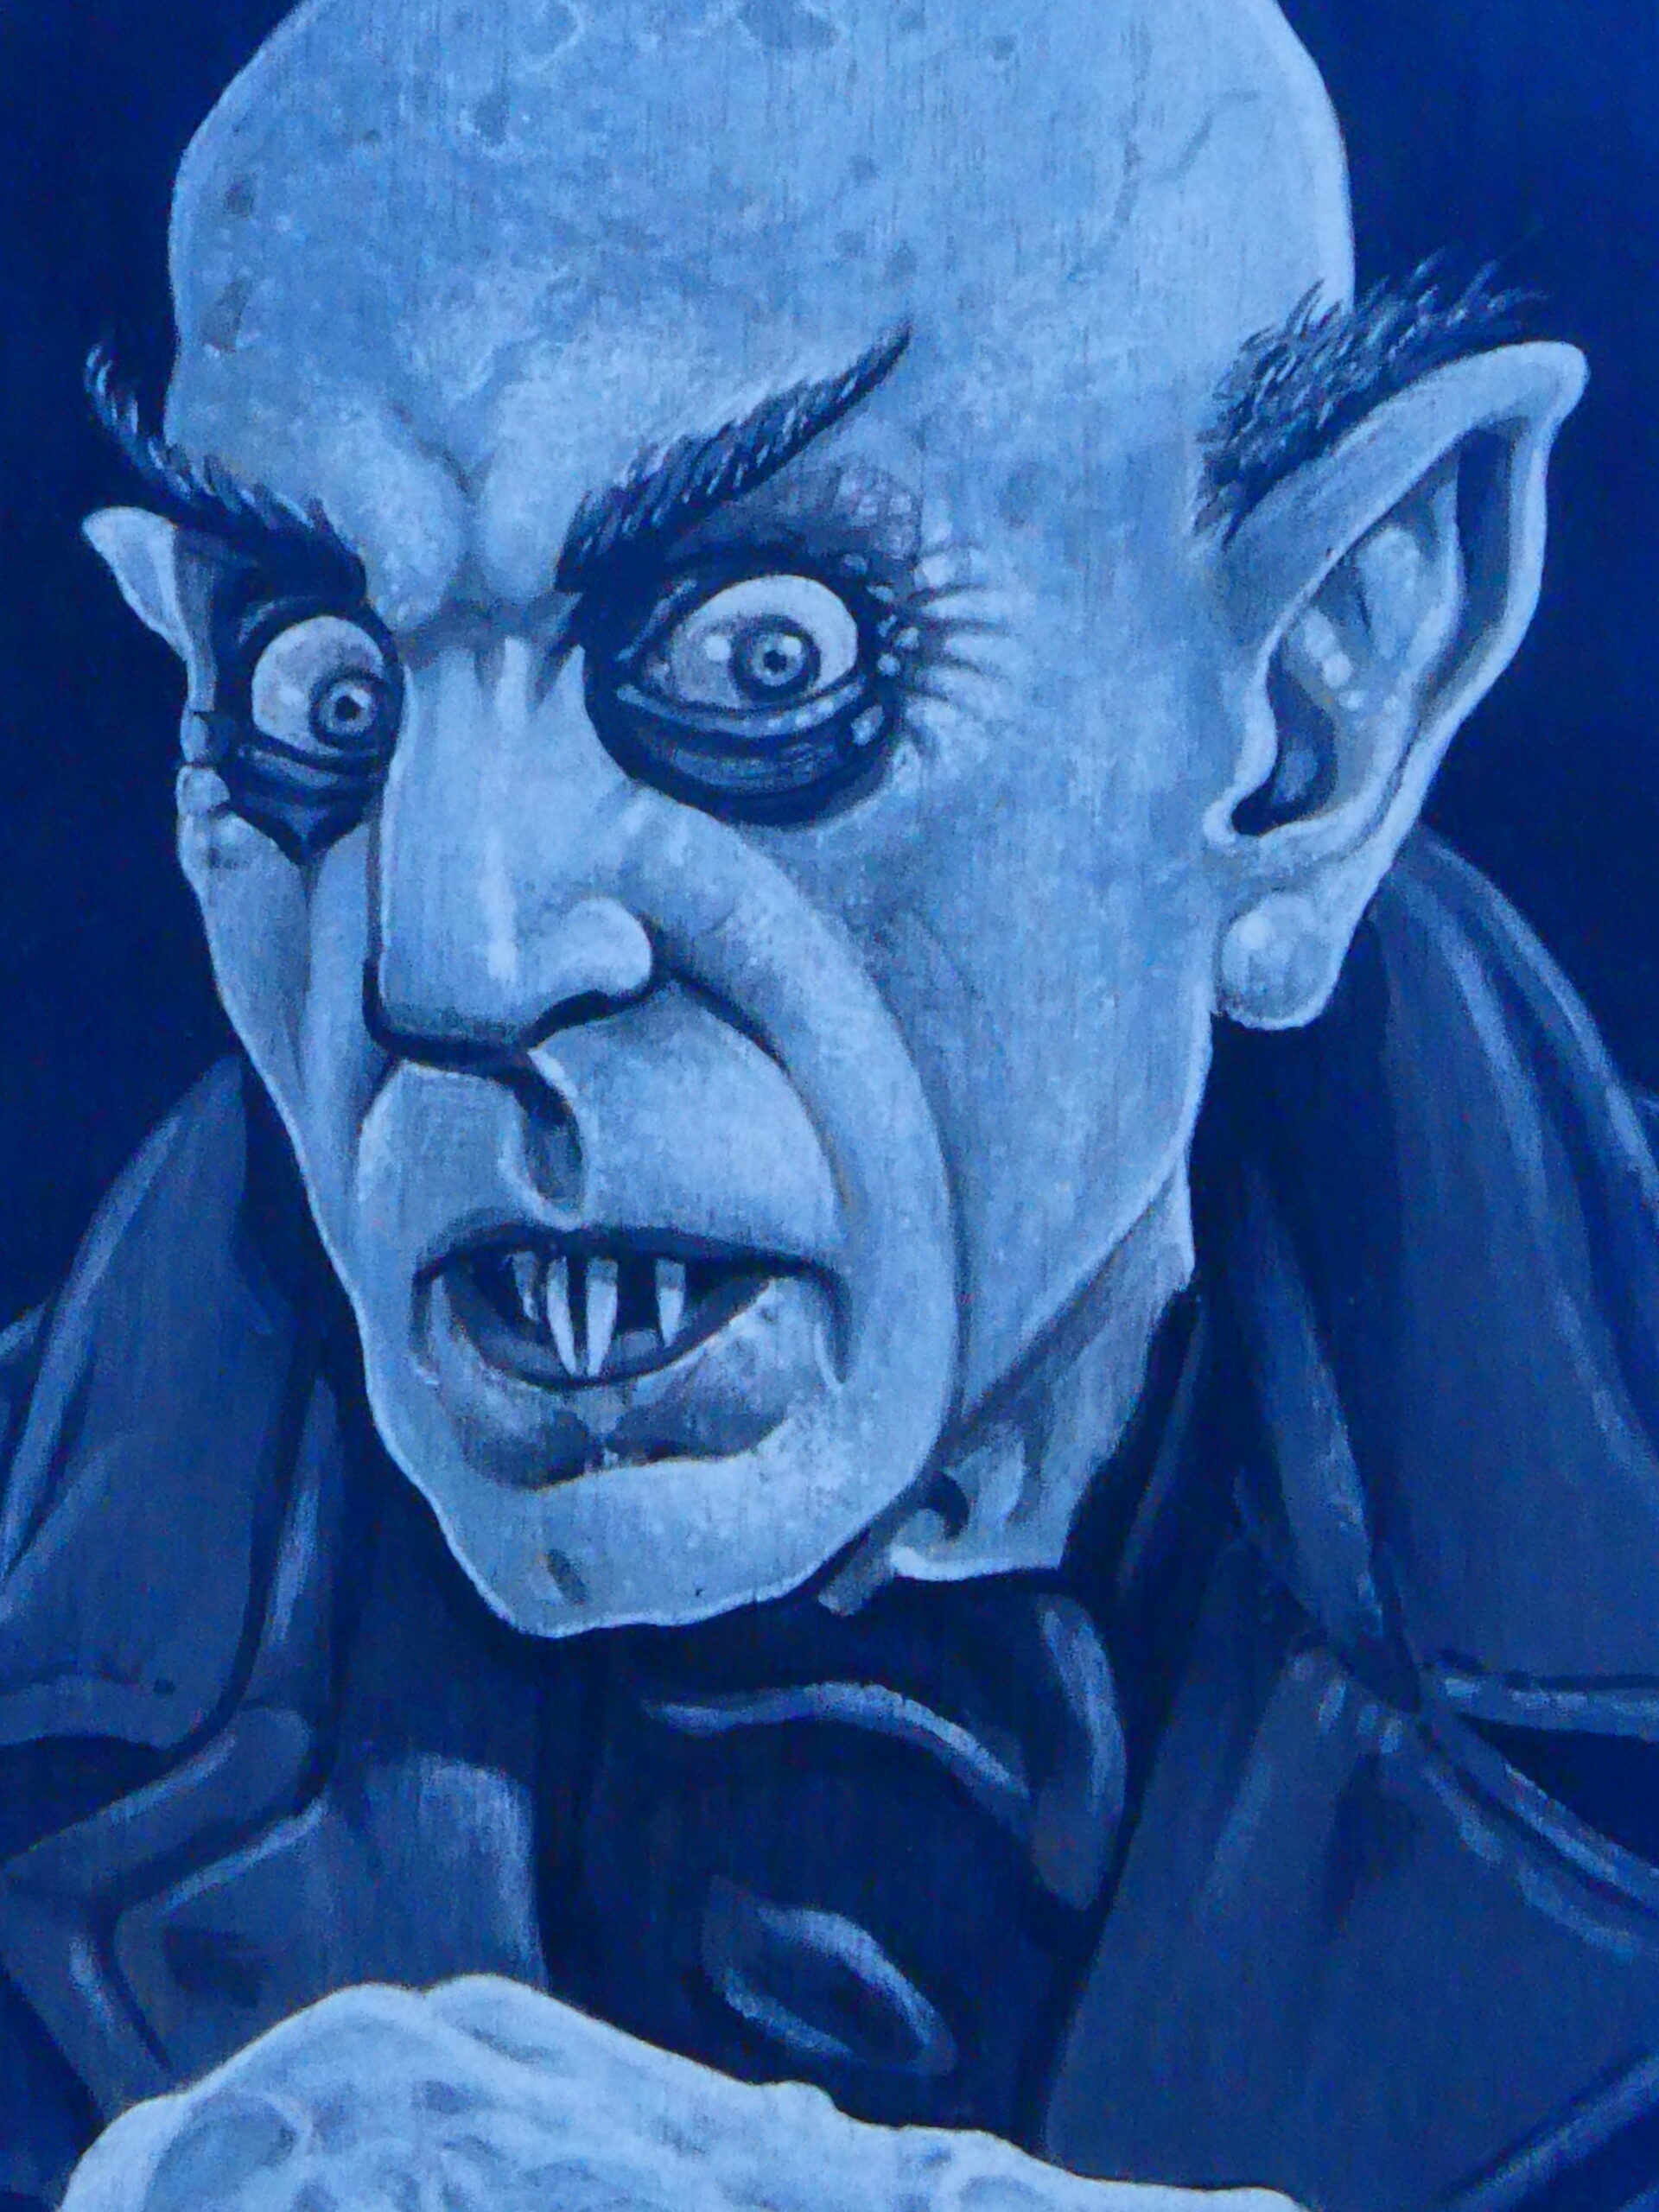
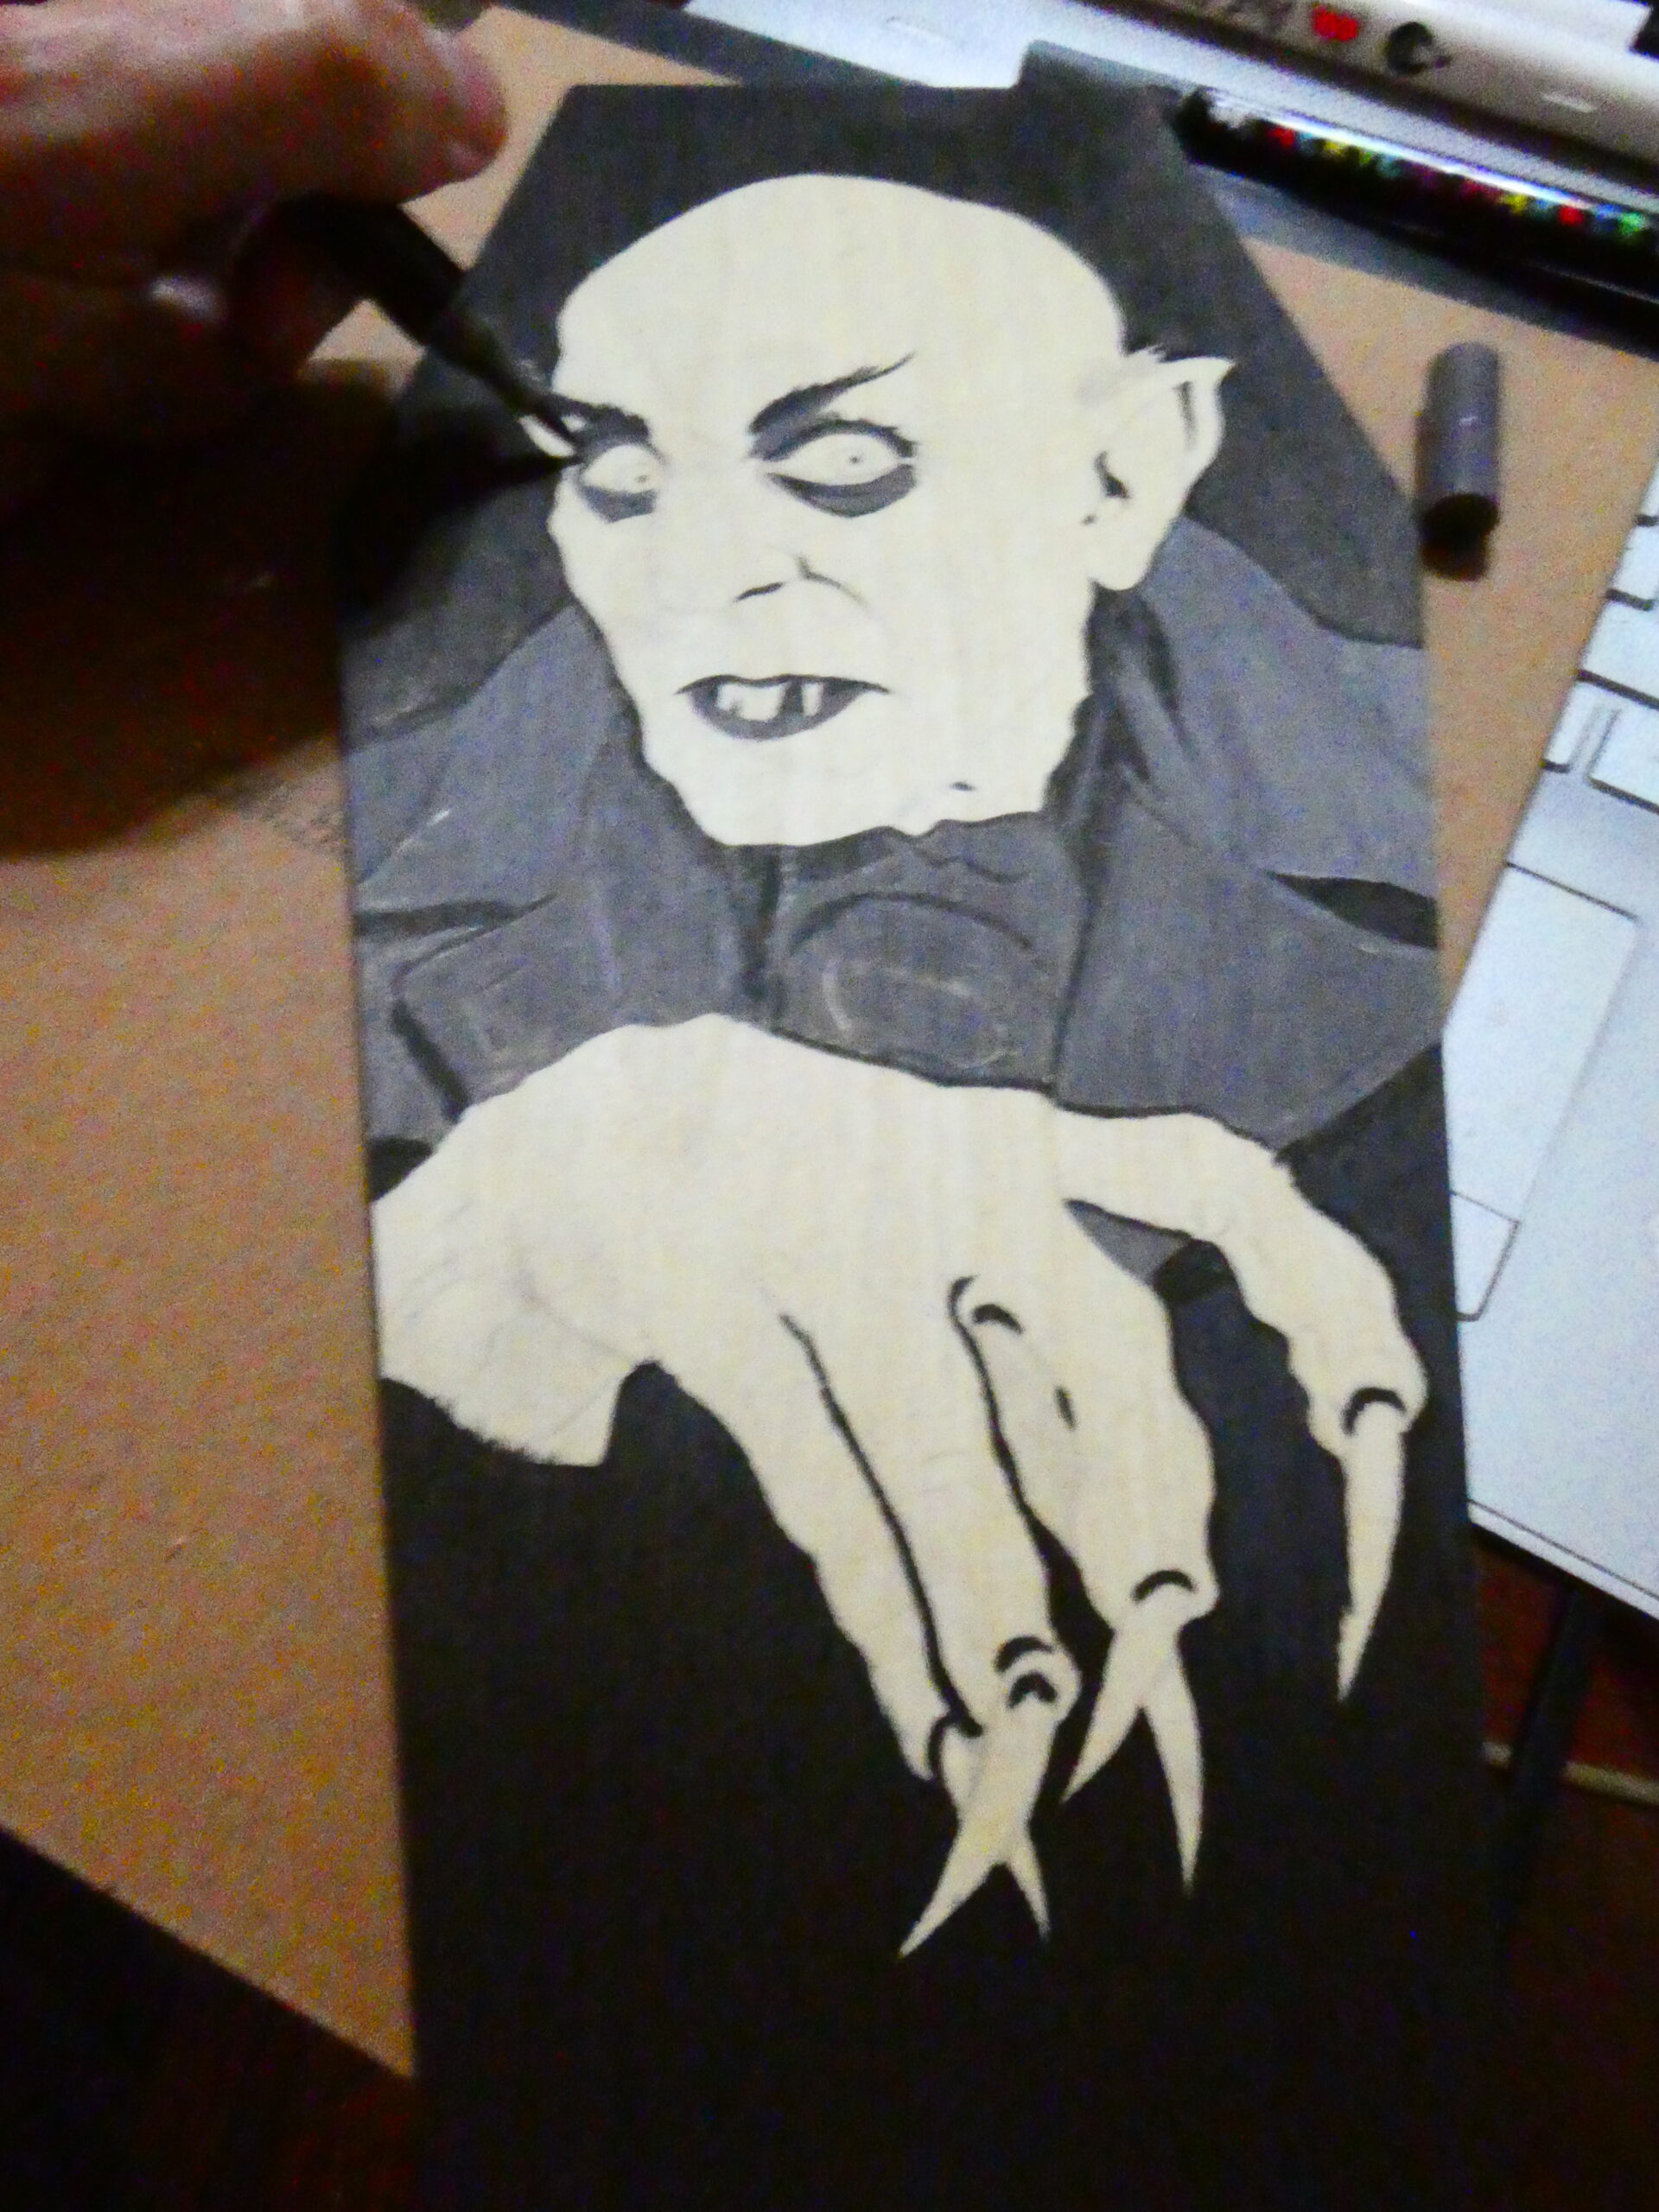
I then used the lightest of the grey IVSUN markers for his skin tones, and used a white one to start adding some highlights. I noticed this white marker wasn’t as opaque as the others, which I found out later wasn’t necessarily a bad thing. I worked the different shades of grey back and forth, and would use that “thinner” white to help blend the greys on the skin and add some texture on his head. I also would put down a small area of color and then use my fingertip to blend the wet paint creating some gradations. It took a few attempts but seemed to work. I just had to make sure to not touch any other parts with my wet fingertips! Yeah, it happened a couple times, but I was able to cover my goofs. The paint dries quickly and covers mistakes pretty easily.
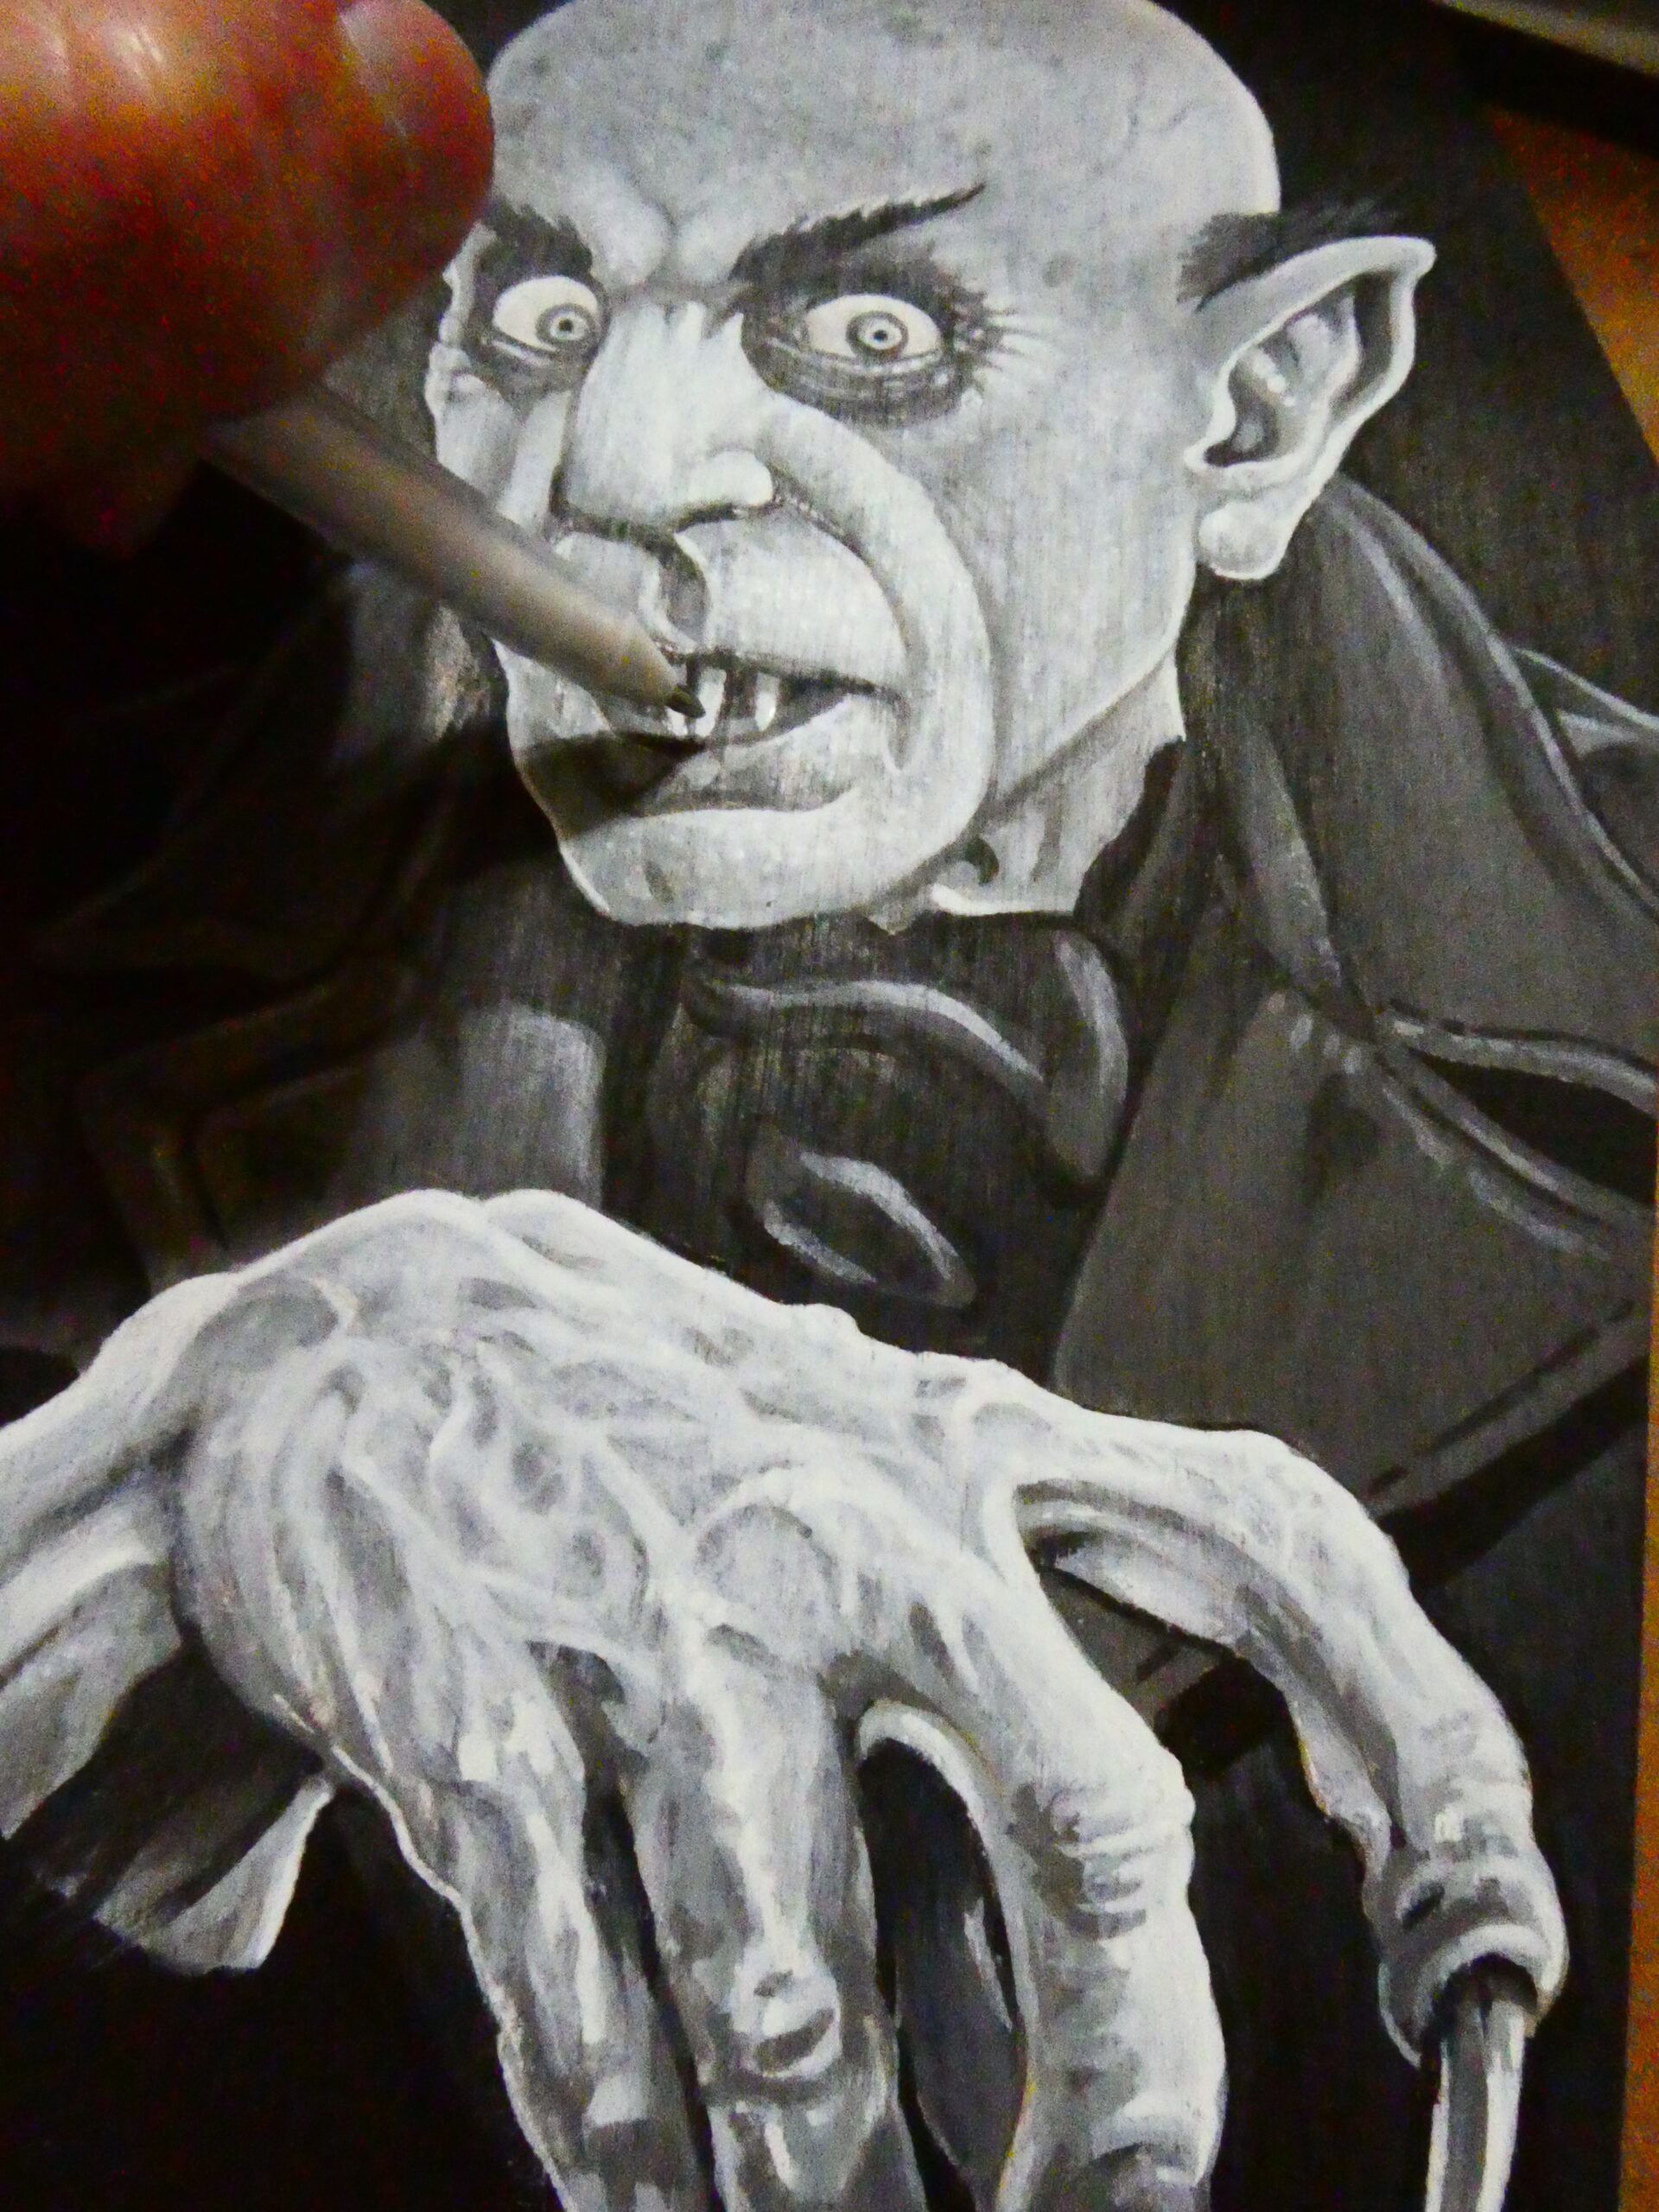
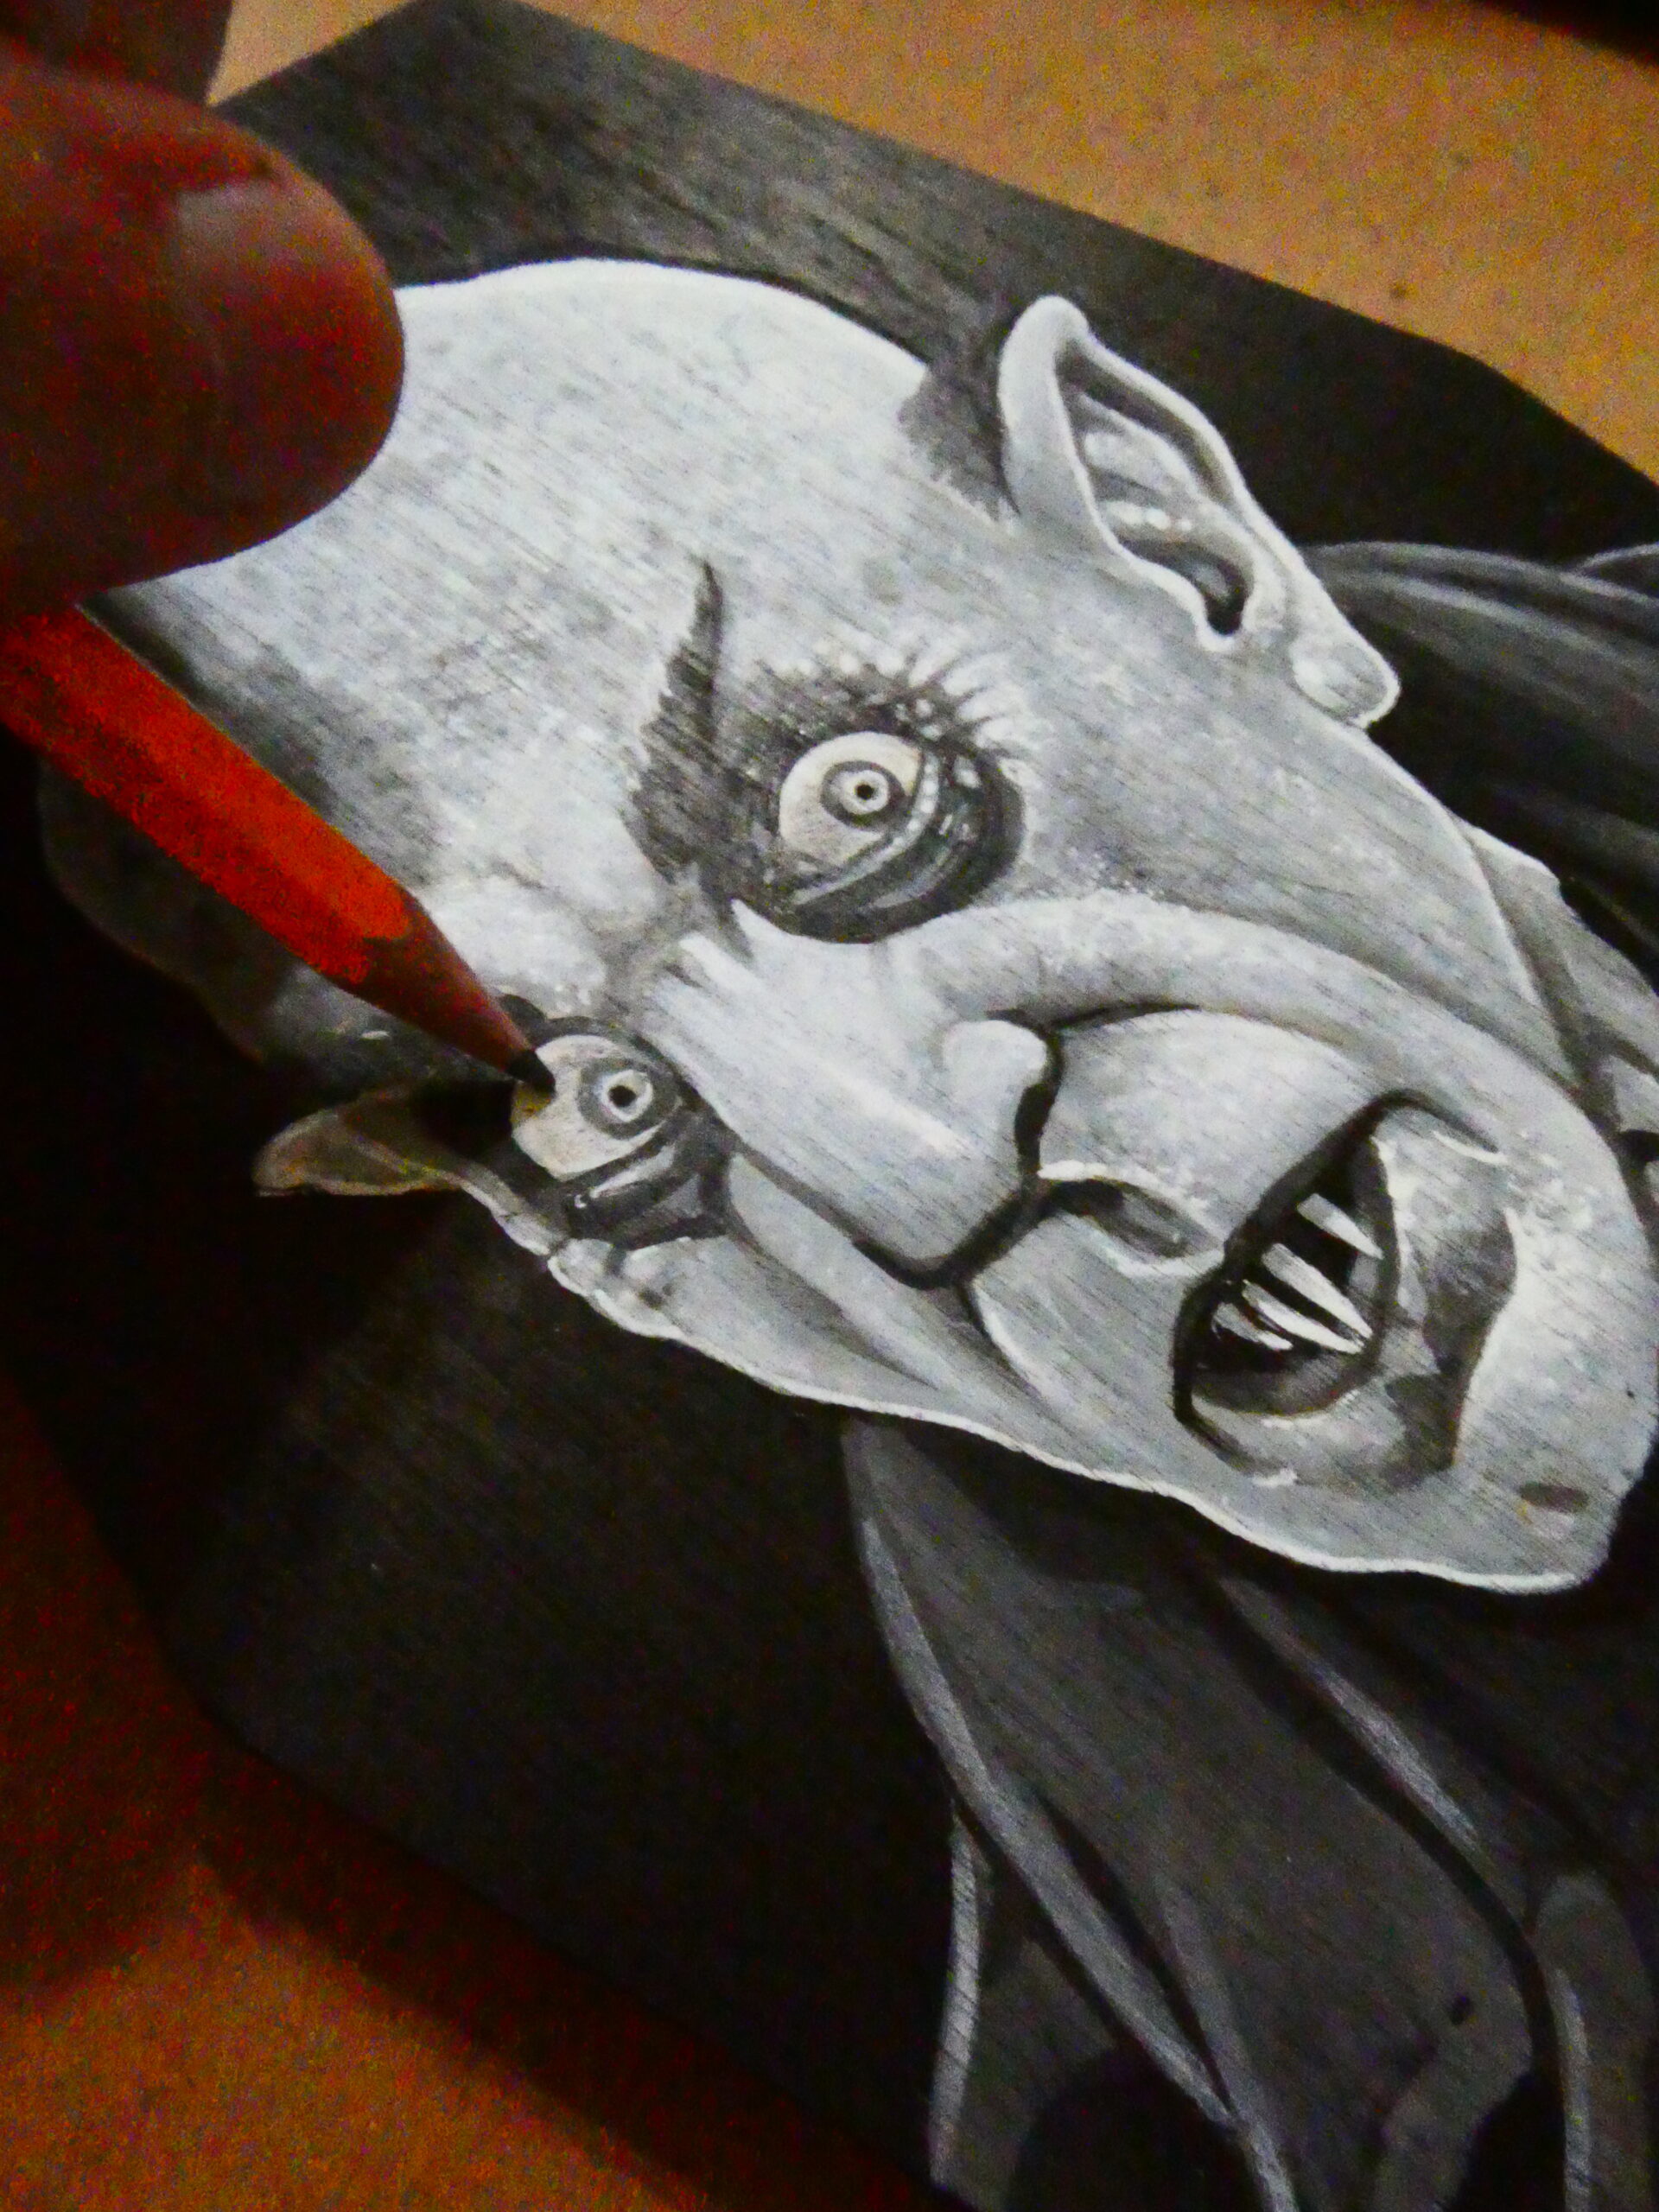
For the final white highlights I used a white Gelly Roll gel pen for the finer details, and the Apple Barrel markers for some of the bigger highlights. I used my #2 pencil to do some shading on the eyes, teeth, and a few other areas on his skin.
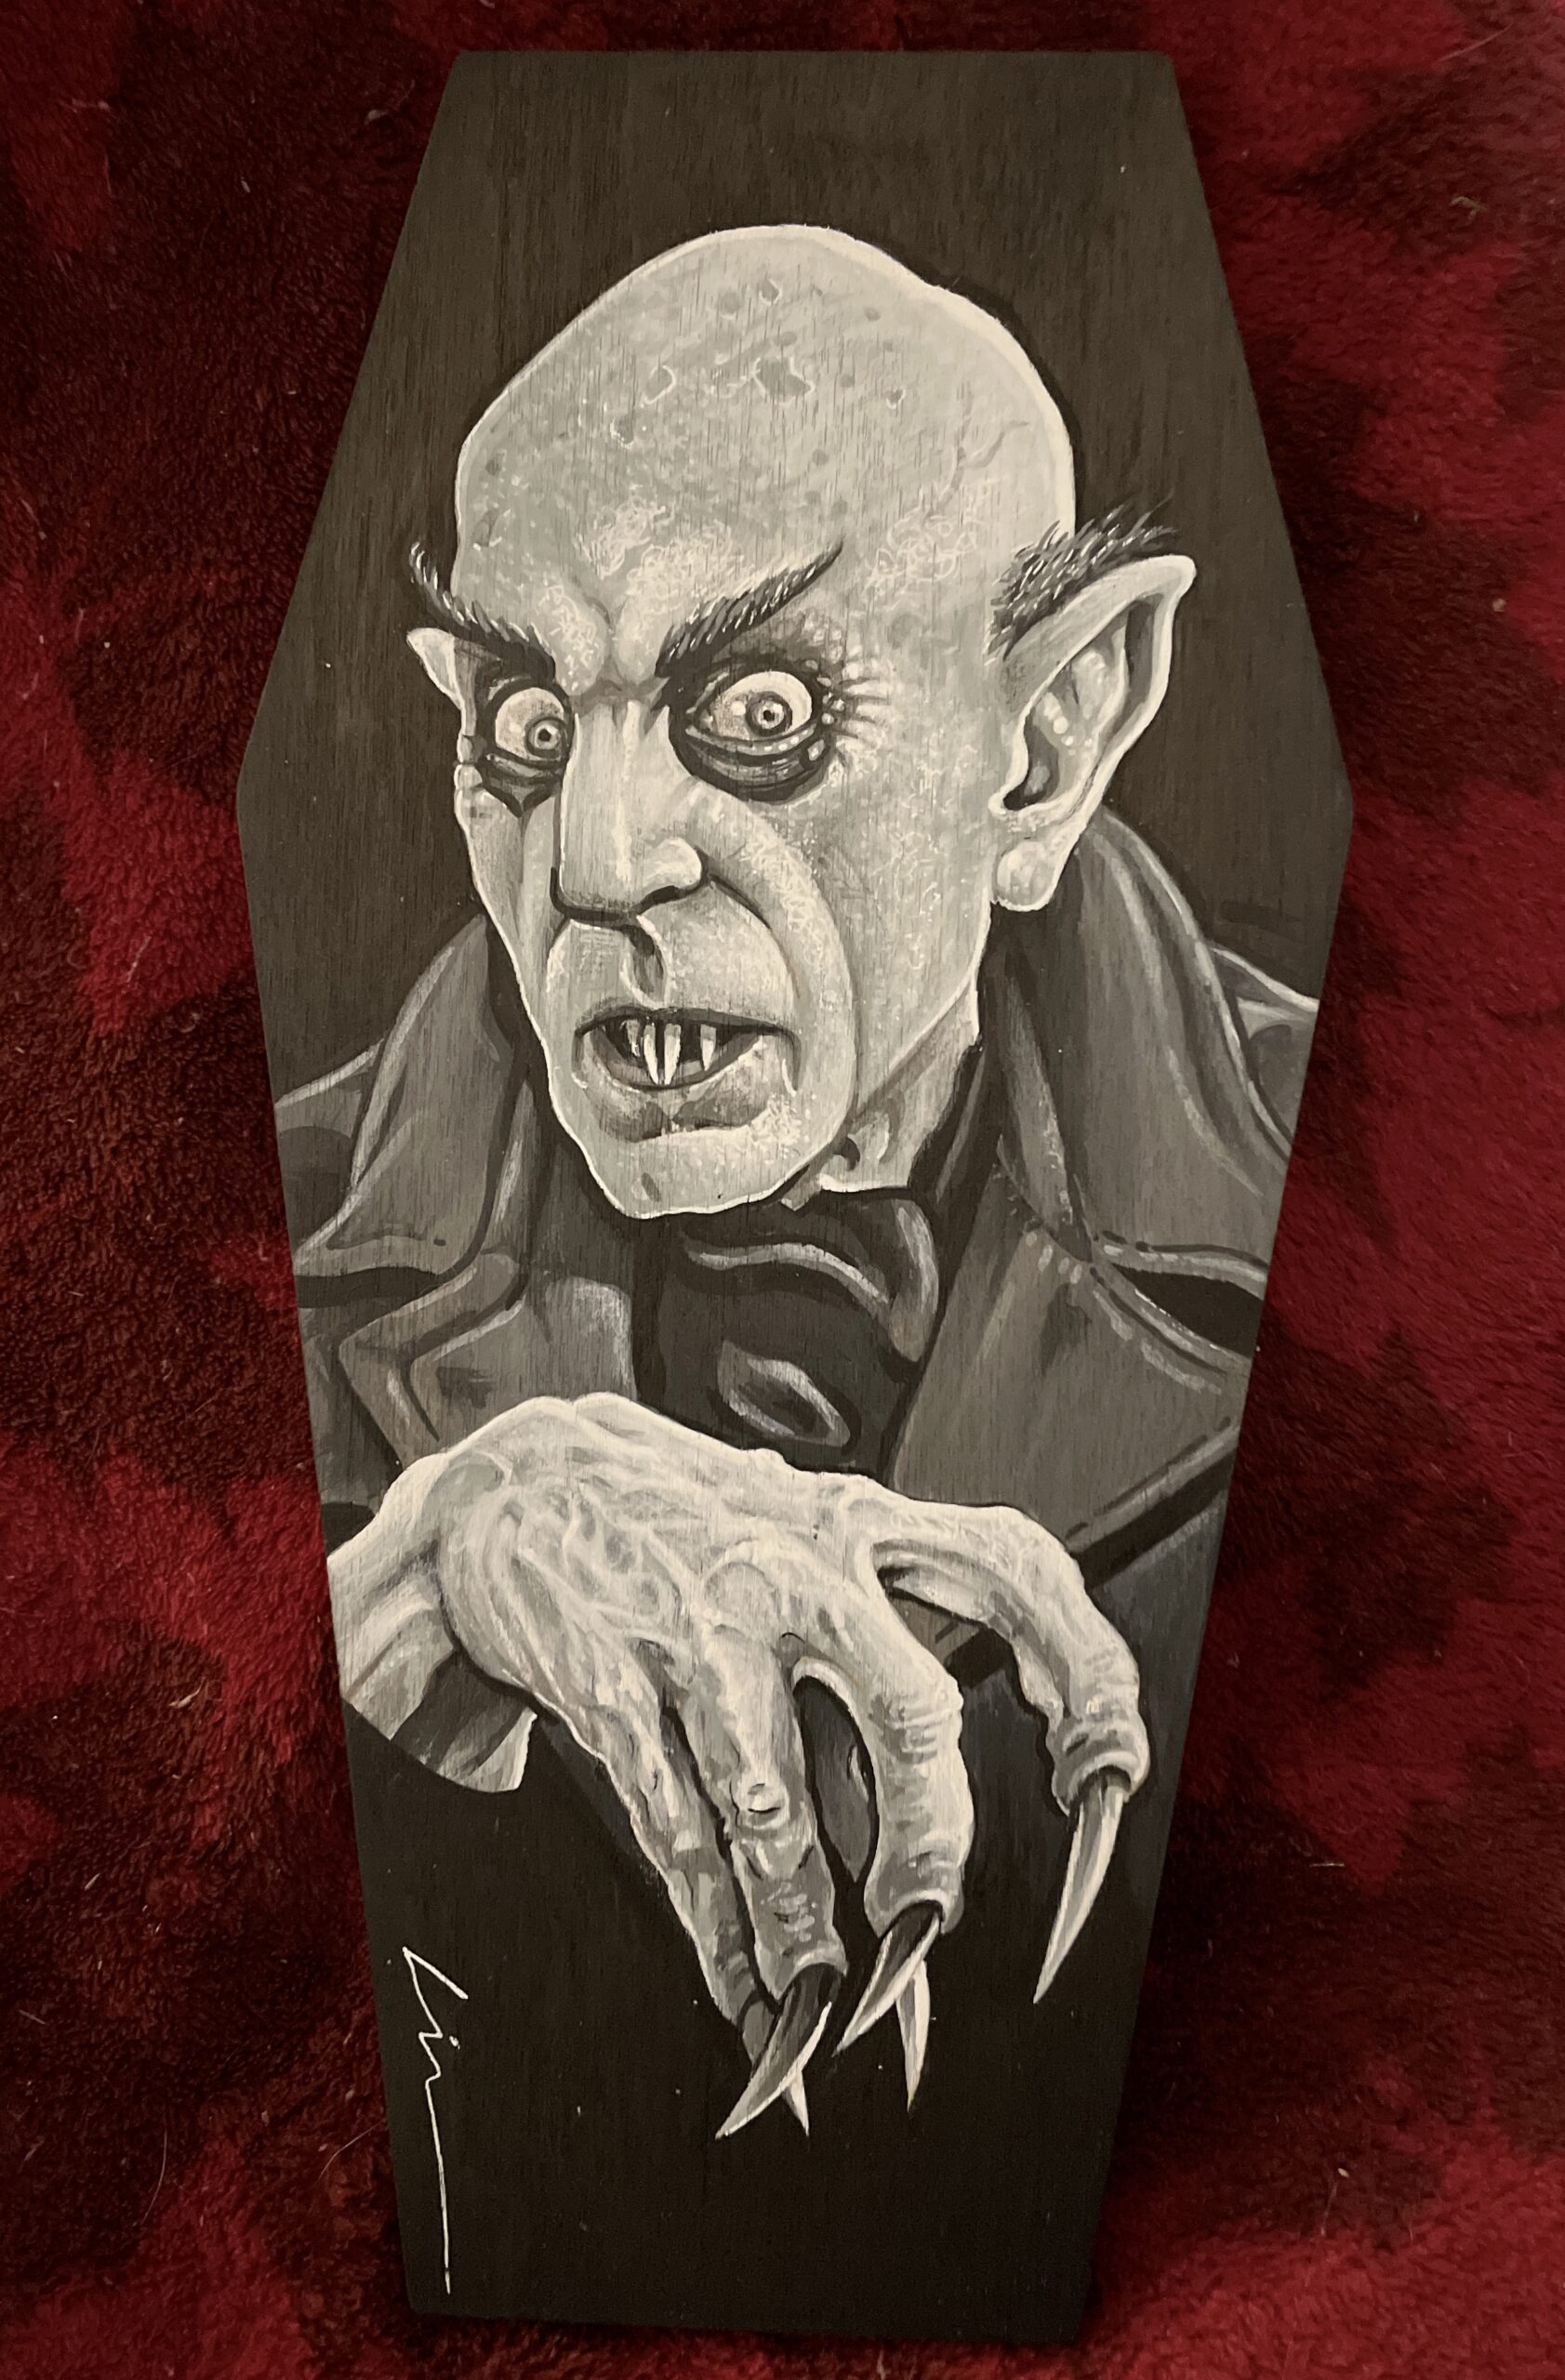
I finished off the painting/drawing with a black 03 black Pigma Micron pen– mostly on the eyes, teeth, and fingernails/claws. Once it was completed I let it dry overnight, and then did a few light coats of Krylon Workable Fixative. I use it on all of my marker illustrations. It’s best to do light overlapping coats than a heavy one, and is best to spray in a well ventilated area.
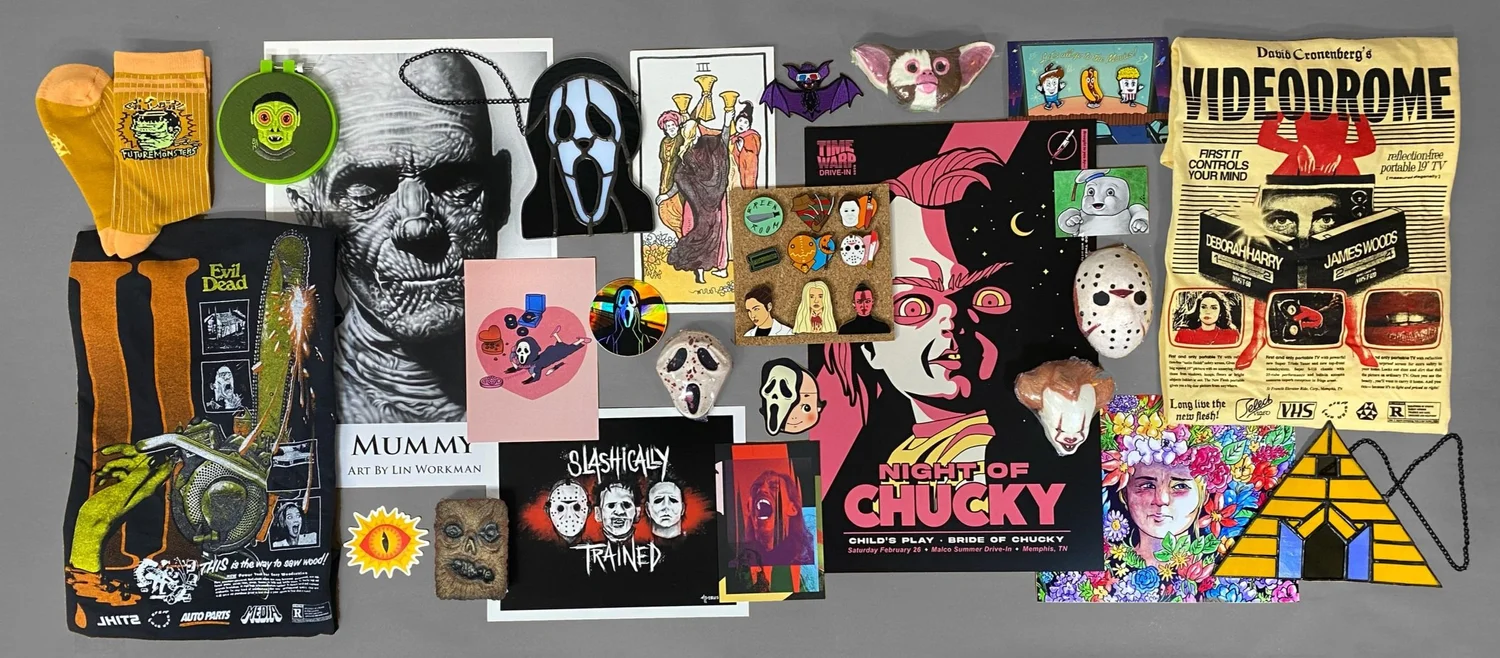
I’ll have this piece (and several others) for sale October 10-16 at the Memphis Monster Market. Tons of other great Halloween, horror, and sci-fi items for sale as well.
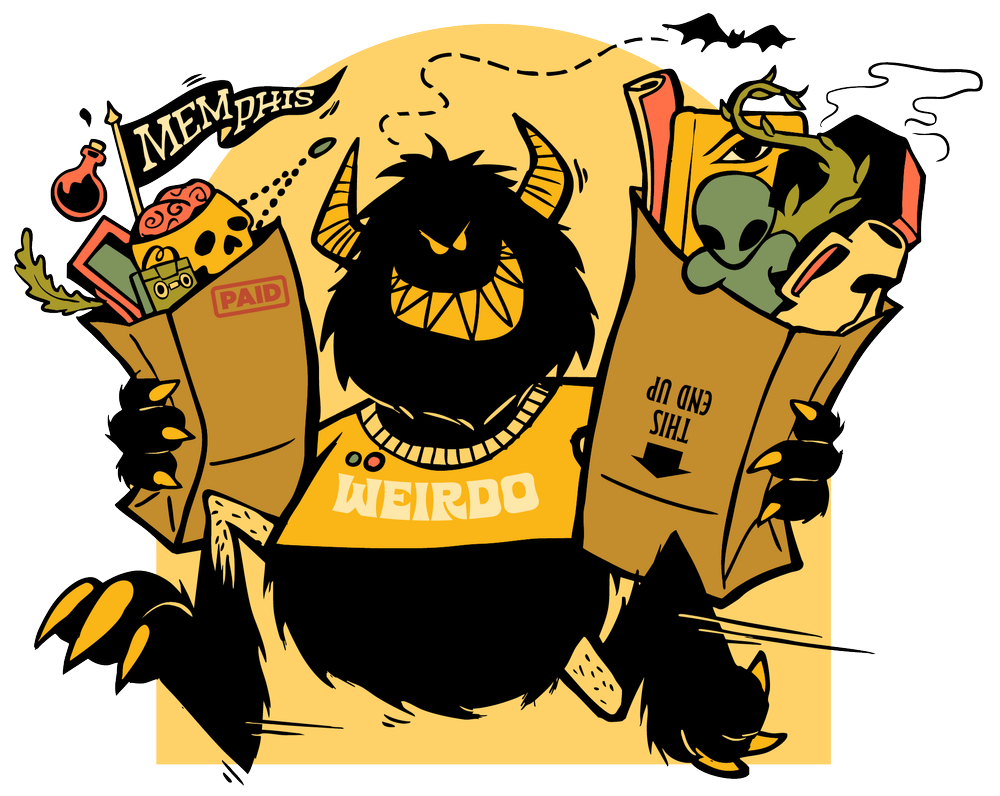
Monster Market 2025
October 10-16, 2025
The Medicine Factory
85 Virginia Ave W
Memphis, Tennessee (downtown)
Opening Night Party
Friday, October 10, 2025
5:00PM-10:00PM
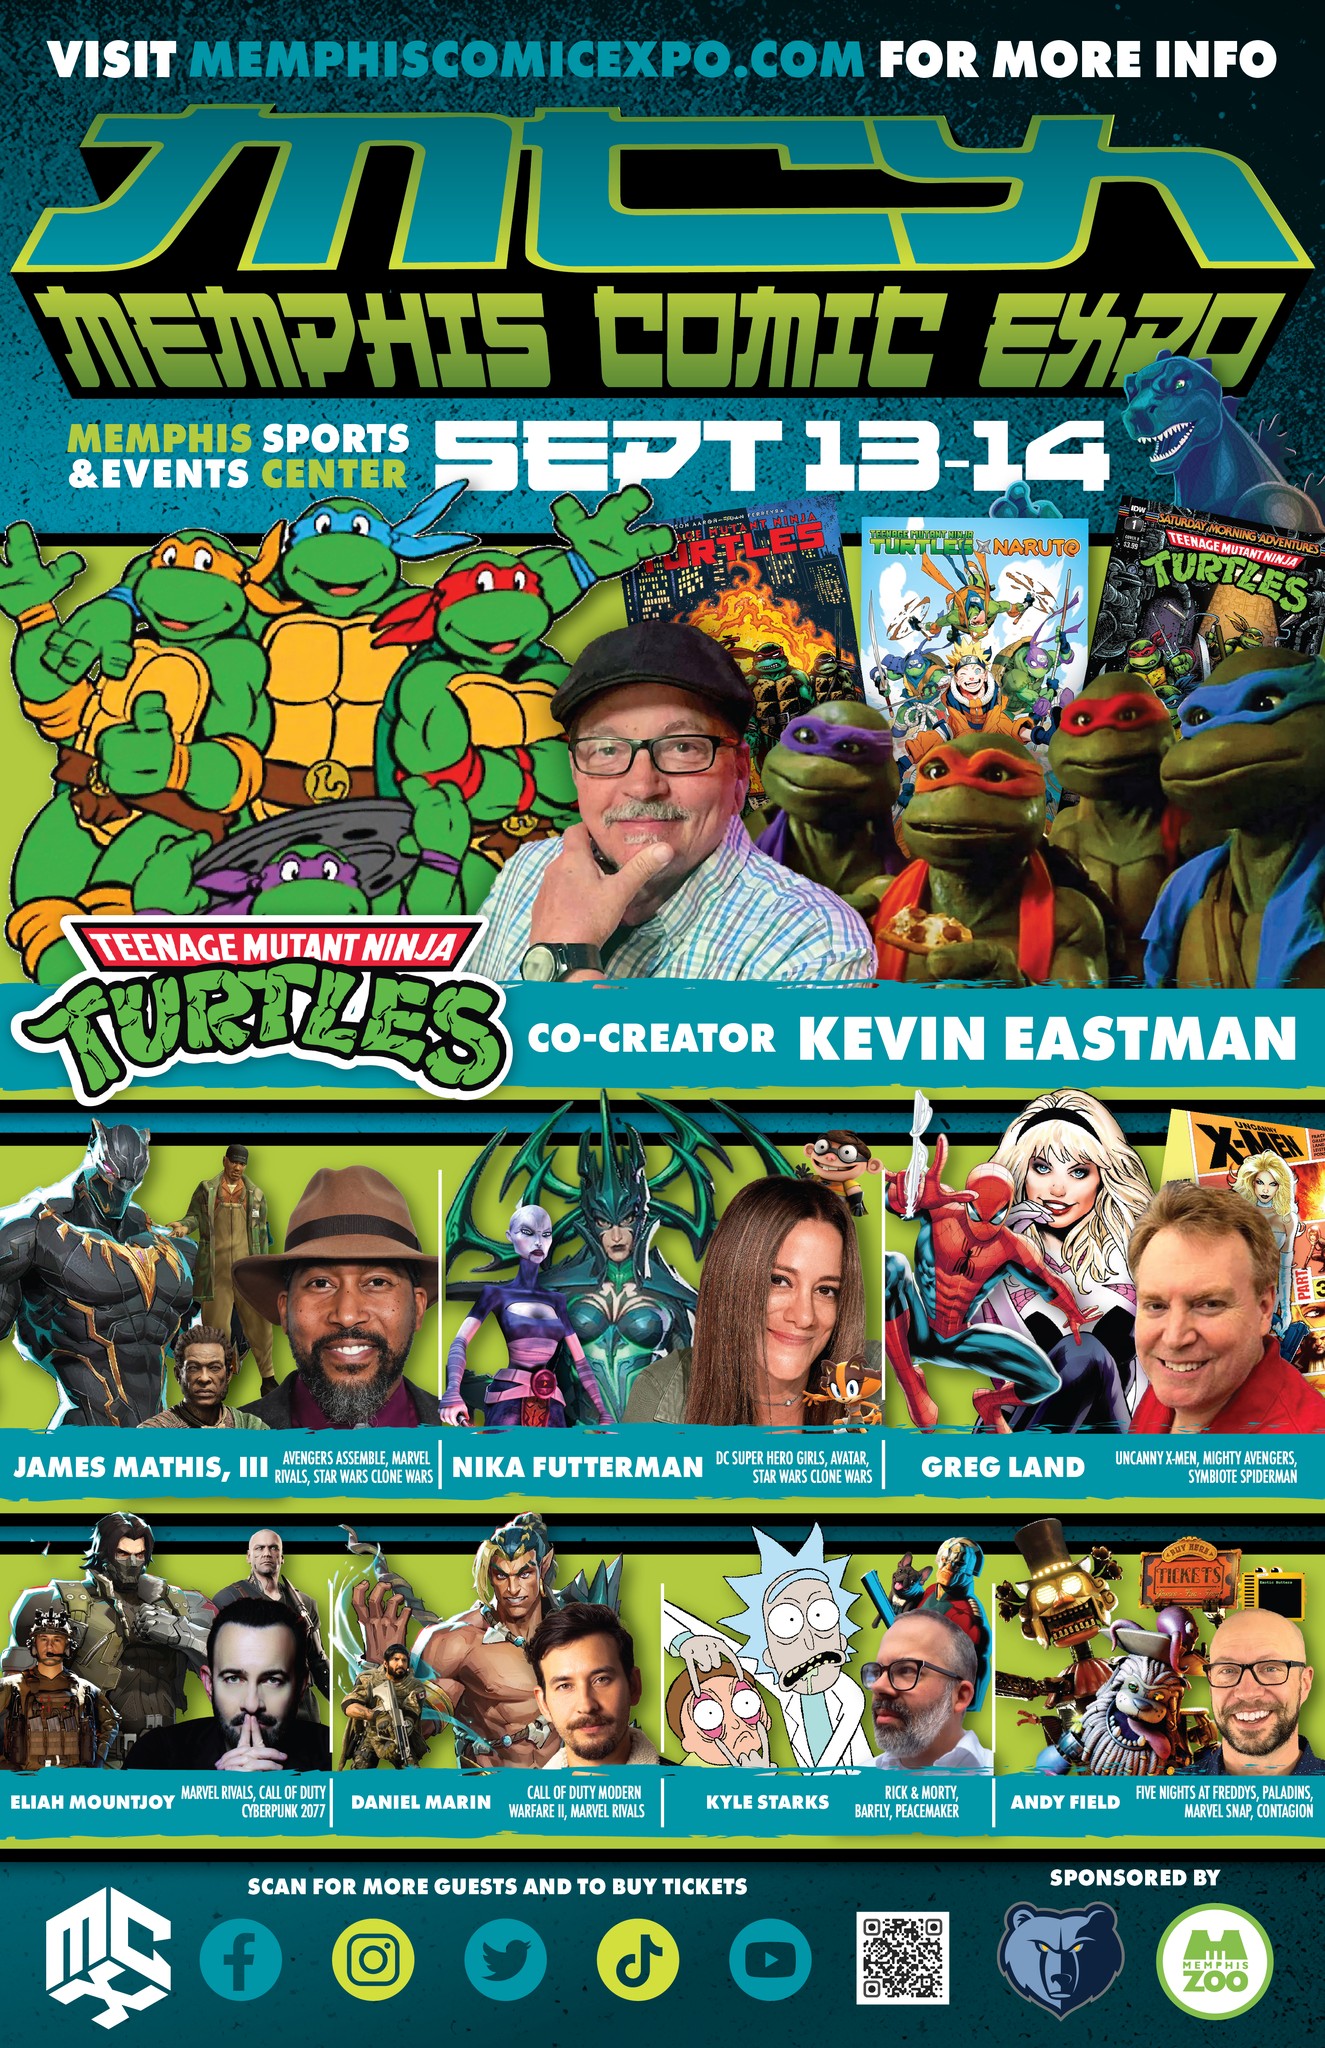
And don’t forget about the Memphis Comic Expo/DonnieCon on September 13 & 14 at the Memphis Sports & Event Center. I’ll be set up there all weekend!
Lin